
 admin
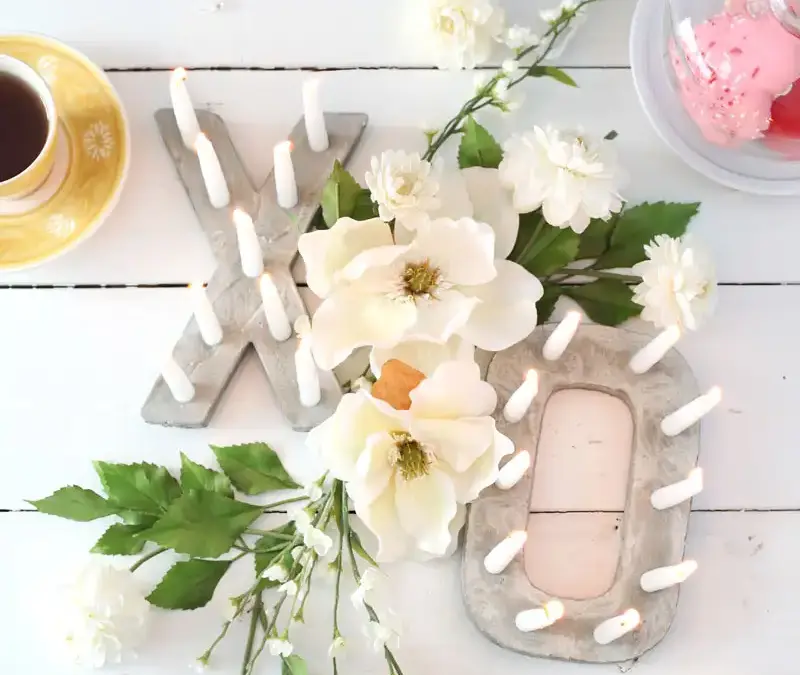
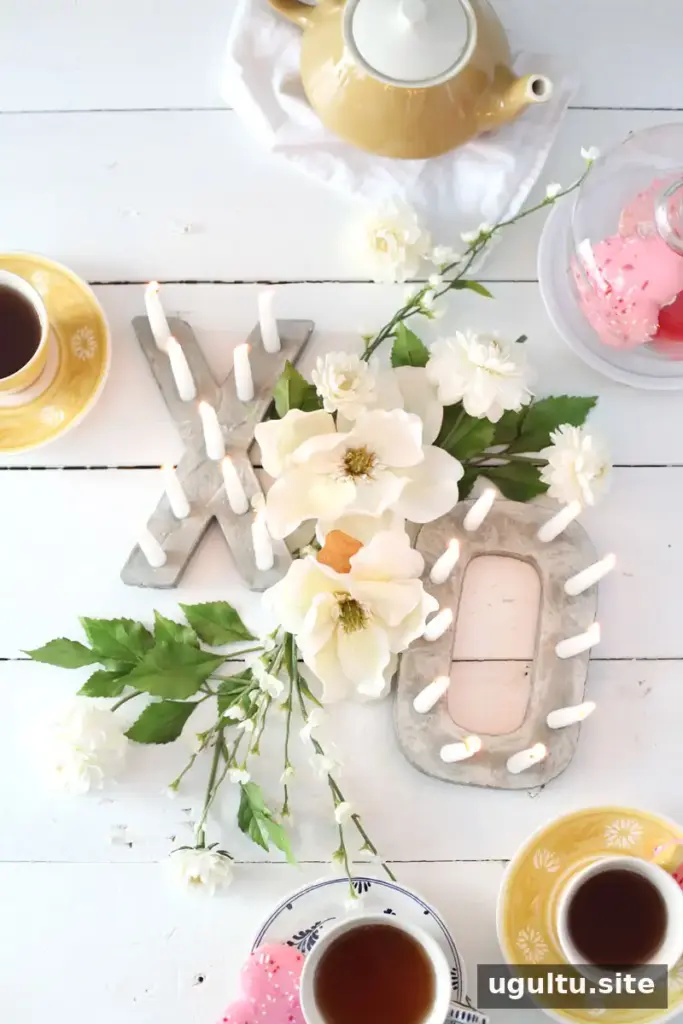
DIY concrete letter candle holders make a distinctive centerpiece for a dinner table, celebration, or home display. Shaped like letters such as X and O, they combine the modern look of concrete with the warm glow of candles. The project takes preparation and quick work with fast-setting materials, but careful measuring and a few practical precautions can help prevent cracks and uneven surfaces.
These holders can be arranged along a long table or used as part of a smaller display. Before mixing anything, check that your candles fit inside the letter forms and decide where they should sit.
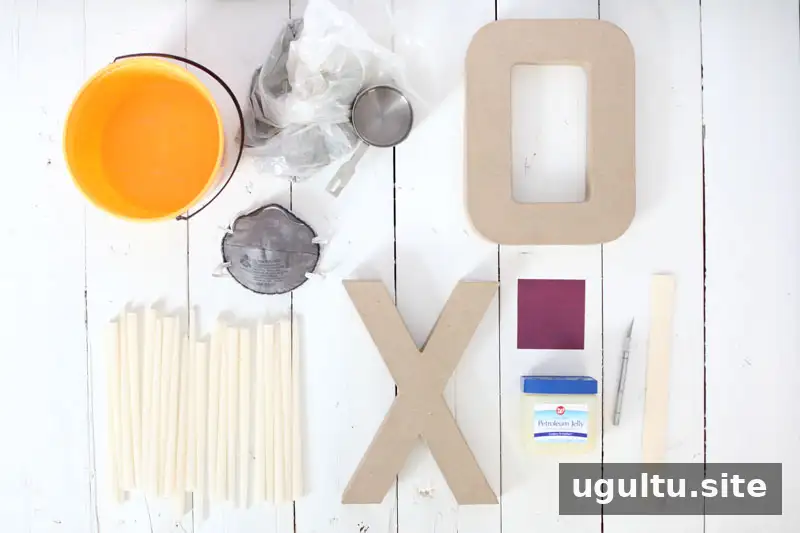
Supplies for DIY Concrete Letter Candle Holders
- Quick-setting cement and quick-setting concrete
- Acrylic binder for cement mix
- Water
- A disposable paint stirrer or another mixing tool
- Cardboard letters, purchased or homemade
- Craft blade
- Petroleum jelly
- Candlesticks small enough to leave at least a 1/4-inch border inside the letters
- A drop cloth or paper to protect the work surface
- Optional: 320-grit sandpaper
Prepare the work area and measure the candles against the forms before mixing. A candle that is too large may leave too little concrete around it, making the finished letter more fragile.
Concrete Safety and Preparation
- Wear gloves and cover exposed skin when handling cement or concrete. These materials can irritate or harm skin.
- Wear a safety mask when handling dry mix to avoid breathing in dust.
- Once the concrete is poured, leave it undisturbed while it sets. Moving or jiggling the forms can lead to cracks.
- Clean tools promptly. Hardened concrete can be difficult to remove.
Follow the safety directions on the product packaging. Keep the dry mix and wet mixture away from children and pets, and protect nearby surfaces from splashes.
How to Make Concrete Letter Candle Holders
1. Prepare the cardboard forms

Use a sharp craft blade to remove the front face of each cardboard letter, cutting carefully and away from your body. Coat the inside of the form with petroleum jelly, including the corners, inner edges, and the upper edges of the sides. This helps the concrete release from the cardboard later.
2. Mix the cement and concrete
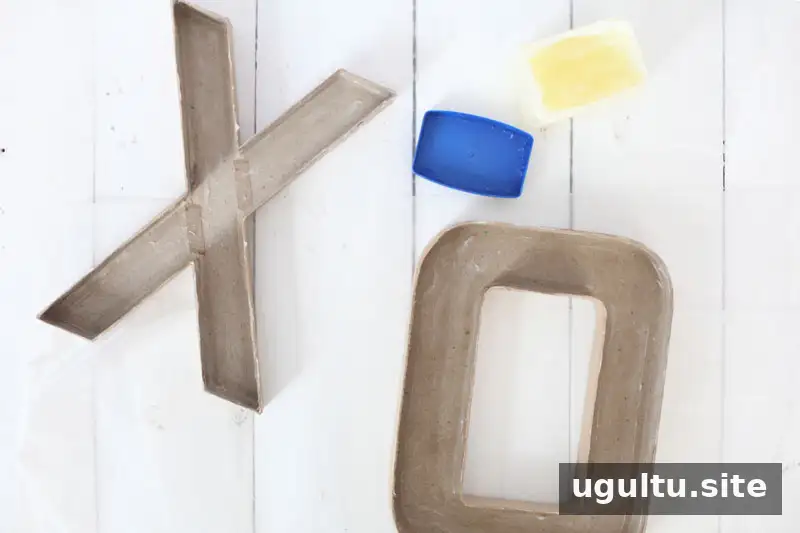
Combine equal parts quick-setting cement and quick-setting concrete. Add water and acrylic binder according to the exact amounts and directions on their packaging. Wear a mask while handling dry ingredients and stir quickly. The mixture should be thick enough to scoop but still able to drip from the mixing tool. Avoid adding extra water: changing the specified proportions can affect how the mix sets.
Fast-setting products leave little working time. Mix only enough for two letters at a time if you are making several, and have the forms ready before you begin.
3. Fill and level the forms
Use a disposable stirrer or spoon to transfer the mixture into the letters. Fill each form about halfway, then gently tap its base against the work surface to help the mixture settle. Add more until the form is nearly full and tap again. Aim for a smooth, level top, with larger pieces of aggregate settled away from the surface.
Use a tool you do not mind scratching; small stones in the mix can damage a spoon. Avoid overfilling, and keep the form steady as you work.
4. Position the candles
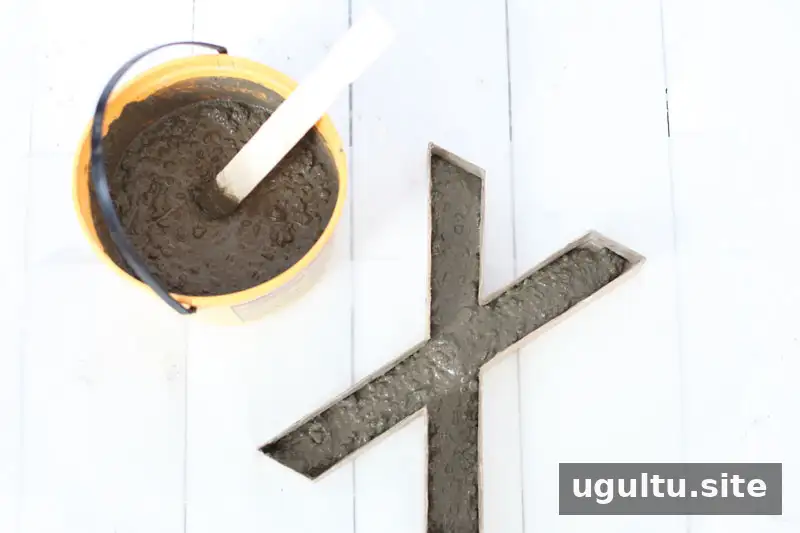
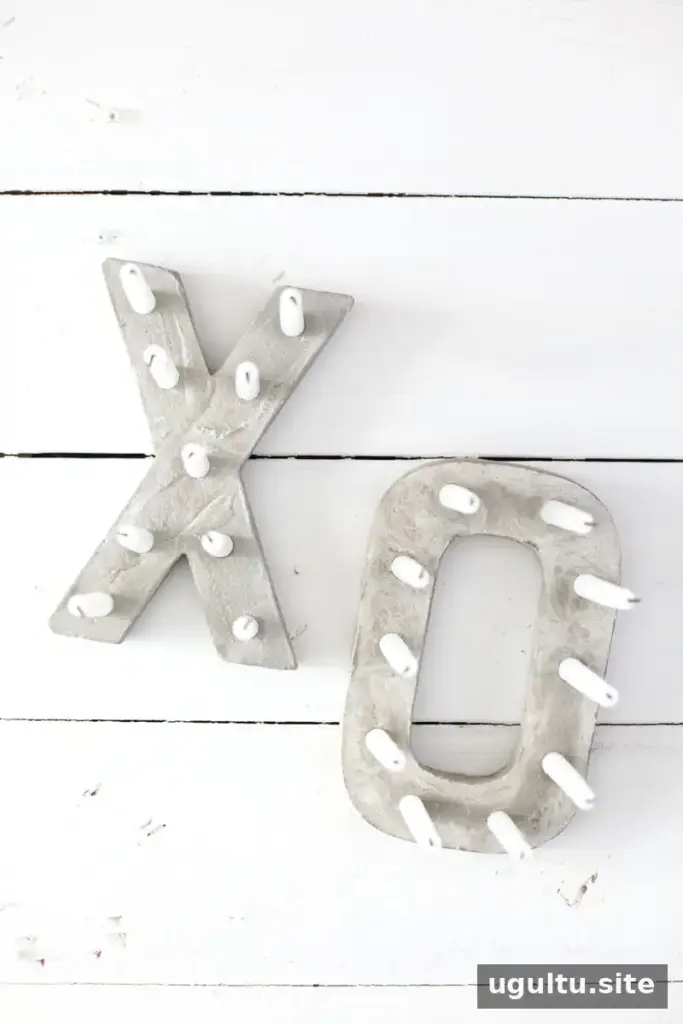
After the mixture has settled for about two minutes, press the candles into it, spacing them evenly and keeping them as straight as possible. Plan their positions before pouring so you do not need to move them once the mix begins to set. Do not push them too deep, as this can leave too little concrete around the candles and weaken the letter.
If adjustment is essential, work immediately: remove the candle, gently tap the form to level the surface again, and reposition it. Do not force a candle into concrete that has started setting, since that can cause cracks. Put excess mix in a disposable container and rinse tools promptly.
5. Let the letters set and remove the forms
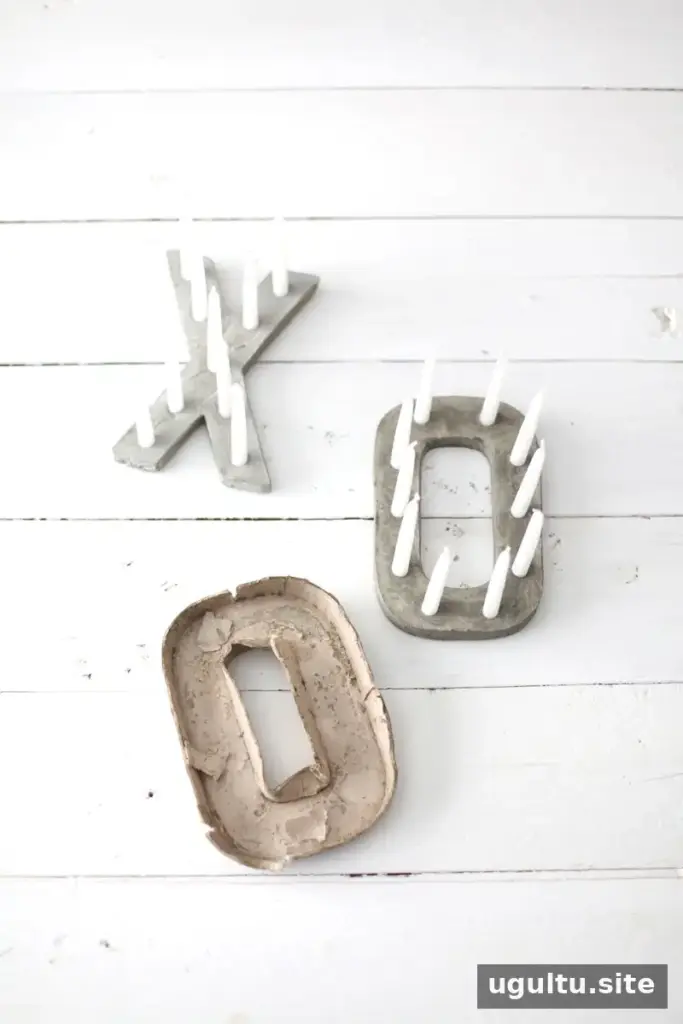
Allow the concrete to set for at least 24 hours before removing the cardboard. Peel the form away carefully; cardboard forms may be reusable if they remain in good condition. Wash away petroleum jelly from the concrete with dish soap and a washcloth.
If a small edge is uneven, sand it gently only if necessary. Sanding can expose more aggregate and create a rougher finish, so first check whether the uneven area can be left as it is. The concrete may lighten as it dries. Sealing is optional, but can be difficult around candles that are already in place.
Common Mistakes to Avoid
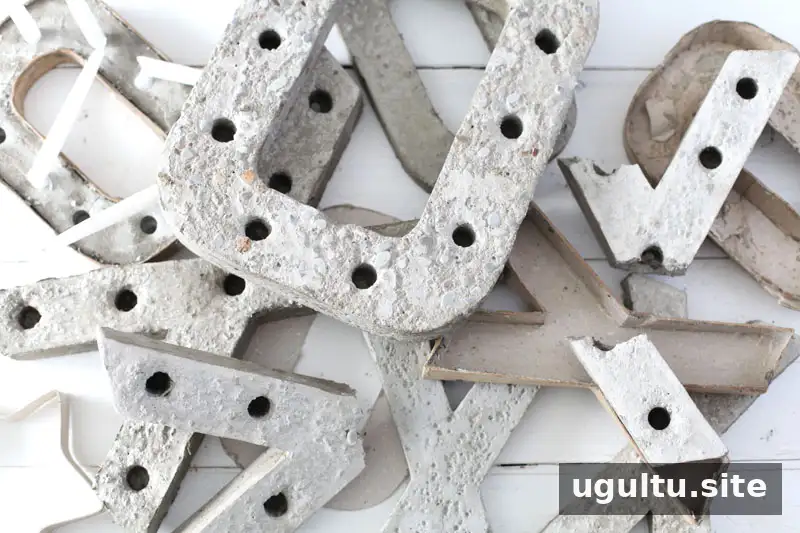
- Removing candles after the concrete sets: Pulling them out can weaken the surrounding material and cause hairline cracks.
- Filling forms too shallowly: Thin sections, especially narrow parts of an X, are more vulnerable to breaking.
- Pressing candles too far down: This reduces the amount of concrete supporting them.
- Using only coarse concrete mix: Larger aggregate can leave a rough surface. A 50/50 blend of cement and concrete, with acrylic binder added as directed, was used for this project.
- Moving the forms while setting: Leave them in place for the full setting period to help avoid cracks.
Earlier attempts with cement alone or concrete alone resulted in cracking or a rough finish. The final approach combined the two materials, filled the forms nearly to the top, tapped them to level the surface, and inserted candles only partway.
Finishing and Using Your Candle Holders
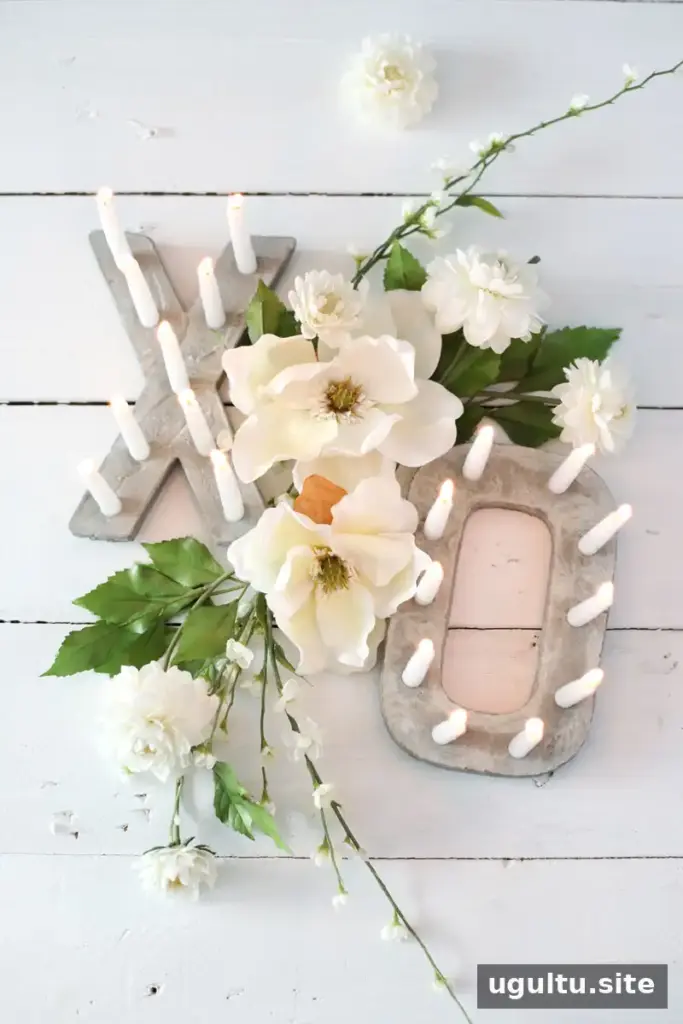
Once the letters are fully set and clean, arrange them on a stable, heat-resistant surface. Keep lit candles attended and away from flammable decorations, and follow the candle maker’s safety guidance. For a larger centerpiece, place several letter holders along the table and leave enough space around each flame.
DIY concrete letter candle holders can be customized with different letters and reused as seasonal or event decor. The most useful tips are to prepare the forms in advance, follow the mix instructions exactly, avoid moving the concrete as it sets, and handle the candles gently. —Mandi


