
 admin


A DIY copper ladder offers a tidy, decorative way to store throw blankets and keep them within reach. Made from copper pipe and fittings, this simple project is designed for blanket display rather than climbing. The original project was described as costing under $100, though material prices can vary by location and supplier.
DIY Copper Ladder Materials
Gather and measure all the pieces before you begin. The project uses:
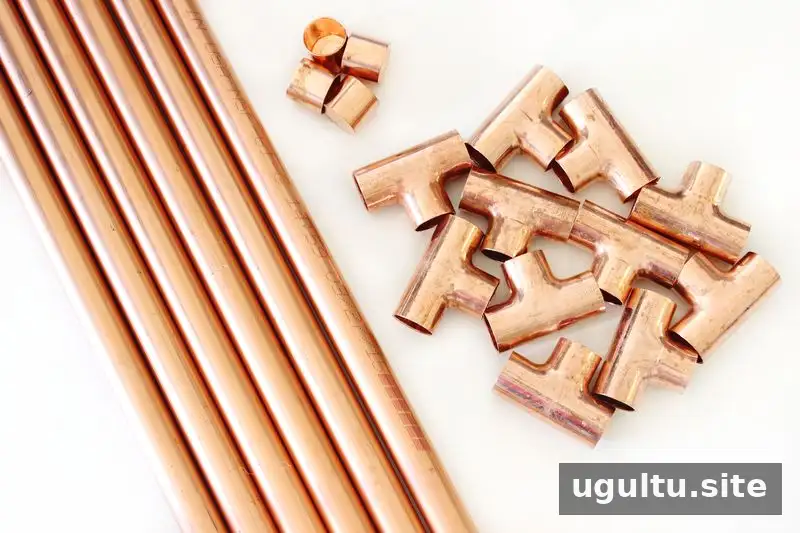
- 6 pieces of 3/4-inch copper pipe, each 20 inches long
- 14 pieces of 3/4-inch copper pipe, each 8 inches long
- 12 3/4-inch copper pressure tees
- 4 3/4-inch copper tube caps
Check that the pipe ends fit snugly into the fittings before assembling the full ladder. A dry fit helps you spot loose or uneven connections early.
How to Assemble the Copper Blanket Ladder
1. Make the ladder rungs
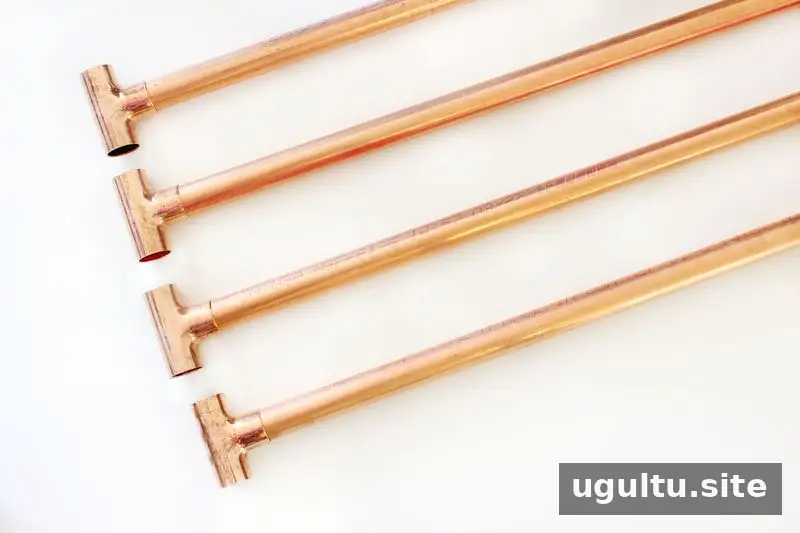
Fit copper tees onto both ends of each 20-inch pipe section. These longer pieces form the horizontal rungs. If a joint feels loose, reinforce it with super glue or epoxy according to the product instructions. Some fittings may hold firmly without extra adhesive, so check each connection rather than applying glue automatically.
2. Connect the side rails
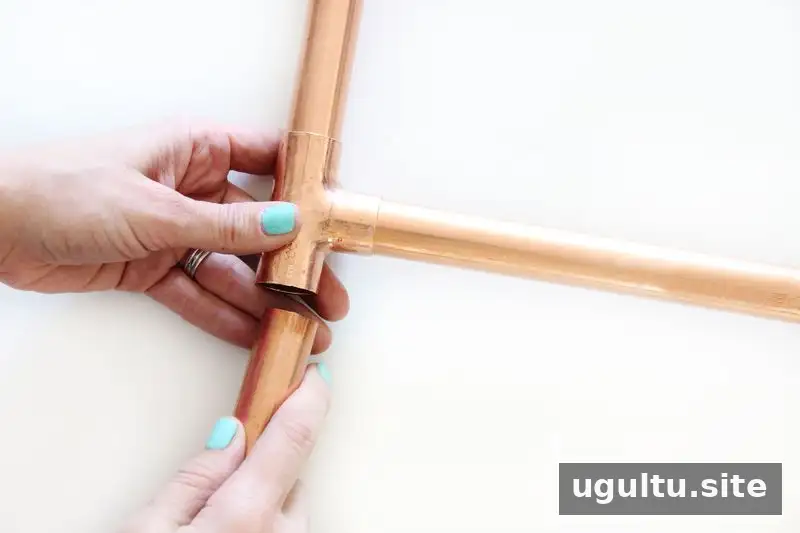
Insert the 8-inch pipe pieces into the open ends of the tees to connect the rungs and create the ladder’s two sides. Use seven 8-inch pieces on each side. Assemble the structure on a flat surface and check that it sits evenly as you work.
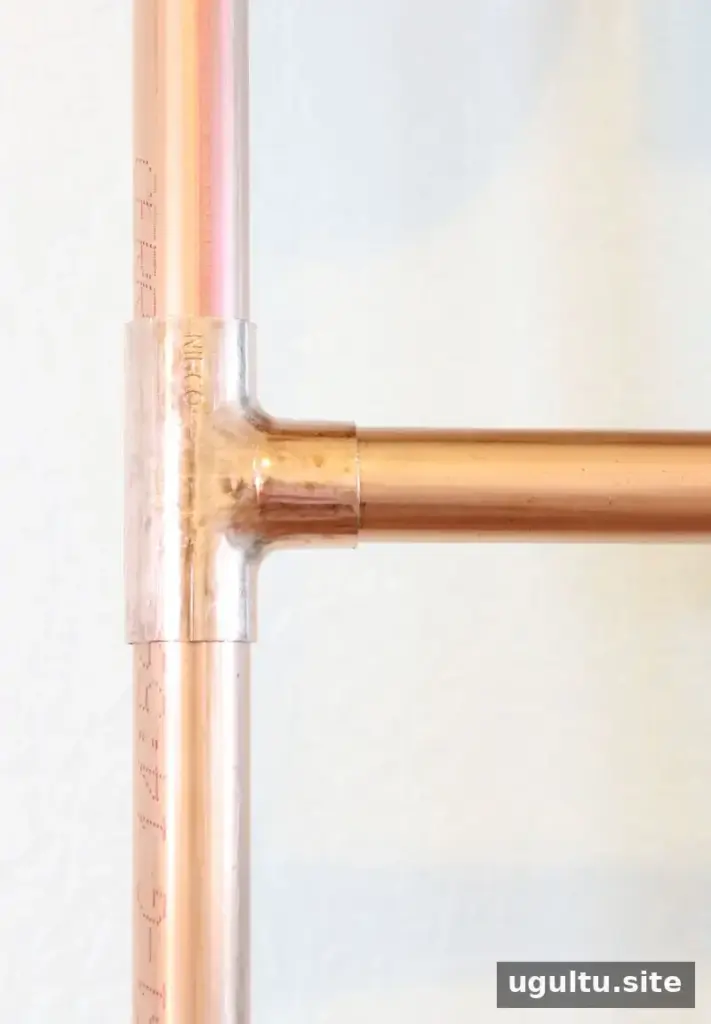
3. Add the end caps
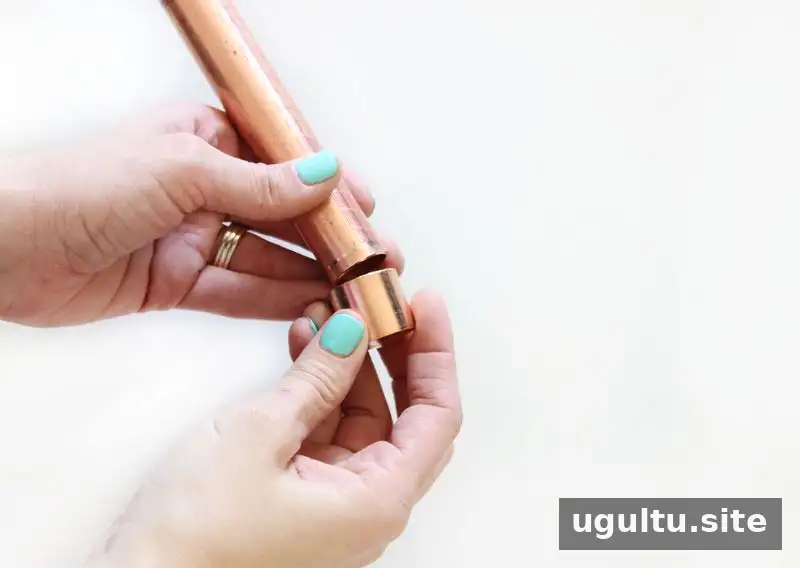
Place a copper tube cap on the bottom end of each leg. Reinforce these joints with super glue or epoxy if needed, following the adhesive manufacturer’s directions. Hot glue may be less reliable for this connection because it remains flexible.
Positioning and Safety Tips
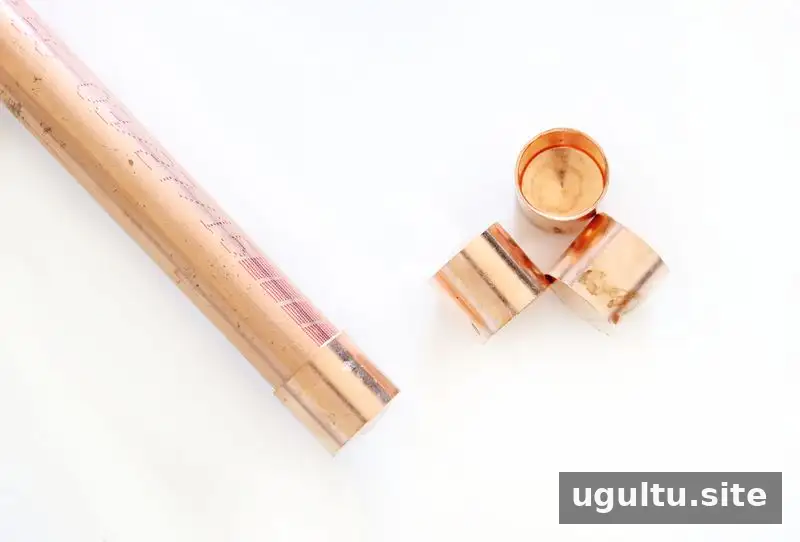
Once all the fittings are secure, lean the finished ladder against a wall and drape blankets over the rungs. For added stability, attach it to the wall with suitable hooks or fasteners. This is especially worth considering in homes with children or pets, or anywhere the ladder could be bumped.
- Use the ladder only to display lightweight blankets; it is not intended for climbing or supporting a person.
- Let adhesive cure fully before placing the ladder in position.
- Check the joints occasionally, particularly if the ladder is moved or handled often.
A Simple Copper Accent for Your Home
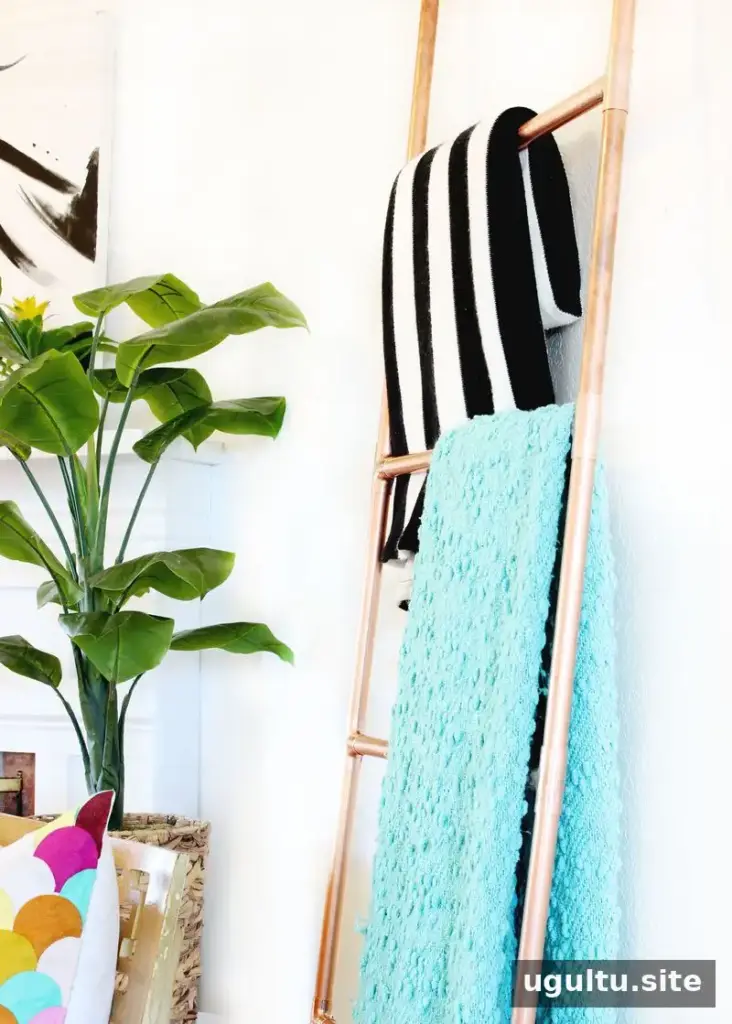
The completed copper ladder combines blanket storage with a warm metallic accent. Place it near a seating area so throws are easy to grab, while keeping it clear of walkways and heat sources. Mallory & Savannah
With the listed pipe lengths and fittings, this DIY copper ladder is a straightforward project for organizing cozy throws. A careful dry fit, secure joints, and wall attachment where needed help make it both practical and attractive.


