admin
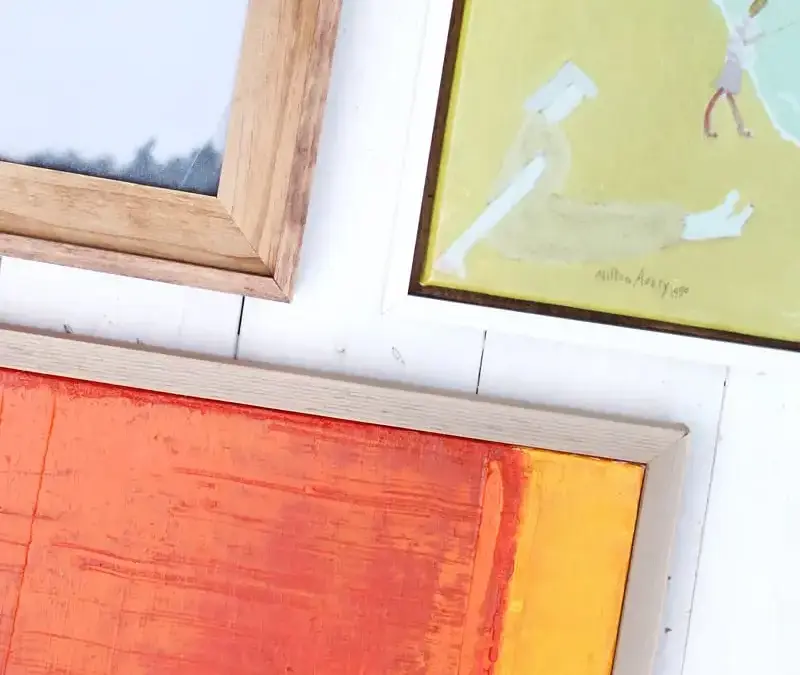
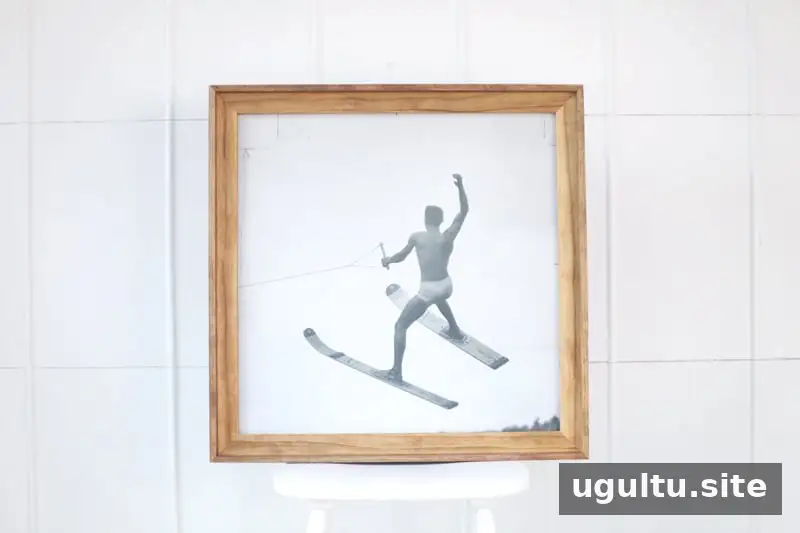
DIY custom framing is a practical way to fit artwork that does not match standard frame sizes, including deep or gallery-wrapped canvases. With basic lumber, glue, clamps, and a hand-operated miter box saw, you can make a frame without power tools. Choose a mounting style that suits your artwork, then measure carefully and test the fit before attaching the frame.
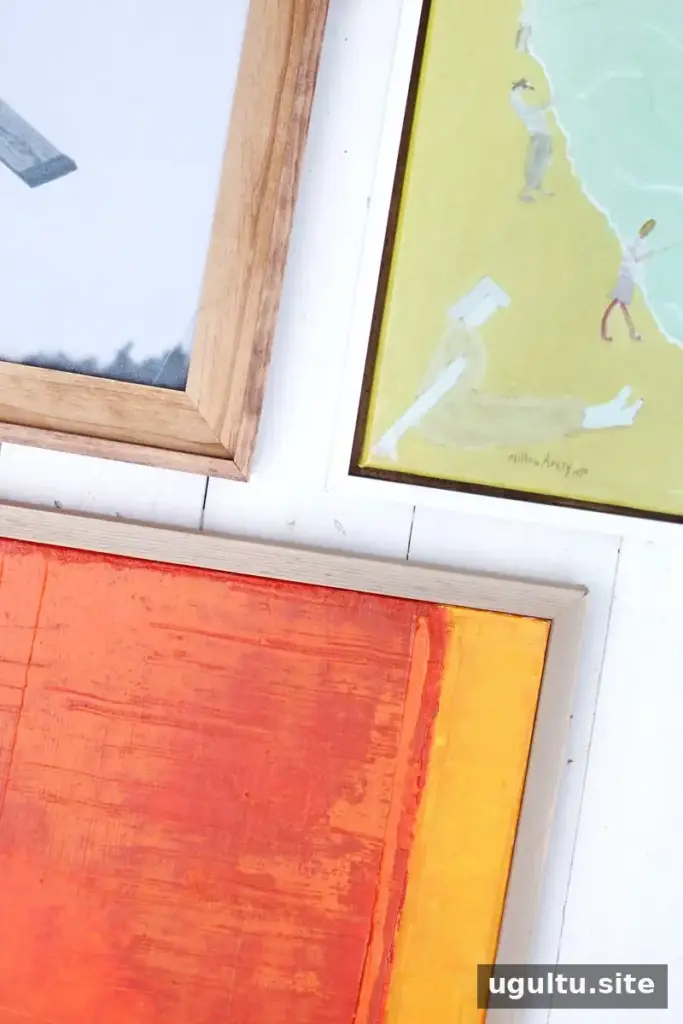
This guide covers three options: flush mount, recessed mount, and float mount. Each has a different appearance and attachment method, so consider the canvas edges and the amount of visible space you want around the artwork before choosing.
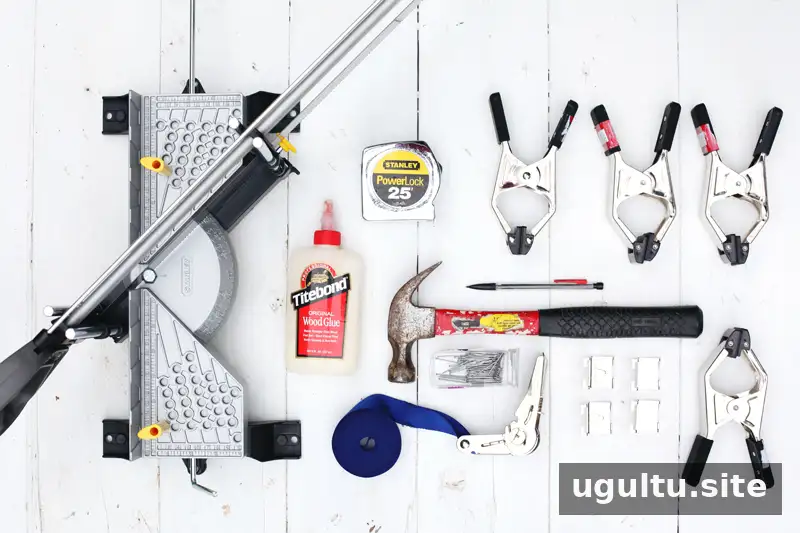
DIY Custom Framing: Supplies and Planning
Gather the materials and hand tools before cutting. Frame profiles can be made by combining different widths of lumber, square dowels, or molding. For a wider, chunkier profile, add spacer wood between the canvas stretcher and the outer frame.
- Wood in the sizes required for your chosen frame style
- Wood glue
- Finishing nails or wire brads sized for the wood depth
- Paint or wood stain
- Fine-grit sandpaper
- Miter box saw, band clamp, and other clamps
- Hammer, tape measure, pencil, and paintbrush or rags
You can take the artwork to a lumber yard or bring its measurements instead. Comparing pieces together helps you judge the profile and thickness before buying. Measure twice, and cut each piece slightly long at first; trimming a little more is easier than correcting a piece cut too short.
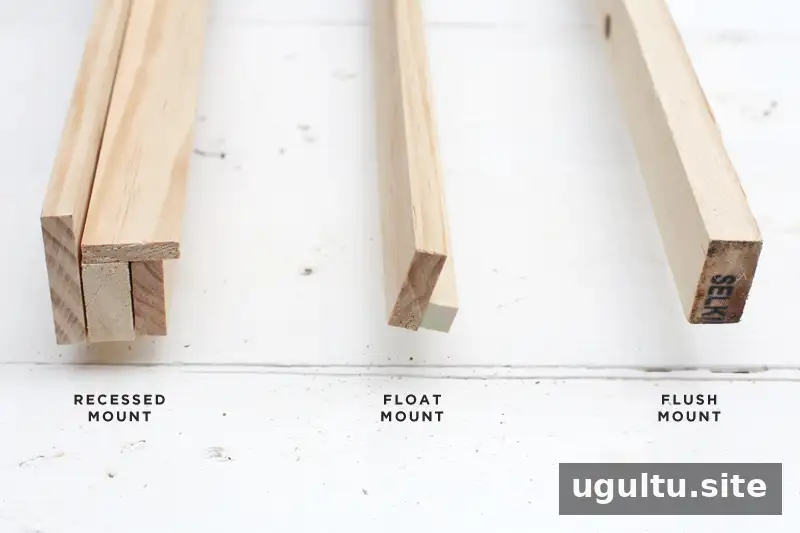
Choose a Canvas Mounting Style
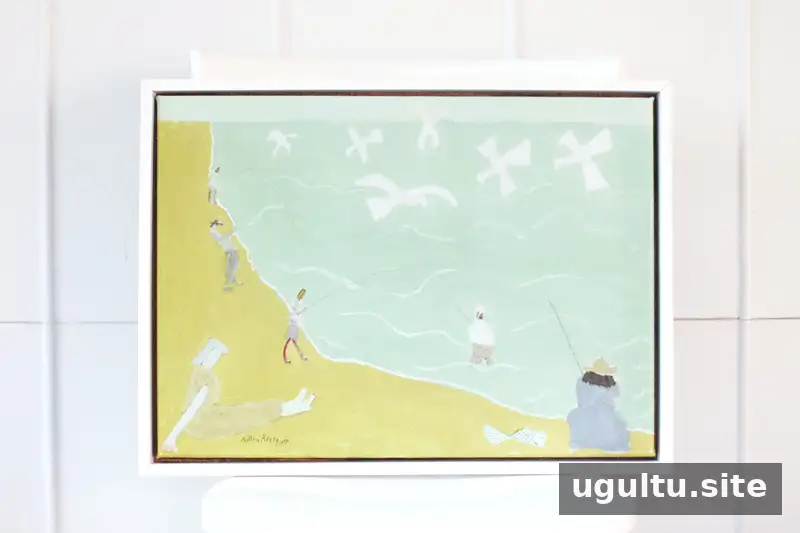
A recessed mount places the artwork behind the frame, with a narrow lip covering its outer edge. This can hide unfinished canvas edges. A flush mount attaches the frame directly to the edge of the canvas stretcher, without a front lip or decorative gap. A float mount leaves a visible gap between the canvas and frame, adding depth and showcasing wrapped canvas edges.
For a first project, a flush mount is the simplest option. A float mount requires more careful positioning to keep the gap even on all sides.
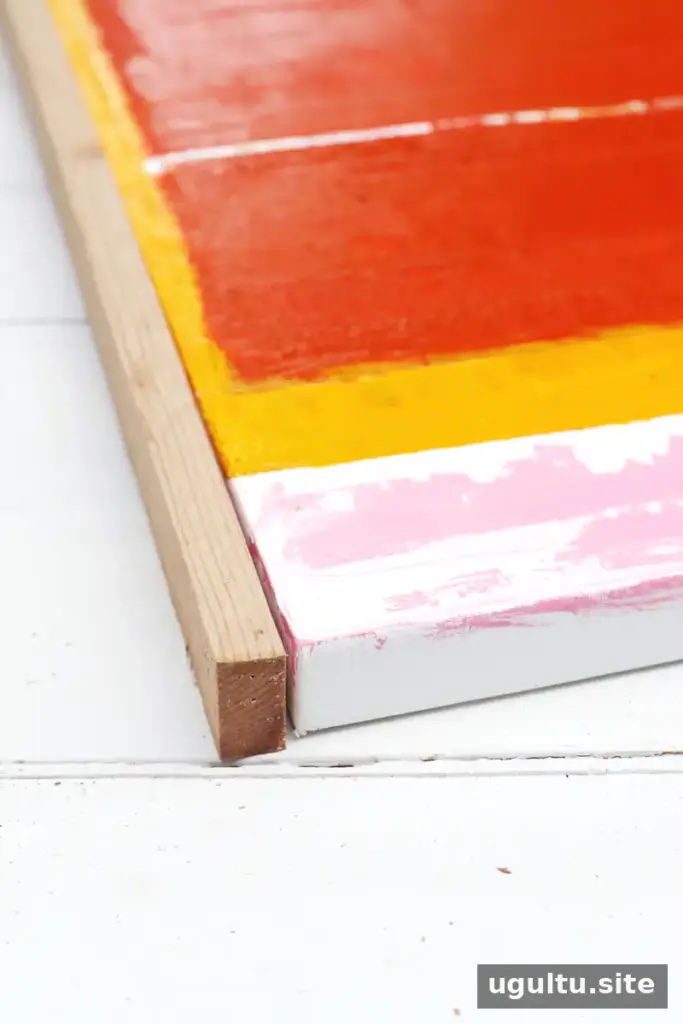
How to Make a Flush-Mount Frame
This design sits close to the canvas surface and is attached directly to the stretcher. It works especially well for larger artwork. The example uses two 8-foot cedar 1×2 boards, but select lumber that suits your canvas and desired finish.
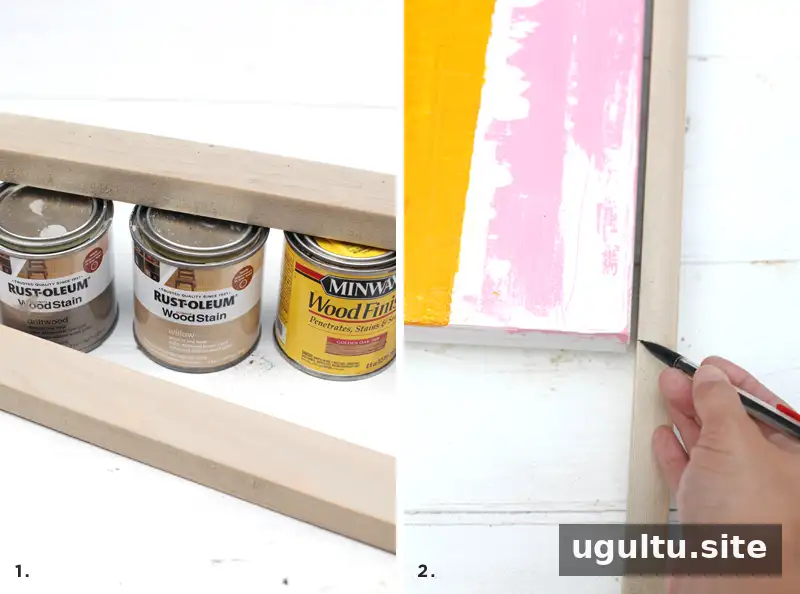
- Prepare the wood. Lightly sand the boards and apply paint or stain. Let the finish dry according to its instructions before assembly.
- Mark the lengths. Hold a board against the canvas edge and mark the required length directly on the lumber. This can help reduce measurement-transfer errors.
- Cut the pieces. Use a miter box saw to guide the cuts at 45-degree angles. Cut slightly longer than needed, then refine the fit. Sand any splintered corners lightly.
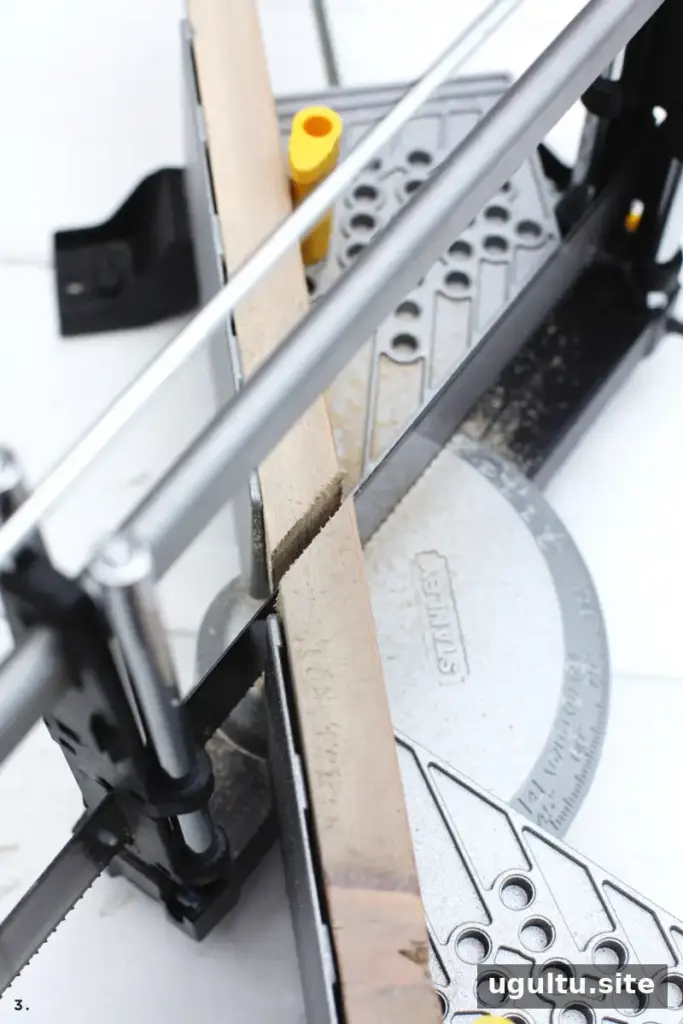
A hand-operated miter box takes more effort than an electric saw, but its guides help keep the cut angle consistent. Secure the lumber properly and keep fingers clear of the blade while cutting.
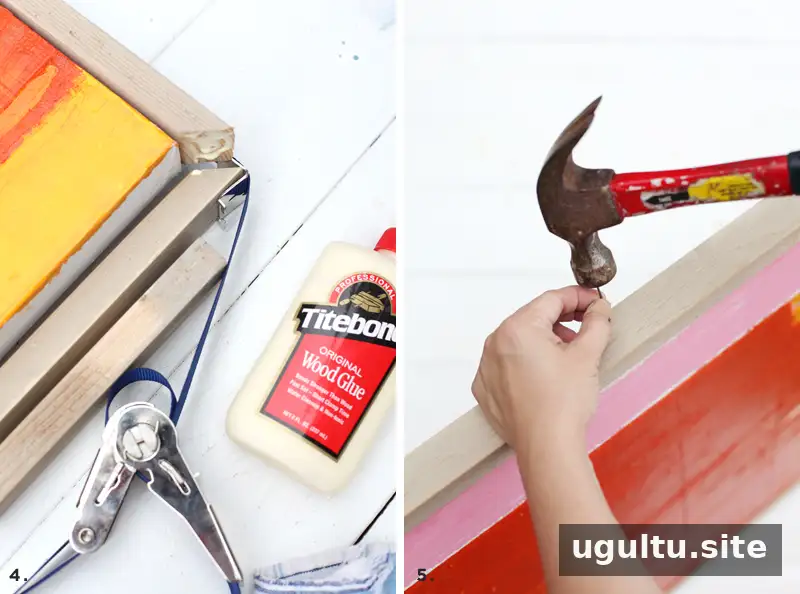
- Dry-fit the frame. Use a band clamp or ratchet strap to hold the loose pieces together. Check the corners and trim any pieces that are too long.
- Glue and secure. Apply wood glue to the mitered corners, clamp the frame, and wipe away excess glue promptly with a rag. Attach the frame to the canvas stretcher with finishing nails or wire brads. Nails through the corner joints also reinforce the miters, where end-grain glue joints alone may be weak.
When clamping soft wood, place scrap wood between the clamp and the frame to help prevent marks or dents.
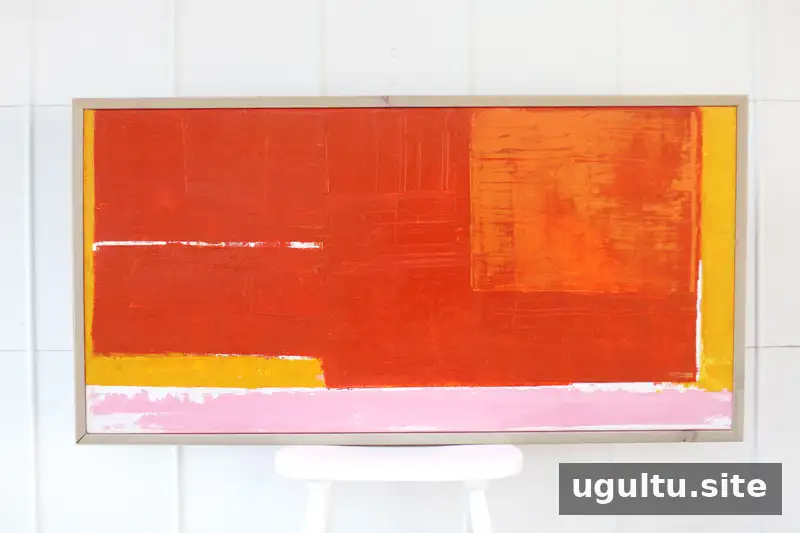
How to Make a Recessed-Mount Frame
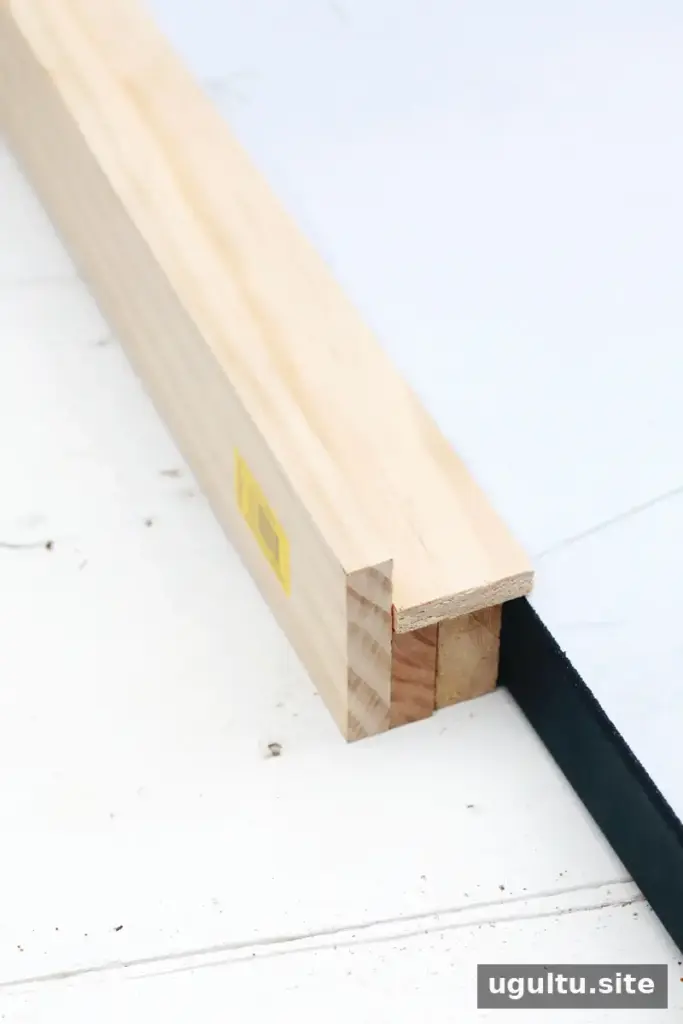
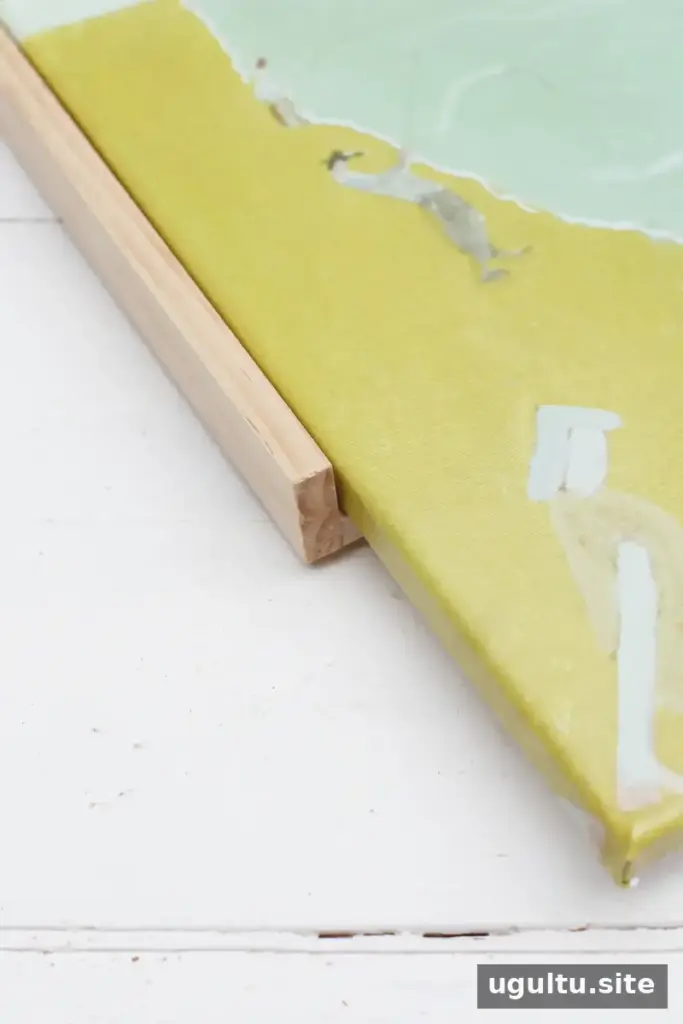
A recessed frame is assembled before the artwork is fitted. Its lip overlaps the canvas edge, making it a useful choice when the edges are unfinished. The example profile uses an outside edge piece of 1/2×3-inch lumber, a middle piece of 1/2×2-inch lumber, an inside edge piece of 1/2-inch lumber, and a top edge piece of 3/8×2-inch lumber.
- Build the frame profile. Glue the outside, middle, and inside pieces together as shown. Clamp them while the glue dries, and wipe away squeeze-out with a damp cloth before it hardens. Stain or paint can be applied before or after assembly; test the finish on a scrap piece first, as some wood may absorb stain unevenly.
- Add the overlapping lip. Once the lower pieces have dried, glue the top piece in place. It should be slightly wider than the stacked pieces beneath it so it overlaps the artwork. Clamp until the glue has cured.
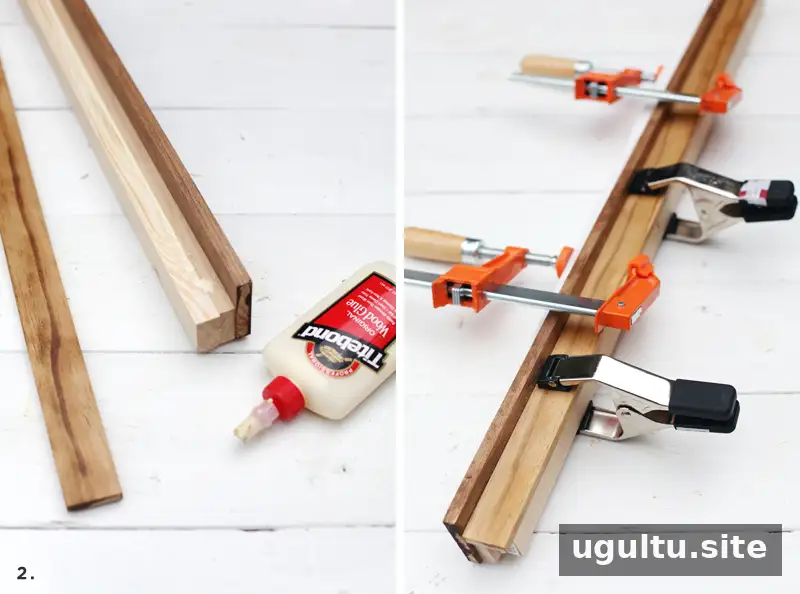
Keep the boards aligned while clamping. Removing excess glue before it dries helps create cleaner corners and makes finishing easier.
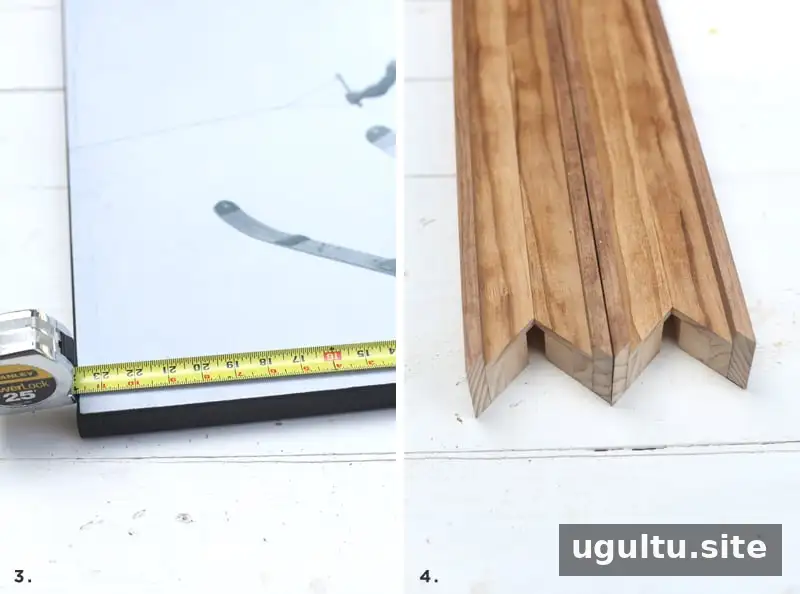
- Measure the artwork. Add about 1/8 inch of clearance to its dimensions to allow a little fitting space.
- Cut the frame lengths. Use the miter box saw to cut the boards to size. Cutting slightly long gives you room to adjust. Compare parallel pieces to confirm they match in length.
- Check the fit, then glue. Place the frame pieces around the canvas and secure them temporarily with a band clamp. The fit should be snug without forcing the canvas. Adjust if necessary, then glue the joints, clamp the frame, and wipe away excess glue.
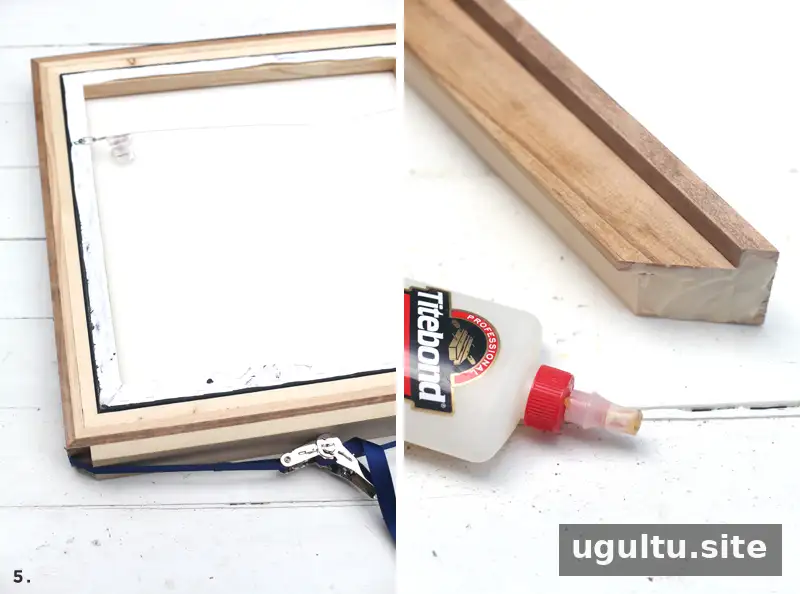
Take time with the dry fit: the canvas should sit in the frame without being squeezed, and the corners should meet evenly.
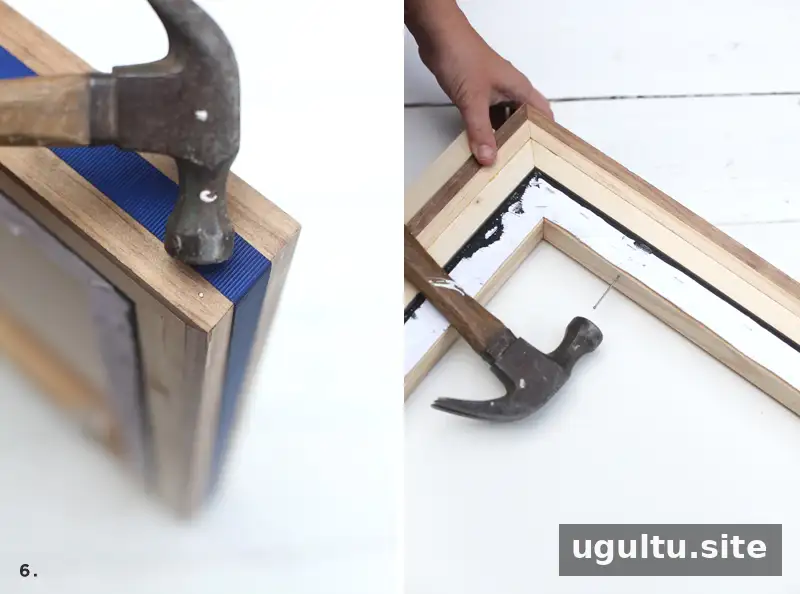
- Reinforce and attach. While the frame is clamped, add finishing nails to the joints for stability. After the frame is assembled, turn it over and attach the canvas from behind by driving longer nails through the stretcher and into the frame.
How to Make a Float-Mount Frame
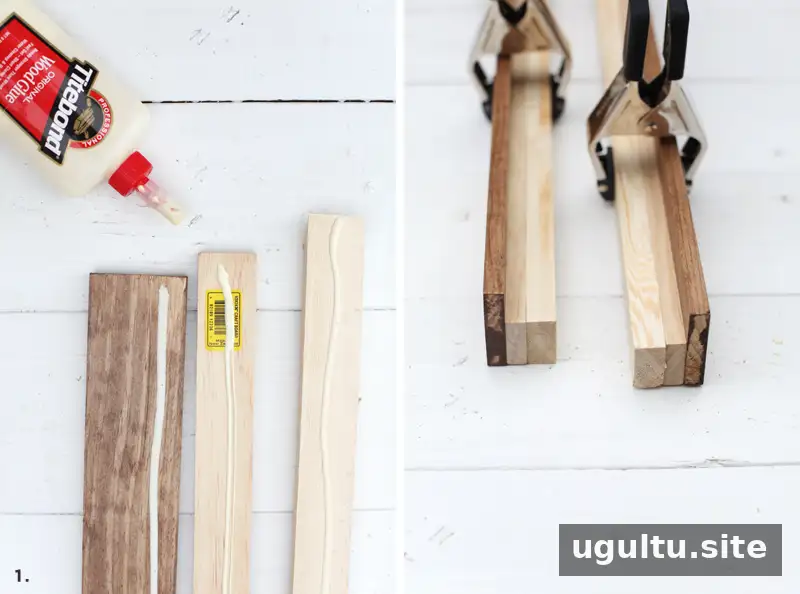
A float mount leaves an intentional gap around the canvas, adding visual depth and keeping the wrapped edges visible. The example uses painted 1/2×2-inch lumber and a dark-stained 1/2-inch square dowel. A 1/2×1-inch piece of lumber is a more practical alternative to the narrow dowel because it provides more room to attach the canvas.
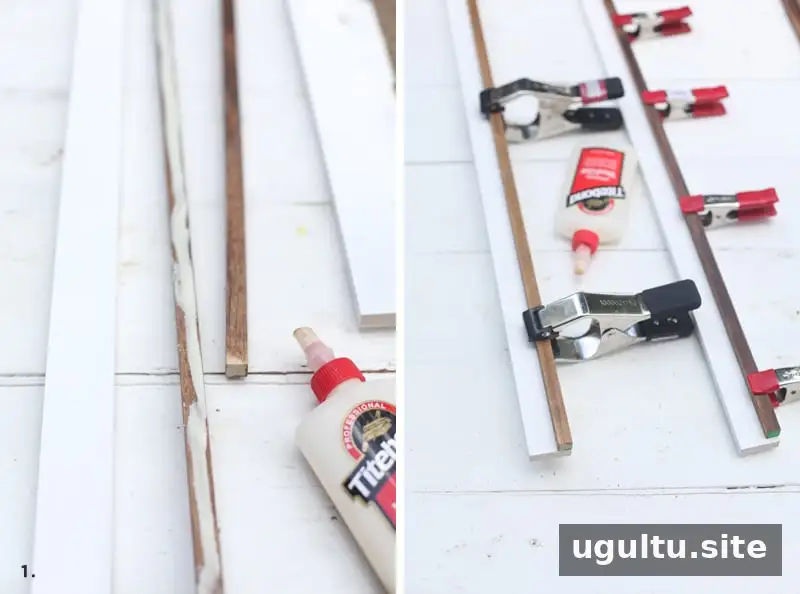
- Assemble the frame profile. Glue the bottom piece to the side piece and clamp it. Wipe away excess glue before it dries. Prepare the outside and inside pieces in contrasting finishes if you want the gap to stand out.
- Measure and cut. Follow the recessed-frame measuring and cutting approach, but add about 1/4 inch to the artwork dimensions to create the float space.
- Position the canvas. Set the artwork in the frame and adjust it until the gap is even on every side. Clamp it in place carefully; check the spacing again before fastening.
- Attach from behind. Turn the frame over and drive nails through the back piece into the canvas stretcher. Aim for the stretcher, not the open float gap. A narrow mounting strip can make this step difficult, which is another reason to consider the 1/2×1-inch lumber option.
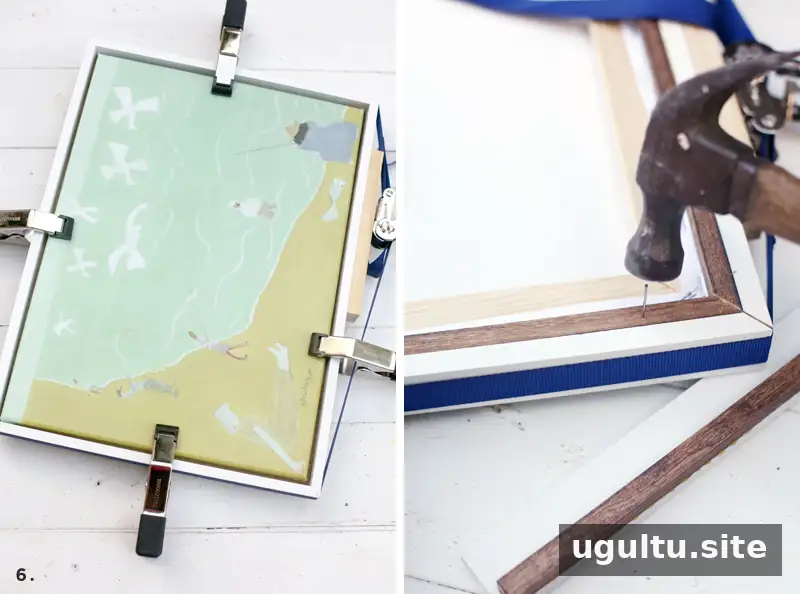
Because the float gap is part of the design, take extra care during positioning and fastening. A final check of all four sides before nailing helps keep the canvas centered.
Finishing Your DIY Custom Framing Project
Once the frame is assembled, inspect the joints, remove any remaining glue residue, and touch up the finish if needed. Let paint or stain dry completely before displaying the artwork. Of the three styles, flush mounting is the most straightforward; recessed mounting conceals the canvas edge, while float mounting creates a distinct border of space.
DIY custom framing lets you adapt the profile and finish to the artwork instead of relying on standard sizes. Start with accurate measurements, make a dry fit before gluing, and choose the attachment method that suits your canvas and frame design.
Project and instructions by Mandi.