
 admin
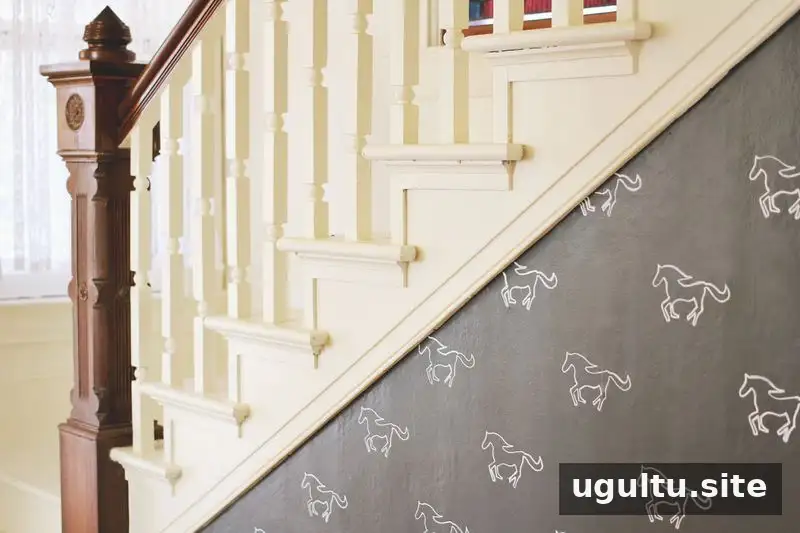
A DIY stenciled wall is a practical way to add a personal pattern to a room without using wallpaper. In this project, the wall was completed over two afternoons for under $50, using a hand-cut stencil and a white paint pen. The design can be adapted to suit an entryway or another space where a simple feature wall would make an impact.
How to Create a DIY Stenciled Wall
Start with a clean, prepared wall and decide how much of it you want to decorate. The original wall was painted with two coats of Semi-Sweet, a rich dark gray, so the white pattern would stand out. Allow the base coat to dry fully before tracing; this helps prevent smudges and keeps the stencil work crisp.
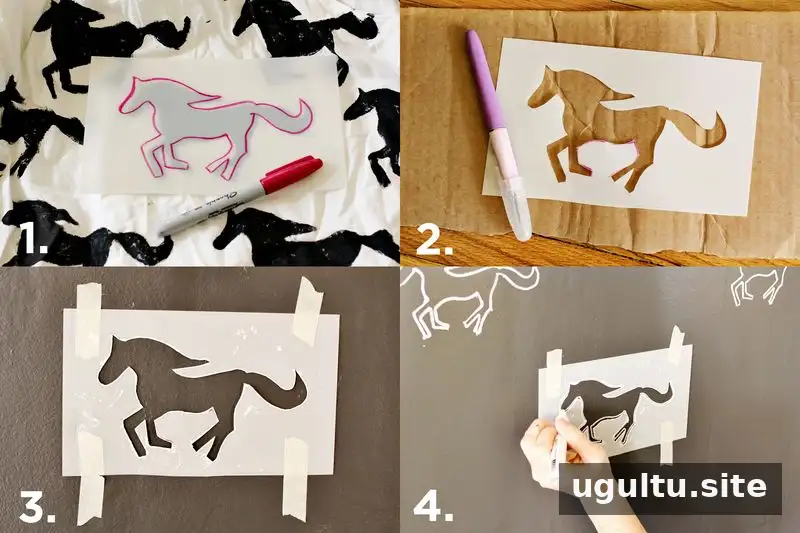
Follow these steps to make and use a custom stencil:
- Choose a design. Select a clear image or a repeatable motif. A simple outline is easier to cut and trace than one with many small details.
- Transfer it to stencil paper. Trace the image onto the paper at a size that will work for your wall. Consider how the pattern will repeat before cutting.
- Cut out the design. Use a craft knife and a suitable cutting surface. Work slowly around curves and small sections to avoid tearing the stencil.
- Secure the stencil. Use stencil tape or masking tape to hold it against the wall. Check that it lies flat so the outline stays neat.
- Trace the pattern. Use a white paint pen to draw around the stencil. Repeat the design, spacing each placement evenly. Step back occasionally to check the overall layout.
- Work around edges and corners. Adjust or fold the stencil as needed to continue the pattern near a corner. Take extra care in these areas to keep the design aligned.
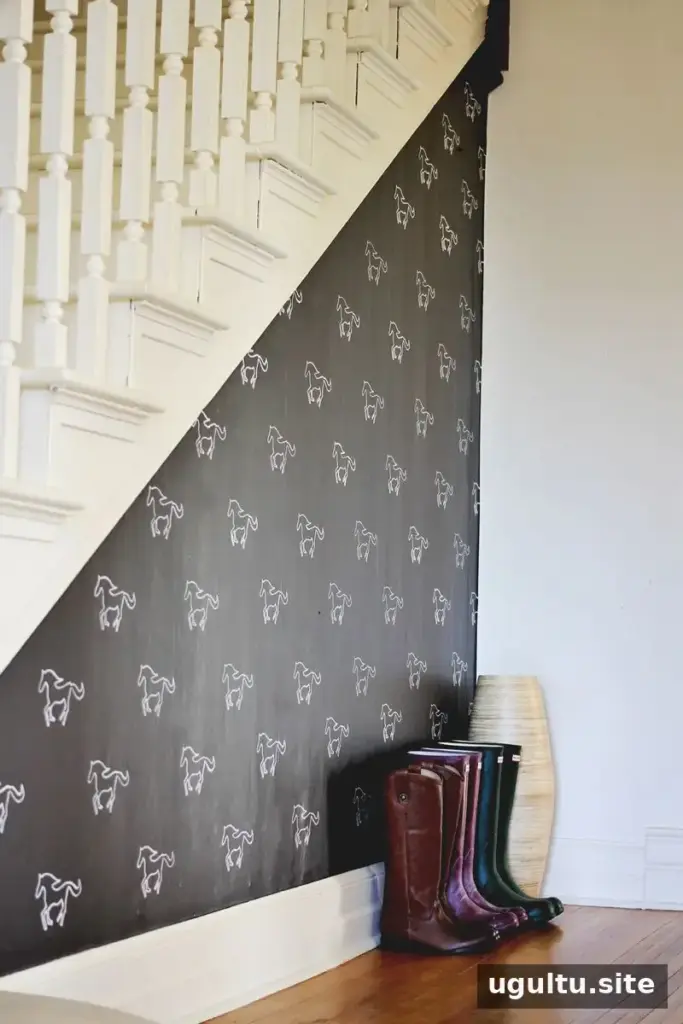
Tips for a Neat, Balanced Pattern
Before starting on the wall, test the stencil and paint pen on scrap paper or a hidden area. This gives you a chance to check the line quality and confirm that the design is the right size. Use light, steady strokes, and let traced sections dry before leaning against or working over them.
For an evenly spaced result, identify a few reference points and use them to guide each repeat. If the pattern is irregular, arrange the stencil placements visually rather than forcing them into a strict grid. Keep the stencil clean as you work, since paint buildup along its edges can make outlines less precise.
A Flexible Update for Your Home
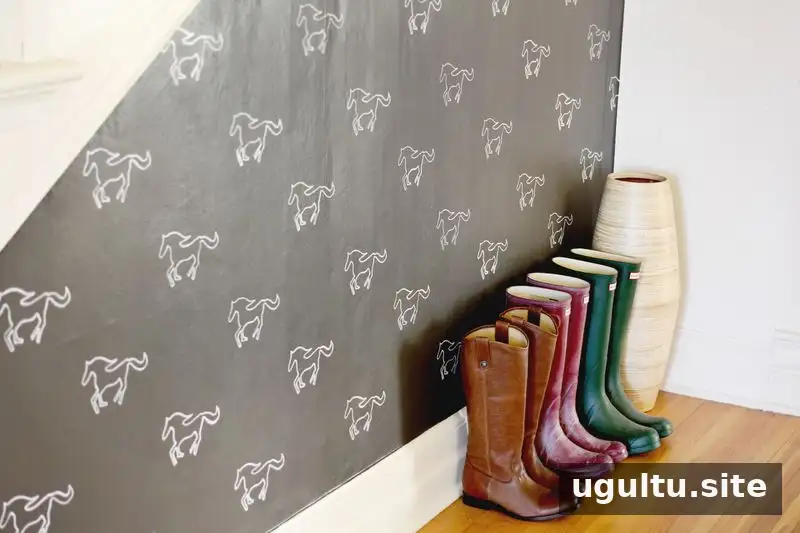
A hand-drawn wall pattern offers a custom look without requiring a large investment in wallpaper. The project described here took two afternoons and cost under $50, though the time and materials needed can vary with the wall size and design. Because the pattern is painted directly onto the wall, plan the layout first and choose a design you will be comfortable seeing every day.
A DIY stenciled wall can be a good option when you want to add character while keeping the design and colors under your control. — Elsie


