
 admin
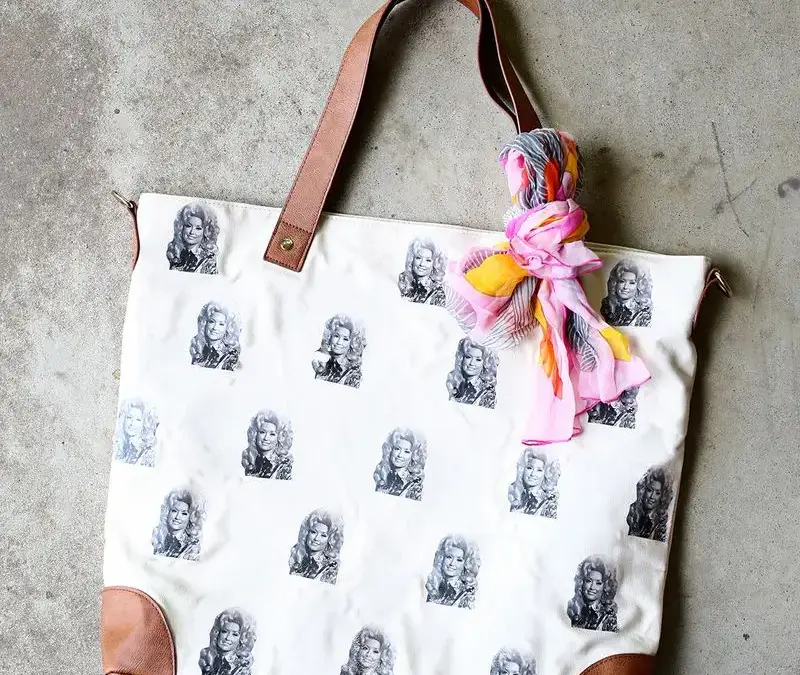
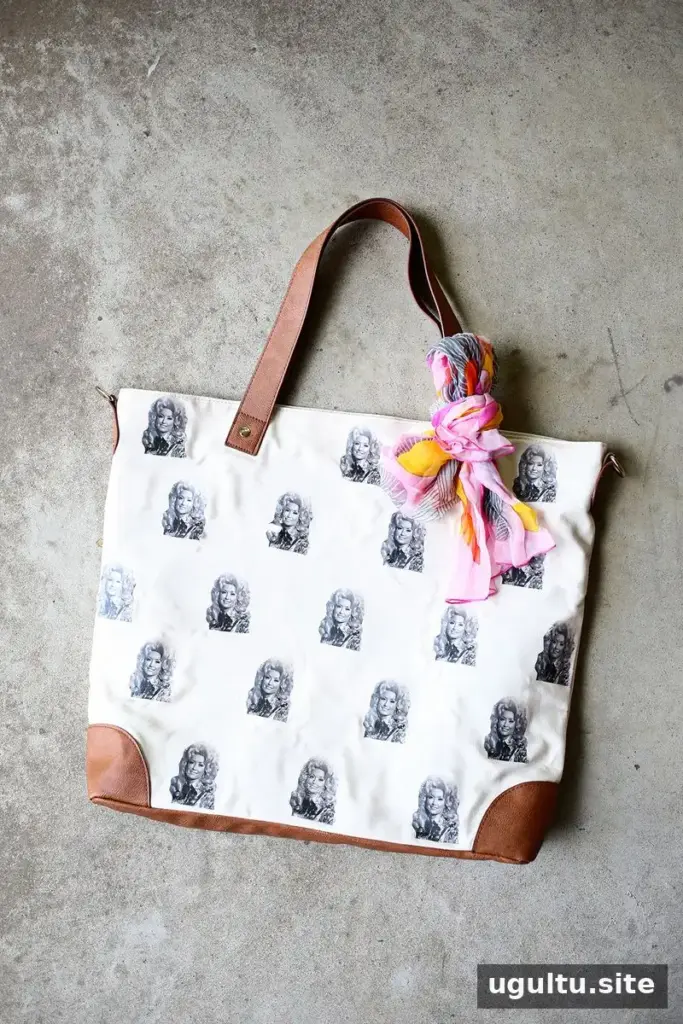
A DIY iron-on transfer bag is an easy way to turn a plain fabric bag into a personalized accessory or thoughtful gift. Choose an image that suits the person who will use it, such as a favorite portrait, pet, or family photo. You can also adapt the same method for other suitable fabric items.
What You Need for a DIY Iron-On Transfer Bag
Gather a fabric bag, an image, iron-on transfer paper compatible with your printer, scissors, and an iron. Cotton is a suitable fabric choice for this project. Before you begin, check the transfer paper’s instructions: printing settings and application steps can vary by product.
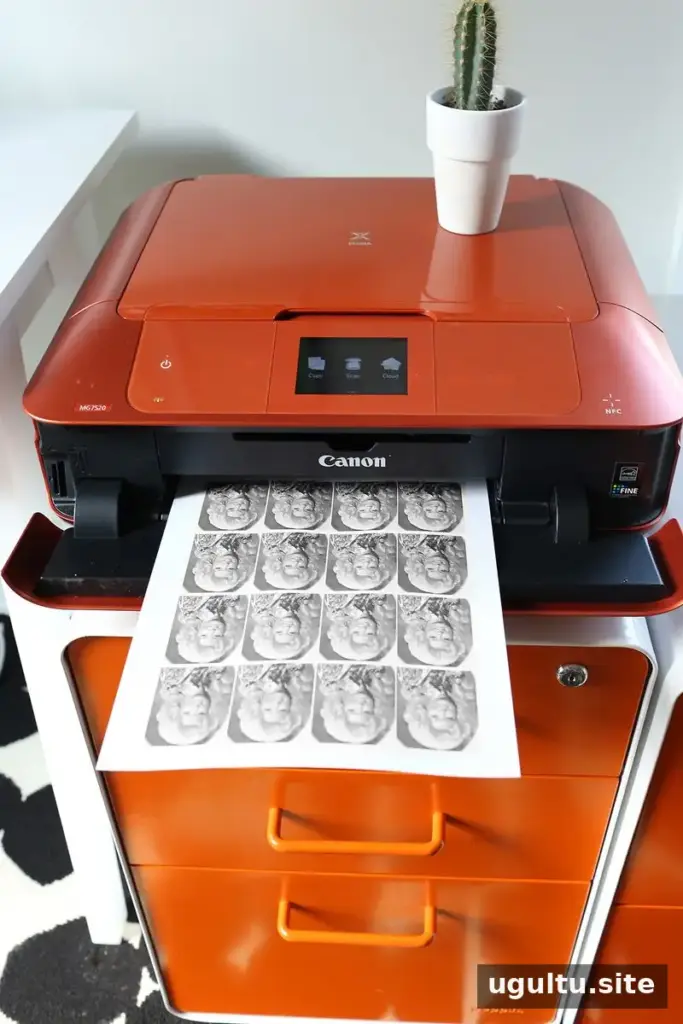
Print your chosen image onto the transfer paper. If you want to use several small copies, resize and arrange them before printing so you have enough images for your planned layout. The project shown used three prints.
Keep in mind that many iron-on transfer designs need to be reversed before printing so they appear the right way around once applied. This is especially important for text, logos, or images with a clear left-to-right direction. Check the paper instructions to confirm whether mirroring is required for your specific transfer paper.
How to Make the Bag
1. Print the image
Print the design on the correct side of the transfer paper, following its instructions for printer settings. Let the print dry as directed before handling it, which can help prevent smudging.
2. Cut out each design
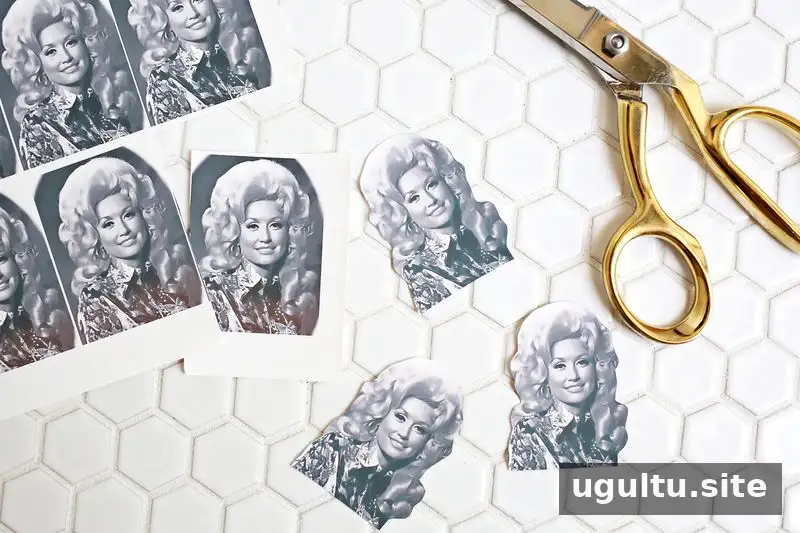
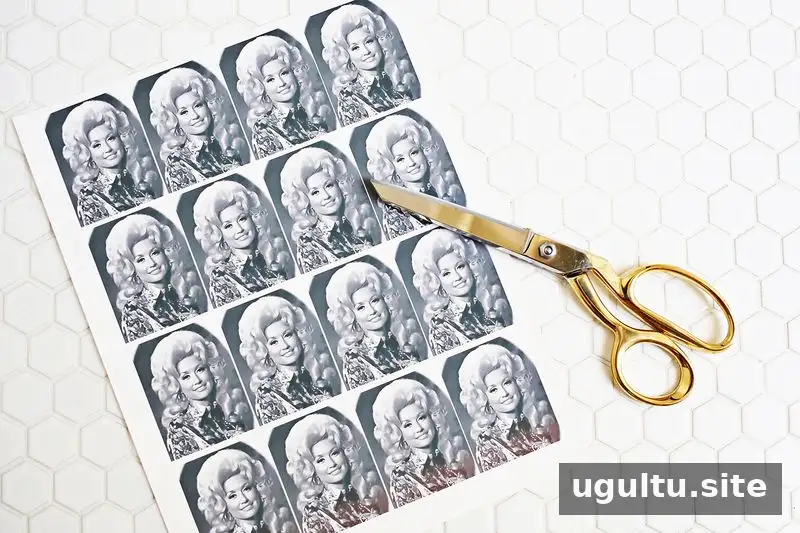
Carefully cut around each image. A neat outline helps the finished design look intentional, so take your time around small details.
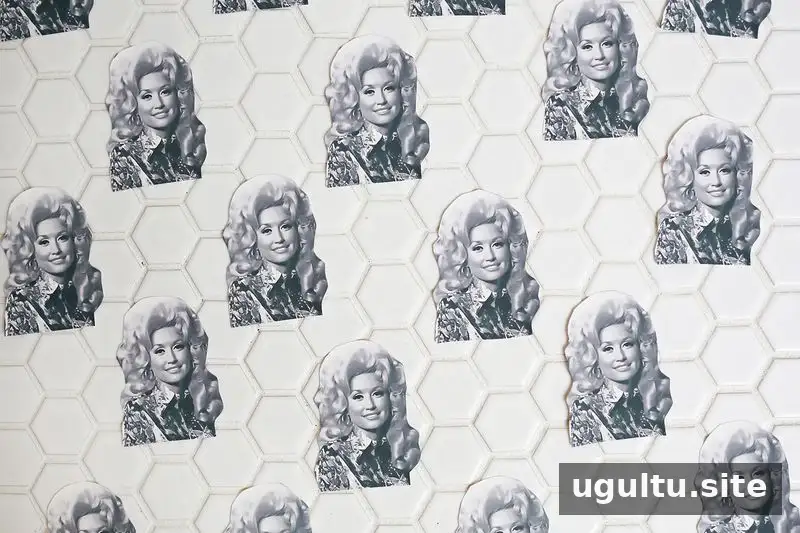
Once the images are cut, arrange them on a flat surface before placing them on the bag. This makes it easier to compare spacing and decide how many pieces you want to use.
3. Plan the placement
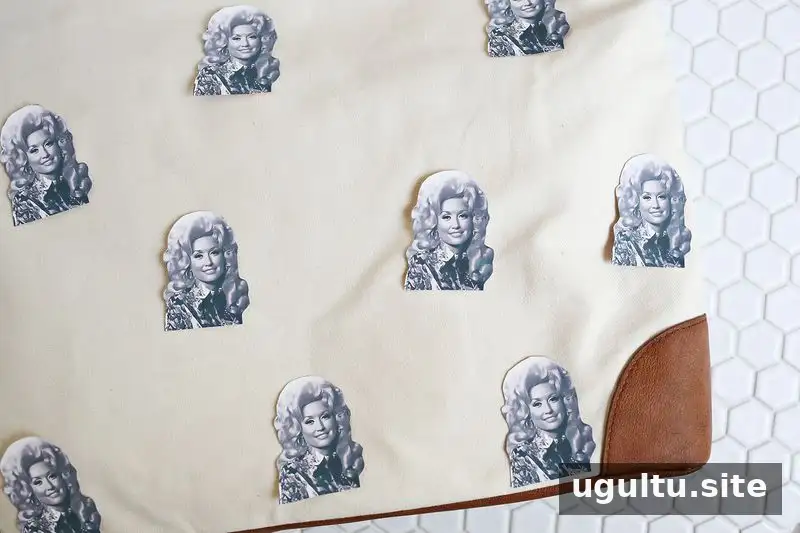
Position the cutouts on the bag before applying heat. The example uses a polka-dot-style layout, but you can leave more space between designs or group them in one area. Check that the arrangement looks balanced and that no image is too close to a seam or edge.
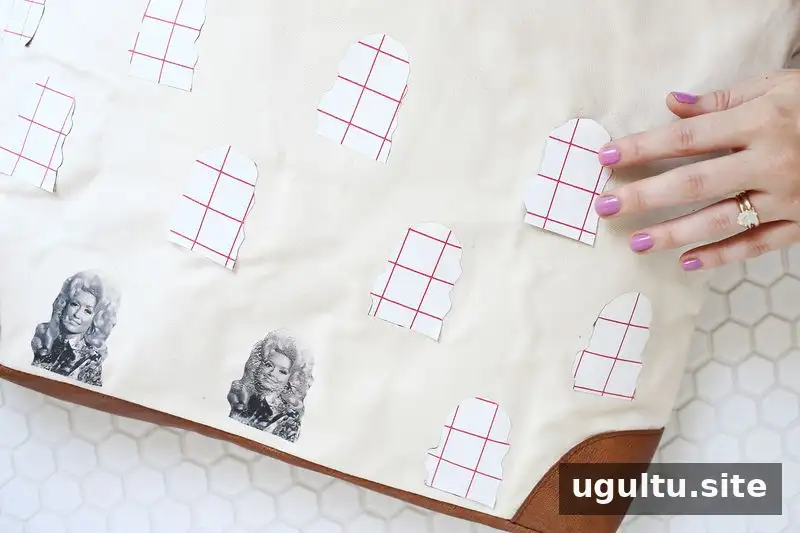
4. Apply the transfers
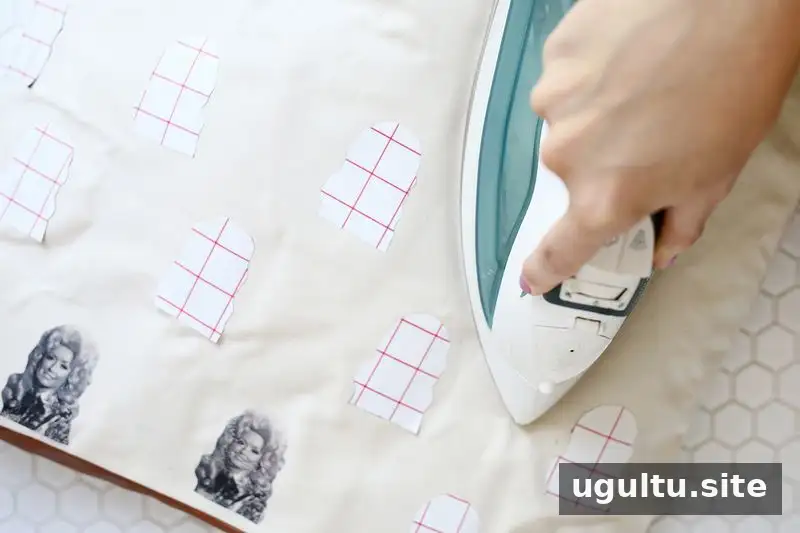
Turn each piece over as instructed by the transfer paper manufacturer, then apply it to the fabric with an iron. Use the recommended temperature, pressure, and pressing time for your paper and bag. Protect the work surface and keep the iron moving or positioned as directed to avoid scorching the fabric.
5. Cool and reveal the design
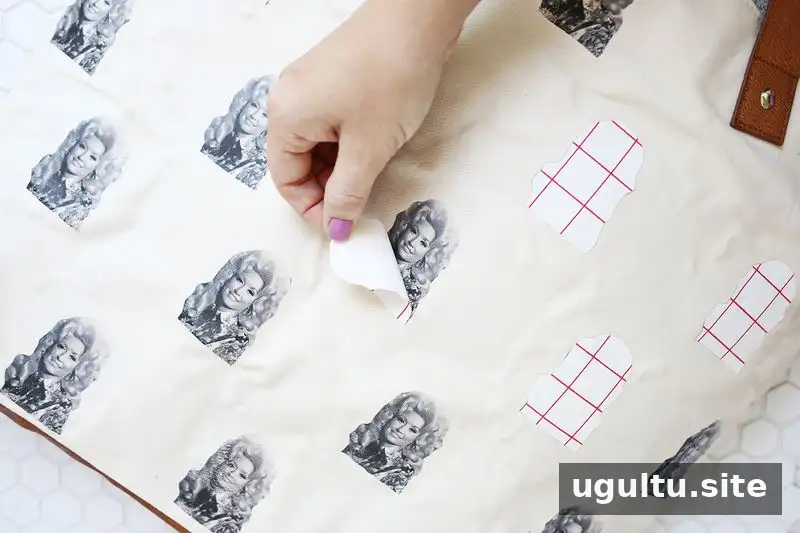
Allow the transfer to cool completely before removing its backing. Peel it away carefully and follow the paper’s directions if the backing does not release easily. Let the finished bag cool before using it.
Tips for a Neat, Long-Lasting Result
- Test the transfer on a small, inconspicuous area or spare fabric if available.
- Use a smooth, clean bag surface and avoid placing the design over thick seams.
- Follow the transfer paper’s care guidance when washing the finished item.
- Choose an image with clear details that will remain visible at the size you plan to print.
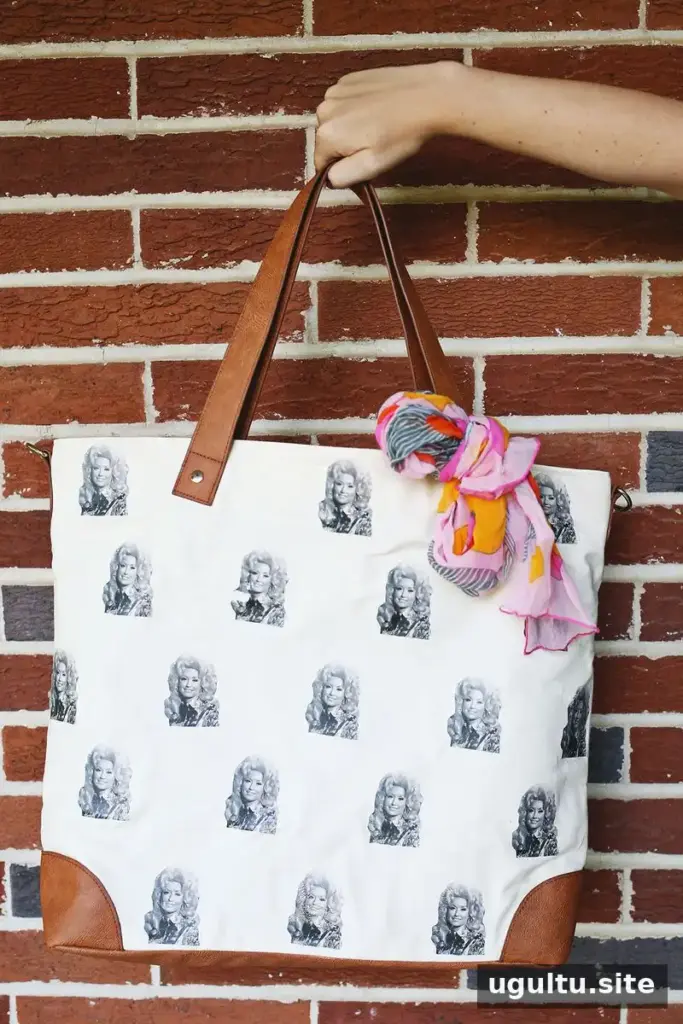
This project can be customized with different images, layouts, and suitable fabric items. For a successful DIY iron-on transfer bag, take time to plan the design and follow the instructions supplied with the transfer paper. The author of the original project is Elsie.


