
 admin
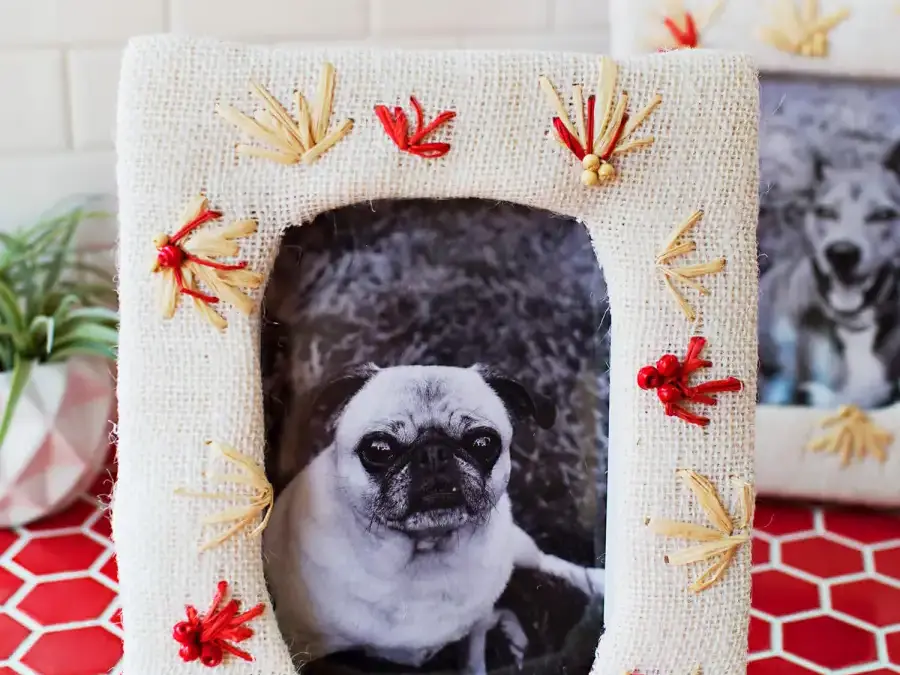
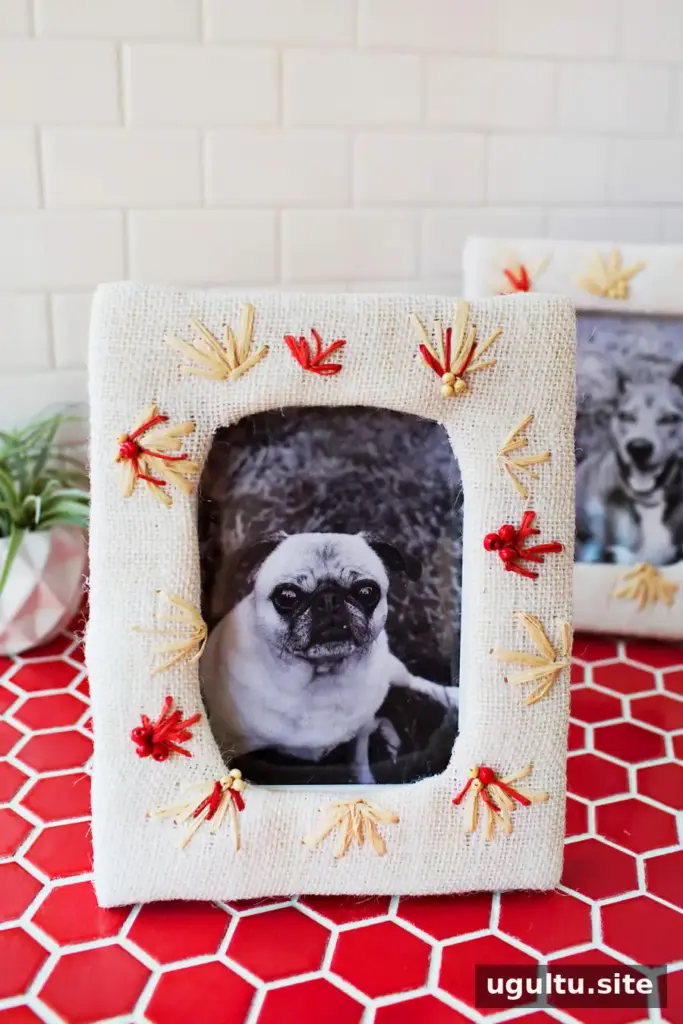
A DIY embroidered photo frame is a simple way to turn a plain frame into a personalized piece of decor. Burlap, raffia, and wooden beads add texture, while the stitched design can be adapted to suit your colors and style. The embroidery is a relaxed, hands-on part of the project, and the finished frame can also make a thoughtful handmade gift.
Printing a small number of photos at home can be convenient for a project like this. Choose a photo that works well with the colors and pattern you plan to stitch, and print it at the size needed for your frame.
Inspiration and materials for a DIY embroidered photo frame
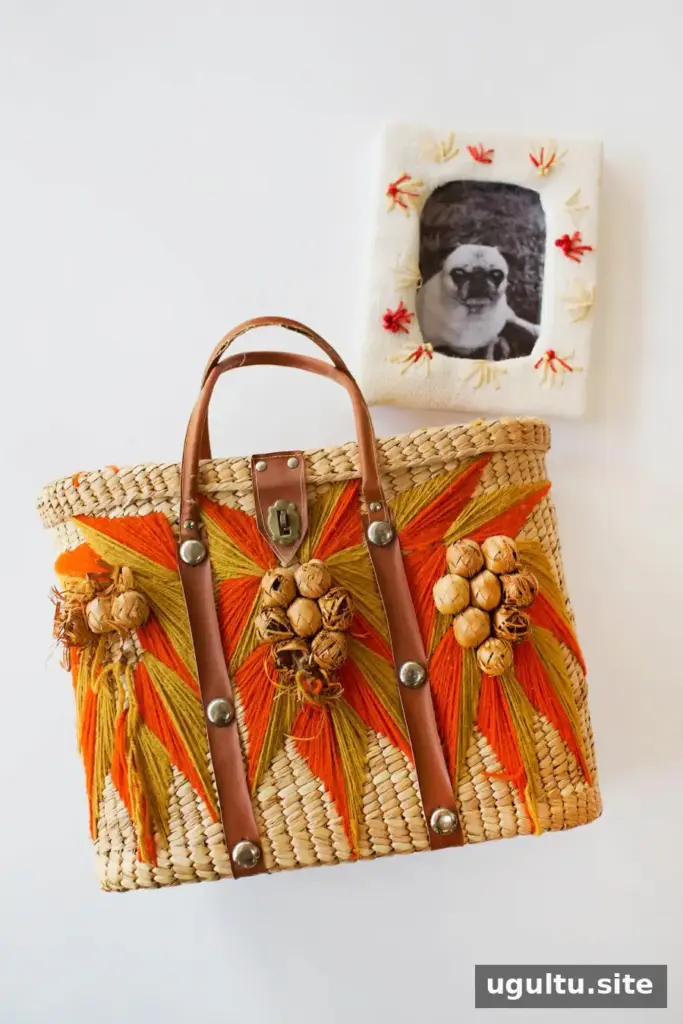
The design takes inspiration from vintage embroidered basket bags, which often combine woven textures with colorful stitched details.
Burlap makes a textured base for the frame. Cream was used here, but brown offers a more traditional look, while pink, green, or black burlap can create a brighter result. Raffia is another option for the embroidery, though yarn or embroidery floss can also be used. Pick materials that coordinate with the frame, since some of its base may remain visible.
Supplies
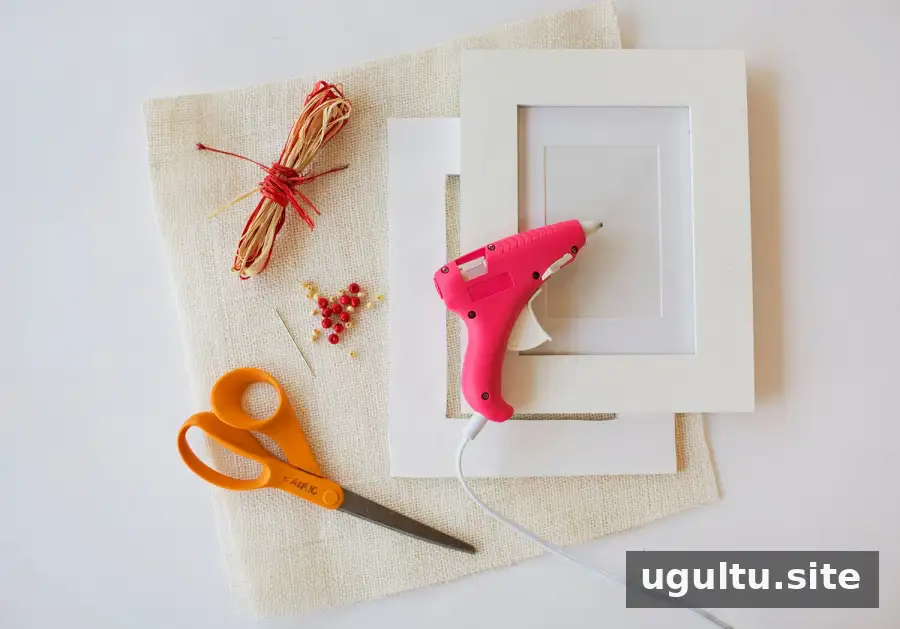
- Plain 5×7 frame
- Foam board
- 1/2 yard of burlap
- Raffia (tan and red were used for this example)
- Wood beads
- Stapler
- Glue gun
- Scissors
- X-Acto knife
Choose a frame color that complements the burlap. For example, a white frame pairs well with cream fabric, while a dark frame can coordinate with black or darker burlap. Check the frame and materials together before starting so the visible edges look intentional.
How to make the embroidered photo frame
Step 1: Cut the foam board
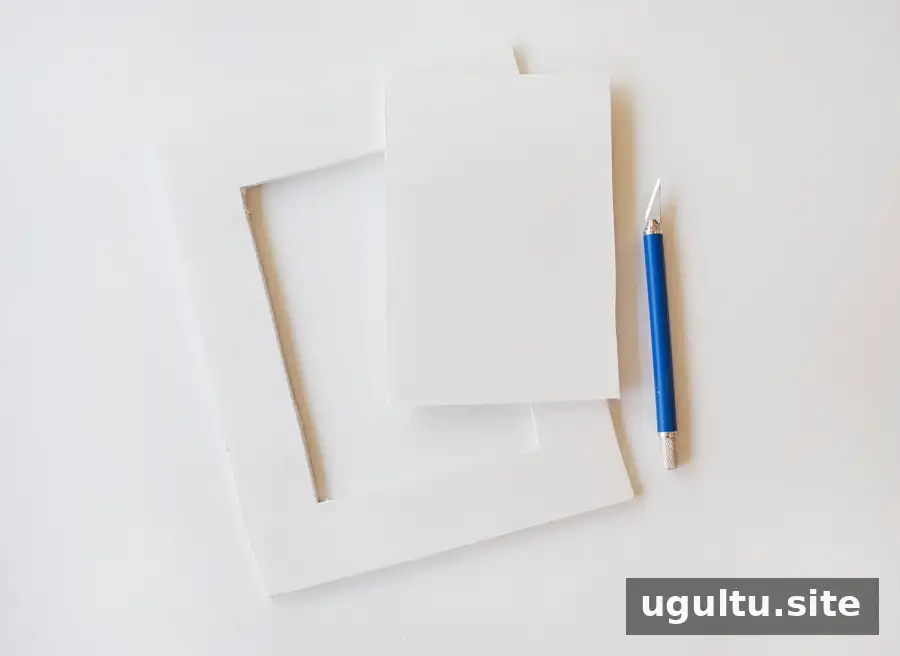
Cut the foam board so it fits the frame. The burlap will wrap around this piece, so consider choosing foam board in a color that works with the fabric. Use the X-Acto knife carefully on a protected cutting surface.
Step 2: Stitch the design and add beads
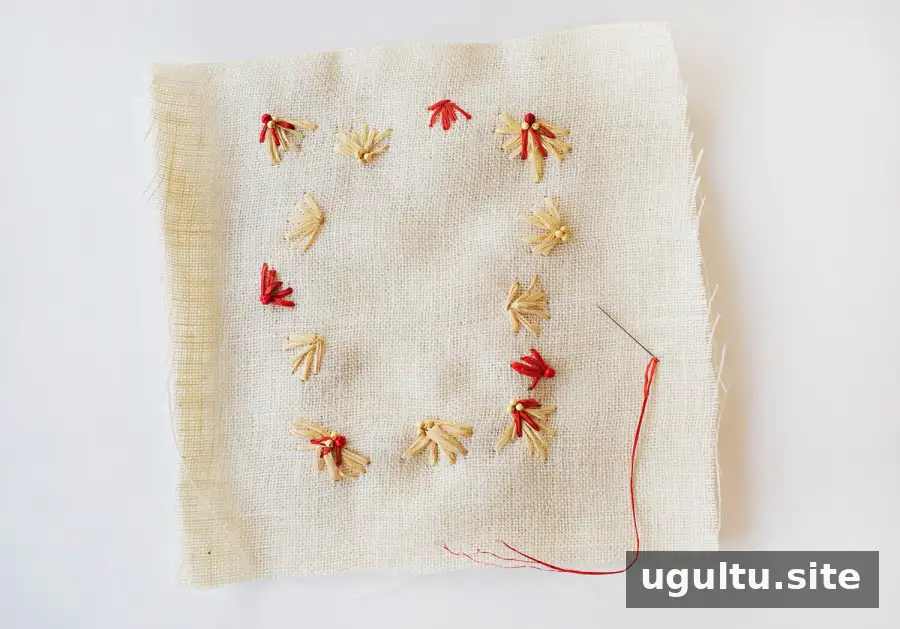
Lay the burlap over the foam board to estimate where the design will sit once assembled. Keep the embroidery within the area that will be visible around the photo. Simple floral shapes are one option, but the pattern can be customized to suit your decor. Add wooden beads where desired.
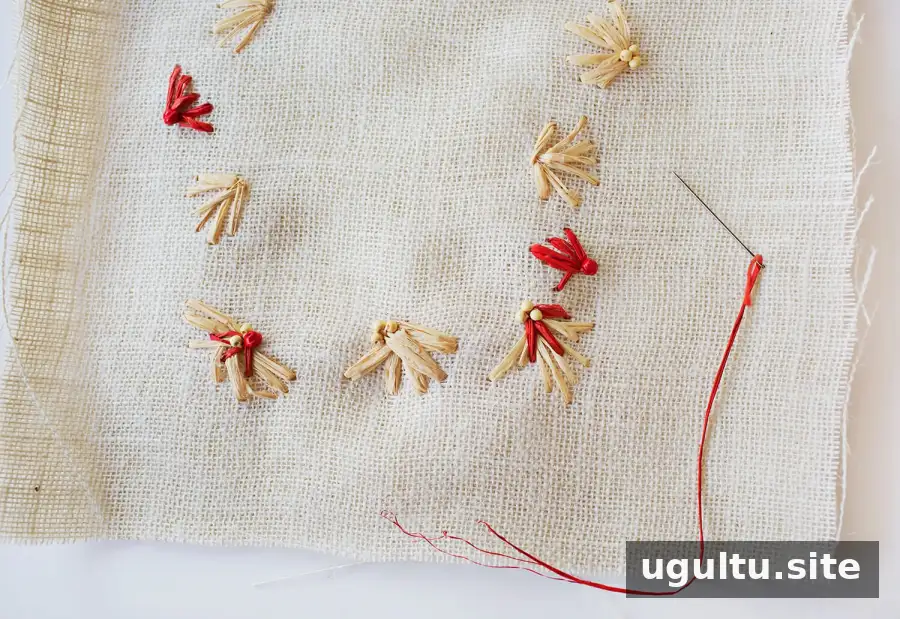
The stitching can be neat and precise or intentionally relaxed and irregular. If you are new to embroidery, start with a small, uncomplicated motif. A test stitch on a spare piece of burlap can help you check the look and spacing before working on the main fabric.
Step 3: Attach the burlap
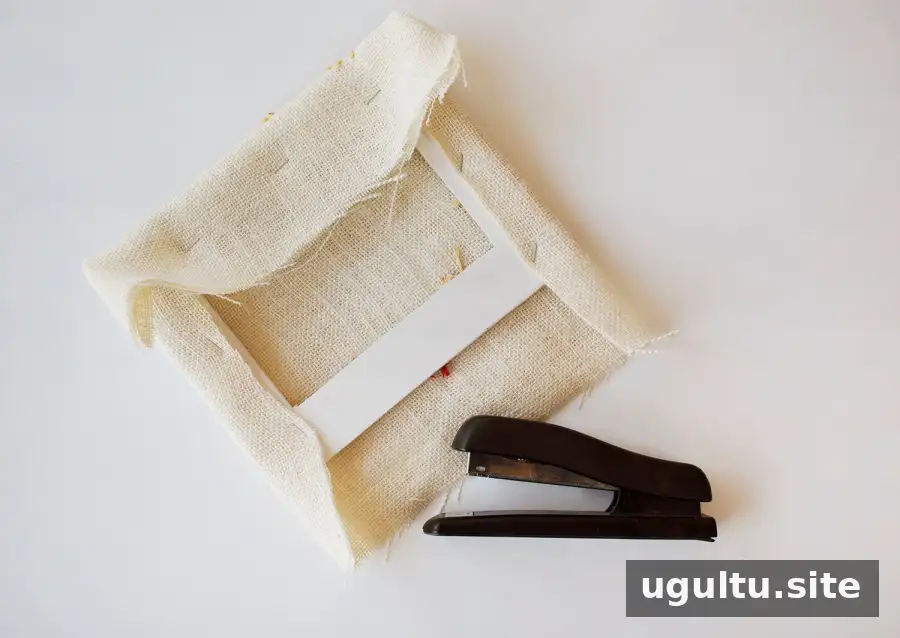
Wrap the embroidered burlap around the foam board and staple it in place, much like wrapping a small cushion. Pull the fabric evenly as you work and fold the corners neatly. If you are unsure about the technique, practice with an extra piece of burlap first to avoid damaging the embroidered section.
Step 4: Secure the fabric-covered board
Use a glue gun to attach the fabric-covered board to the frame. Hot glue can cause burns, so apply it carefully and allow the adhesive to set before handling the piece further.
Step 5: Add the photo
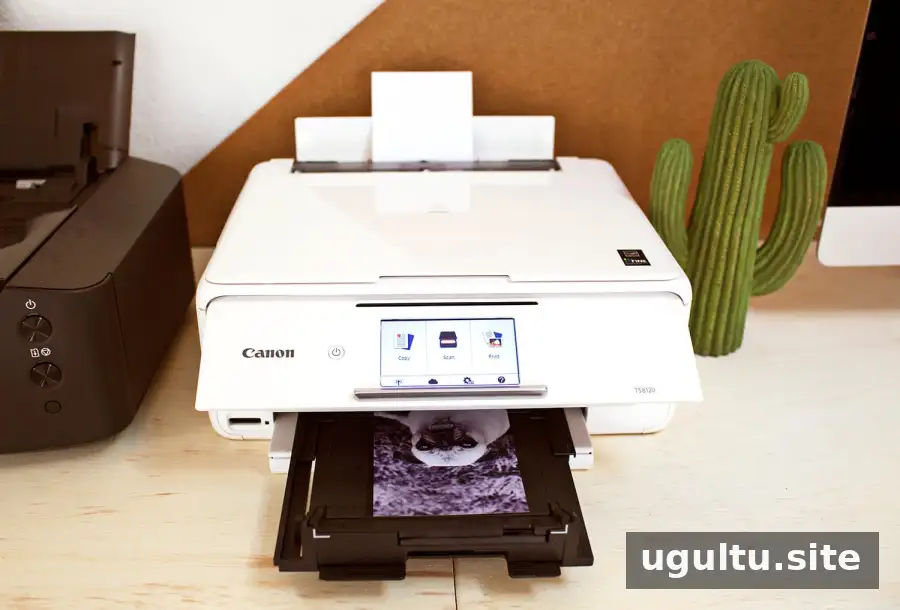
Print the photo and place it in the frame. Semi-gloss paper was used for this example. Before closing the frame, check that the photo is aligned and that the embroidered border remains visible.
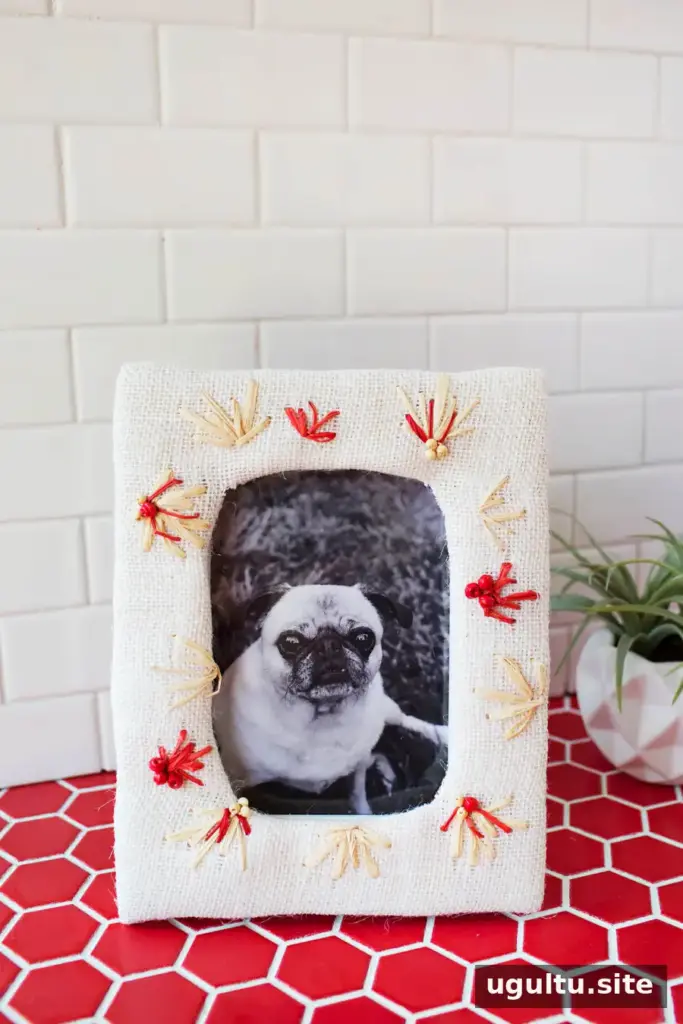
Finishing touches
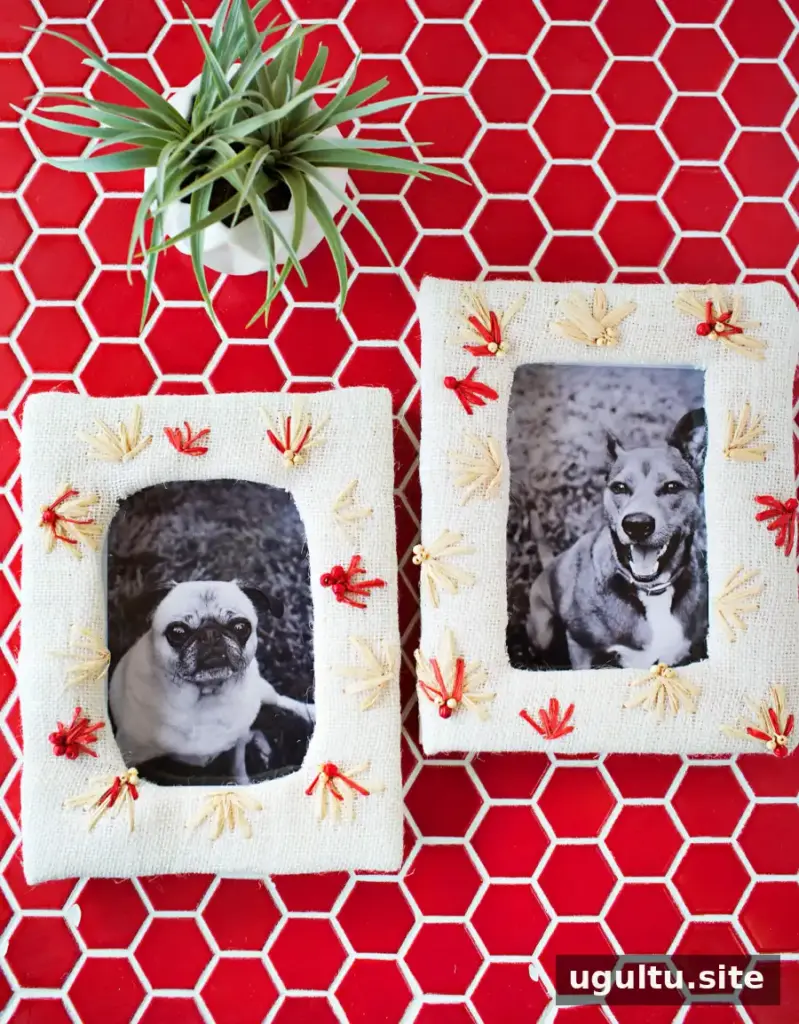
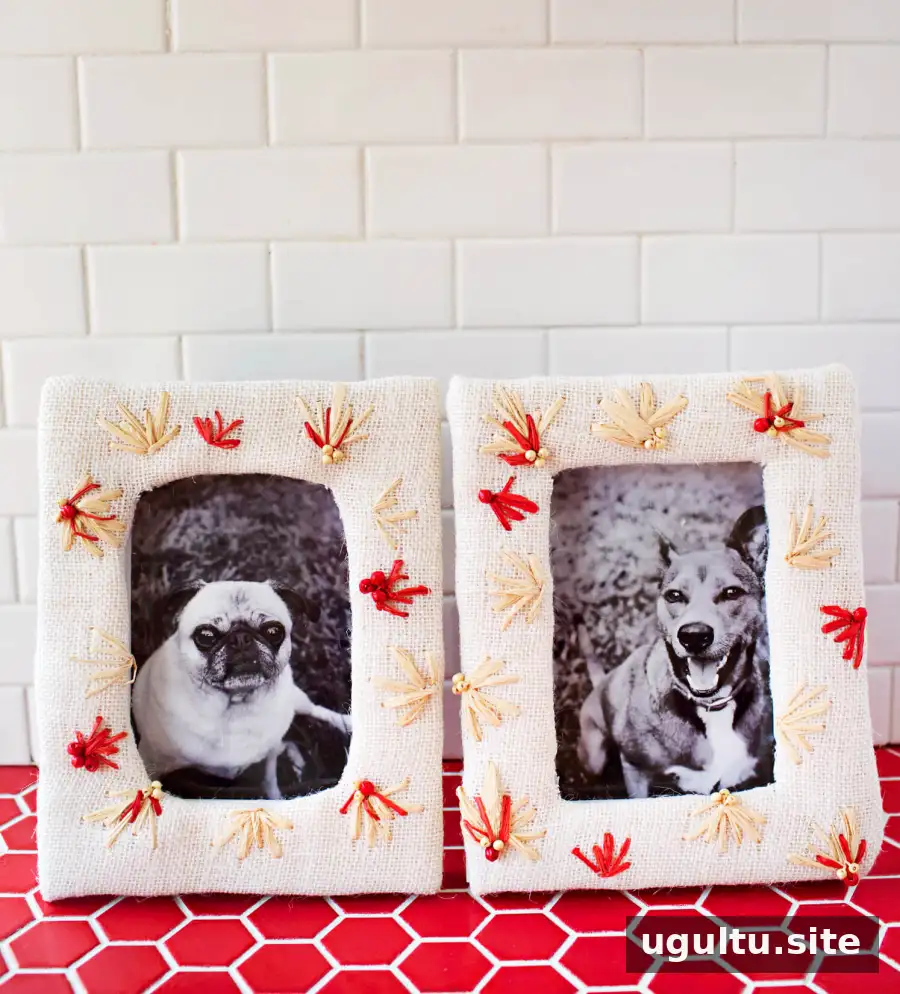
The completed DIY embroidered photo frame combines a favorite image with handmade texture and color. Adjust the burlap, thread, and bead choices to create a frame that fits your space or makes a personal gift. Emma


