
 admin
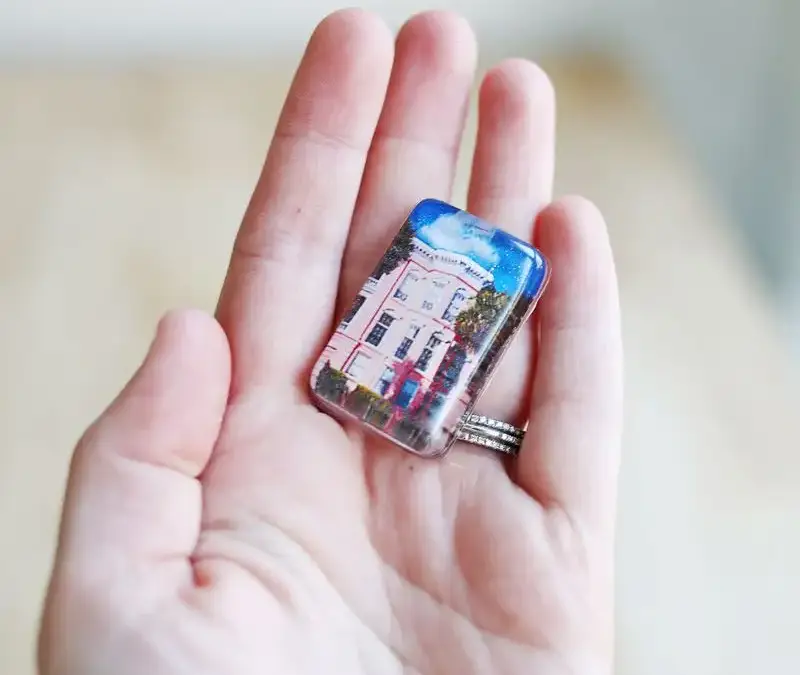
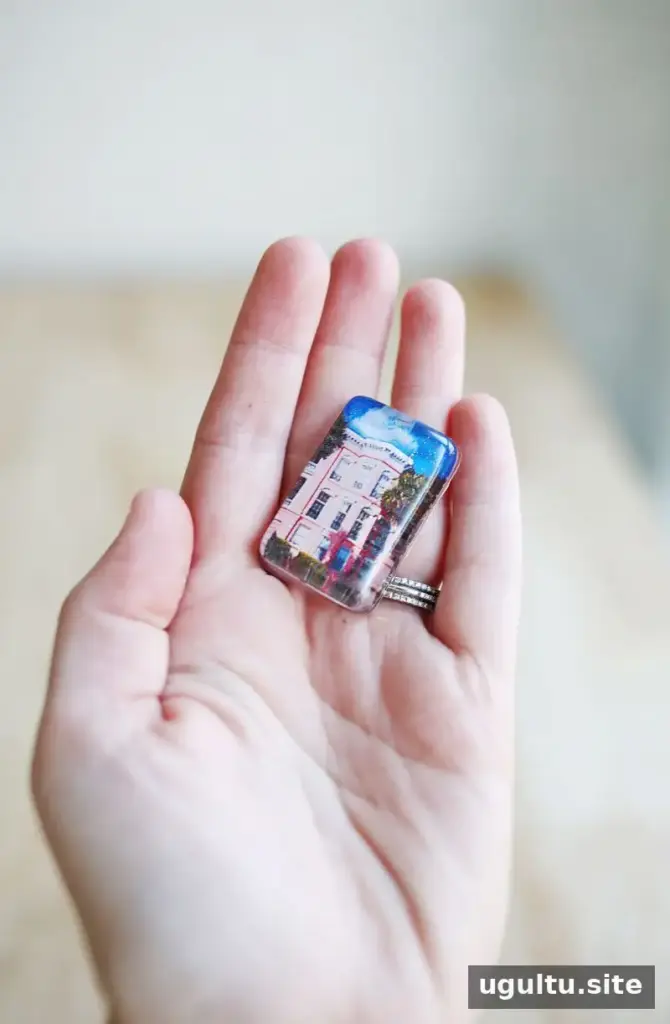
A DIY epoxy statement necklace is a creative way to turn favorite photographs or decorative paper into wearable art. This project uses small resin-filled beads arranged on a bib-style backing, so you can personalize the design with images, colors, and embellishments that suit your style.
Working with epoxy may seem daunting at first, but making small photo beads is a manageable place to begin. Follow the resin kit’s directions carefully, prepare your workspace before mixing, and allow enough time for the pieces to cure fully.

The sample necklace features photographs of colorful houses and architecture taken during a trip to Charleston. You can use your own printed pictures, patterned paper, or other thin paper cut to fit the molds. Family snapshots, pet photos, and travel images are all options; choose images with details that will remain easy to see in a small bead.
Supplies for a DIY Epoxy Statement Necklace
Gather the materials before you begin so the resin can be poured and arranged without interruption:
- Printed photos or decorative paper
- An epoxy resin kit suitable for small projects
- A mixing cup and a disposable spoon or craft stick
- A casting tray or mold
- Leather or another firm material for the necklace backing
- Beads and other embellishments
- Strong glue suitable for mixed materials
- Ribbon
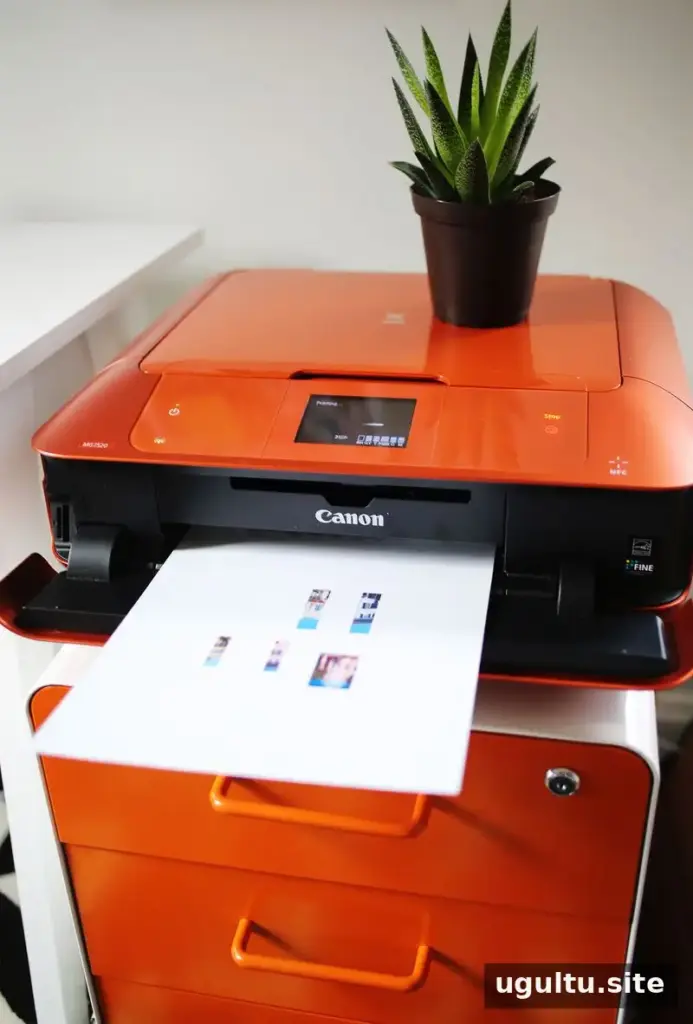
- A printer, if you are printing your own images
Make the Photo-Filled Epoxy Beads
Print the selected images and cut them to fit the molds. Bright, clear prints can help the photos show through the finished resin. Before mixing, protect your work surface and check the product label for handling and curing instructions.
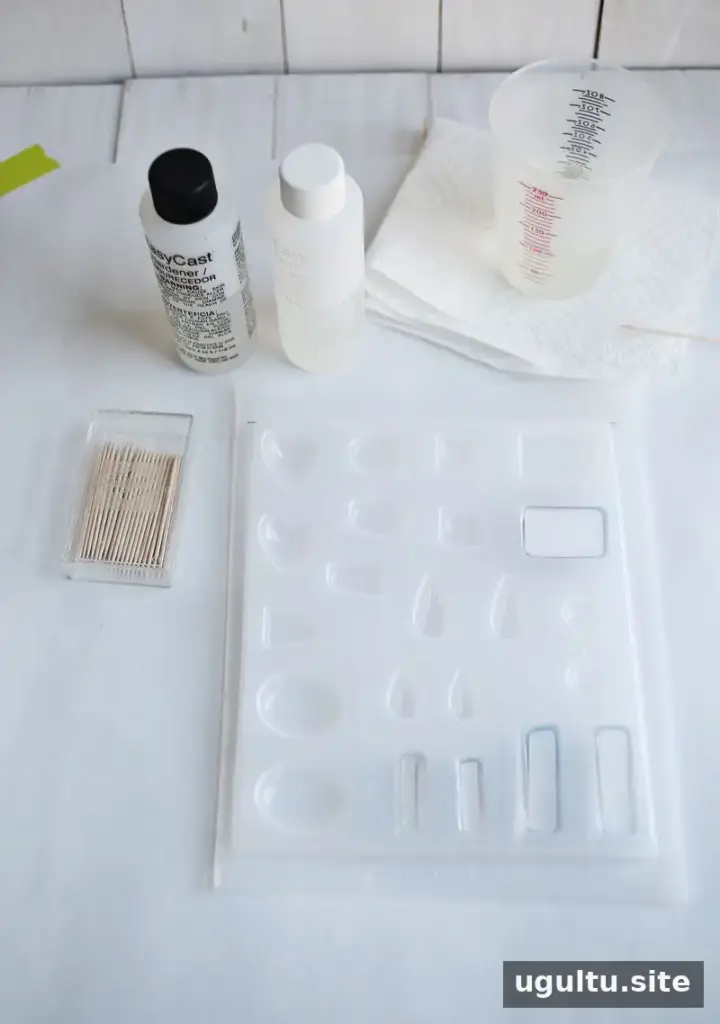
Wear gloves and work in a well-ventilated area. Epoxy can produce a strong odor while curing, so follow the safety guidance supplied with the kit and avoid contact with skin. Mix the resin exactly as directed on its packaging. Pour it into each mold until it is about two-thirds full, place a photo inside, then add more resin until the mold is full. If a photo shifts or turns, gently reposition it with a toothpick.
Leave the resin to cure for the full time stated by the manufacturer. In the original project, the beads needed 24 hours before they could be removed from the molds; curing times can vary, so use the directions for your specific product.
Shape and Assemble the Necklace
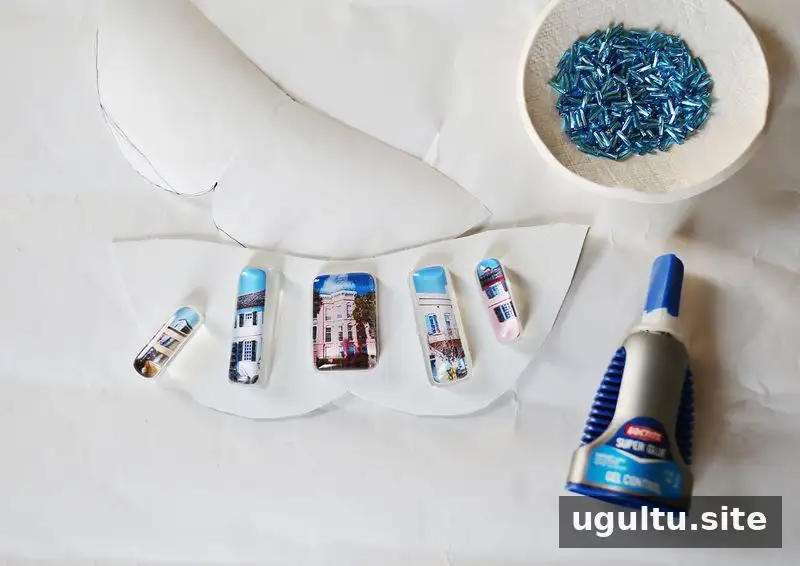
Make a paper pattern for the bib-shaped backing before cutting the leather or other firm material. Hold the pattern against your chest or in front of a mirror to check its size and shape. Adjust the outline until it sits comfortably and leaves enough room for the beads.
Arrange the cured epoxy beads and any extra embellishments on the backing before gluing them down. This dry layout makes it easier to balance the colors and spacing. Once satisfied with the arrangement, attach the pieces with an adhesive that works with both the backing material and the beads.
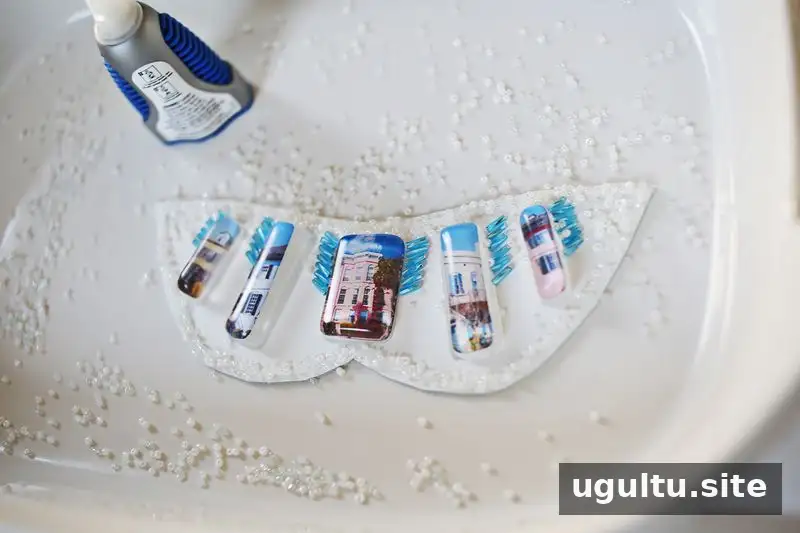
To create a decorative edge, apply glue along a small section at a time and pour white and clear beads over it. A shallow dish can catch loose beads and keep them from rolling away. Let the adhesive dry as directed before moving on.
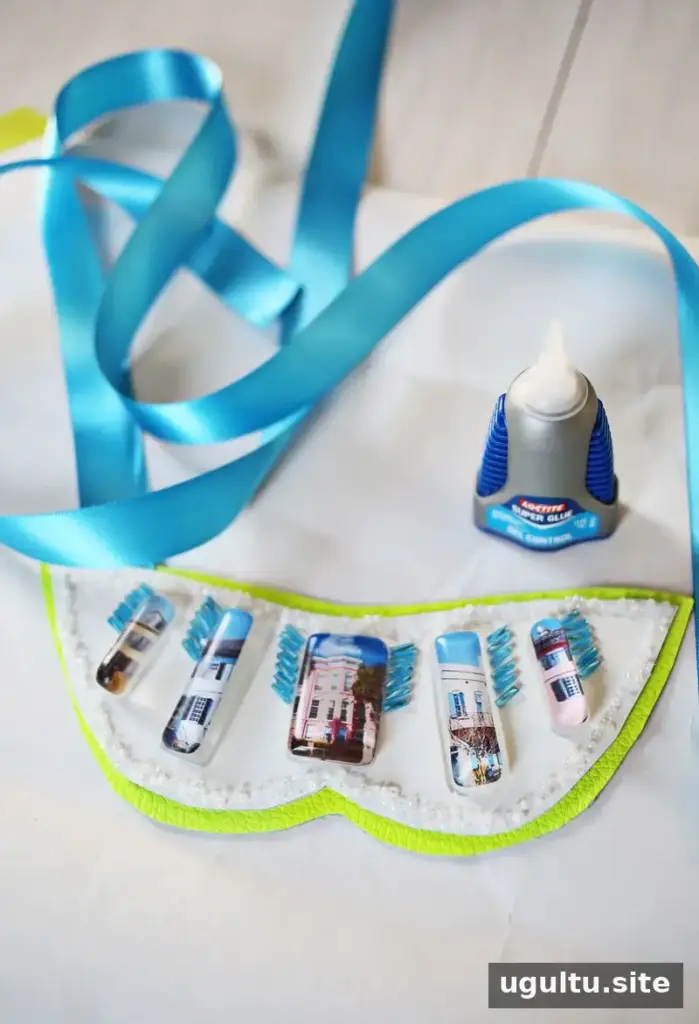
Attach ribbon to the bib section and add a backing panel if desired, then allow the entire necklace to dry completely. Sewing beads onto the backing is another option if you prefer not to use glue; choose a method that securely holds the components in place.
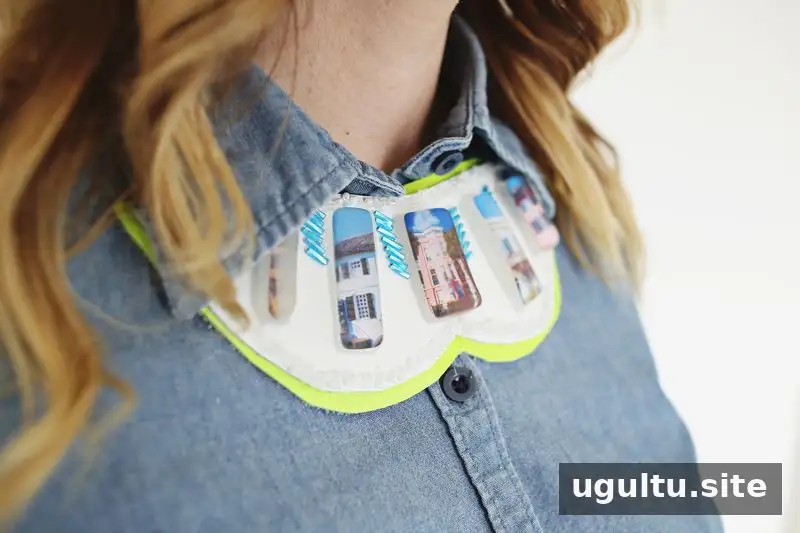
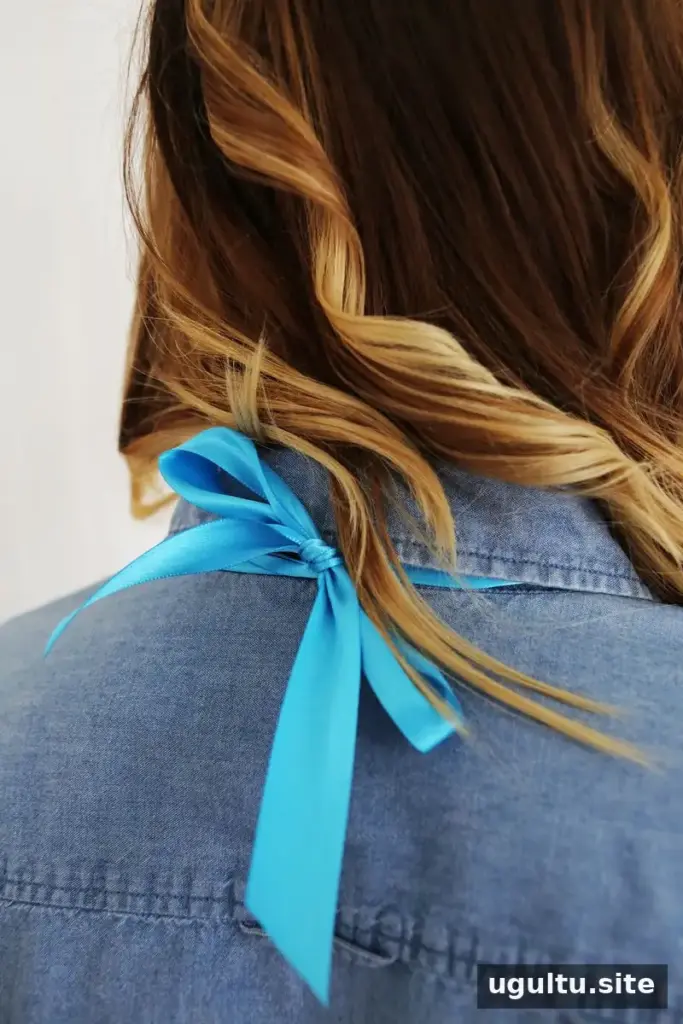
The finished bib-style necklace has a decorative front and a covered back, with ribbon ties that can be adjusted at the neck. It can be worn with a collared shirt or another simple outfit that lets the design stand out. For a durable finish, check that every bead and ribbon attachment is secure before wearing it.
In summary: a DIY epoxy statement necklace combines photo-filled resin beads with a shaped backing for a personal, customizable accessory. Take care with resin handling, allow the full curing time, and plan the bead arrangement before attaching each piece.
Project by Emma.


