
 admin


DIY faux fur chair covers can add softness and warmth to a dining room, while simple vinyl cushions make hard seats more comfortable. This project pairs removable, tie-on covers with padded seat cushions, creating a practical update for everyday meals and gatherings. Project by Katie.
The cushion covers are made from vinyl so they can be wiped clean, and the faux fur toppers can be removed when a softer surface is not needed. Before cutting, measure each chair and check that the ties will reach around its frame.
Supplies for DIY Faux Fur Chair Covers and Cushions
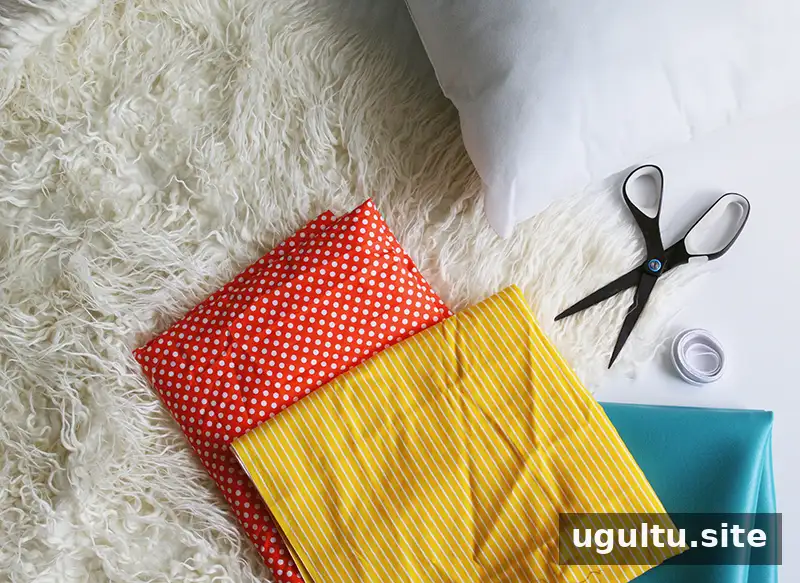
- Faux fur
- Cotton fabric
- Vinyl
- Pillow inserts
- Canvas trim
How to Sew the Chair Cushions
1. Measure and cut the vinyl
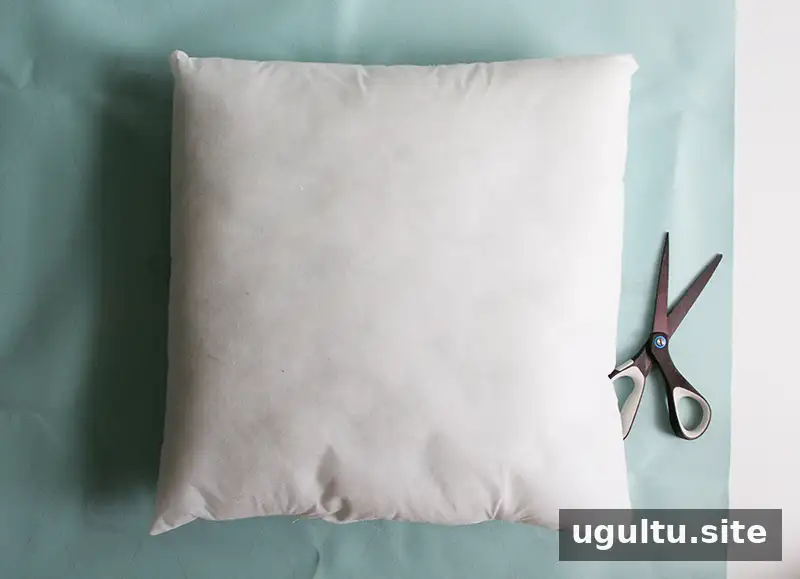
Choose the finished cushion size based on the seat and pillow insert. Pillow inserts were used instead of cut foam for extra padding. For a 16-inch insert, cut two 18-inch vinyl squares to allow room for the seams. If your insert or chair is a different size, adjust the fabric pieces accordingly.
2. Sew the cushion cover
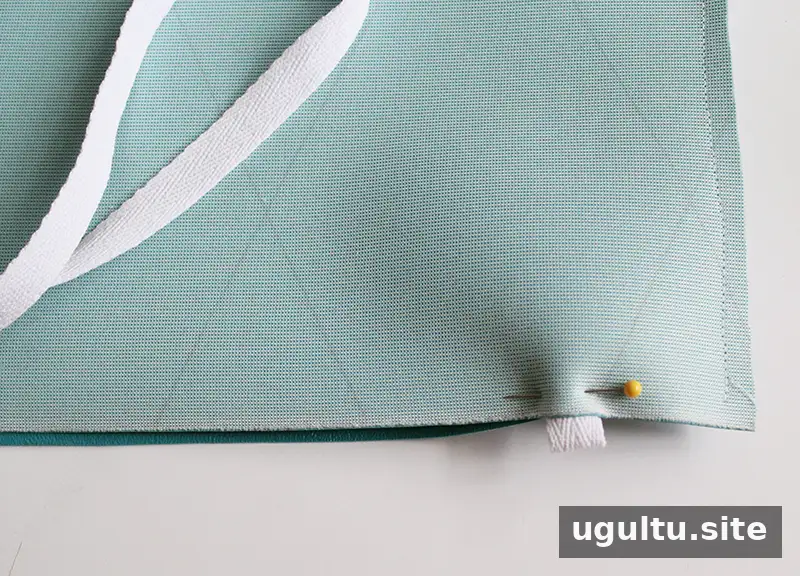
Place the two vinyl pieces with their back sides facing out. Sew around about three-quarters of the perimeter, shaping the corners as desired. Rounded corners create a softer outline than pointed ones. Position two pieces of canvas trim about 2 inches from a corner, then sew about 12 inches inward from each of the remaining open corners. Leave a sufficiently large opening along the final edge so the insert can be added.
3. Turn, stuff, and close
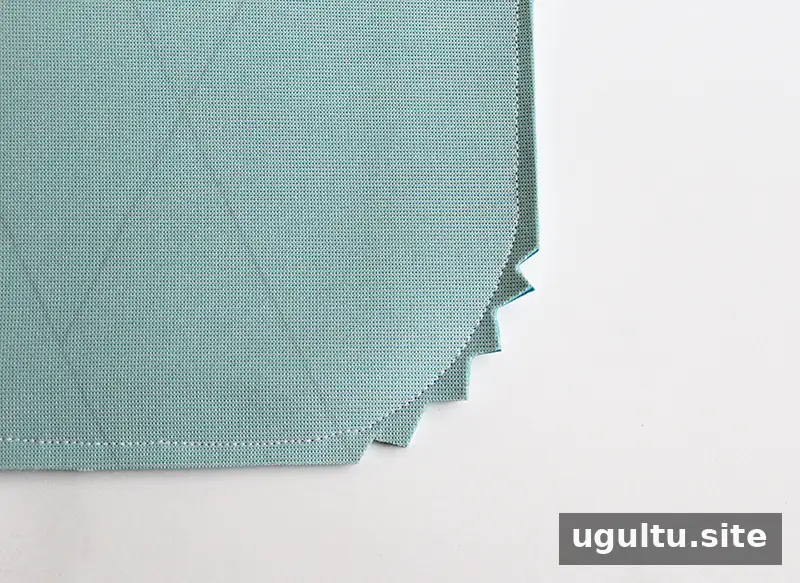
If you have sewn curved corners, carefully clip the seam allowance at the corners without cutting through the stitching. Turn the cover right side out, place the pillow insert inside, and close the opening with a blind stitch. Use the canvas ties to secure the cushion to the chair.
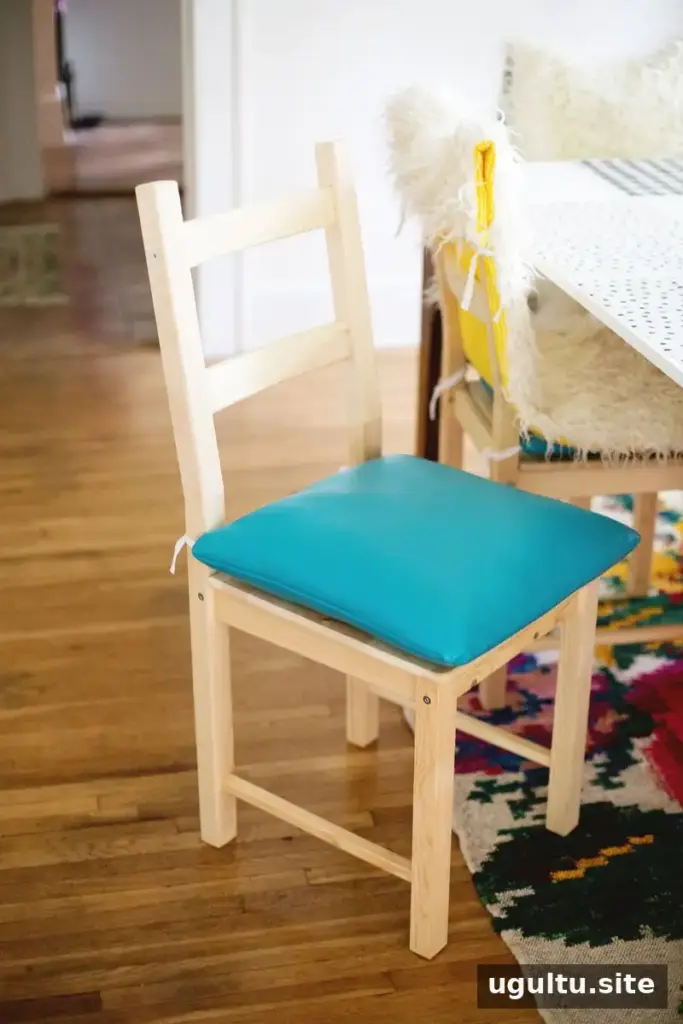
Vinyl is a useful choice for seats that may need frequent cleaning. Wipe the surface according to the material’s care guidance, and avoid pulling on the ties when removing the cushion.
How to Make Faux Fur Chair Covers
1. Measure and cut the fur and lining
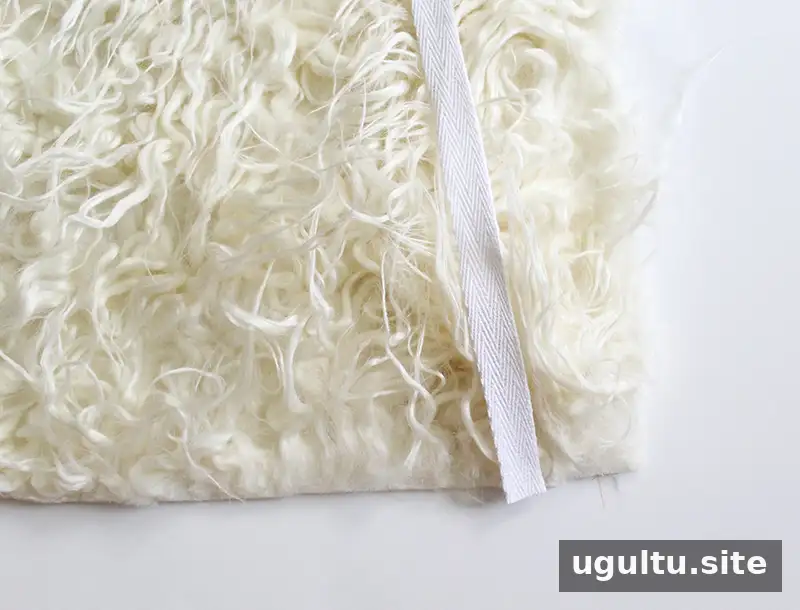
Measure the chair to determine the cover’s length and width. The example cover measured 18 by 44 inches. Cut the faux fur and cotton fabric to the same dimensions. To keep the fur from looking blunt along the cut edge, part the pile and cut close to the fabric backing rather than cutting straight through the visible fibers. Test the technique on a small offcut first.

2. Add the ties and pin the layers
Lay the faux fur with the fluffy side facing up. Place canvas trim at both top corners, then add another piece on each side about 14 inches down from the top; adjust this position if your cover length differs. Lay the cotton fabric over the fur and trim with its face side down. Pin around the edges, leaving a gap at the bottom-right corner for turning.
3. Sew and attach the cover
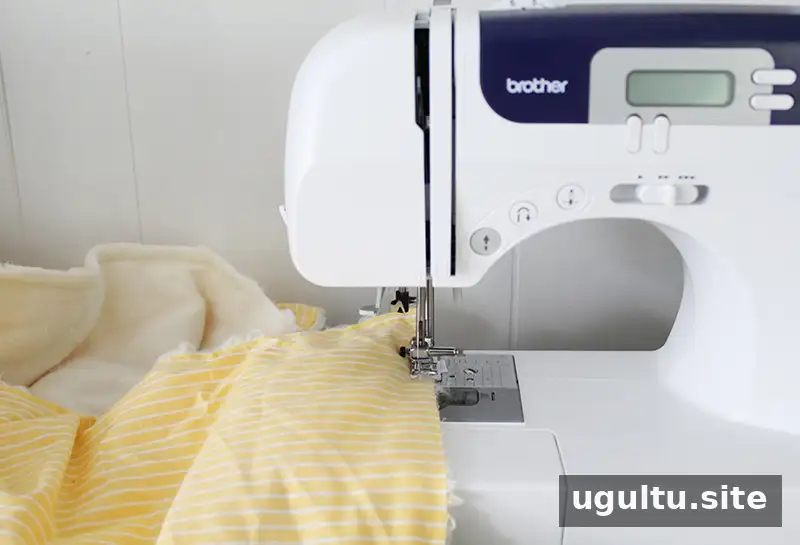
Sew around the pinned edges, keeping the turning gap open. Turn the cover right side out, then stitch the gap closed. Tie the canvas trim to the chair so the cover stays in place, checking that it sits securely without obstructing the seat.
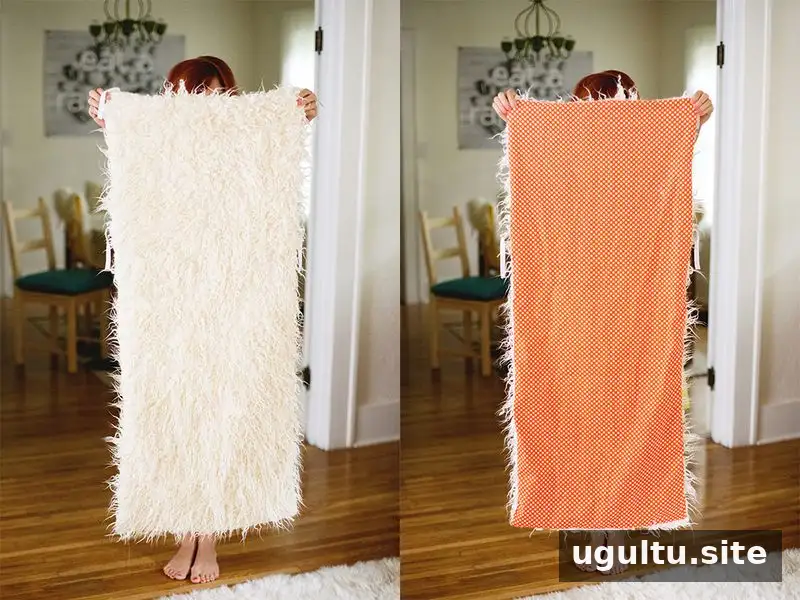
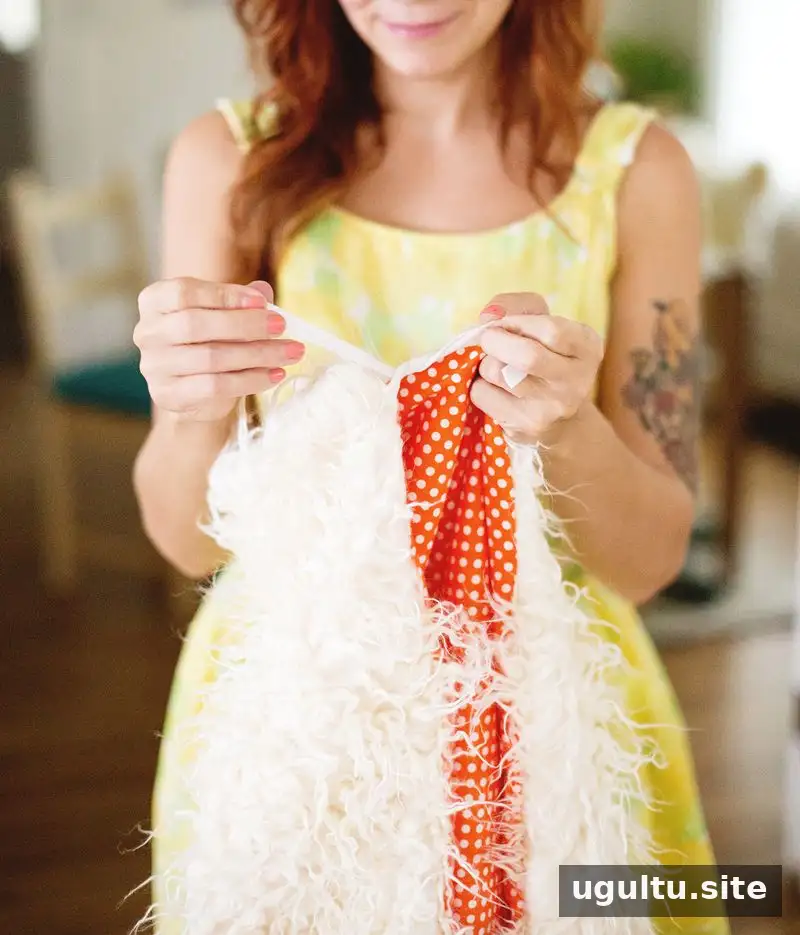
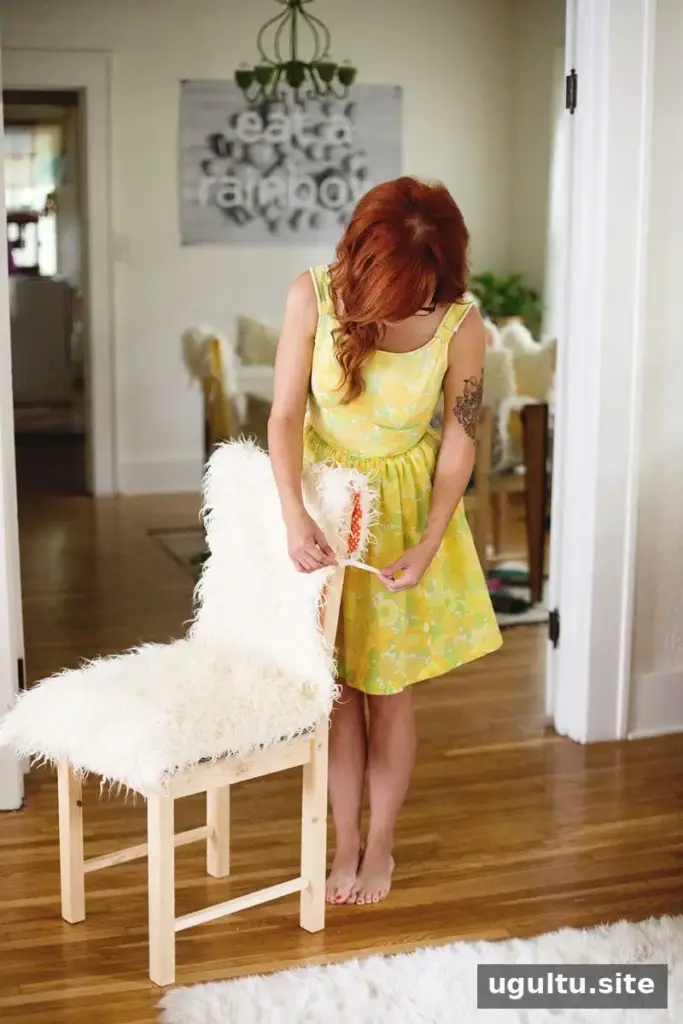
Because the faux fur covers are removable, they can be taken off during messy meals and put back afterward. This makes them a flexible option for households that want a softer dining area without leaving the fabric on the chair all the time.
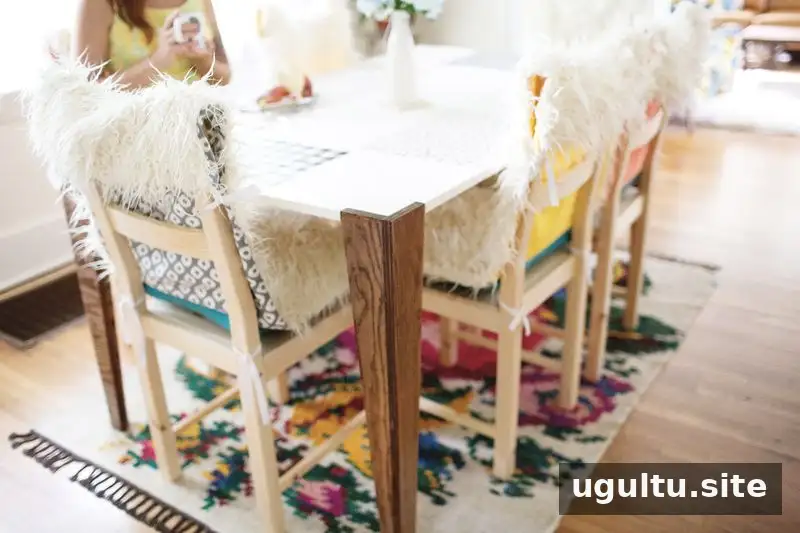
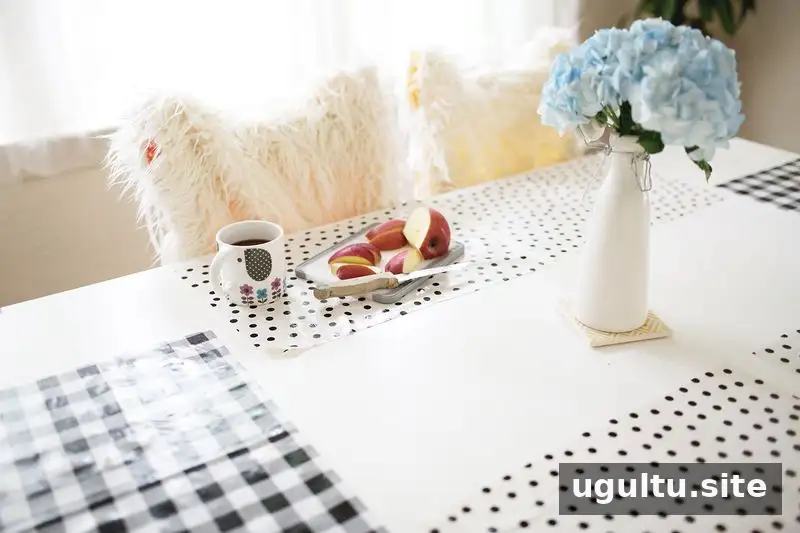

DIY faux fur chair covers and padded vinyl cushions can make a dining room feel more inviting while keeping the seating adaptable. Measure carefully, leave a turning opening when sewing, and use the ties to secure each piece for a comfortable, practical finish.


