
 admin
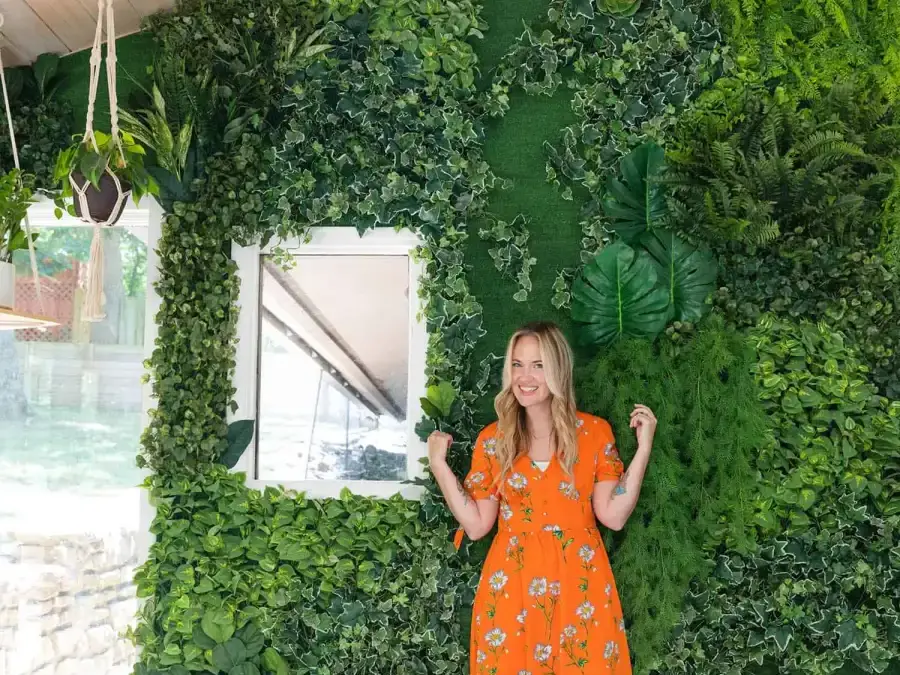
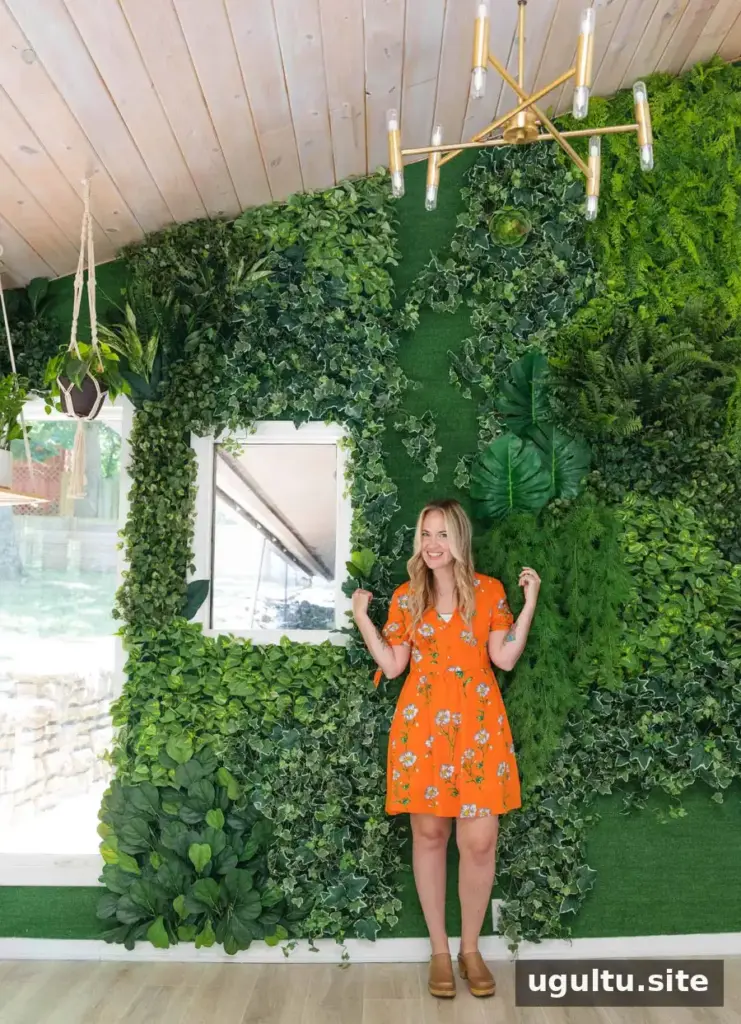
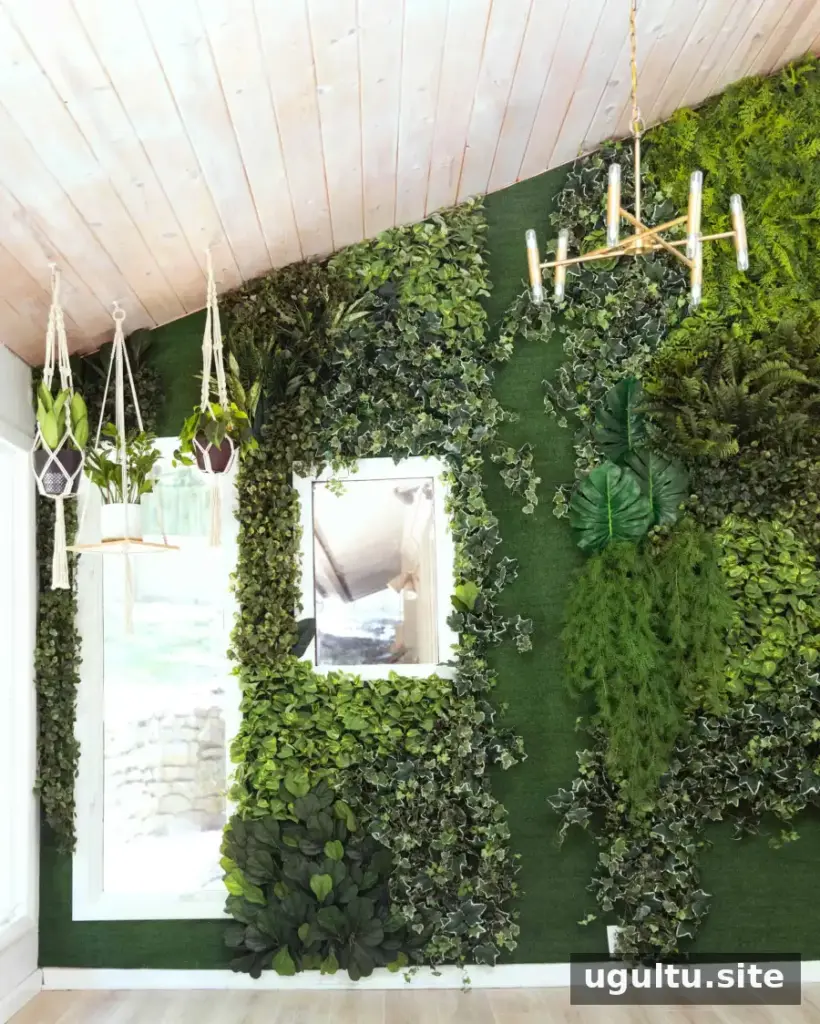
A DIY faux living wall can bring a lush, green look to a home office, retail space, or other interior without the ongoing care required by live plants. This large-scale project uses artificial turf as a background, netting to support faux greenery, and simple fasteners to hold everything in place.
The finished wall described here covers about 90 square feet, although its slanted shape and two windows make the exact area difficult to calculate. A smaller feature wall or headboard can use the same approach with less material and a lower overall cost.
DIY Faux Living Wall: Materials and Cost
Plan the materials around your wall’s size and construction. A drywall installation differs from one on brick or concrete, so check which fasteners are suitable before starting. The project used:
- Artificial turf
- 3/8 x 2-inch pine project board, enough to span the top and bottom of the wall
- Wall anchors or long drywall screws, depending on whether studs are available
- Hex netting, commonly sold for outdoor fencing
- Power drill, box cutter, wire cutter, and staple gun with staples
- Faux plants
- Dark green or black pipe cleaners
Estimating faux plant coverage can be difficult because leaves, vines, and plant shapes fill space differently. The project used about $800 worth of faux plants before returning a little over $300 of the unused items. Other supplies, excluding tools, cost $120. The completed wall cost around $620. These are the costs for this particular project, not a current price estimate.
To manage spending, consider buying plants in stages and checking return policies before purchasing. Mixing larger leaves with smaller fillers can also help you assess coverage as you work.
How to Make a DIY Faux Living Wall
Step 1: Install the top and bottom supports
Attach the pine boards along the top and bottom edges of the wall. They create a mounting surface for the turf and netting and can make the installation easier to remove later than attaching every layer directly to the wall. Use appropriate anchors or screws, and make sure the supports can carry the combined weight of the materials and faux plants.
Before drilling, check for hidden wiring or pipes. If your wall is masonry, choose fasteners designed for that surface rather than drywall hardware.
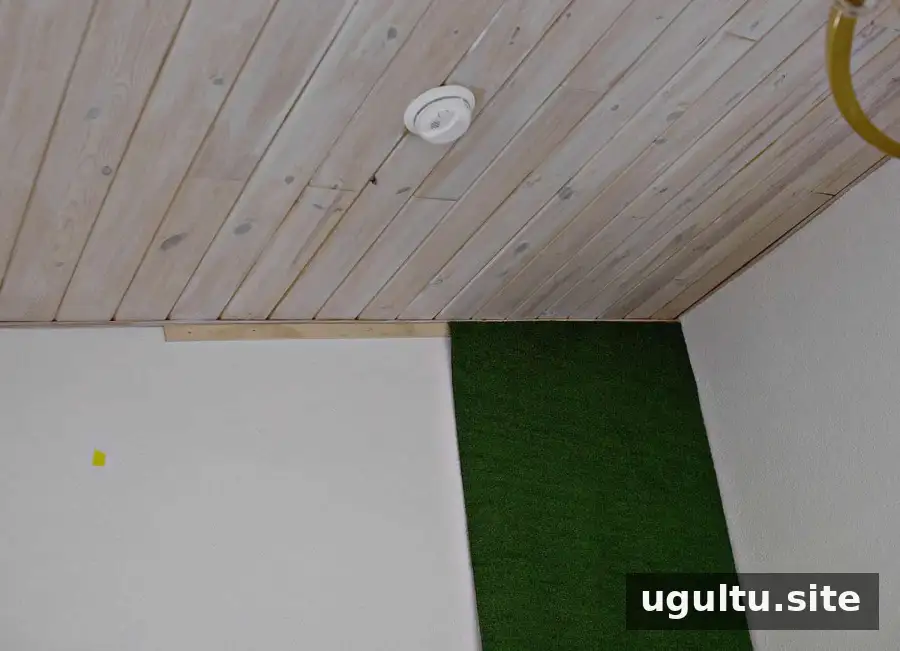
Step 2: Attach the artificial turf
Hang the turf in long sections and staple it to the wooden supports. If the wall includes windows, outlets, or a vent, mark their positions and carefully cut openings. Keep outlets and vents accessible; do not cover them with turf or plants.
Leave the bottom edge unstapled until you have made any necessary cuts. This makes it easier to adjust the material and align the openings before securing it.
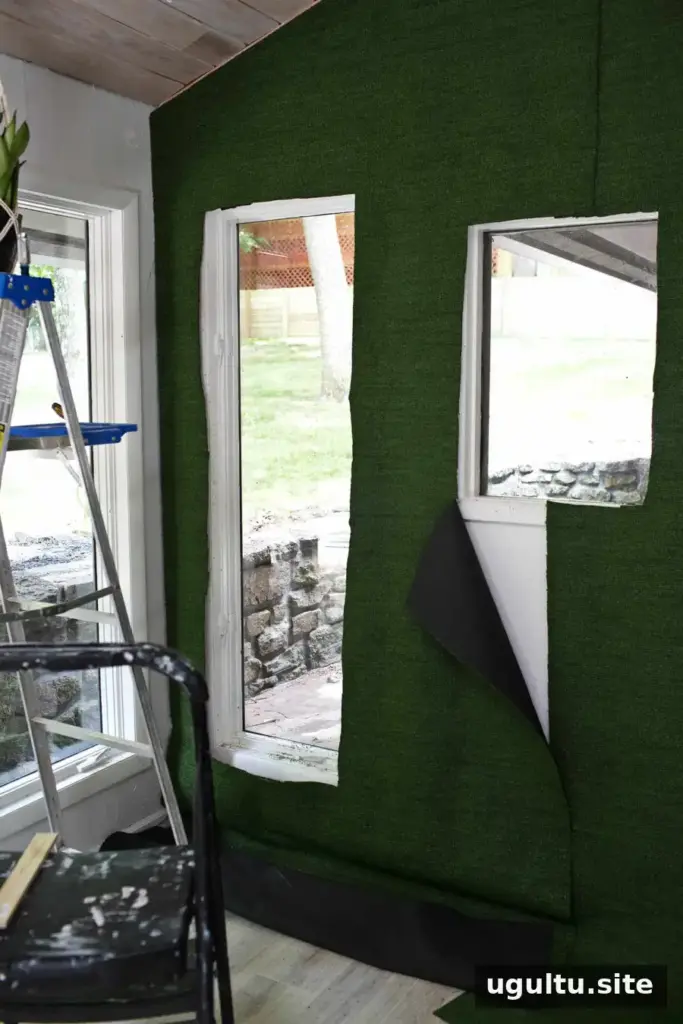
The bottom edge can be fastened to the lower board after the openings have been cut and checked.
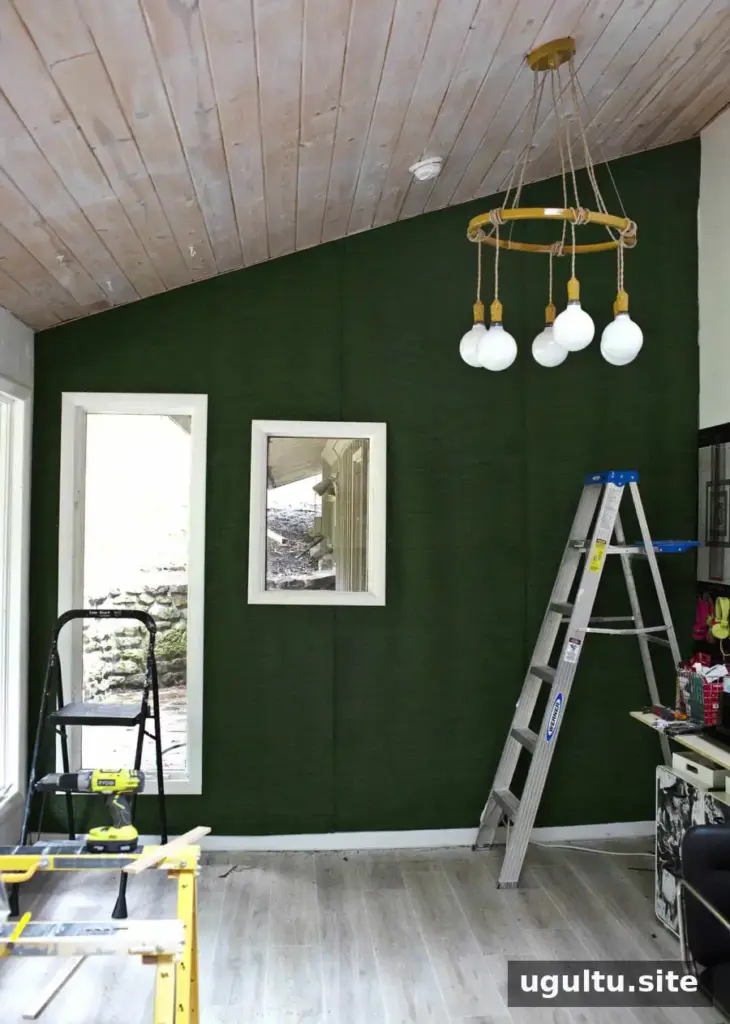
Step 3: Add the netting
Place strips of hex netting over the turf where you want to attach plants, including across seams if needed. Staple the netting to the top and bottom supports, as you did with the turf. Keep the strips secure and evenly positioned so they can hold the greenery.
Step 4: Arrange and secure the faux plants
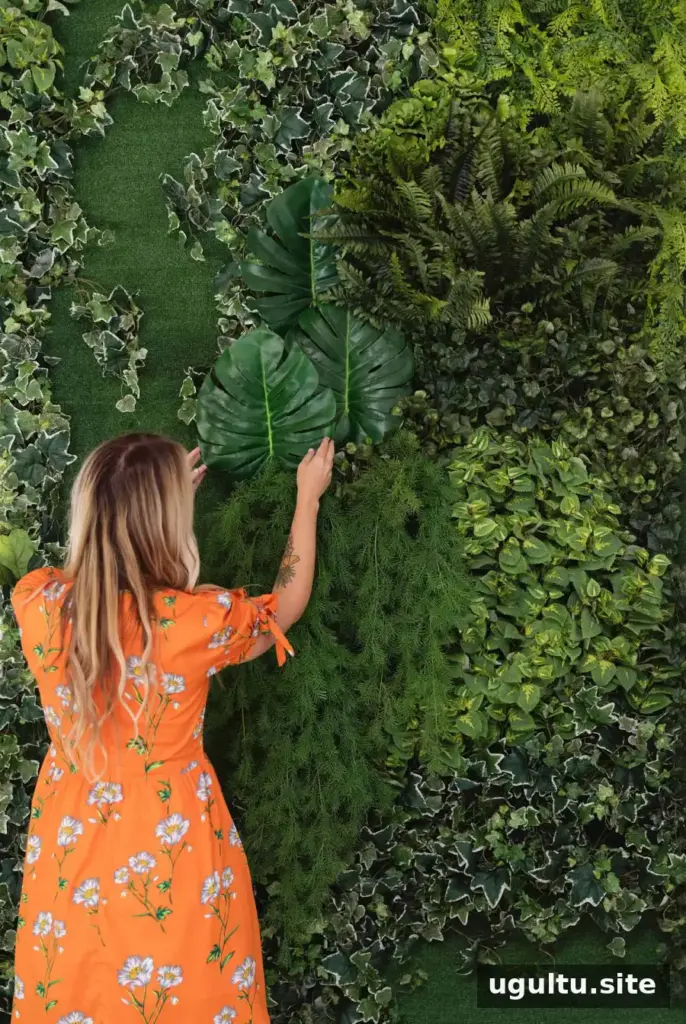
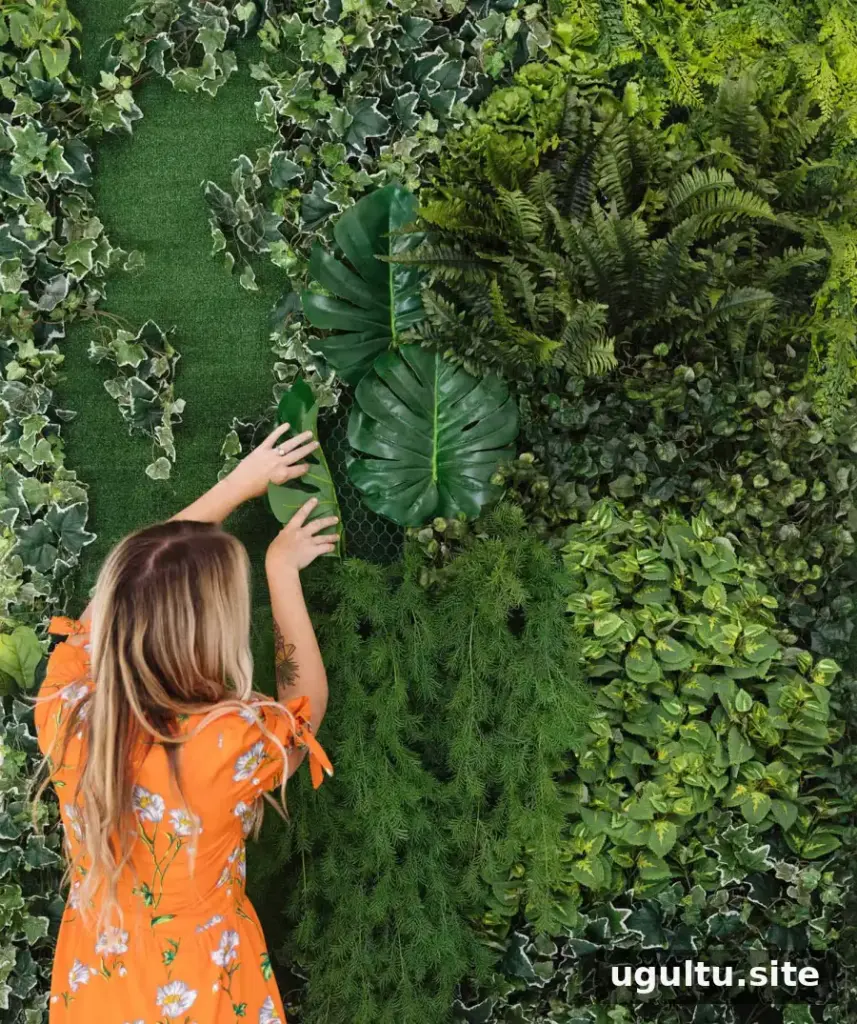
Tuck or hook lighter plants into the netting. For heavier pieces, or plants that sag or pull away from the wall, use a short piece of pipe cleaner to tie them to the netting. Choose a color that blends into the foliage and hide the fastening as much as possible.
Arrange plants gradually, stepping back often to check for gaps, visible seams, and an even distribution of color and texture. Installing all the greenery took about 10 hours for this project, so allow plenty of time for placement and adjustments.
Cleaning and Maintenance
Dusting needs may vary depending on the room and the amount of airflow. For routine upkeep, try a soft duster or a gentle vacuum attachment on a low setting, testing a small area first. Avoid pulling on the plants or netting, and follow the care instructions supplied with the faux greenery where available.
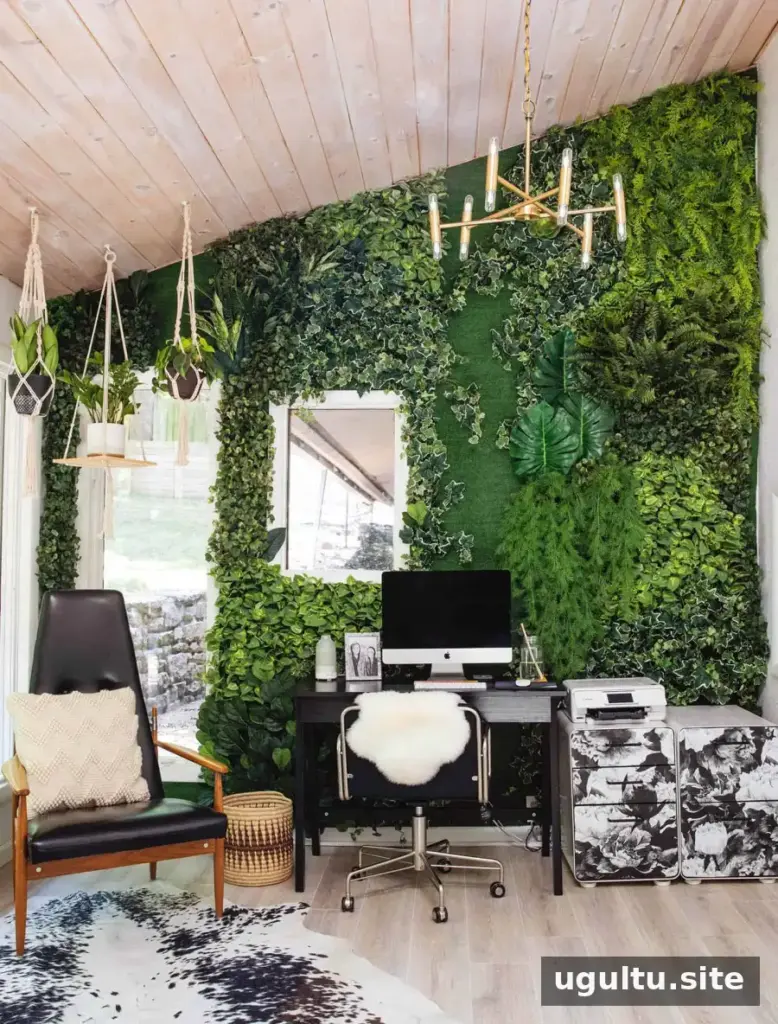
A DIY faux living wall is a decorative alternative for anyone who wants a plant-filled backdrop without watering or sunlight requirements. Before building, measure the area, plan access to windows and utilities, and confirm that the wall and fasteners can support the installation. Choosing a smaller section is a practical way to reduce both material costs and installation time.
— Emma


