
 admin
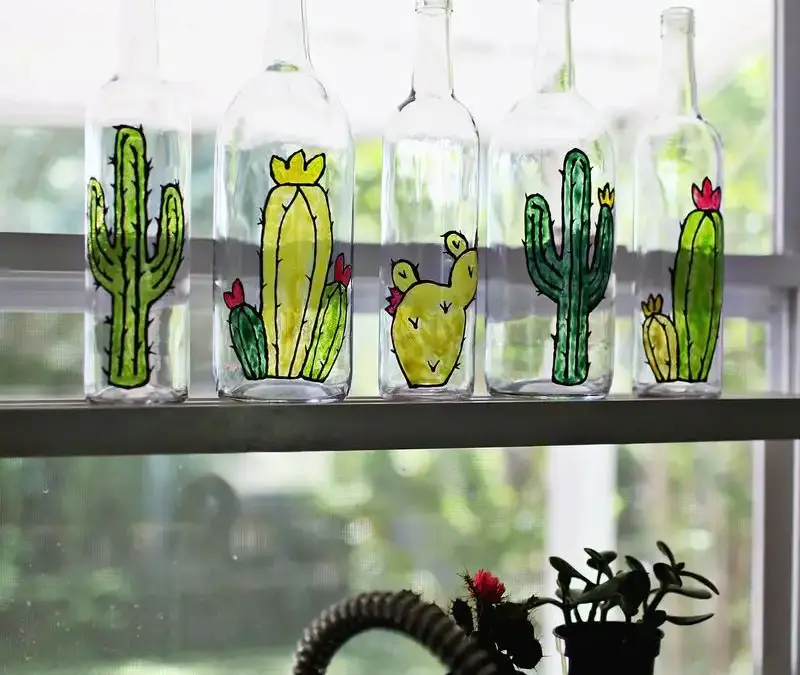
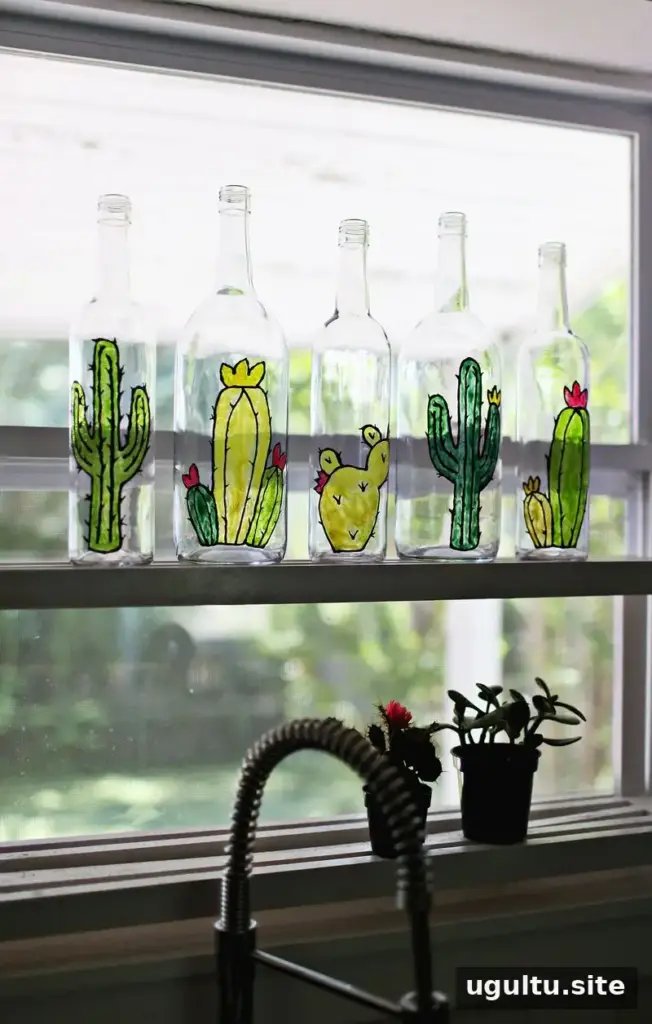
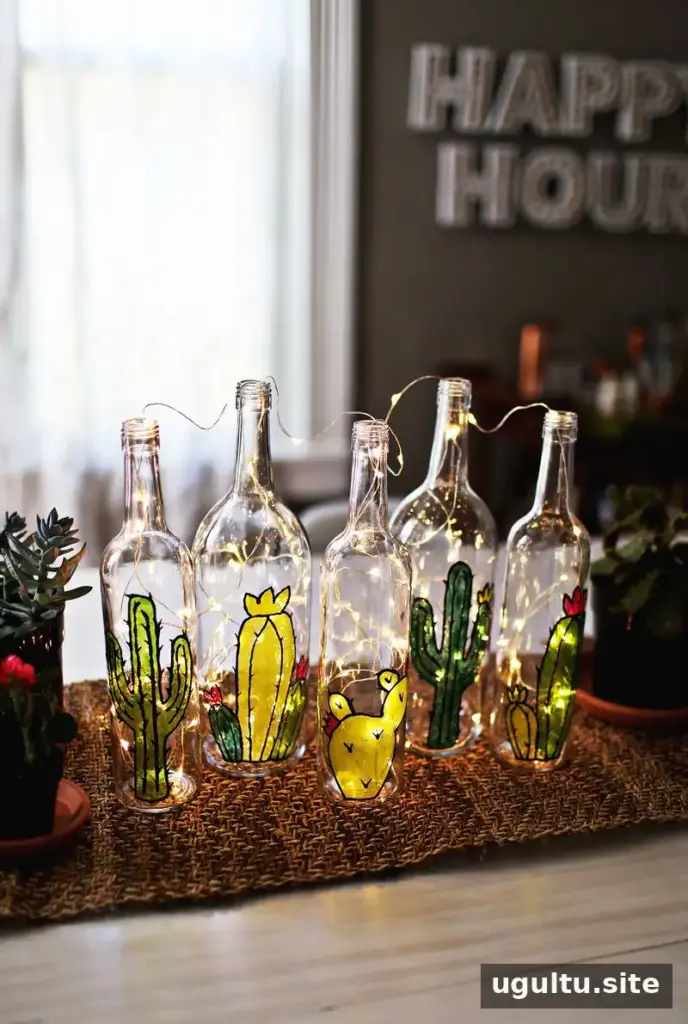
DIY faux stained glass bottles can add a colorful accent to a windowsill or dining table without requiring a real stained glass panel. With clean glass bottles, window color, and simulated liquid leading, you can create simple designs such as cactus shapes. The finished bottles can be displayed as they are or filled with small LED lights.
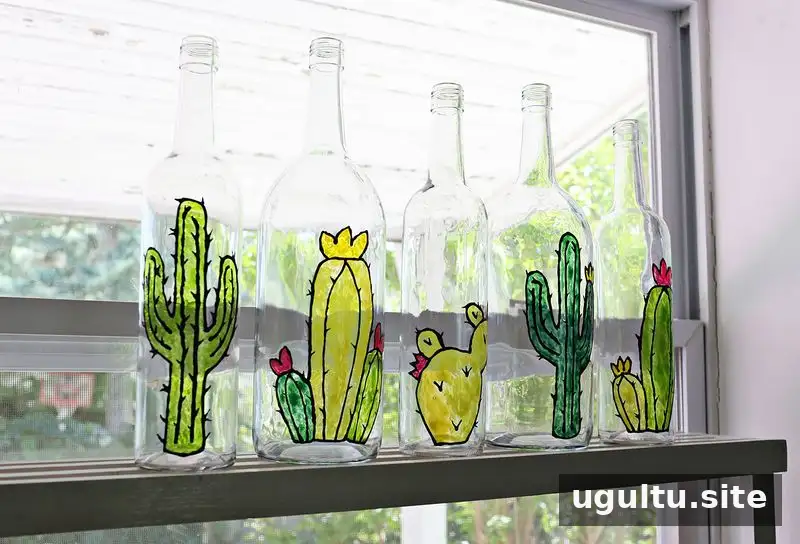
This project makes it possible to create a small decorative “garden” that needs no watering. Choose bottle shapes that are stable enough to display, and plan your design around the curves of the glass. Simple outlines and larger sections of color are often easier to fill neatly than very detailed patterns.
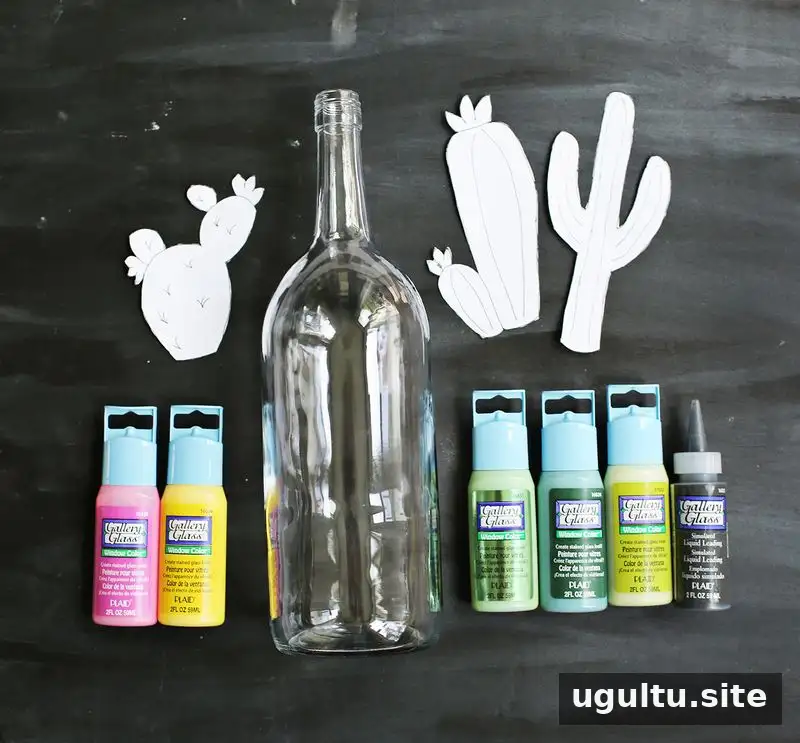
Supplies for DIY Faux Stained Glass Bottles
Gather these materials before you begin:
- Clean glass bottles, either purchased or reused
- Window color in three shades of green, plus yellow and pink
- Simulated liquid leading
- Scrap paper and a marker
- Toothpicks
New bottles brought the total cost of this project to $35. Reusing bottles you already have or collecting suitable ones over time can reduce the cost. Wash and dry reused bottles thoroughly so the paint can be applied to a clean surface.
How to Make the Bottle Designs
Step 1: Plan and trace the pattern
Draw a design on scrap paper, cut it out, and attach it to the outside of the bottle. Trace around the shape with a thin marker to make a guide for the liquid leading. Three different cactus shapes were used for this project. If you are comfortable drawing directly onto glass, you can skip the paper template.
For a bottle with a wide opening, you may be able to place the paper pattern inside the glass and trace it from the outside. This can help keep the template in position, but it only works when the opening is large enough.
Step 2: Apply the liquid leading
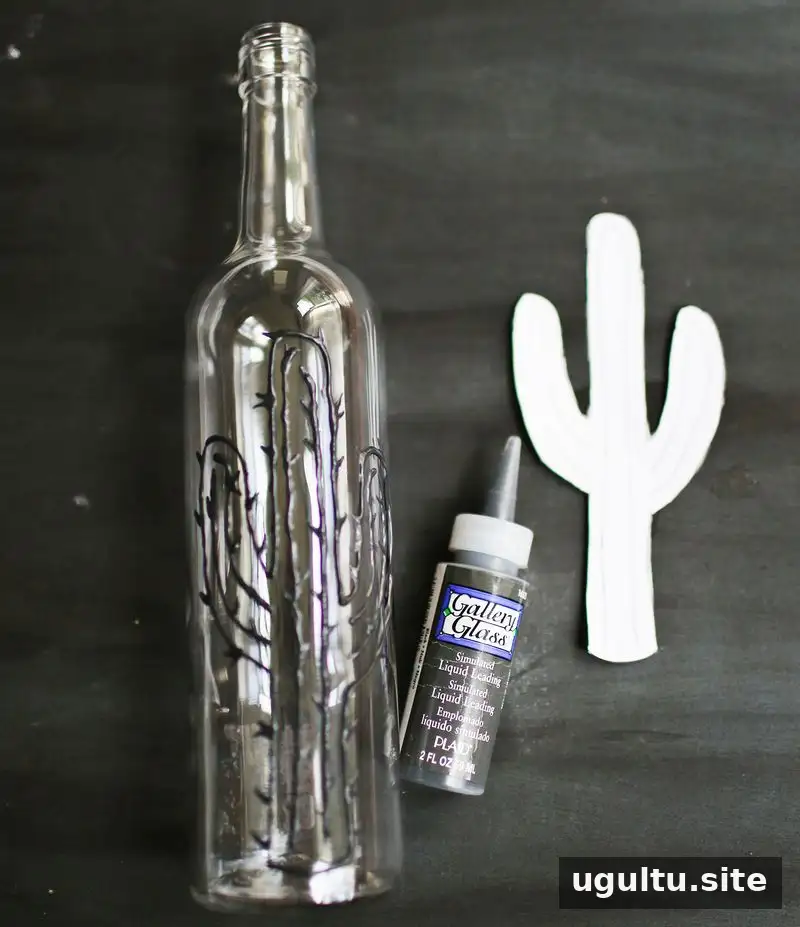
Trace the design with simulated liquid leading. Set the bottle on a towel while working to keep it from rolling. If the line goes astray, wipe it away before it dries and try again. The liquid leading used here is water-based and contains no lead; follow the directions on the product label for handling and cleanup. Let the outline dry completely for 2–3 hours before adding color.
Step 3: Add window color
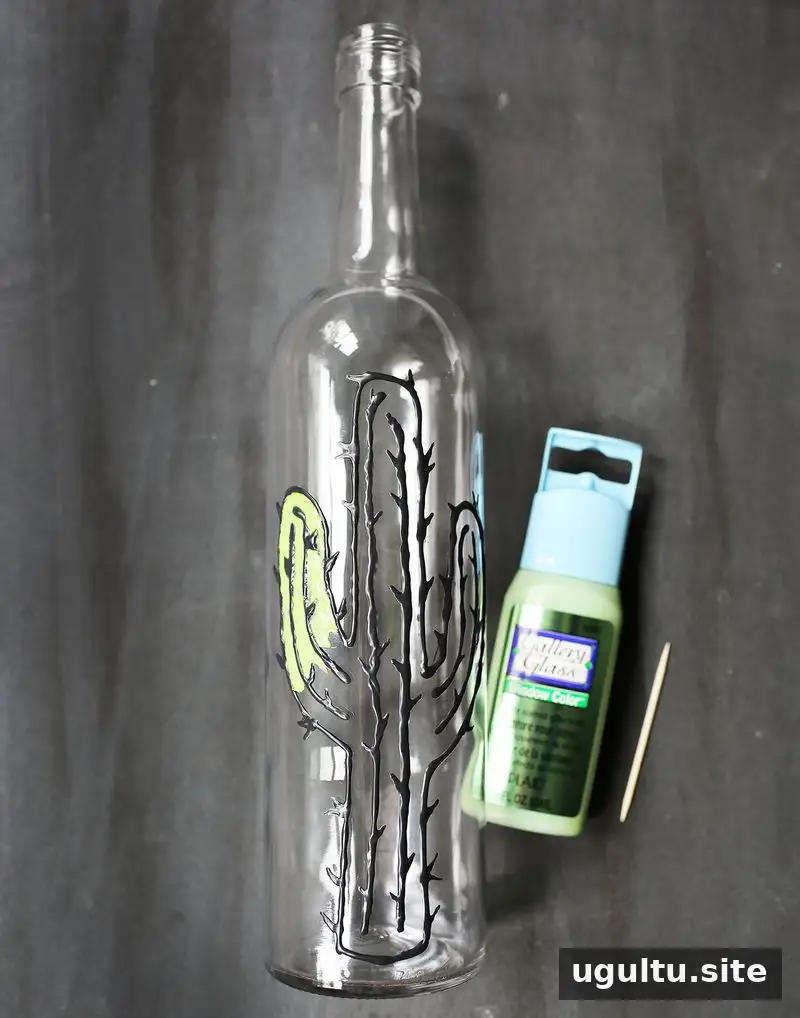
Fill each outlined section with window color. The applicator tip can help guide the color into place, while a toothpick is useful for small corners and narrow areas. Practicing on a spare glass bottle first can help you get used to how the leading and color flow. Wipe away mistakes before the product dries.
Work in a well-ventilated area, as the window color may give off fumes. Allow the color to dry for another 2–3 hours before moving or displaying the bottles. Check the product instructions for any additional drying or care guidance.
Displaying Your Finished Bottles
Once fully dry, arrange the bottles on a windowsill or use them as a centerpiece. Small LED lights can be placed inside for a gentle decorative effect. Avoid treating the bottles as food or drink containers, and do not use open flames; decorative coatings may not be suitable for contact with food or heat.
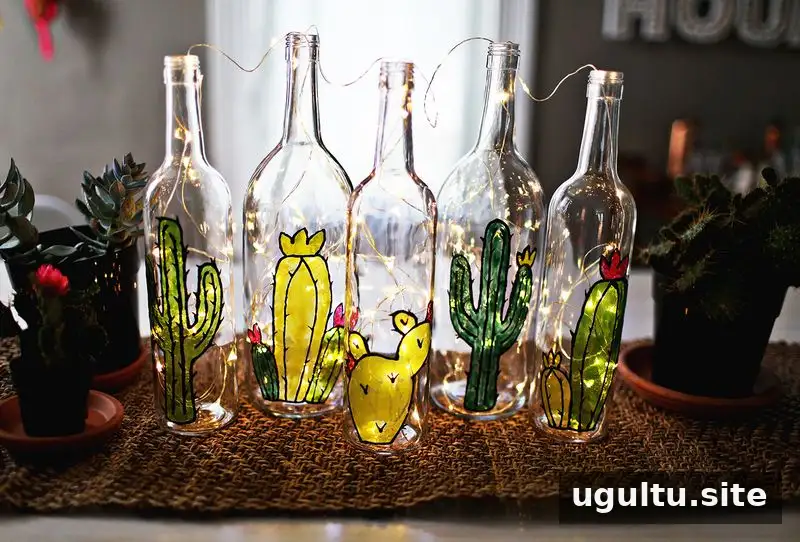
DIY faux stained glass bottles are a simple way to turn plain glass into a bright, low-maintenance display. Use a steady work surface, allow each layer to dry fully, and choose a well-ventilated place to work. — Emma


