admin
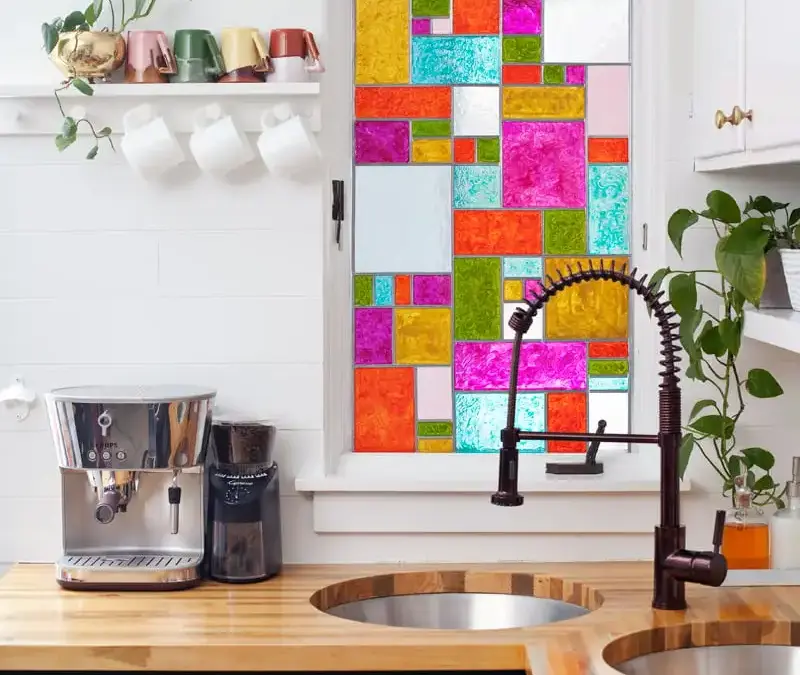
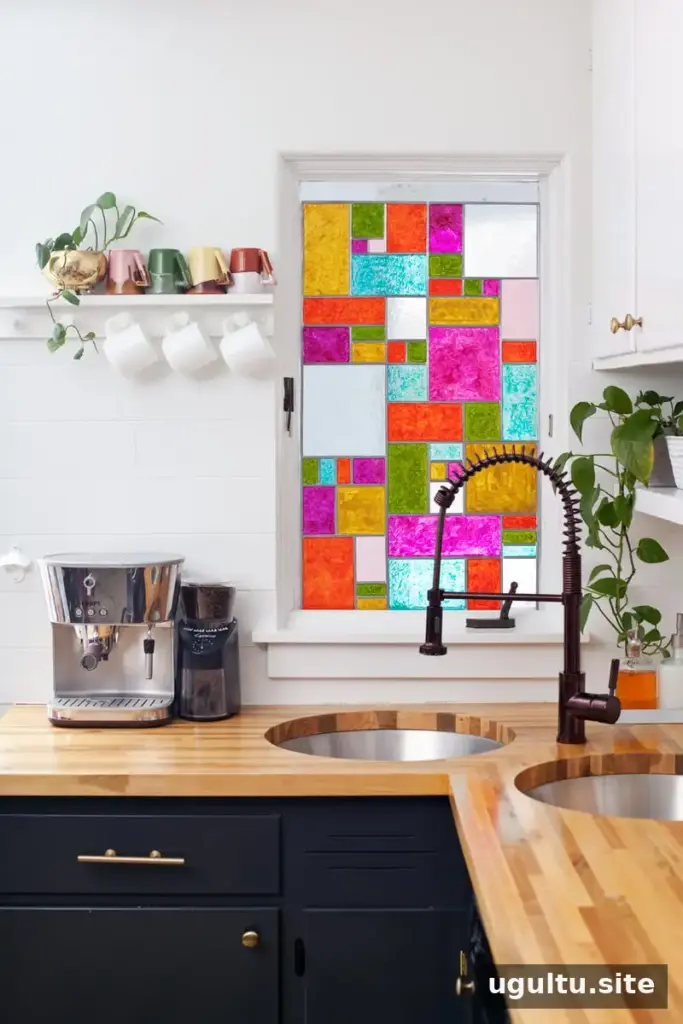
DIY faux stained glass is a simple way to add color, pattern, and extra privacy to a plain window without making traditional stained glass. With a glass panel, adhesive lead strips, and glass paint, you can create a decorative piece sized to suit your space. The key to a neat result is planning the design first and allowing the paint to dry without disturbance.
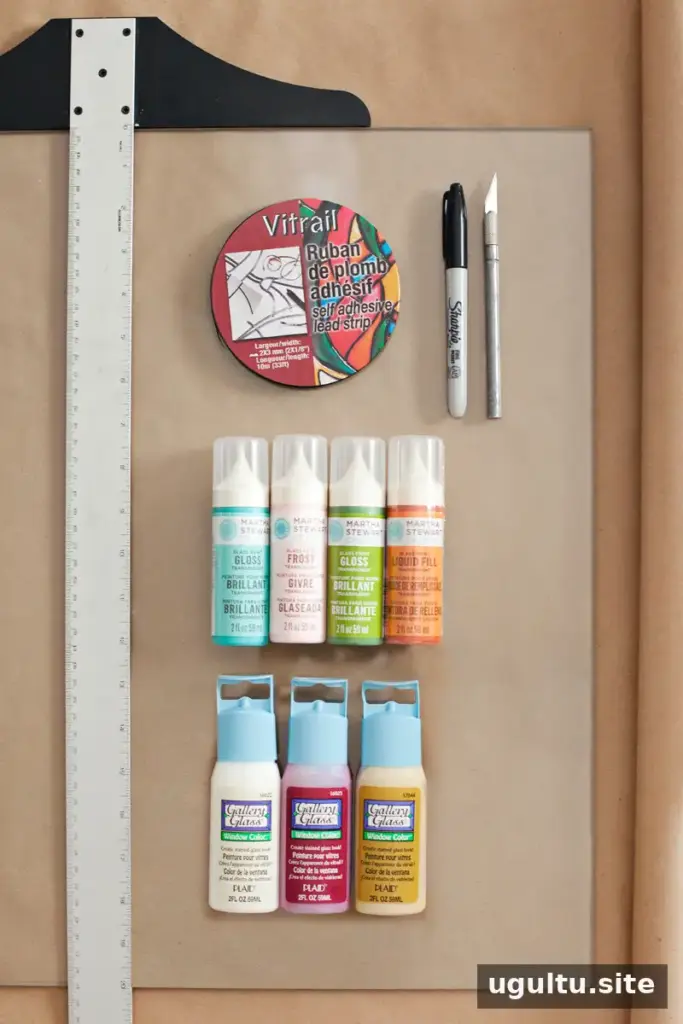
Supplies for DIY Faux Stained Glass
- A glass panel sized for your project; a glass shop can cut one to fit, or you can reuse glass from a picture frame.
- Adhesive lead strips
- Glass paint
- Craft or backdrop paper
- A marker
- Sharp scissors or a blade
- A ruler or T-square
- A stylus, if one is not included with the strips
- Glass brushes and a toothpick or needle for smoothing paint and removing bubbles
Before starting, check that your paint and adhesive strips are intended for use on glass. Work on a stable, protected surface, and handle the panel carefully to avoid cuts.
How to Make a Faux Stained Glass Panel
1. Plan and draw the pattern
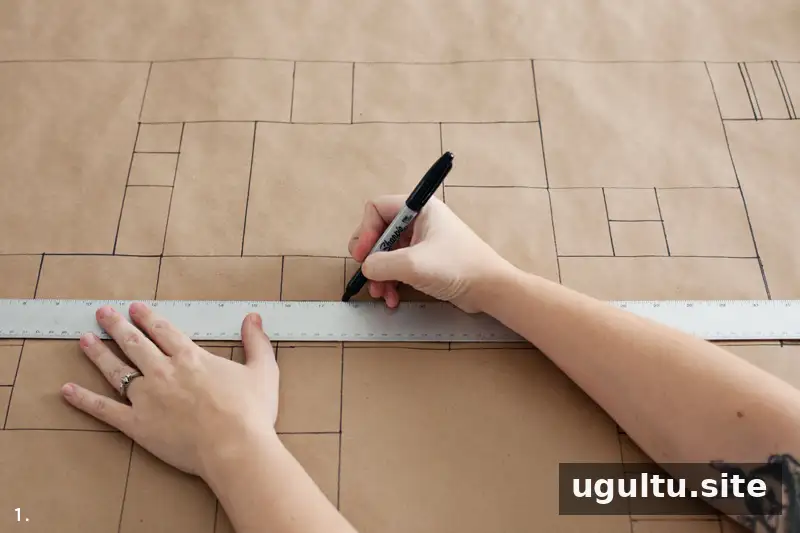
Place the backdrop paper on a flat surface and trace around the glass panel. If using a T-square, align the panel with the edge of the work surface before tracing. Draw your design inside the outline with a marker. Keep the shapes manageable and leave enough room for the lead strips between sections.
2. Apply the adhesive lead strips
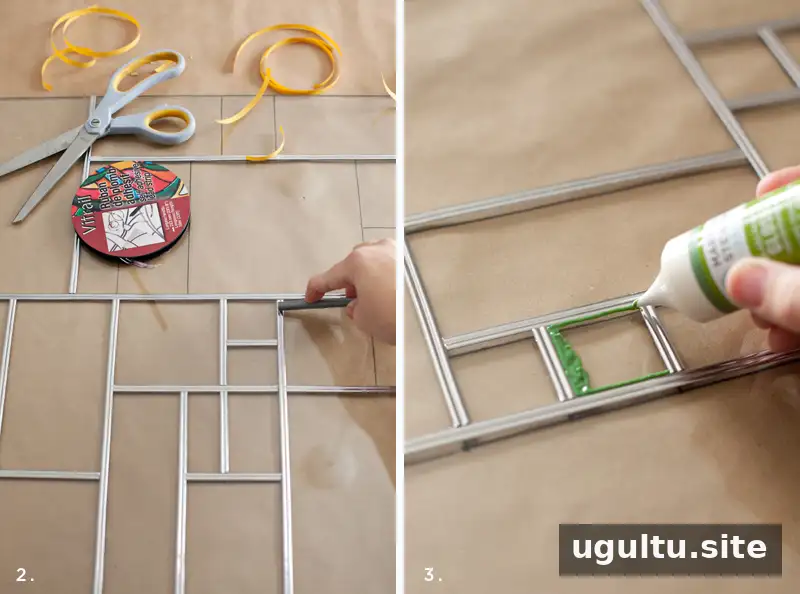
Set the glass over the pattern so the drawn lines show through. Cut the adhesive strips to follow the design. Cutting each piece slightly longer than needed makes it easier to adjust the fit; trim small amounts from the ends until the pieces meet neatly. Press the strips firmly into place with a stylus.
3. Outline each section with paint
Use glass paint to draw a clean line just inside each lead strip. Work slowly and keep the outline consistent, bringing it right up to the edge of the metal-effect divider. A steady hand and a well-lit work area make it easier to spot gaps before filling the sections.
4. Fill the sections
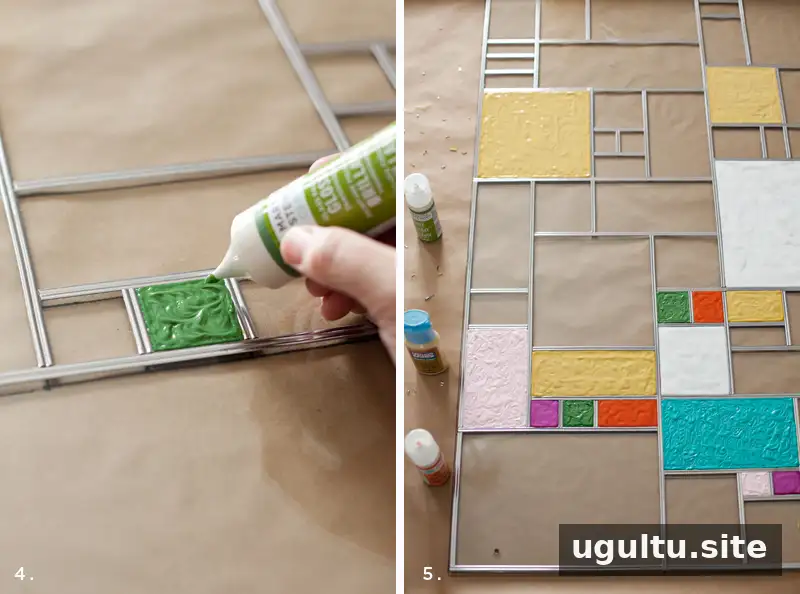
Apply a generous, even coat of paint within each outline. Glass brushes can help distribute the paint more smoothly than spreading it with the bottle tip alone. If bubbles appear, carefully pop them with a toothpick or needle while the paint is still workable.
Fill sections in an order that keeps your arm away from wet areas. You can also paint a selection of sections, let them dry according to the product instructions, and then return to the remaining areas. This reduces the chance of accidentally smearing fresh paint.
Tips for a Neater Finish
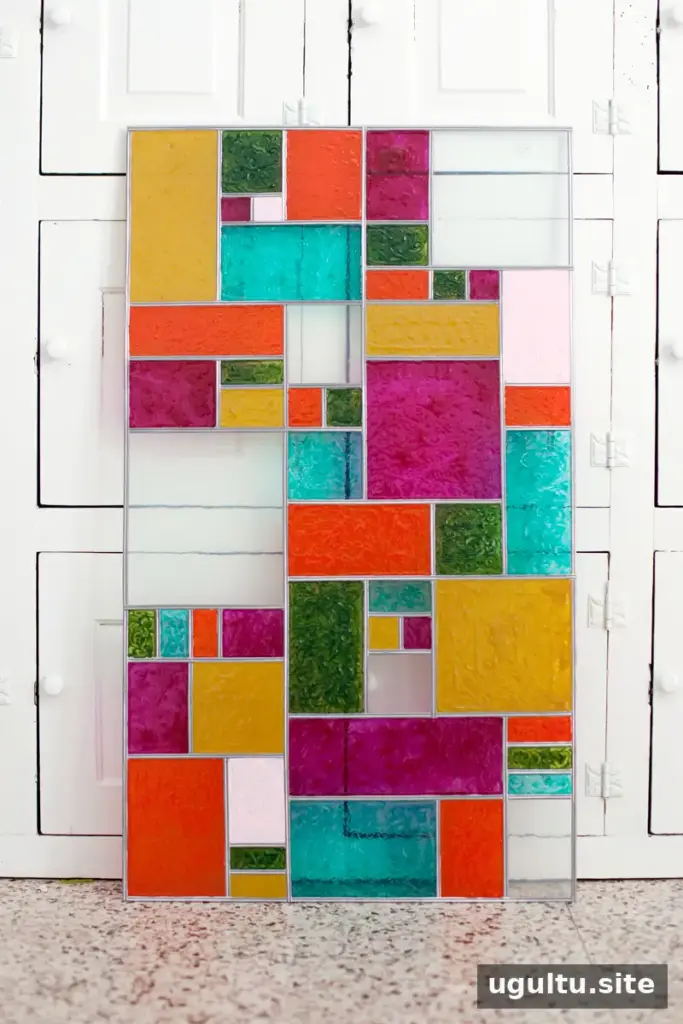
- Choose the right paint. Select paint made for glass and follow its application and drying directions. Liquid-fill glass paint can be easier to spread evenly than a thicker formula.
- Apply an even coat. Too little paint may leave a thin or uneven appearance when light passes through. Use enough to cover each section, while keeping the paint within its outline.
- Allow adequate drying time. Avoid moving or mounting the panel until the paint has fully dried or cured as directed on its packaging.
- Refine the strip joints. A small amount of pewter-colored glass outliner at the joints can make the dividers look more continuous and help cover tiny gaps.
Mounting and Using the Finished Panel
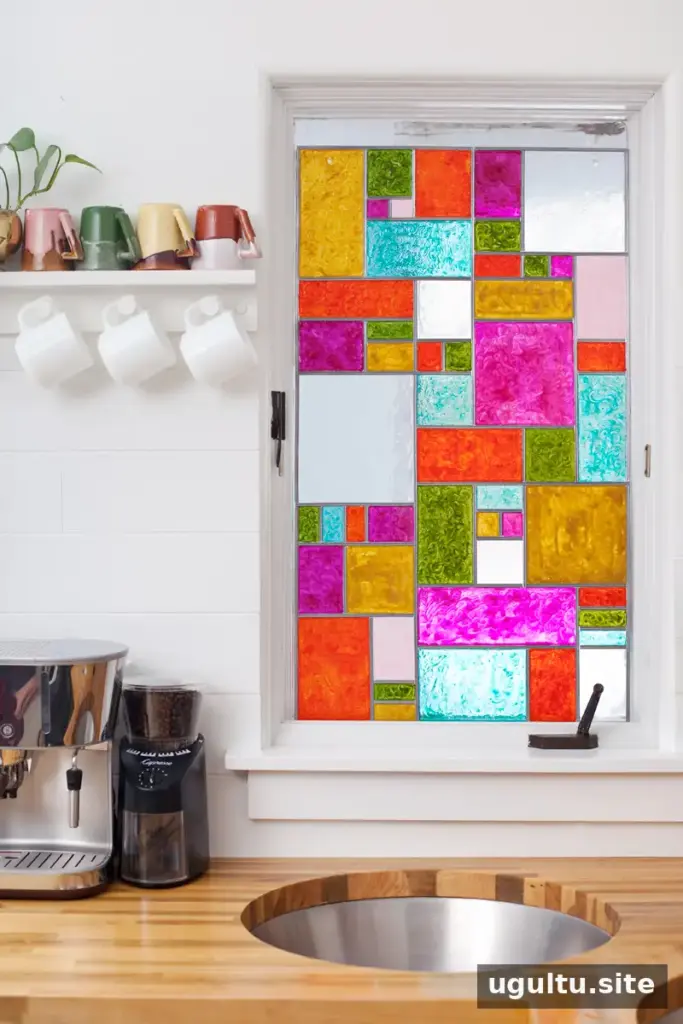
Choose a mounting method that securely supports the panel and suits the depth and shape of your window trim. If the trim does not provide a wide, stable surface, do not rely on a loose panel leaning against the window. Use appropriate hardware or another secure support, and make sure the installation will not interfere with opening the window.
A decorative panel can soften incoming light and provide a degree of visual privacy, depending on the glass, paint coverage, and design. Test the panel’s placement before securing it permanently, and keep it away from areas where it could be knocked or fall.
Conclusion
With a measured pattern, carefully applied strips, and even coats of paint, DIY faux stained glass can transform a simple glass panel into a colorful window accent. Take your time with each stage, follow the product directions, and secure the finished panel properly. Project by Mandi.