admin
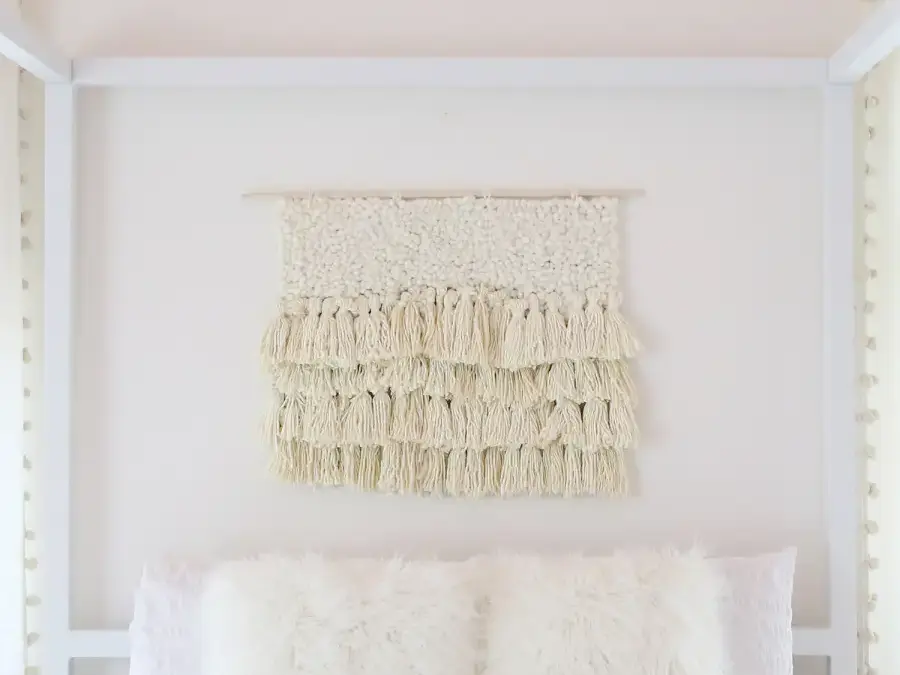
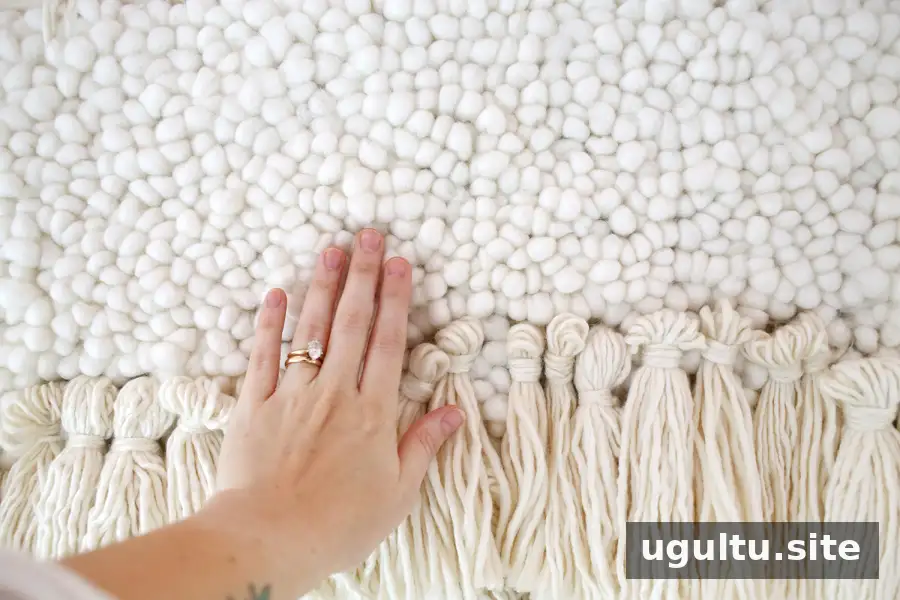
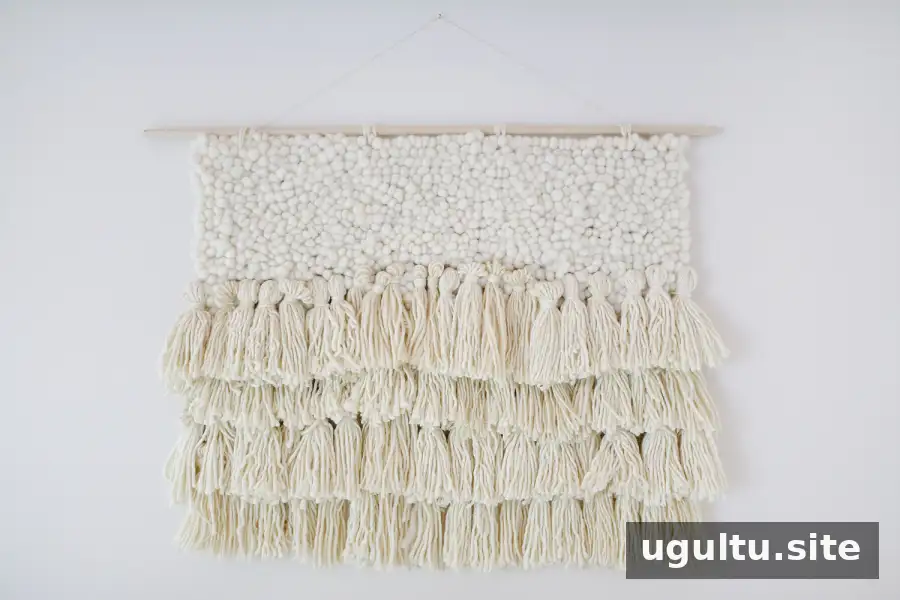
DIY fiber art is a simple way to add handmade texture and a soft, personal touch to a bedroom or living space. This yarn wall hanging combines tassels with chunky yarn on a latch hook mat, and its size, colors, and arrangement can be adjusted to suit your room.
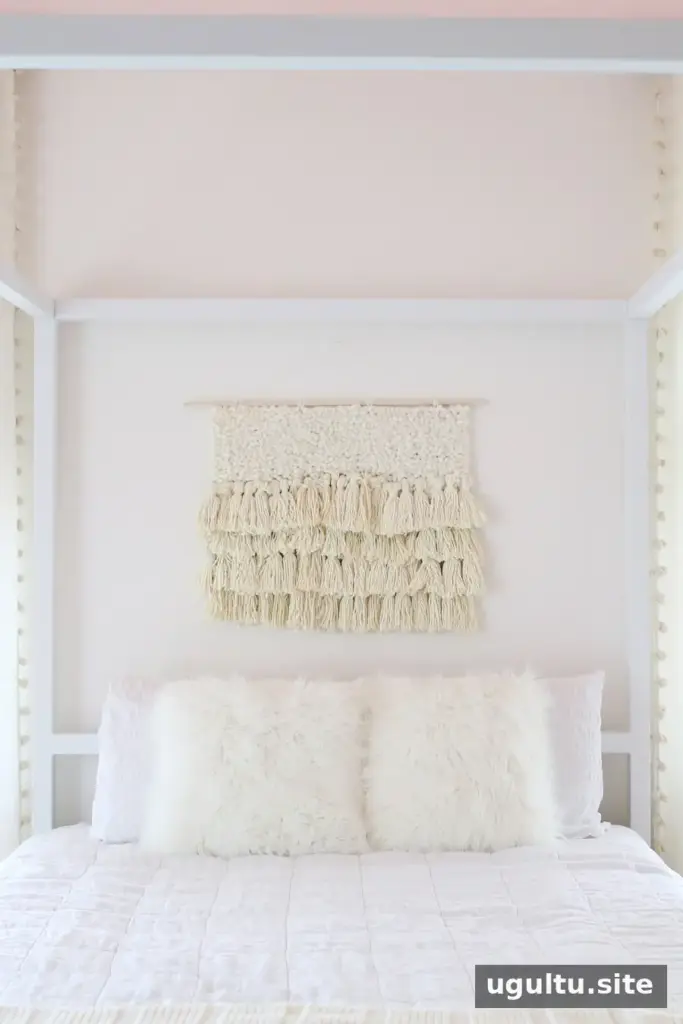
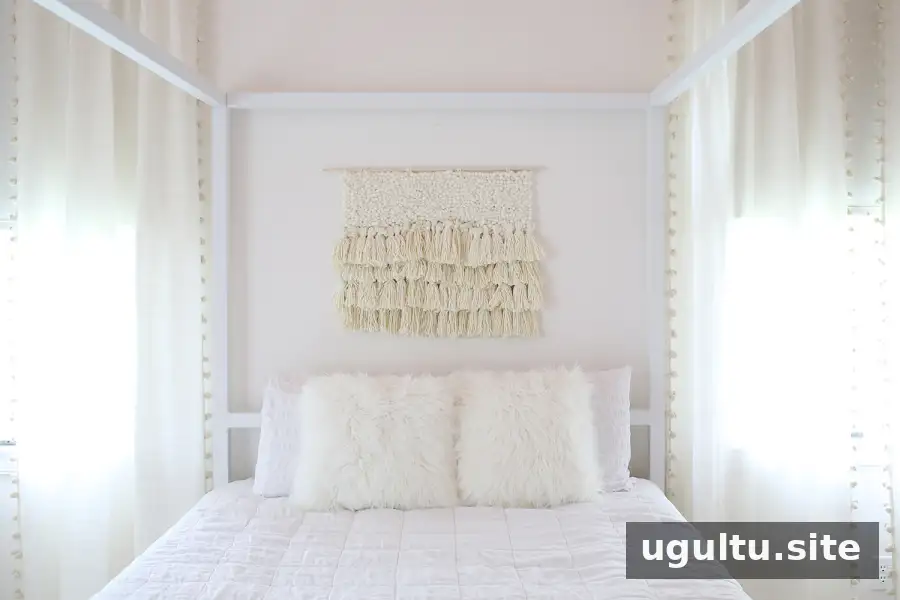
For a calm, neutral interior, textured yarn can add visual interest without introducing a busy pattern. Before buying supplies, use painter’s tape to mark the intended dimensions on the wall and measure the space. This helps you estimate the size of the backing and the amount of yarn you may need.
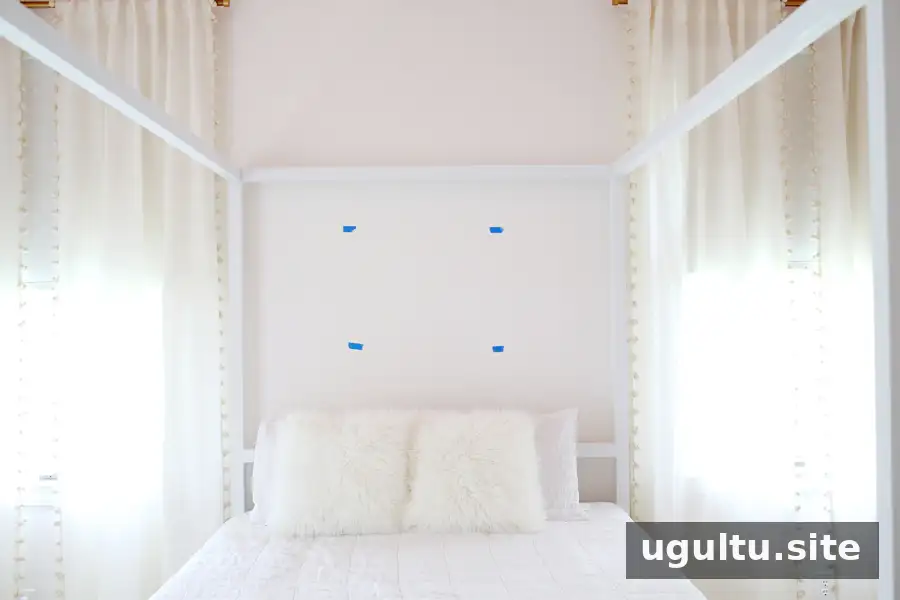
DIY Fiber Art Supplies
Choose yarn colors and textures that work with your room. The amount required depends on the size of the piece and how closely you place the tassels, so buying a little extra can help prevent interruptions mid-project.
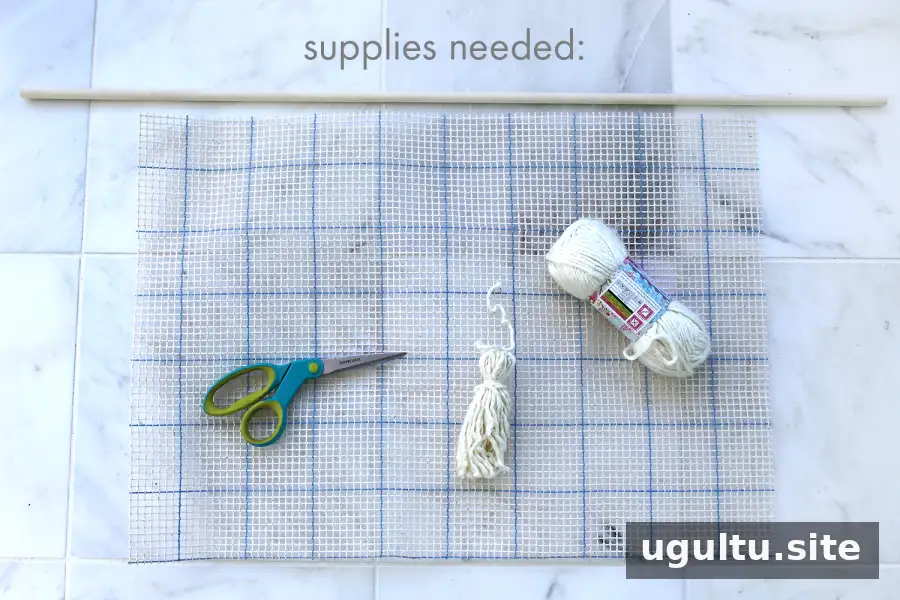
- A wooden dowel rod a few inches wider than the finished wall hanging
- Medium-weight yarn and super chunky yarn
- A latch hook mat
- Scissors
- Sturdy, neutral string for hanging; yarn may not be strong enough to support the finished piece
How to Make a Yarn Wall Hanging
1. Make the tassels
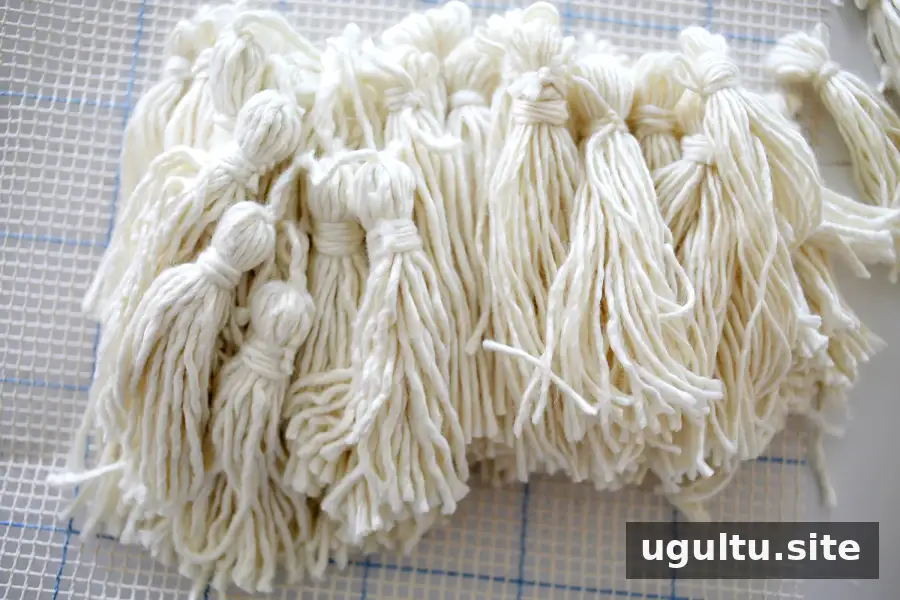
Prepare a generous batch of tassels before attaching them. The project described here used about 70 tassels, each approximately 4 inches long. Make a few first and arrange them on the mat to estimate how many you will need; the final quantity depends on the dimensions and the spacing you prefer.
For a neat, consistent look, keep the tassels similar in size. To create a more relaxed finish, mix yarn types or vary the lengths slightly. Making tassels takes time, so preparing them in batches can make the process easier to manage.
2. Cut the mat and attach the tassels
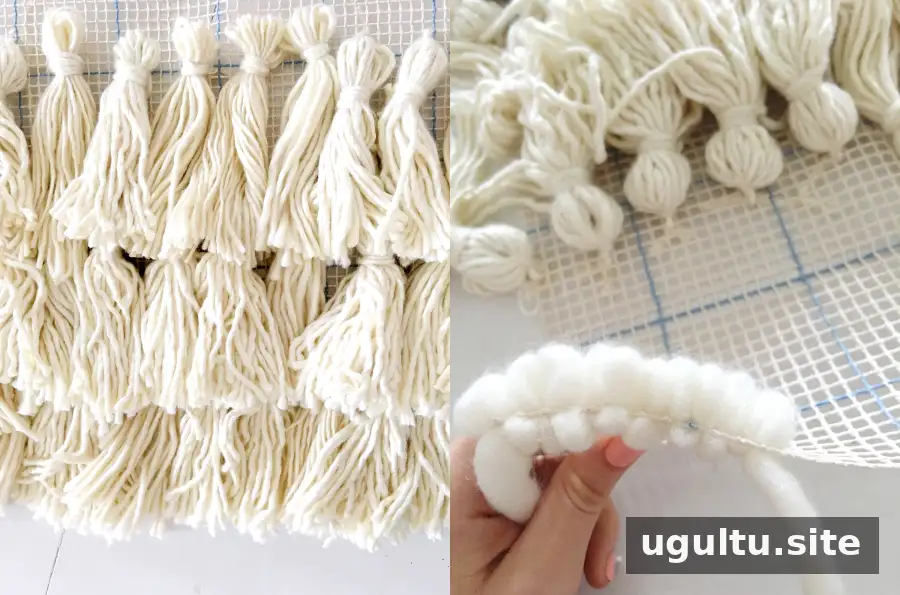
Trim the latch hook mat to match your measurements. Tie the tassels onto the mat with yarn, distributing them across the area where you want the most coverage. Leave some room for the chunky yarn if you plan to combine textures.
3. Add the chunky yarn
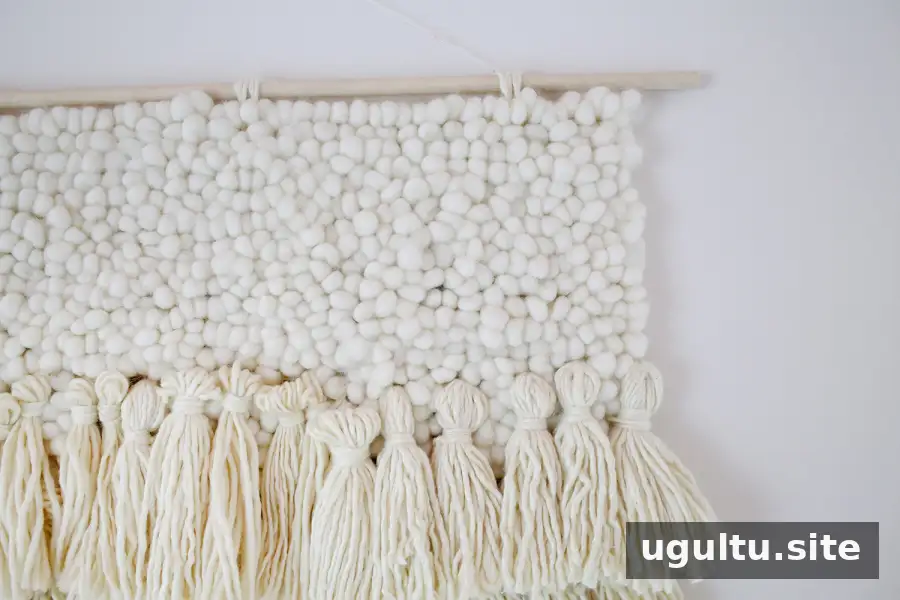
Use your fingers or a latch hook tool to push sections of chunky yarn through the mat’s openings. Thick yarn may cover more space, so you can skip some holes as needed. Work in sections, step back occasionally, and add yarn wherever the backing looks too exposed.
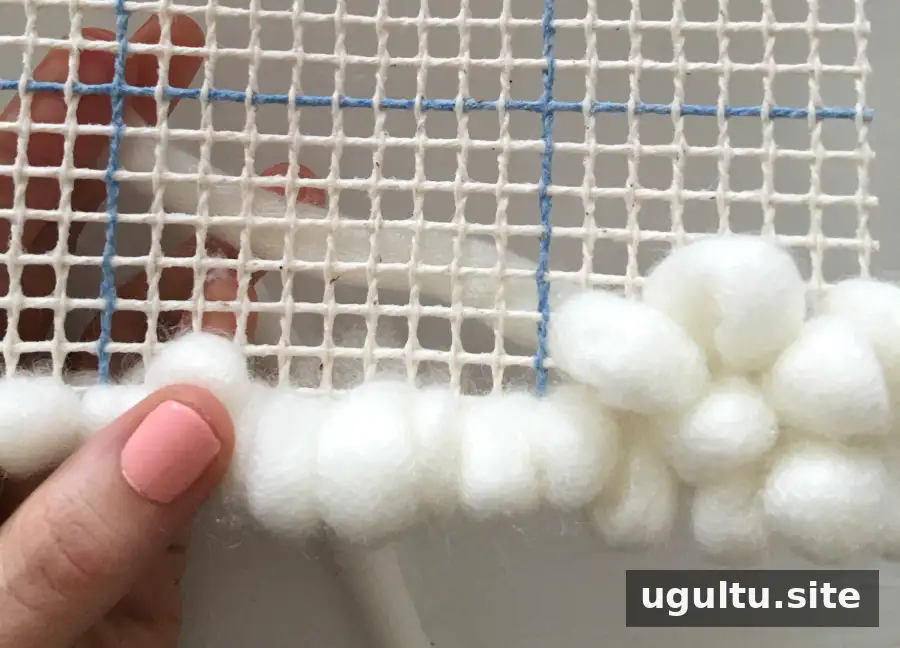
The arrangement does not have to be perfectly even. A quick visual check from a few feet away can help you spot gaps and balance the texture as you go.
4. Check the coverage and trim
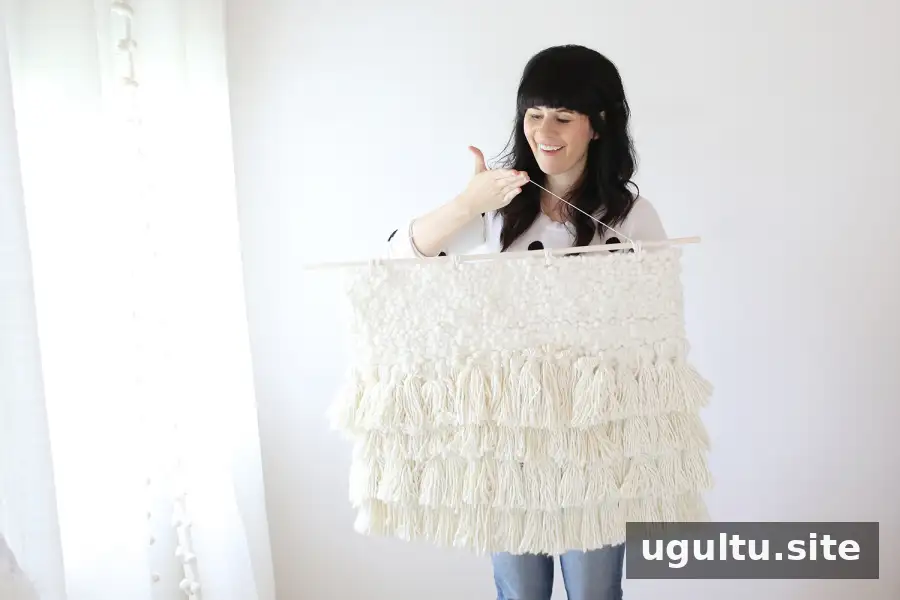
Hang the piece temporarily or lift it into position to inspect the overall coverage. Fill sparse areas with additional tassels or chunky yarn. Trim unusually long stray strands, while keeping the tassels slightly varied if you want a natural, informal finish.
5. Secure the hanging
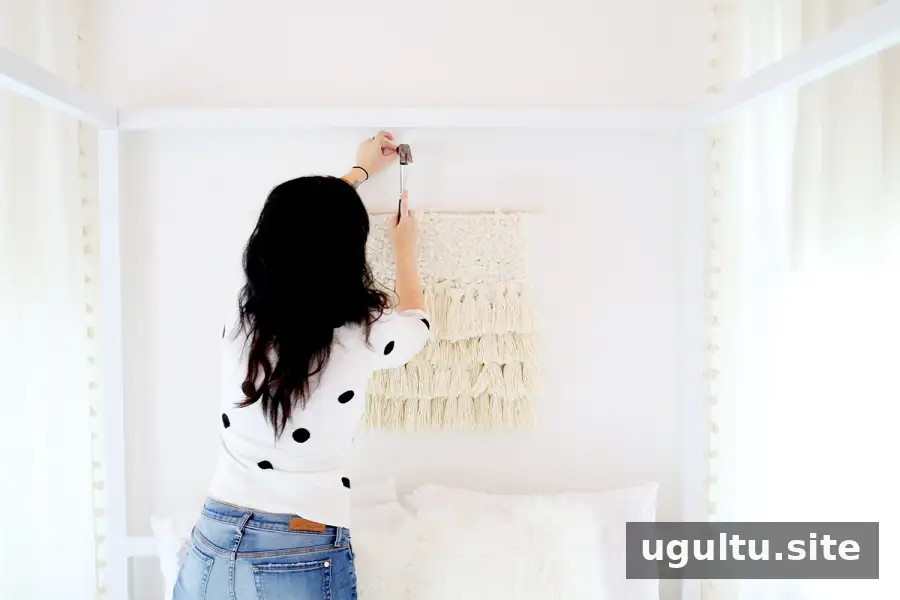
Attach the finished piece to the wooden dowel and use sturdy string to hang it. Check that the dowel and hanging points can support the weight, particularly if the piece is large or made with heavy yarn. Use wall hardware suited to the wall type and the weight of the finished artwork.

Cost and Customization Tips
The original supply estimate was around $100 at regular prices. With store coupons or yarn sales, the cost could be reduced to $60 or less, depending on the project’s size and the materials selected. Check the dimensions and compare yarn quantities before shopping, since the amount needed can vary considerably.
To customize your wall hanging, adjust the mat size, choose a limited color palette, or vary the tassel lengths. Testing a small section before filling the entire mat makes it easier to assess the texture and coverage.

Conclusion
This DIY fiber art project turns yarn, tassels, and a latch hook mat into a textured wall hanging that can be tailored to your space. Measure first, make extra tassels, and use a strong hanging cord so the finished piece is both attractive and securely displayed.