admin
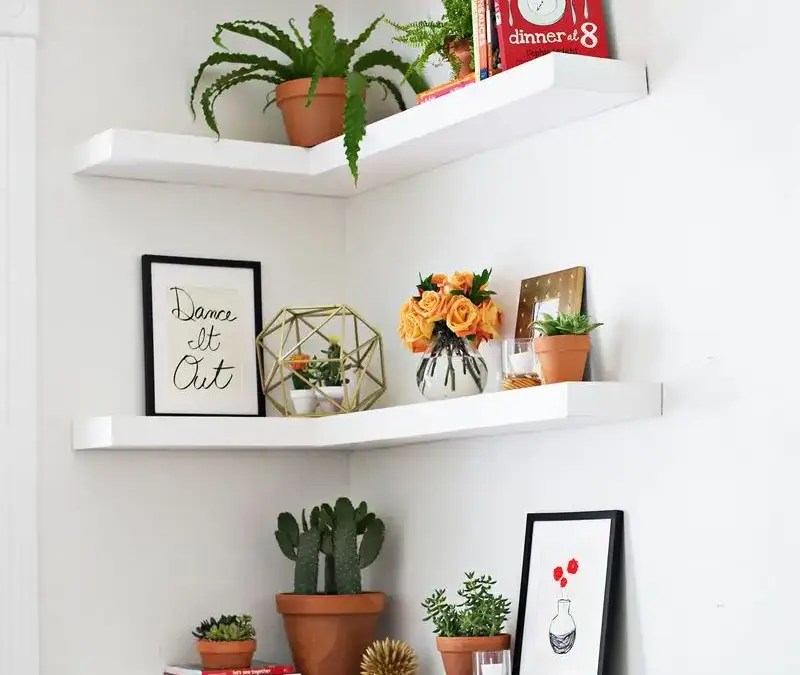
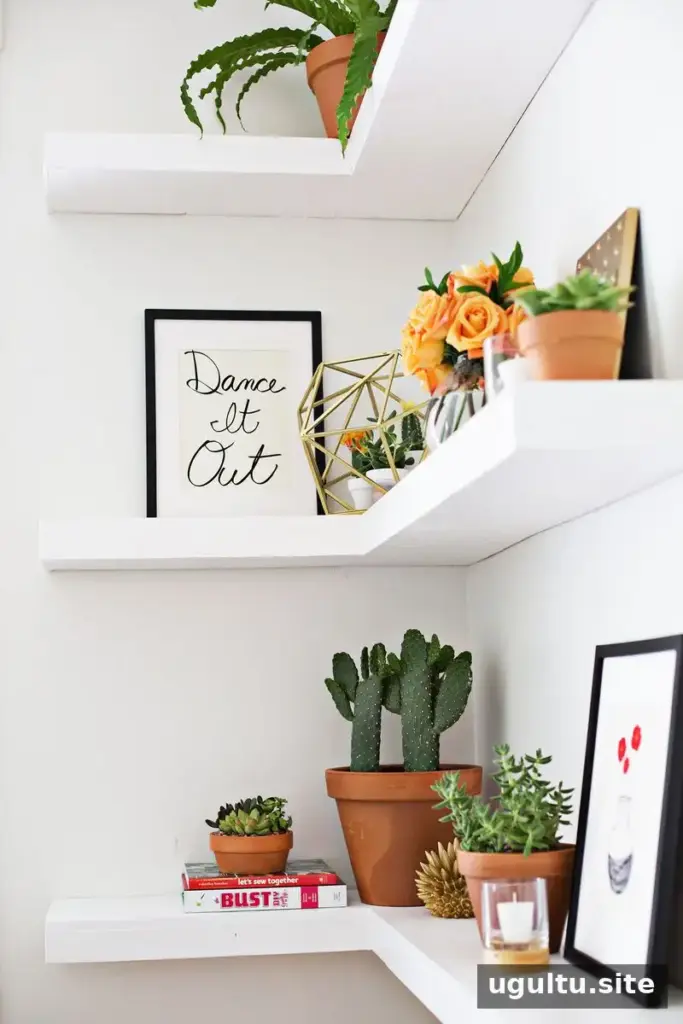
DIY floating corner shelves make use of an often-overlooked part of a room while adding storage and display space without visible brackets. This project explains how to build three shelves for a particular corner; adjust the measurements to suit your wall and room. The materials for the original build were estimated at less than $100, though costs vary by location and lumber prices.
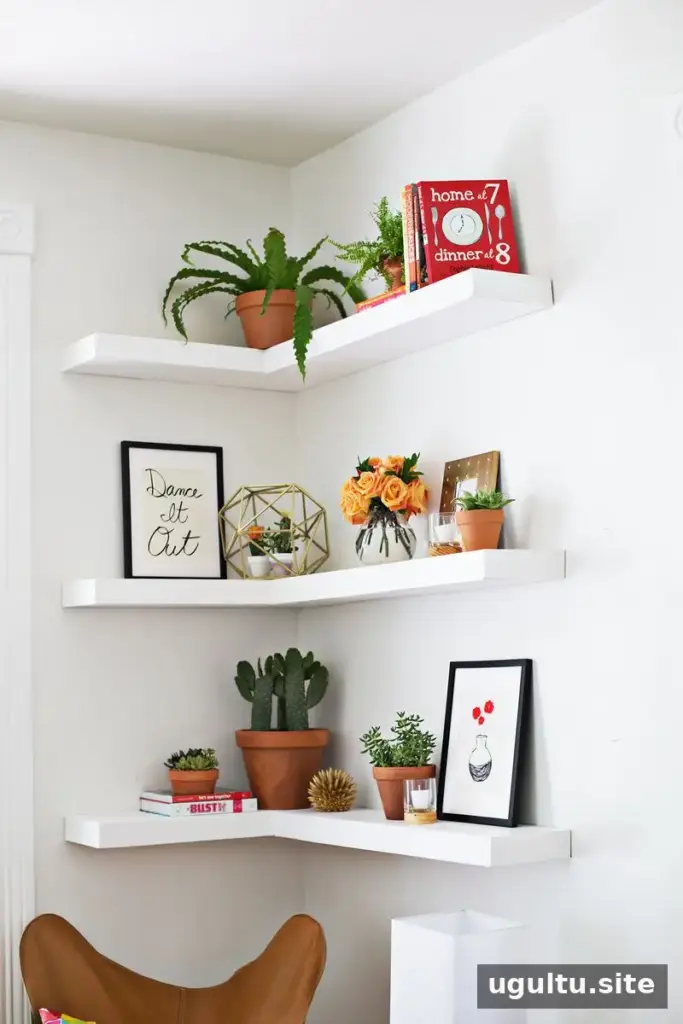
Materials and tools for DIY floating corner shelves
The supply quantities below are for three shelves. Check your available space before buying lumber, and inspect cedar boards for warping so the finished shelves fit together more neatly.
- Six 2 x 4s
- Two 1 x 8 x 12 kiln-dried cedar boards
- One 1/4″ x 4′ x 8′ plywood sheet
- 1 1/4″ wood screws and heavy-duty fasteners
- Spackle, paint, caulk, and wood glue
- Miter saw, table saw, drill, and Kreg pocket hole jig
- Sandpaper, sander, level, step ladder, and stud finder
Use a level to check the layout and locate wall studs before installation. Wear appropriate eye and hearing protection when cutting or sanding, and follow the tool manufacturers’ safety instructions.
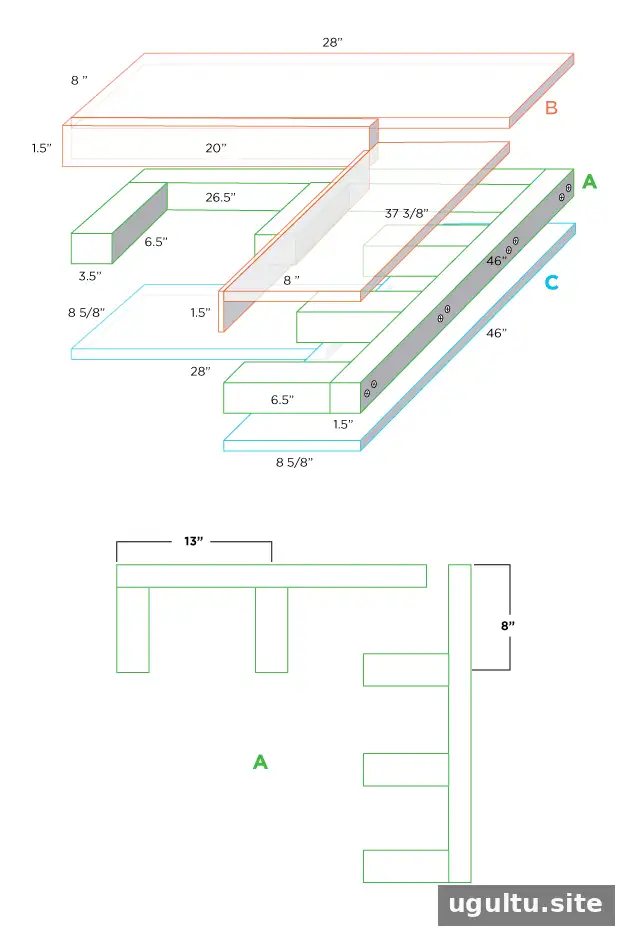
Cut list and preparation
Step 1: Measure and cut the lumber
Plan the cuts before starting and cut the pieces in batches to keep the work organized. The cut list for three shelves is:
- Fifteen pieces, 6 1/2″ x 3 1/2″ (2 x 4)
- Three pieces, 26 1/2″ x 1 1/2″ (ripped 2 x 4)
- Three pieces, 46″ x 1 1/2″ (ripped 2 x 4)
- Three pieces, 28″ x 8 5/8″ (ripped 1 x 8)
- Three pieces, 20″ x 1 1/2″ (ripped 1 x 8)
- Three pieces, 37 3/8″ x 8 5/8″ (ripped 1 x 8)
- Three pieces, 37 3/8″ x 1/5″ (ripped 1 x 8)
For the 1/4″ plywood used to cover the undersides and ends, cut one 8 5/8″ x 46″ piece, one 8 5/8″ x 26 1/2″ piece, and six 2 1/8″ x 8 5/8″ pieces.
Step 2: Sand visible surfaces
Sand the parts that will remain exposed before assembly. It is easier to smooth edges and faces while the pieces are separate. Remove the sanding dust before moving on.
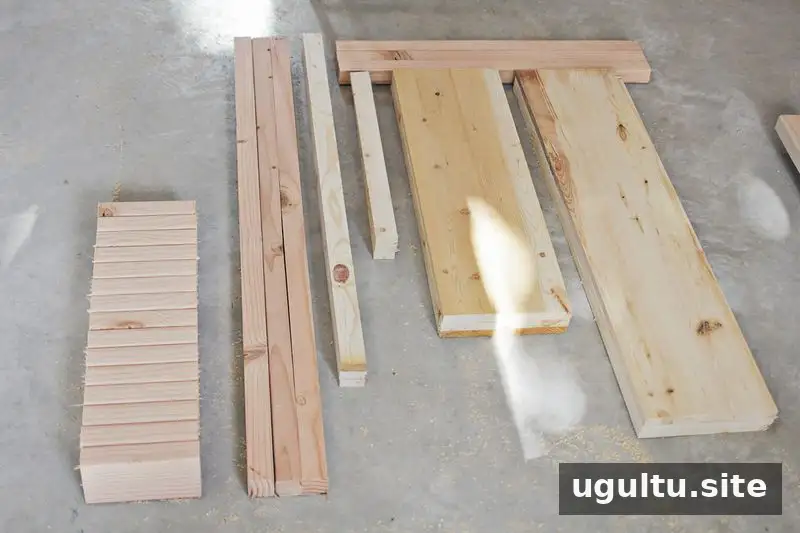
Assemble the shelf supports
Step 3: Build Figure A
Assemble the components shown as Figure A in the project diagram. Clamping the 1 1/2″ piece in place first can help keep the assembly steady while you attach the 6 1/2″ x 3 1/2″ pieces. The original build used two screws for each piece.
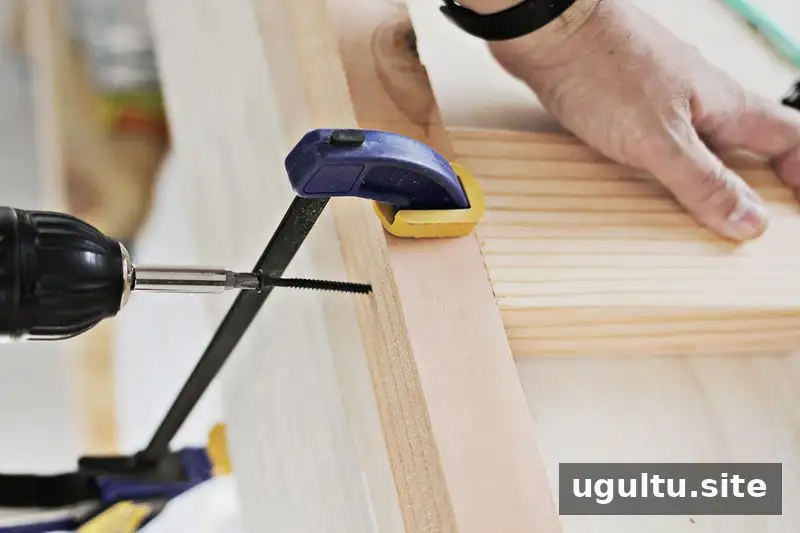
Step 4: Build Figure B
Put together the pieces shown as Figure B, referring to the diagrams for orientation. Dry-fit the parts before fastening them so you can confirm that the shelf components line up as intended.
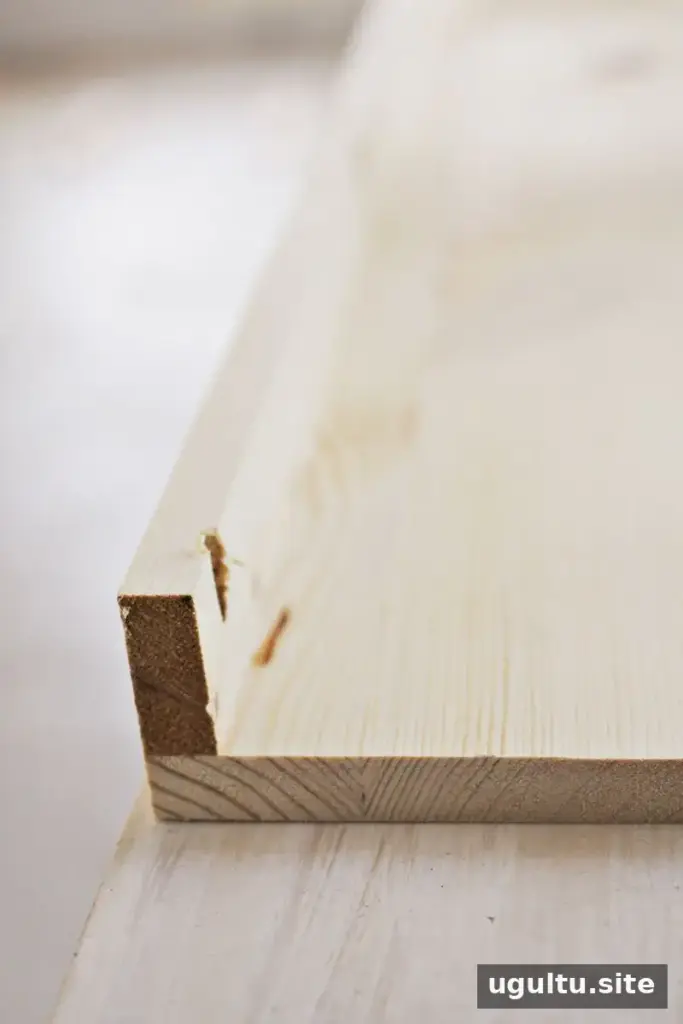
Install and finish the floating corner shelves
Step 5: Mark the layout and attach the supports
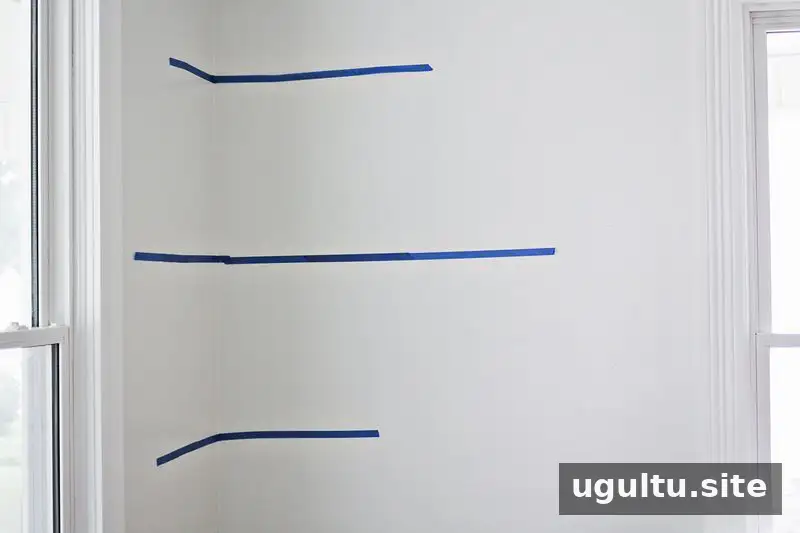
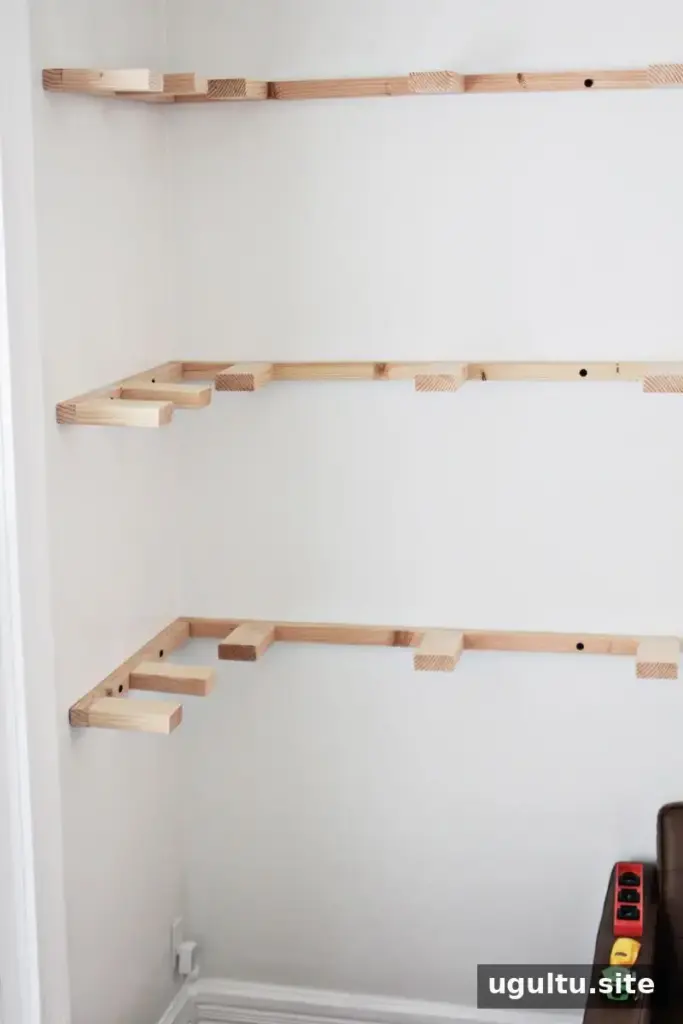
Decide on the shelf spacing, locate the wall studs, and gather the required fasteners before installation. Painter’s tape on the wall can help you preview the arrangement. Starting at the bottom, install all the Figure A pieces, fastening them into studs with heavy-duty fasteners. Confirm each piece is level as you work upward.
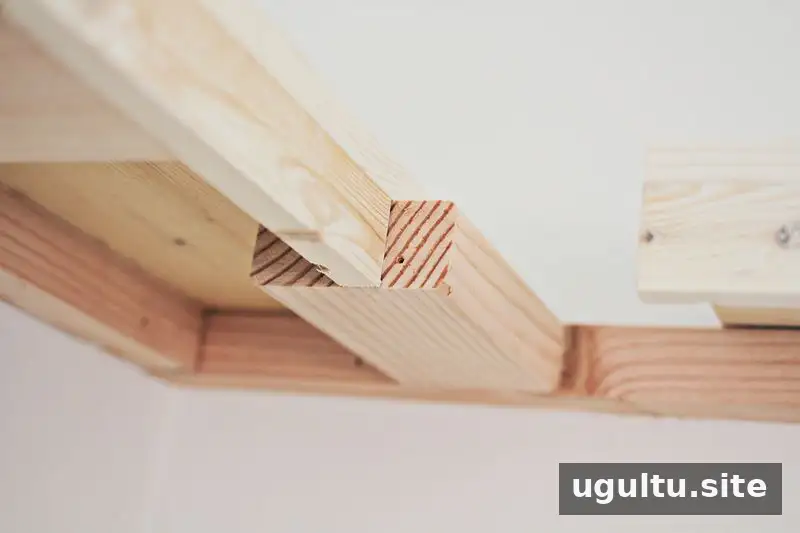
Once the Figure A supports are in place, attach the Figure B pieces with screws or nails. Use fasteners suitable for the materials and make sure the assemblies are secure before adding the covers.
Step 6: Cover the undersides and ends
Attach the plywood pieces to the undersides and ends with screws or nails. Take care to align the edges for a tidy finish, and check that no fasteners interfere with the shelf surfaces.
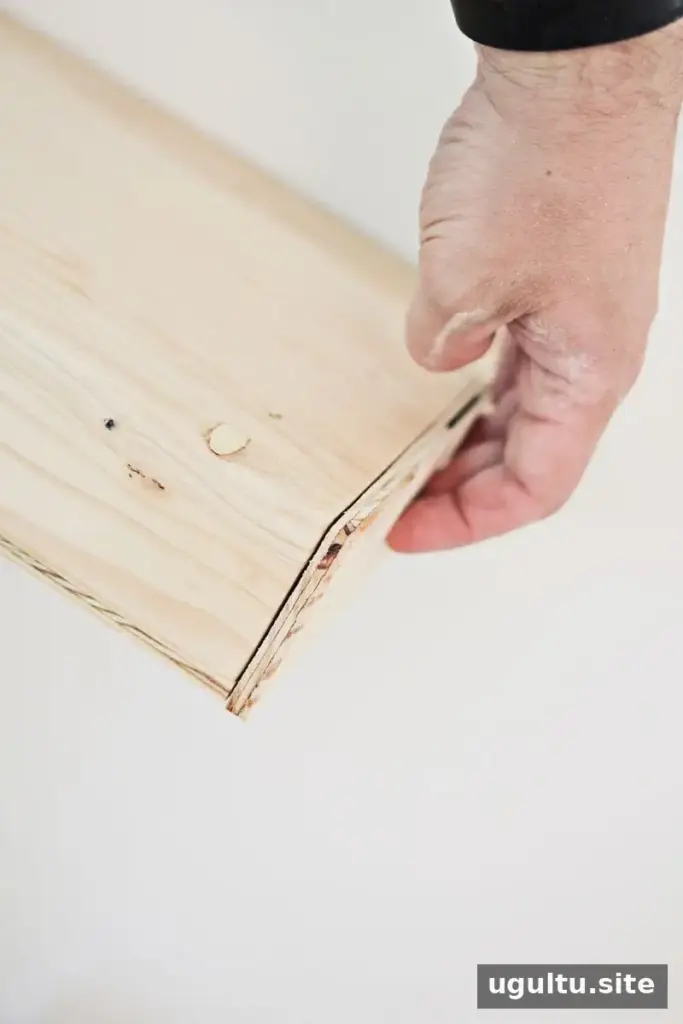
Step 7: Fill gaps and sand
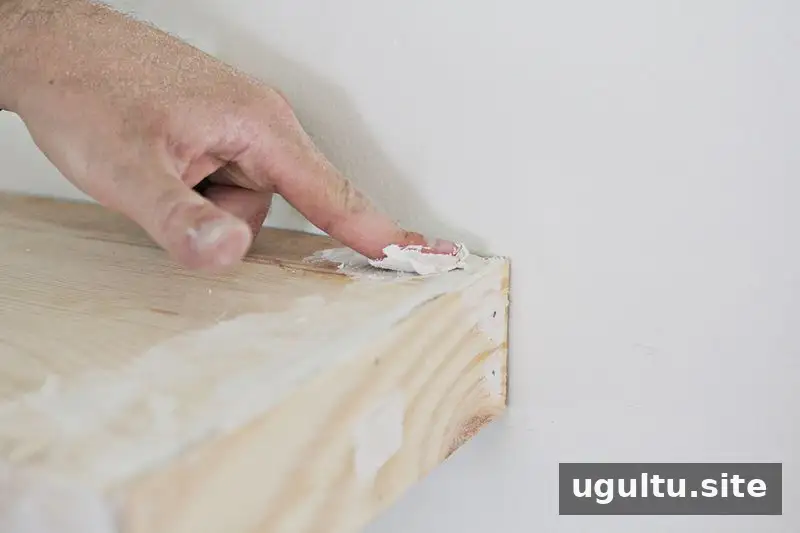
Fill visible nail and screw holes with spackle. Caulking along the shelf edges can help conceal small gaps where the shelves meet the wall. Allow filler and caulk to dry according to their product instructions, then sand smooth. Connecting a vacuum to the sander can help reduce dust during this step.
Step 8: Paint and style
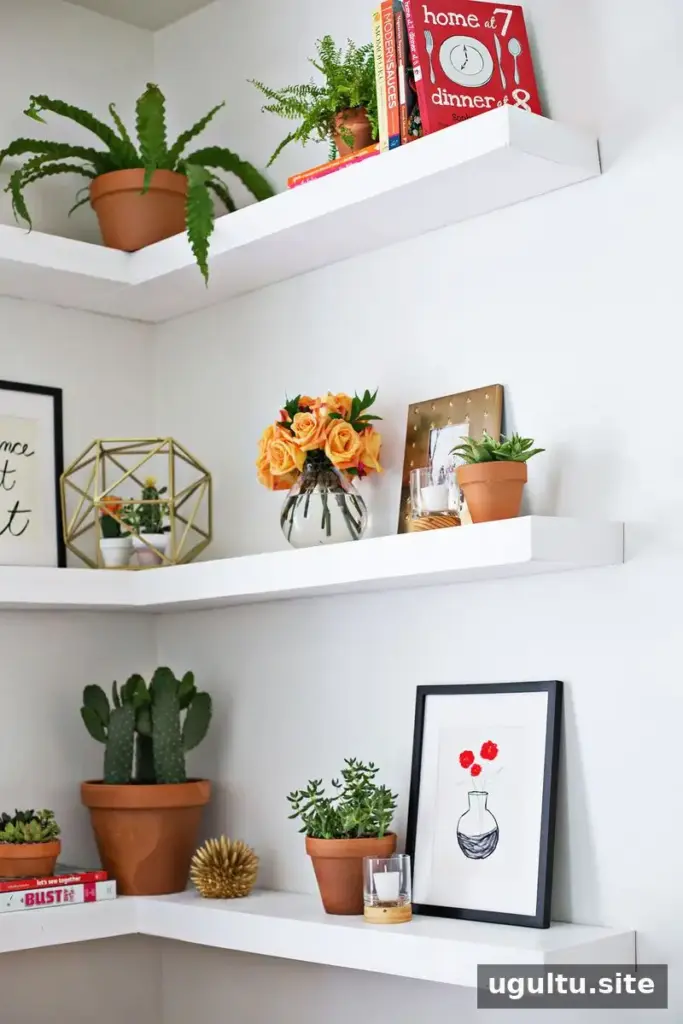
If the wall will be painted a different color, mask the surrounding area with painter’s tape. Paint the shelves and let the finish dry fully before placing objects on them. Frames, plants, and books can add visual interest, but keep the display balanced and avoid placing more weight on the shelves than the installed supports can safely handle.
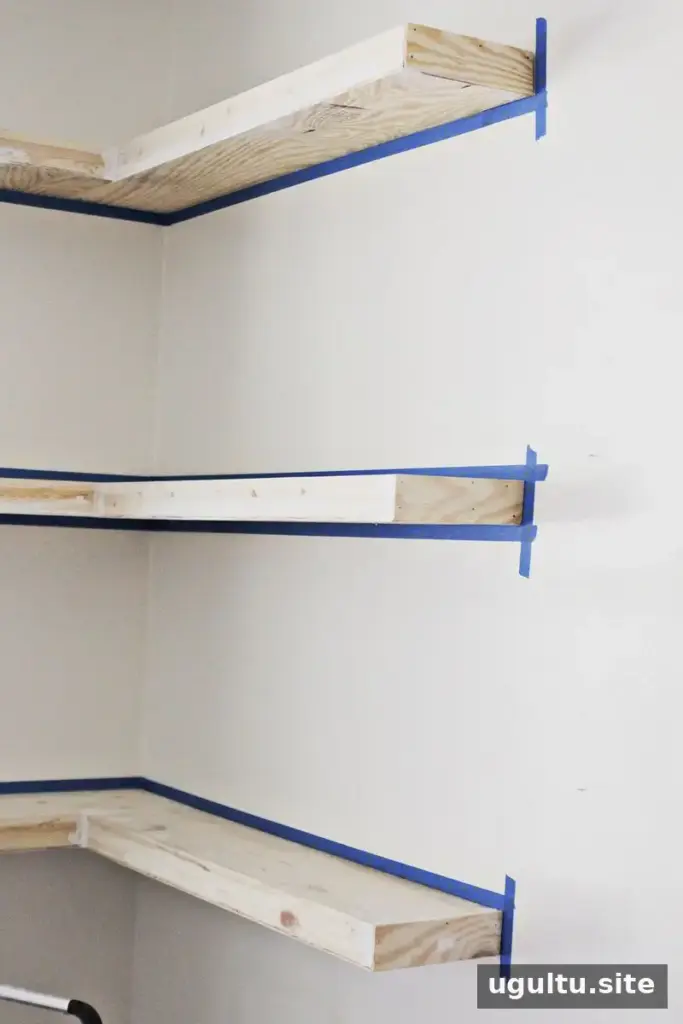
With careful measuring, secure attachment to wall studs, and a smooth finish, DIY floating corner shelves can turn an unused corner into practical display space.