
 admin
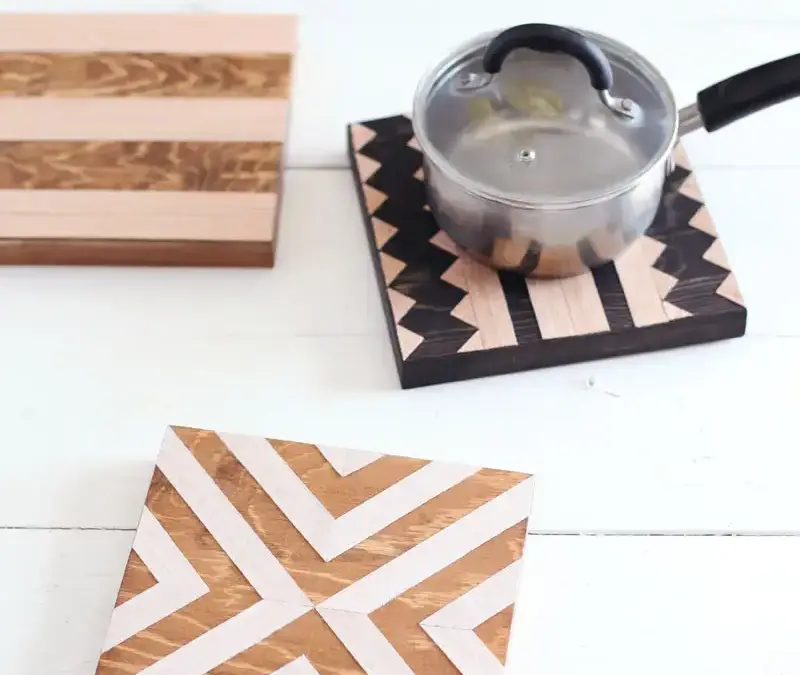
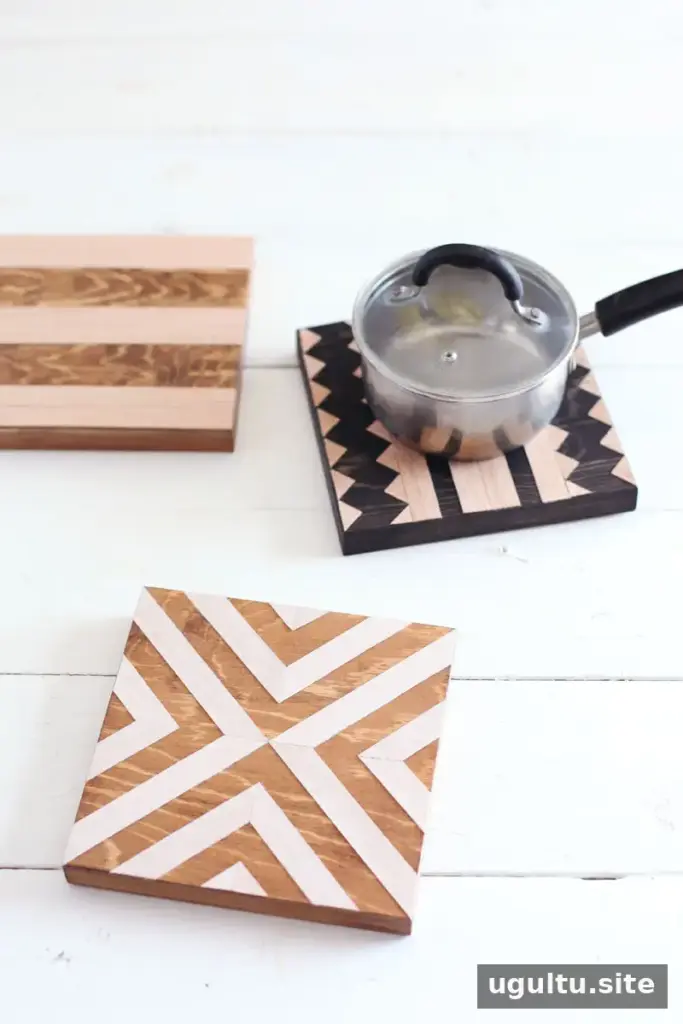
Marquetry is the craft of arranging thin pieces of wood into decorative patterns. This project brings a simplified version of that technique to DIY geometric wood trivets, combining stained wooden squares with iron-on veneer tape. The finished pieces can serve as table accents when in use and as wall decor when stored.
Rather than covering each base completely, the design leaves some of the stained wood visible. This creates contrast and texture while keeping the pattern relatively straightforward to assemble.
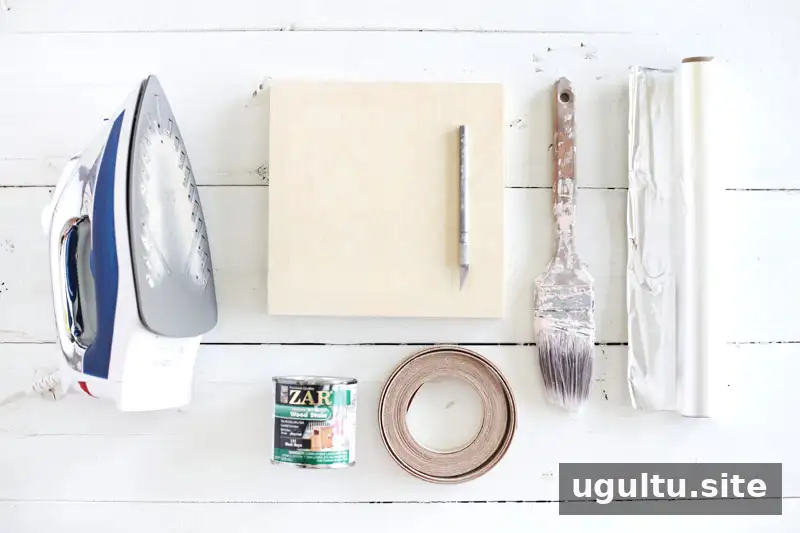
Supplies
- Wooden squares, such as gallery panels intended for art
- Wood stain and a brush or rags for applying it
- Paper to protect the work surface
- Mineral spirits or paintbrush cleaner, if needed for cleanup
- Iron-on veneer tape; oak was chosen for durability in this project
- An iron
- Foil or craft paper to protect the iron
- Scissors or a craft blade
- A metal ruler and cutting mat, optional
How to Make DIY Geometric Wood Trivets
1. Stain the wooden bases
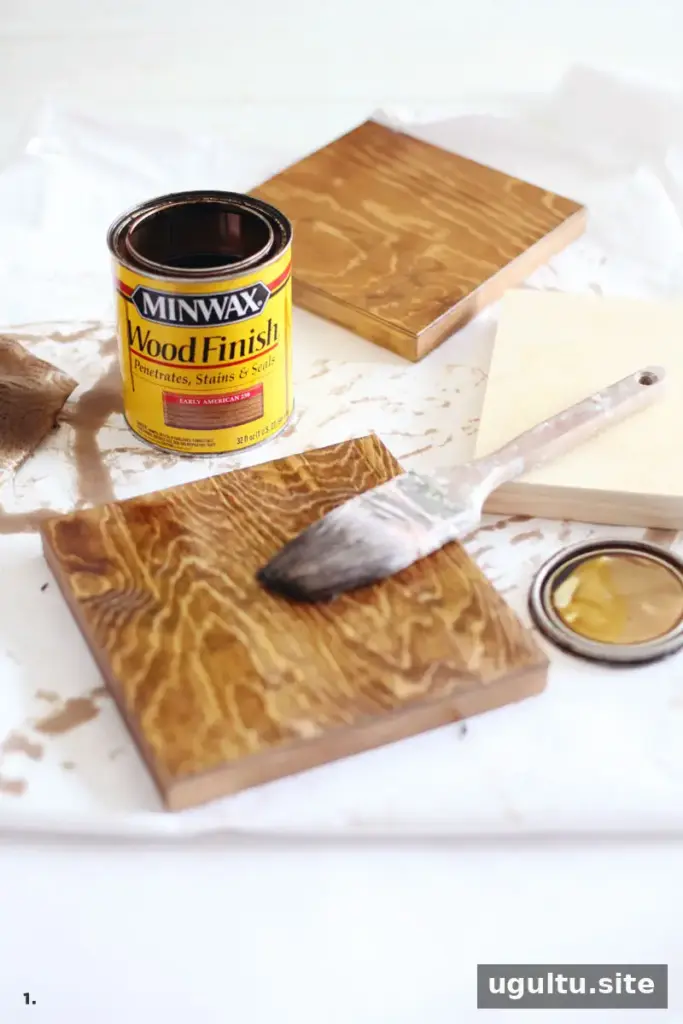
Work in a well-ventilated area and apply stain to the wooden squares according to the product directions. Using two stain colors can add variety to a set. Let the bases dry fully before adding veneer so the surface is ready for the next step.
Handle stain-soaked rags carefully. Follow the stain manufacturer’s disposal instructions; the original project recommends soaking used rags in water and taking them to a hazardous-waste facility. If you use a brush, clean it with mineral spirits or an appropriate brush cleaner as directed on the product label.
2. Cut and arrange the veneer
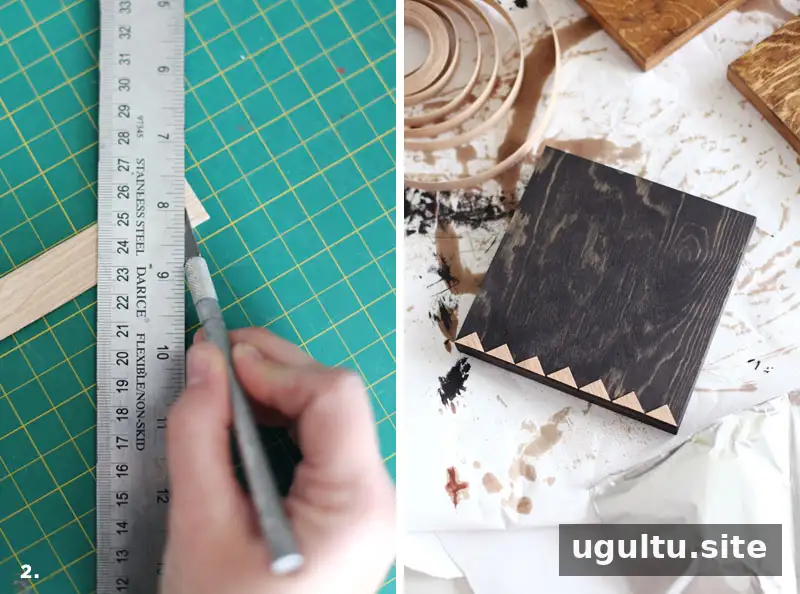
Cut the veneer tape into strips or shapes with scissors or a craft blade. A cutting mat’s diagonal guides can help create consistent angles, while a metal ruler can assist with straight cuts. Arrange the pieces on the stained base before ironing to check the pattern and spacing.
3. Secure the design with an iron
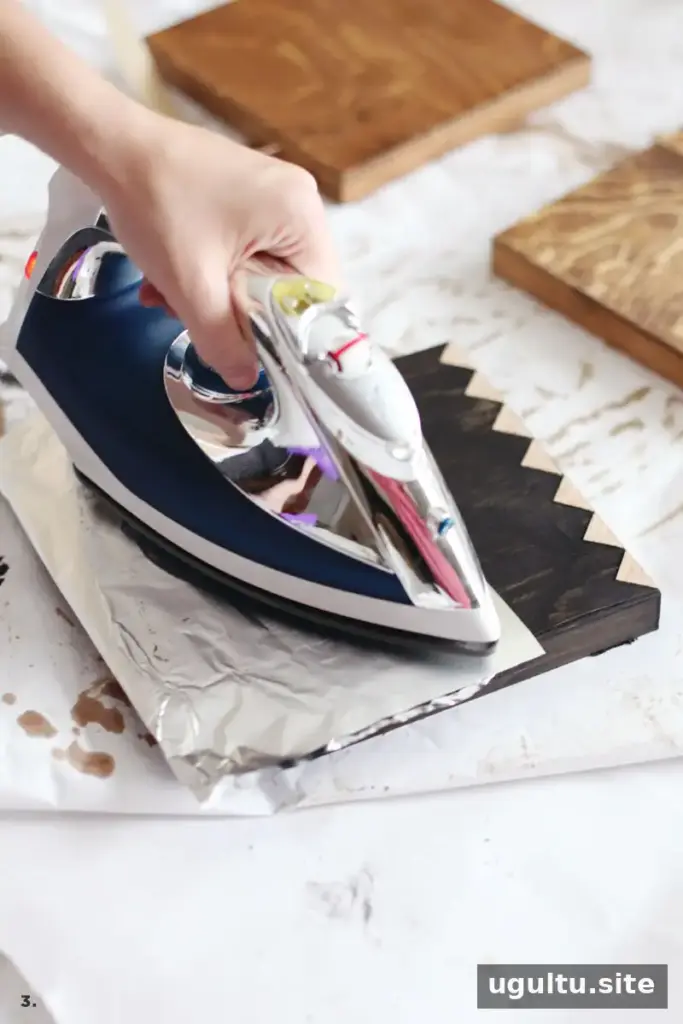
Cover the arranged veneer with foil or craft paper to protect the iron from adhesive. Check that the pieces have not shifted beneath the covering. Set the iron to the cotton setting and press lightly for about ten seconds.
Avoid pressing too firmly, since excess pressure can force adhesive out from under the veneer. Use a clean section of foil or paper for each press; adhesive transferred from a used section may stick to the veneer surface.
If a piece needs adjusting, gently reheat it. While the veneer is warm, it may be possible to nudge it back into position. Repeated heating makes it harder to move, so check the layout carefully before securing the design. Once the adhesive has cooled and set, repositioning may no longer be practical.
Finishing and Using the Trivets
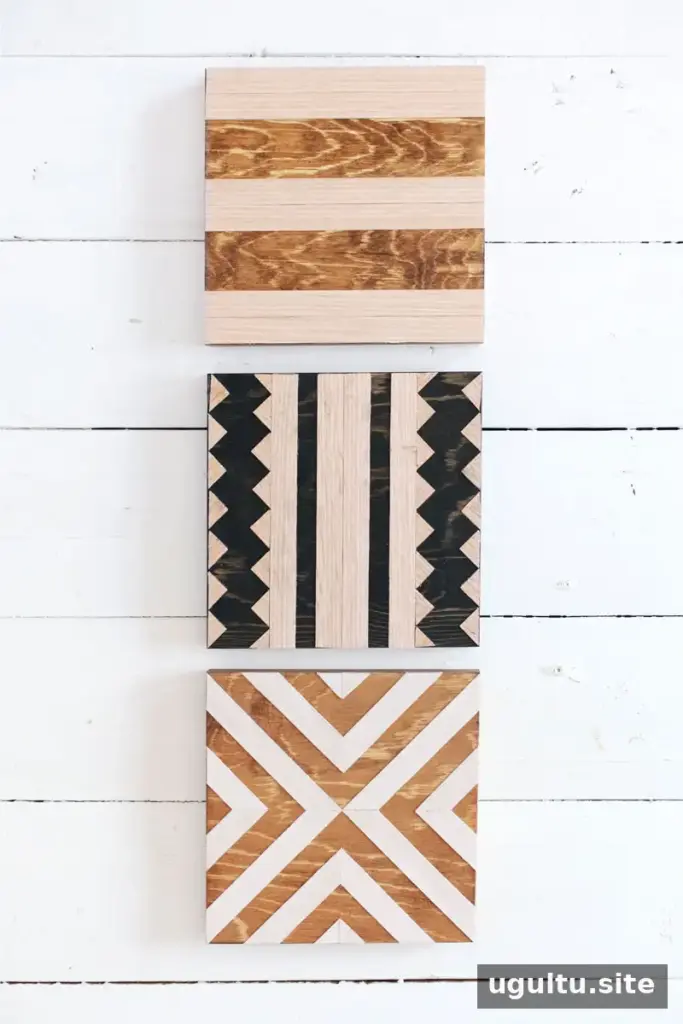
Leaving gaps between veneer strips exposes the stained wood and gives the design added depth. It also avoids the more exacting work of fitting many strips edge to edge. Make sure the veneer is firmly attached and the surface is suitable for the dishes you plan to place on it.
The original project tested a trivet the day after assembly by setting a kettle of freshly boiled water on it for ten minutes. The wood became hot but did not discolor, and the veneer remained in place. This is a useful example of a basic check, not a guarantee that every trivet will suit every temperature, cookware material, or length of use. Test cautiously, and do not place a hot item on a surface unless the materials and finish are appropriate for that use.
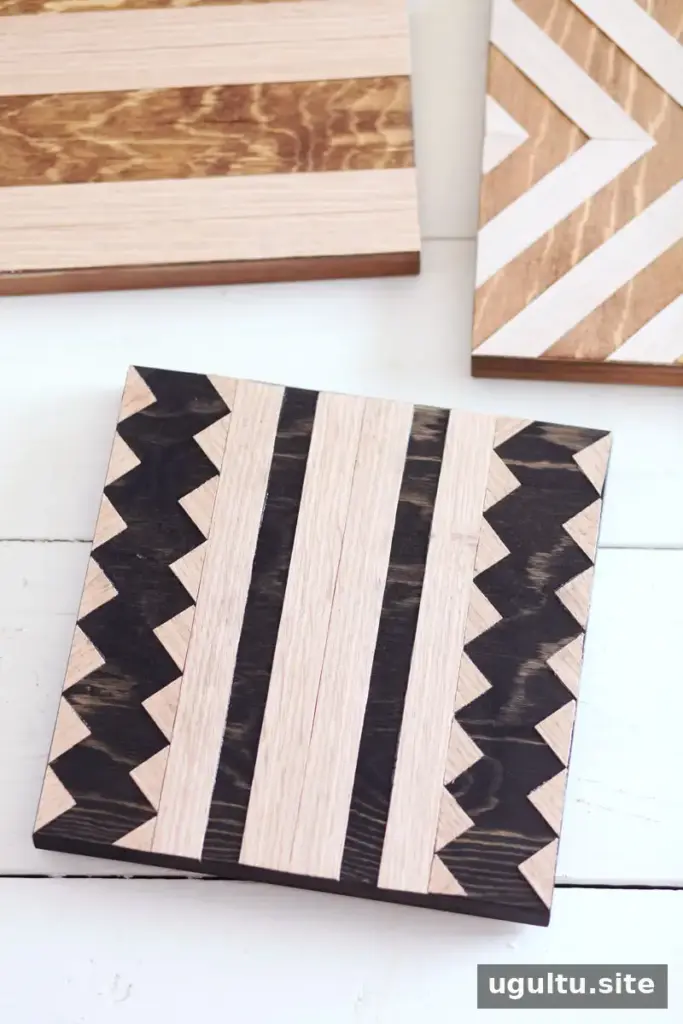
These geometric trivets bring decorative pattern and everyday function together. When not protecting a tabletop, they can be displayed on a kitchen wall. — Mandi
Conclusion
DIY geometric wood trivets are a manageable way to explore a marquetry-inspired look with basic materials and a simple iron-on technique. Plan the pattern before pressing, protect the iron from adhesive, and follow safe handling and disposal directions for stain. With careful assembly, the finished pieces can add a practical, handcrafted accent to a dining or kitchen space.


