admin
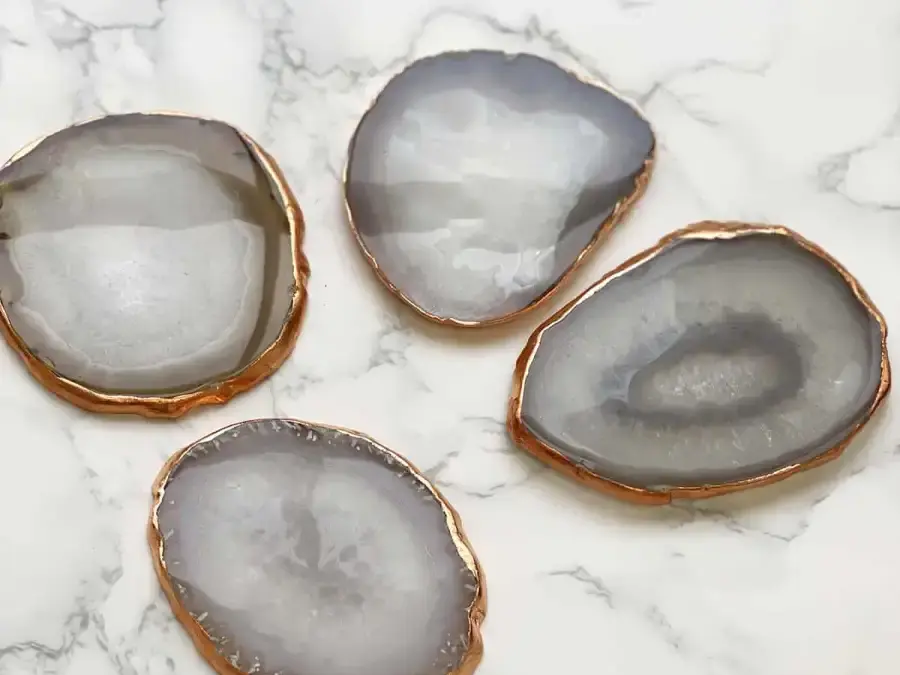
DIY gilded crystal coasters add a polished metallic edge to natural agate while helping protect tables from drink moisture. This six-step project uses copper metal leaf and polyurethane rather than painted edges. The project is credited to designer Oneka Benn Schwartz, a maker who specializes in gemstone home decor.
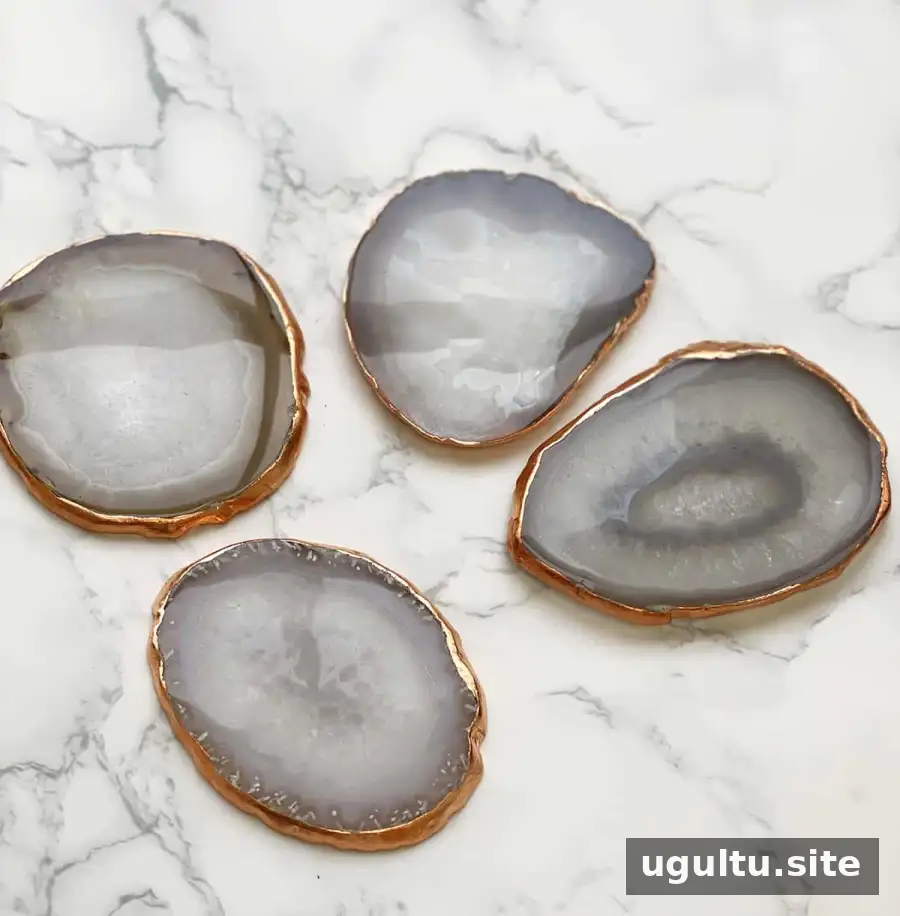
The method is straightforward, but the adhesive needs time to become tacky before the leaf is applied. Work on a protected surface and follow the drying directions on the adhesive and polyurethane labels.
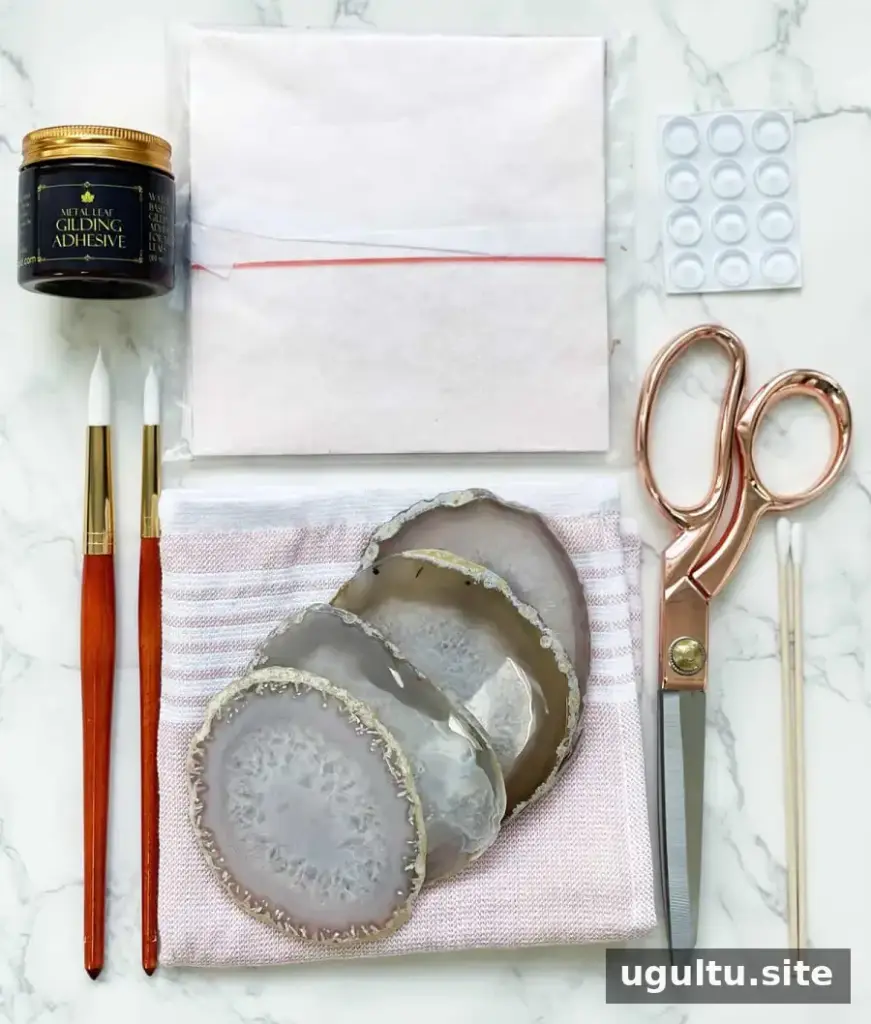
DIY Gilded Crystal Coasters: Supplies and project details
The listed cost is $50 and the yield is four coasters. Prep time is listed as 0 minutes, with 30 minutes listed for the project. Allow additional time for the adhesive and protective finish to dry according to their product instructions.
- Agate coasters
- Copper metal leaf
- Gilding adhesive
- Polyurethane
- Two small paintbrushes
- Scissors
- Dish towel or rag
- Cotton swabs
- Goo Gone, if needed
- About four cabinet bumpers per coaster
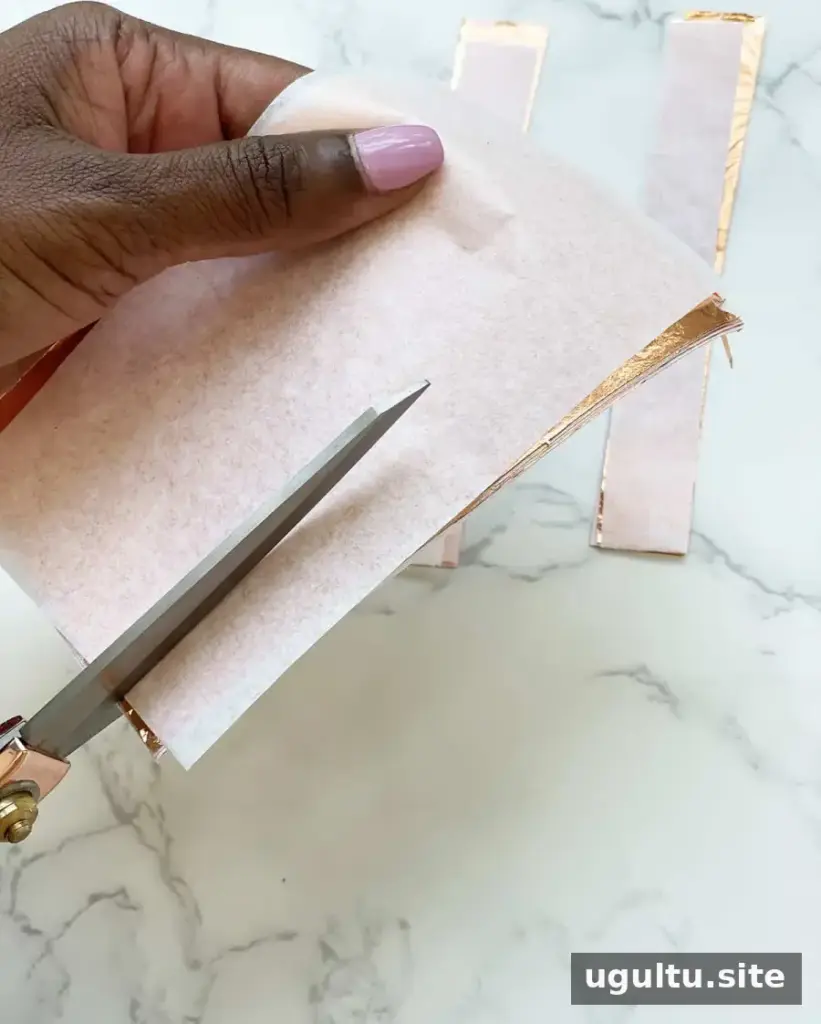
How to make gilded agate coasters
1. Cut the metal leaf
Use scissors to cut the copper metal leaf into strips about ¾ inch wide. Prepare a few strips so they are within reach when you begin applying the leaf.
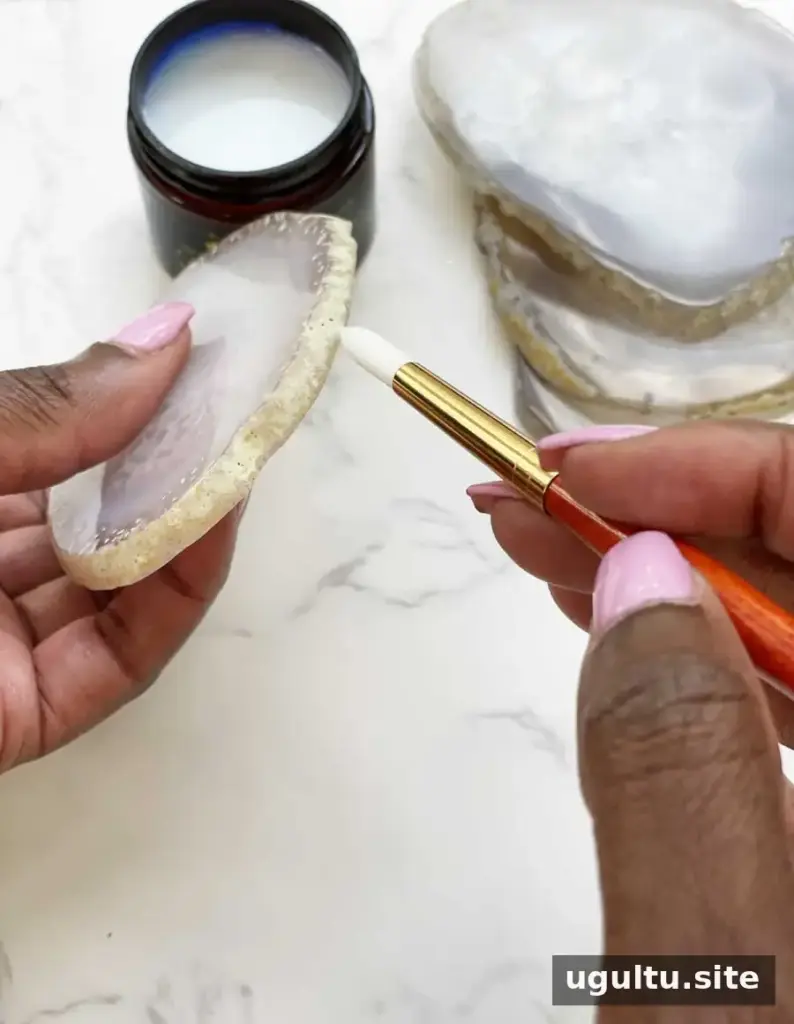
2. Apply adhesive and attach the leaf
With a paintbrush, spread a thin, even coat of gilding adhesive along the rough edge of one coaster. Leave it for about 15 minutes, or until it no longer looks milky white and feels tacky, following the adhesive label if its directions differ.
Lay a strip of metal leaf on your work surface. Place the coaster edge against the leaf and roll the coaster so the leaf covers the edge. One or two strips will usually cover a coaster. Handle the leaf gently, since thin metal leaf can tear or wrinkle.
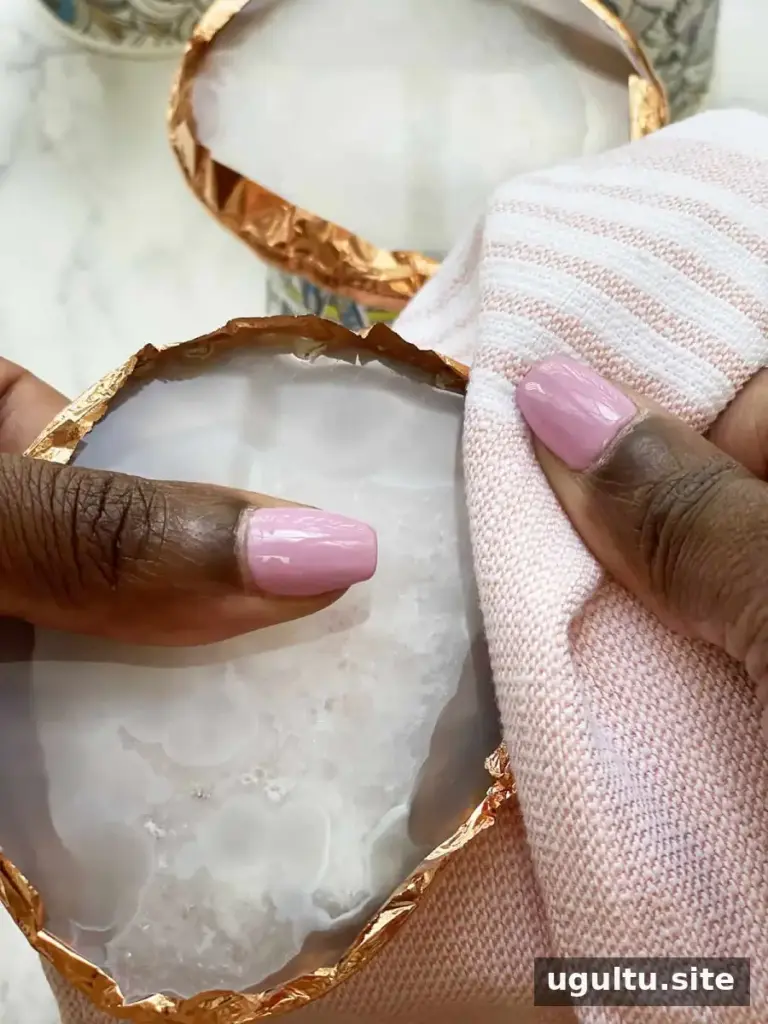
3. Remove excess and add a second layer
Use a dish towel or rag to gently wipe away excess leaf from the coaster. Brush on another thin coat of adhesive, wait until it is tacky, then apply a second layer of leaf. Wipe away loose excess again for a more even finish.
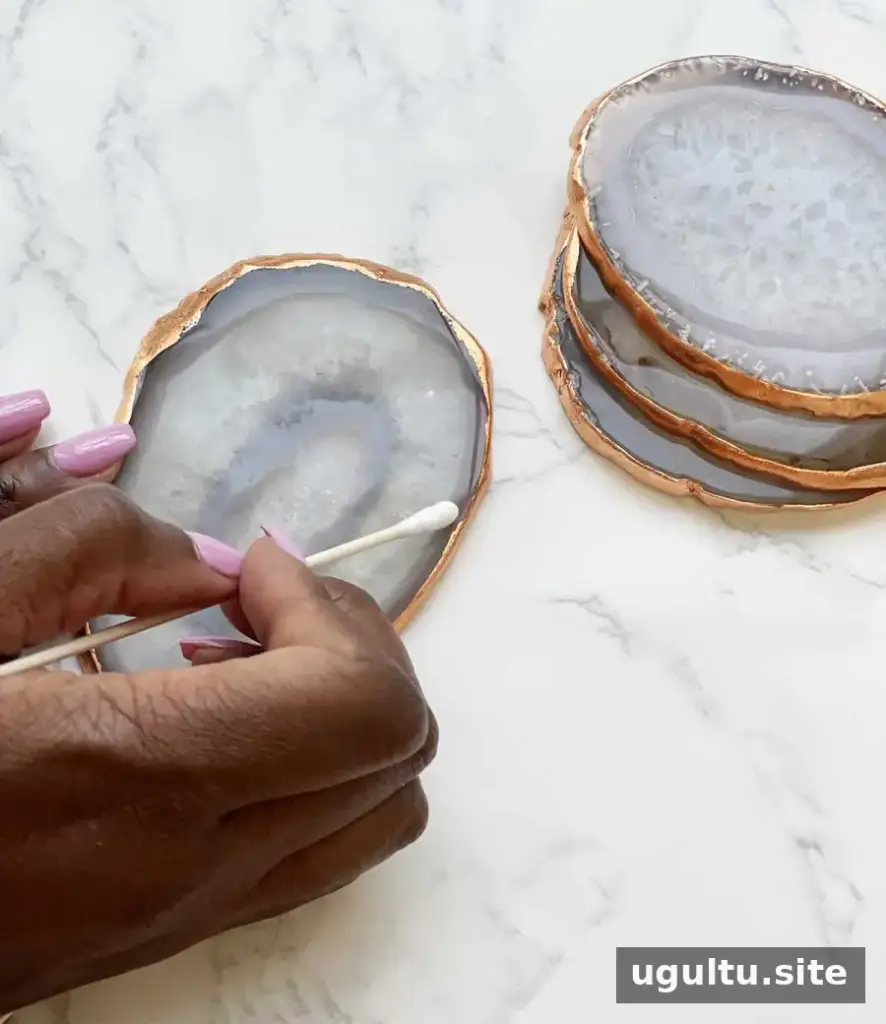
4. Clean up stray leaf
If metal leaf extends beyond the edge where you do not want it, use a cotton swab with a small amount of Goo Gone to tidy the area. Test carefully and avoid disturbing the leaf you want to keep.
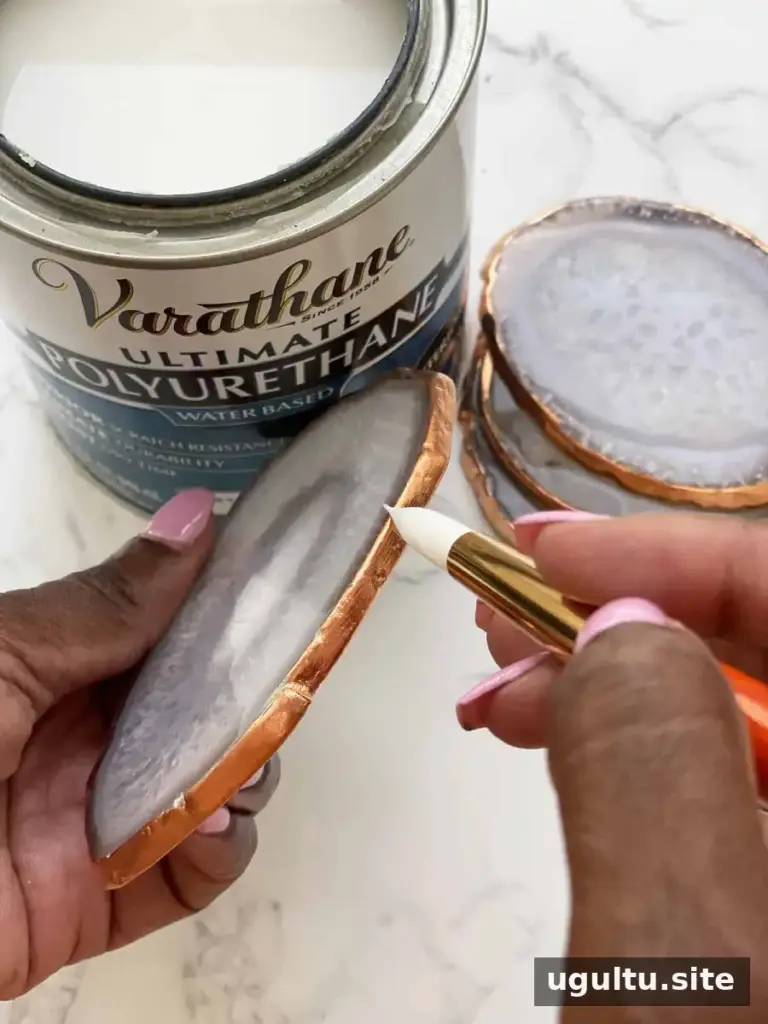
5. Seal the gilded edge
Use a clean second paintbrush to apply a thin coat of polyurethane over the leafed edges. Let it dry as directed on the product label, then add a second thin coat for extra protection. Keep the coasters aside until the finish is fully dry and cured according to the manufacturer’s instructions.
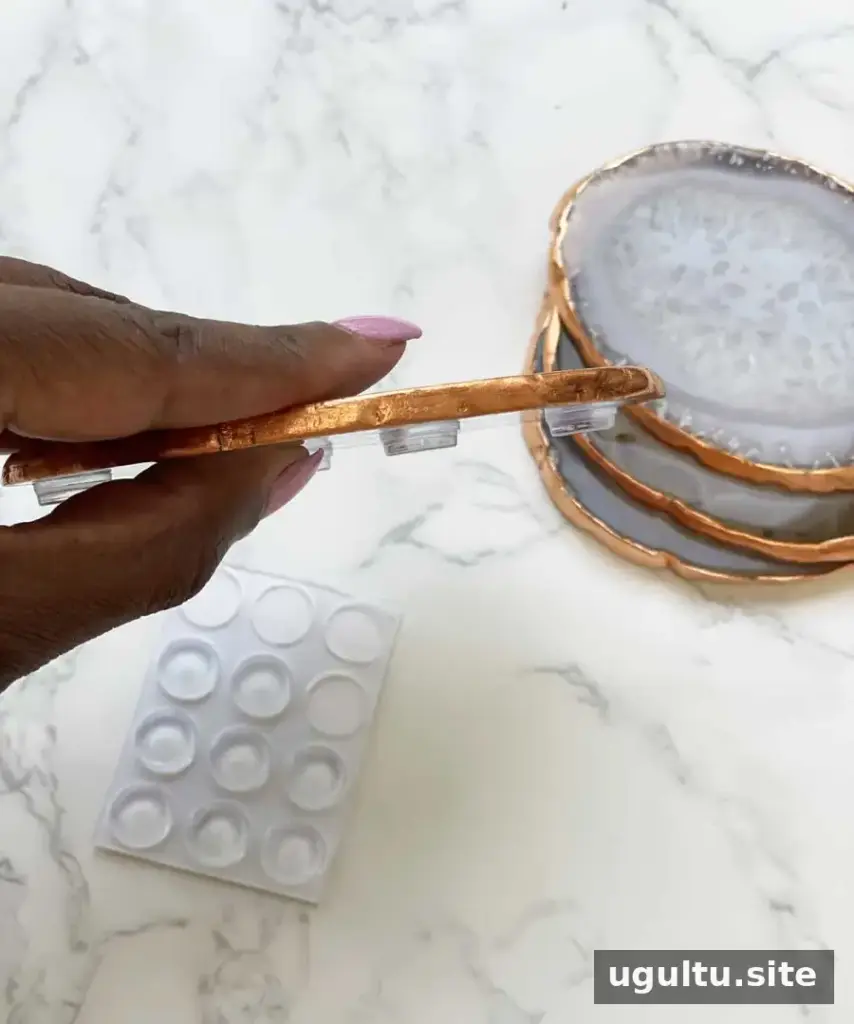
6. Add cabinet bumpers
Attach cabinet bumpers to the bottom of each coaster—about four per coaster—to help prevent scratches on the surfaces beneath them. Press them into place and check that the coaster sits steadily before setting it on a table.
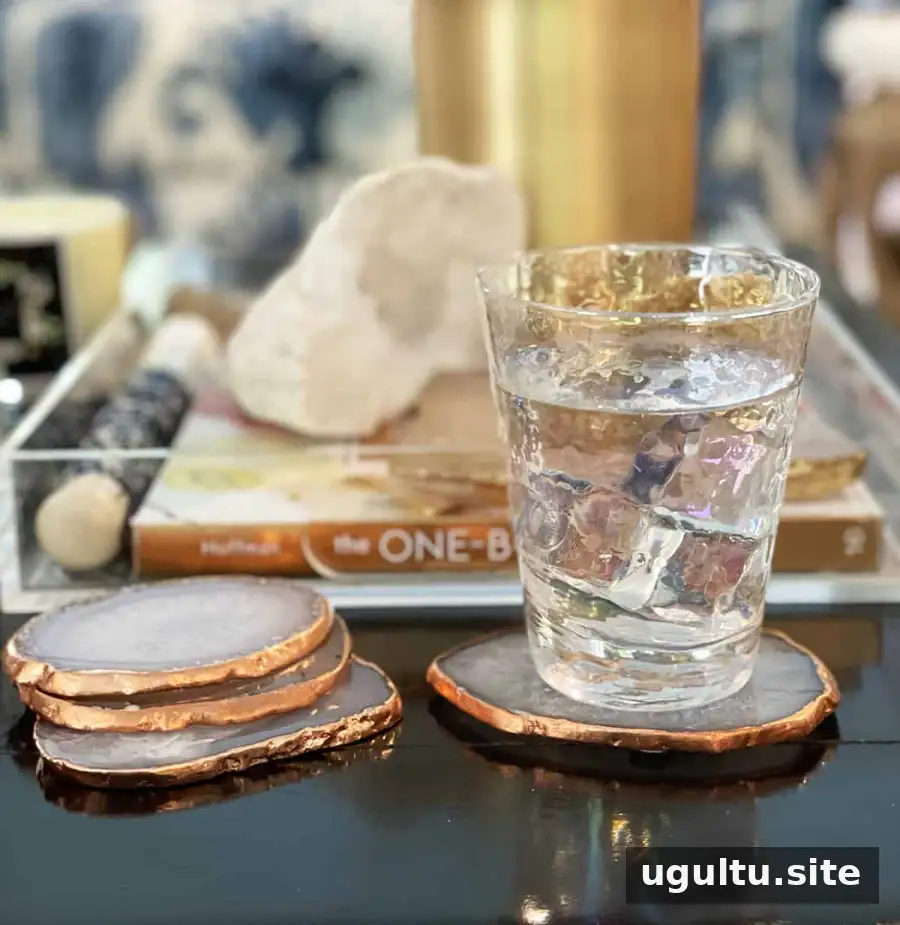
Finishing tips
- Apply adhesive and polyurethane in thin coats for more even coverage.
- Give each product enough drying time; the 30-minute project listing does not include all drying or curing time.
- Use Goo Gone sparingly for cleanup and follow its label directions.
- Wait until the protective finish is fully cured before using the coasters.
With copper leaf, sealed edges, and protective bumpers, these DIY gilded crystal coasters combine the natural pattern of agate with a neat metallic detail. Take your time with the tacky adhesive and drying stages for a cleaner finish.