admin
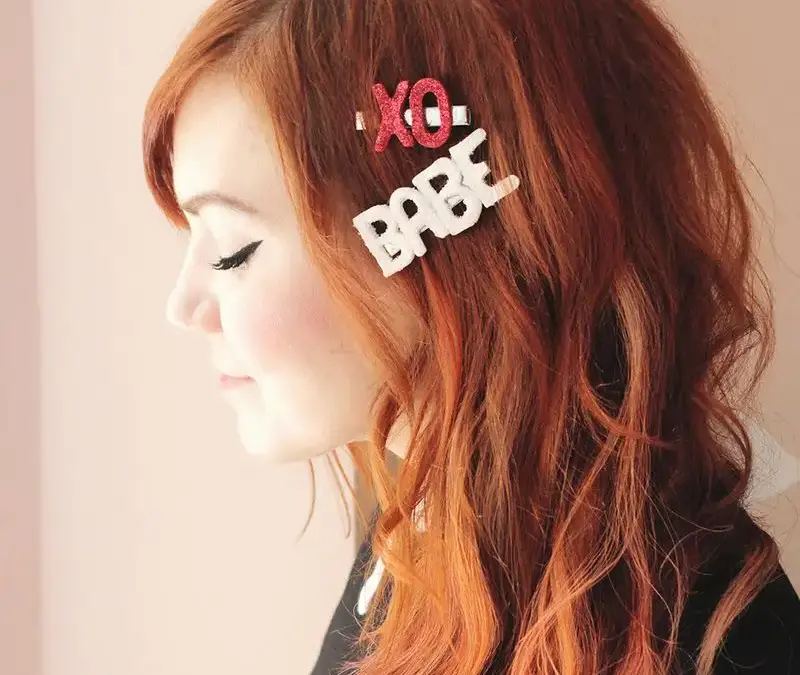
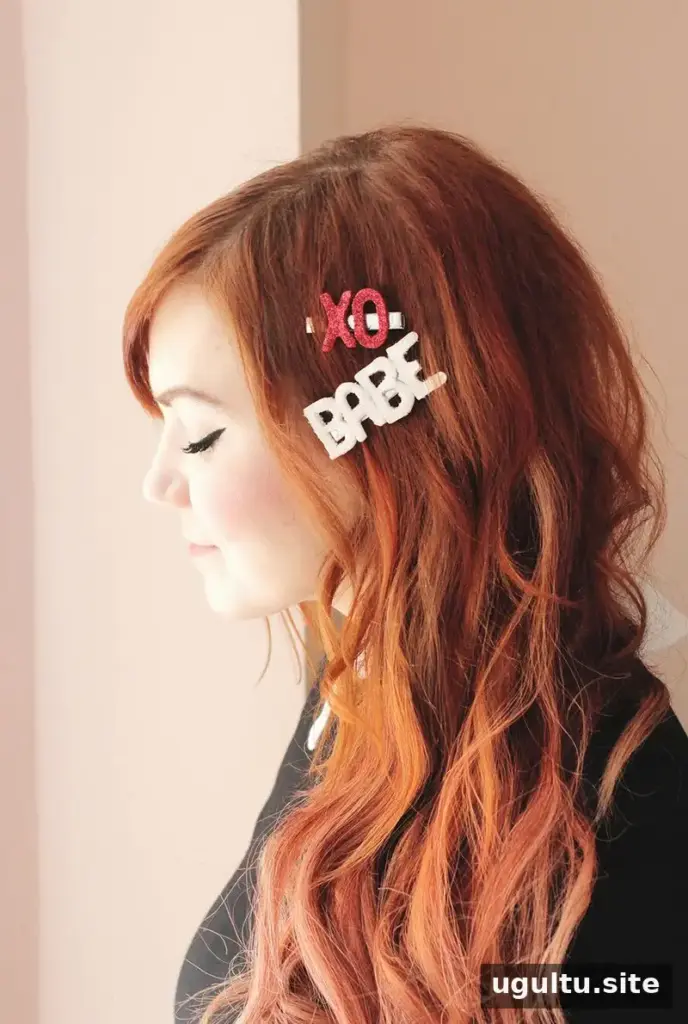
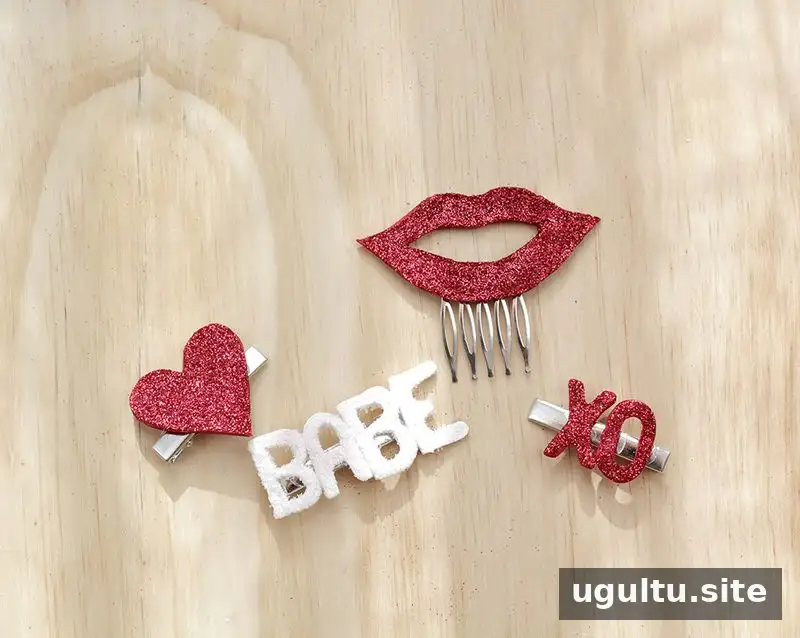
DIY glitter barrettes are a simple way to turn oven-bake clay and a few craft supplies into personalized hair accessories. Letter-shaped designs add a playful detail, while glitter gives each clip a bright finish. Choose shapes or letters that suit your style, and prepare a covered work surface before you begin.
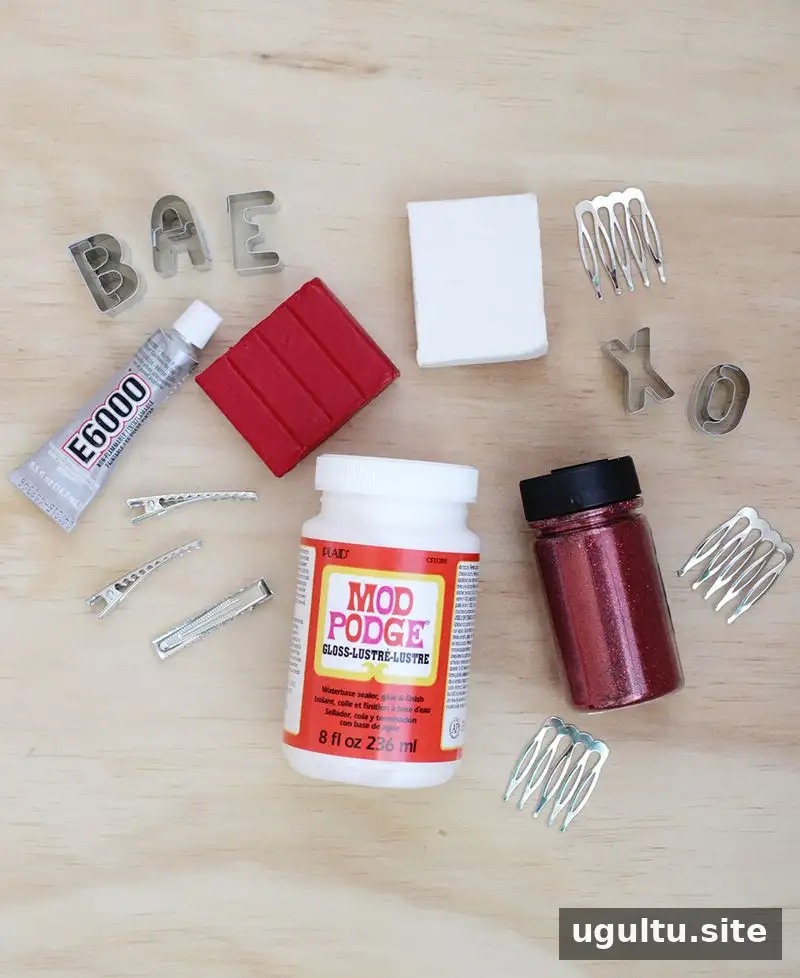
Supplies for DIY Glitter Barrettes
- Oven-bake clay
- Strong craft adhesive suitable for clay and metal
- Decoupage medium or craft glue
- Fine glitter
- Barrette blanks
- Letter cookie cutters
- Small rolling pin
- Wax paper or another suitable surface covering
Check that the adhesive is appropriate for the materials you are joining, and follow its package directions. Fine glitter can spread easily, so placing a sheet of paper beneath your work makes cleanup easier.
How to Make DIY Glitter Barrettes
Step 1: Shape and bake the clay
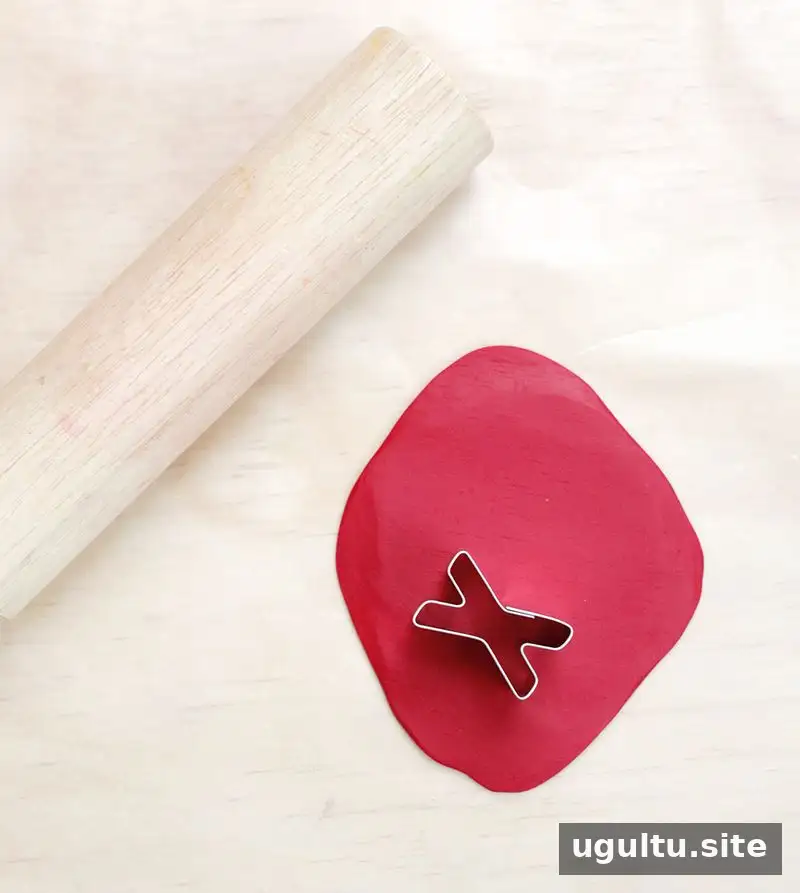
Cover your work surface, then roll the clay out with a small rolling pin. Use letter cookie cutters to cut out your designs. Arrange the shapes carefully and bake the clay according to the instructions on its package. Baking times and temperatures can vary by product, so use the directions provided rather than guessing.
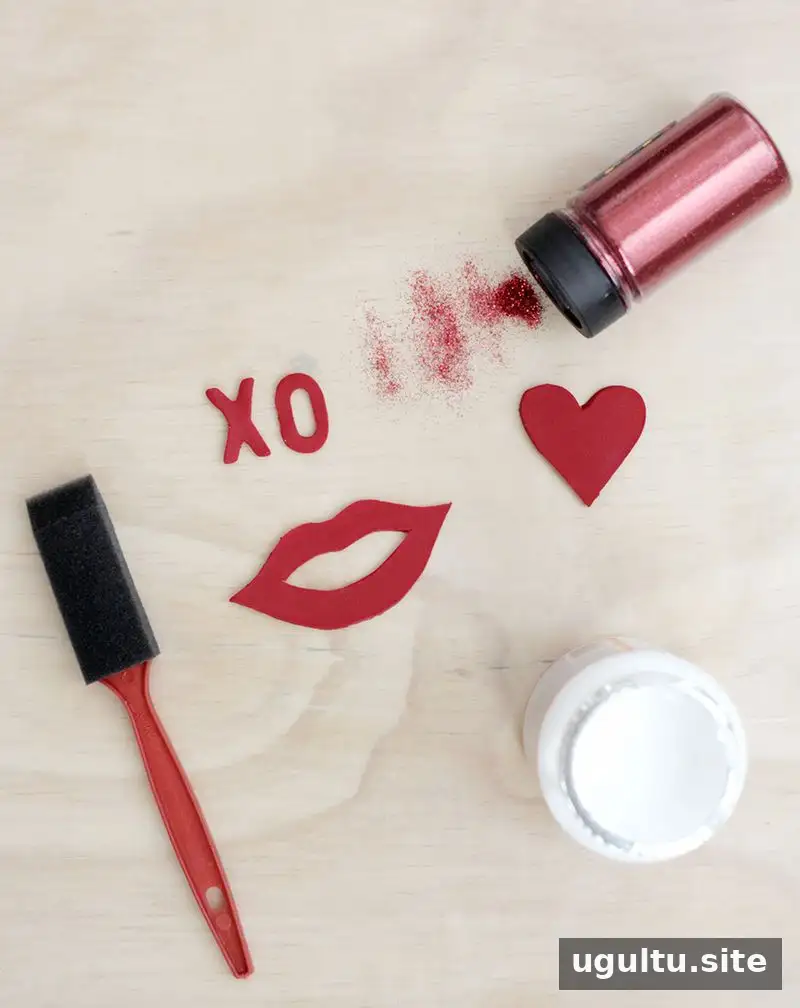
Step 2: Add the glitter
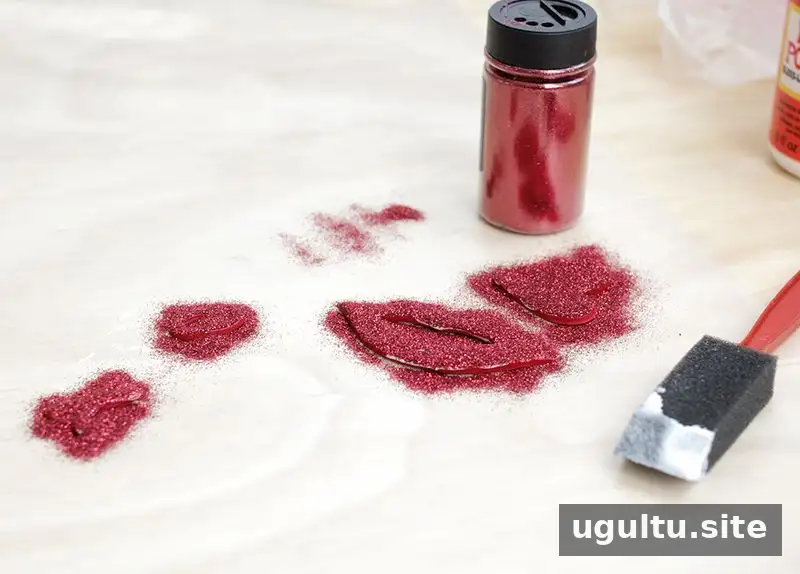
Allow the baked clay pieces to cool completely before decorating. Apply a layer of decoupage medium or craft glue to the surface, then sprinkle fine glitter over it. Work over a paper-covered area to catch excess glitter. Let the coating dry fully before moving on; attaching the pieces too soon may disturb the finish.
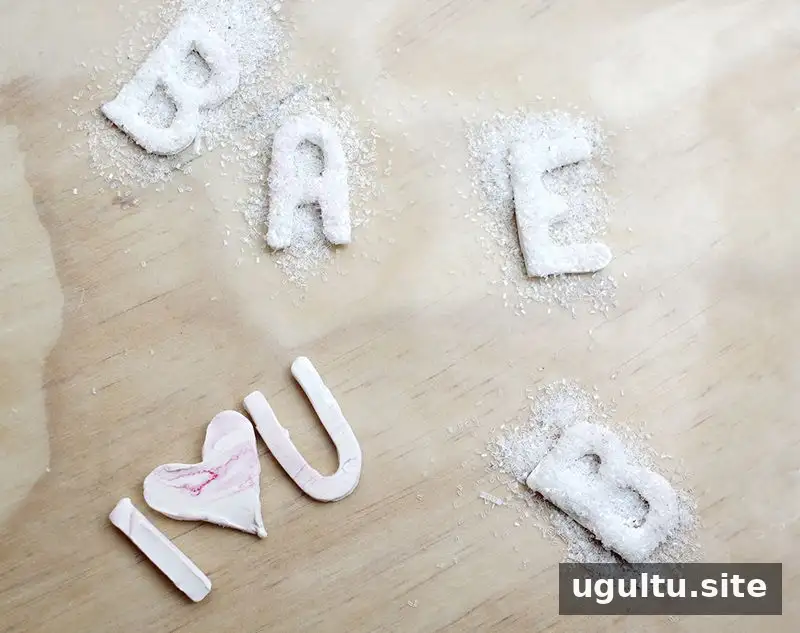
Step 3: Attach the designs to the barrettes
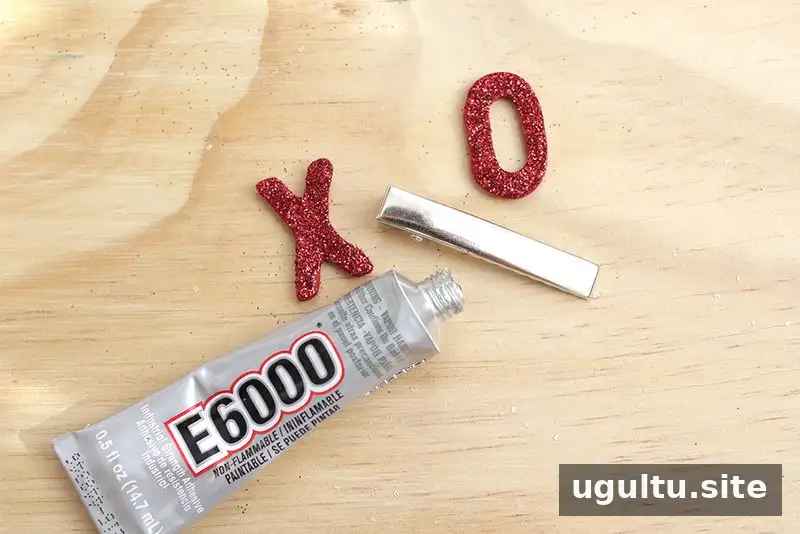
Once the glue and glitter are dry, use a strong adhesive suitable for both clay and metal to attach each design to a barrette blank. Keep the adhesive away from the moving clasp so the clip can still open and close. Follow the adhesive label for application and drying instructions, and leave the barrettes undisturbed until the bond has set.
Finishing Tips
- Use a thin, even layer of glue to help the glitter coat the clay neatly.
- Check that each clay shape sits securely on the barrette before wearing it.
- Use craft adhesives in a well-ventilated area and follow all safety directions on the package.
- Keep small craft supplies away from young children and pets while working.
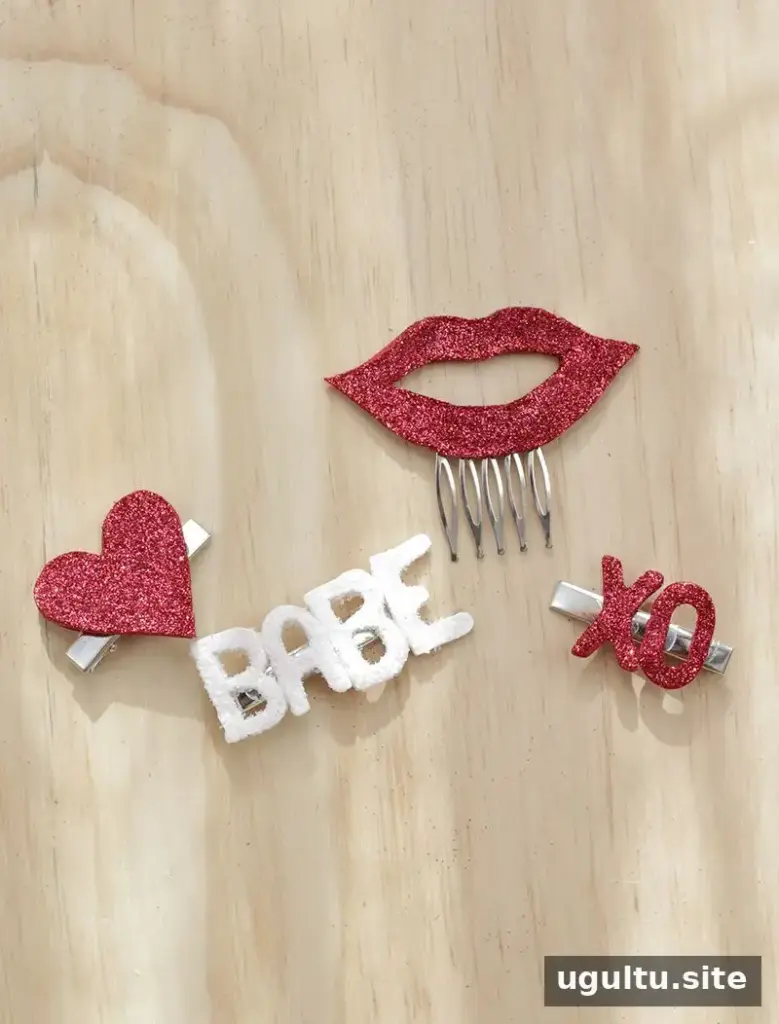
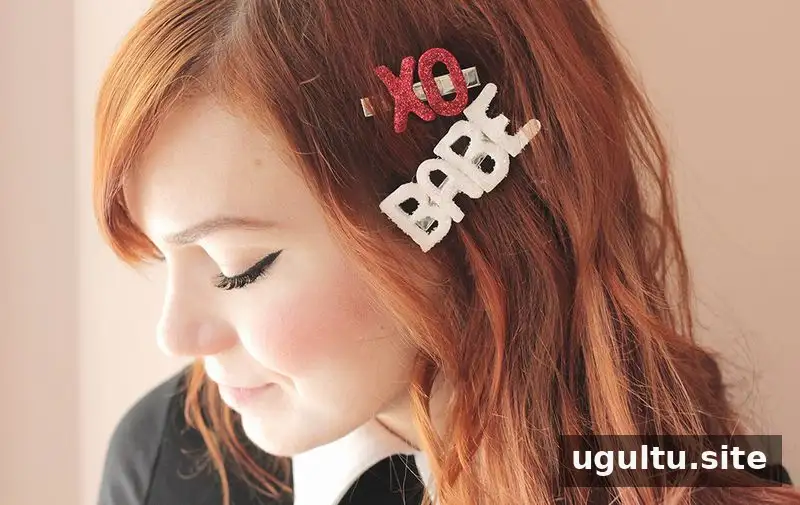
These glitter barrettes can be decorated for Valentine’s Day or made in colors and shapes that work throughout the year. Taking time to let each layer dry helps create a tidier finish and a more secure accessory. —Katie