admin
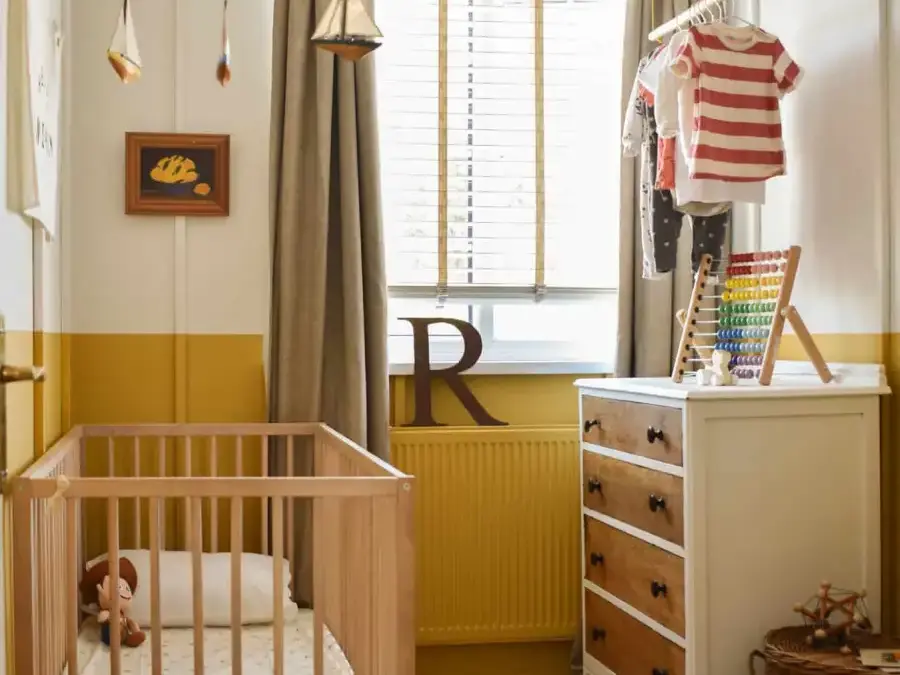
A DIY hanging clothes rail can add practical storage to a small bedroom without the visual bulk of a freestanding wardrobe. This ceiling-mounted design uses a branch or dowel, rope and ceiling hooks, and can be adjusted to suit the space. Before starting, check that the ceiling and fixings can safely support the rail and the clothes you plan to hang.
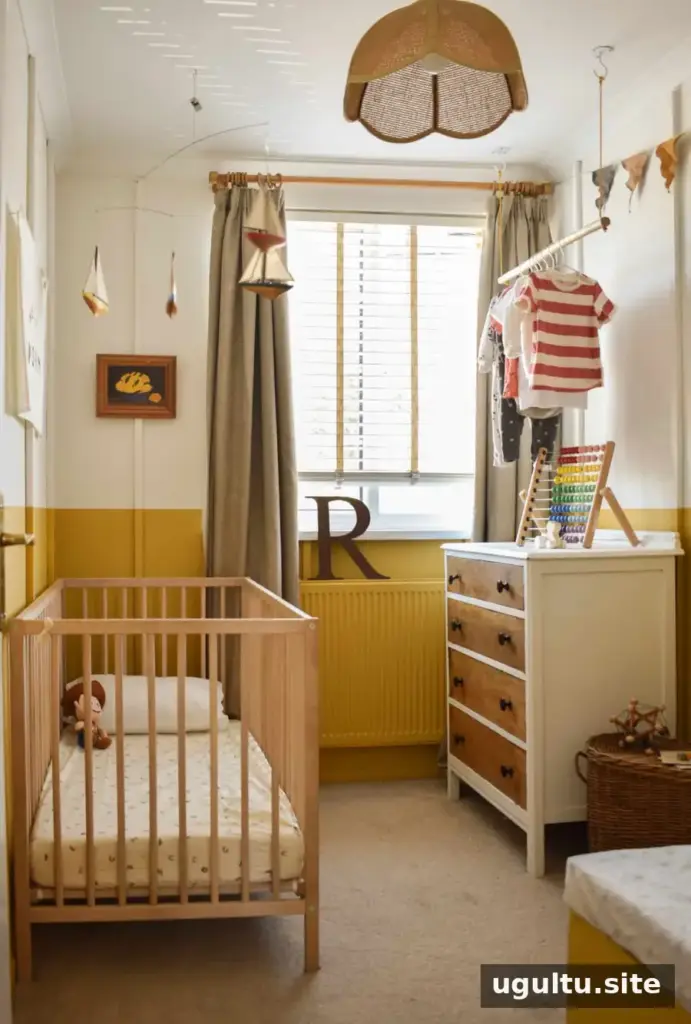
Why make a DIY hanging clothes rail?
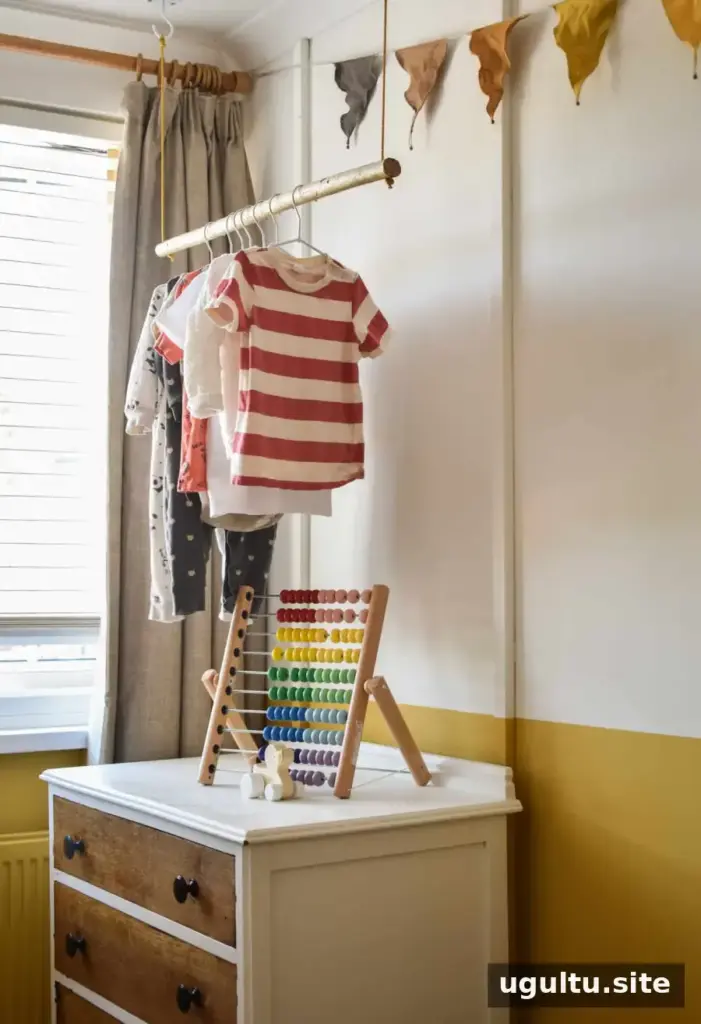
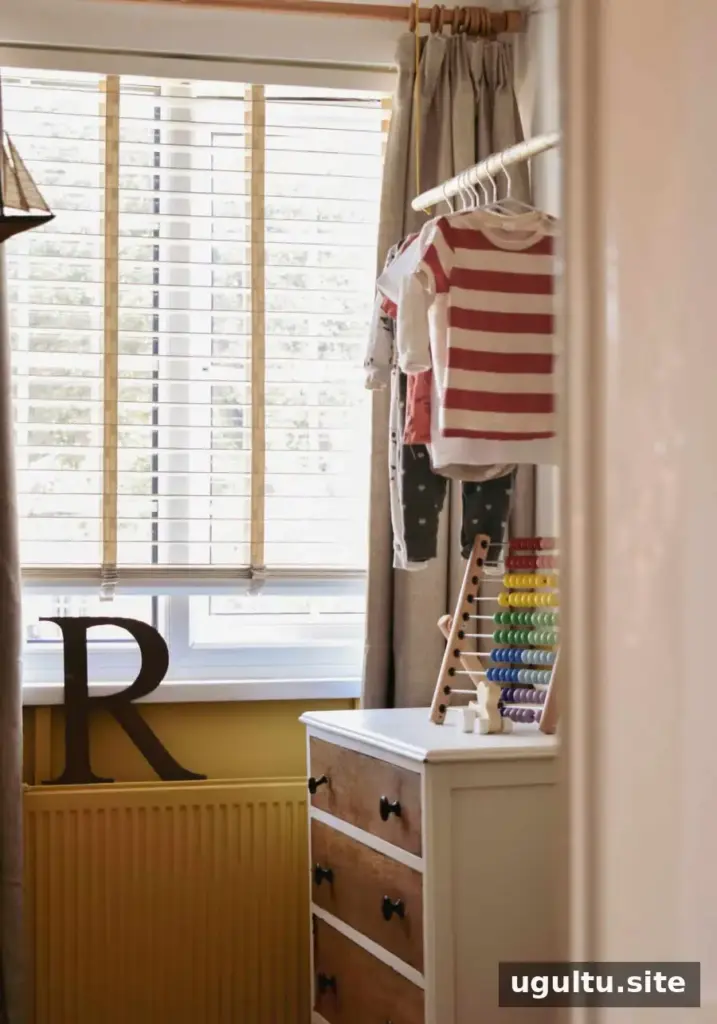
In a compact room, a suspended rail can make use of vertical space while keeping the floor area open. It works well above a dresser or drawers, and the length can be tailored to fit the furniture below. A natural branch gives the project a rustic look, while a dowel creates a more uniform finish.
Plan the rail’s position and height before cutting anything. Leave enough clearance for the longest garments, and make sure doors, drawers and walkways remain unobstructed.
Materials and tools
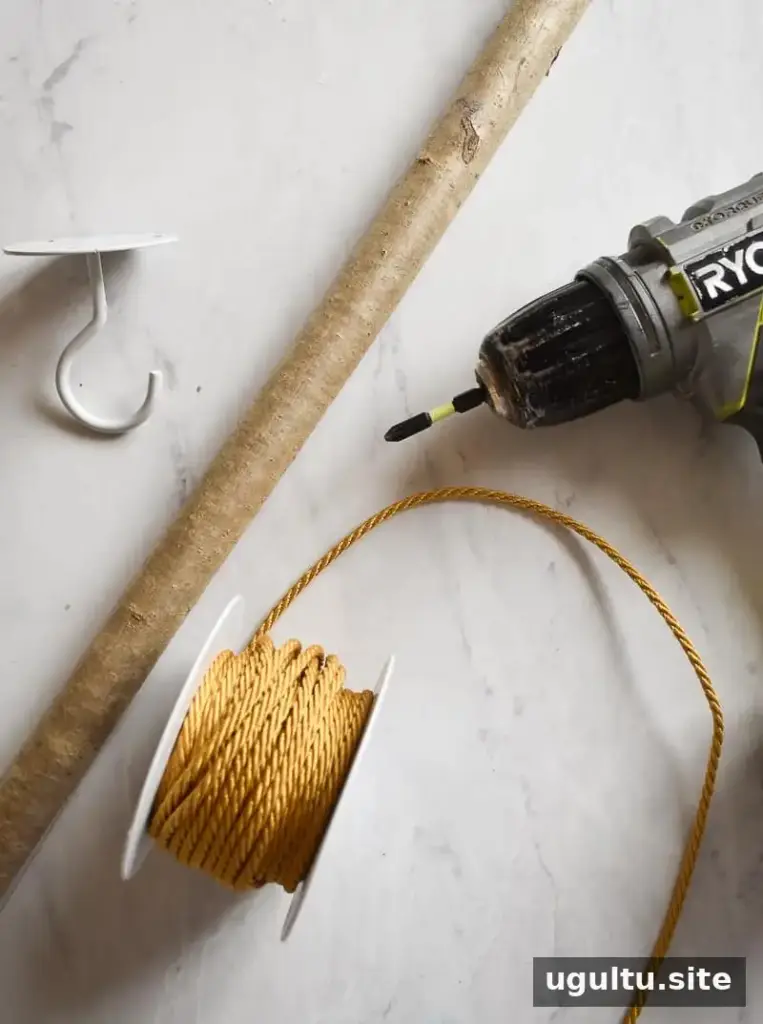
- A branch, piece of driftwood or dowel rod
- Strong rope or cord
- Ceiling hooks and suitable wall plugs or anchors
- Scissors
- Drill
- Sandpaper, if needed
Choose a straight, sound piece of wood without cracks or loose sections. Use hooks and anchors appropriate for your ceiling material; the right fixing depends on whether the ceiling is timber, masonry or another construction.
How to make the hanging rail
1. Measure and prepare the wood
Decide how long the rail should be, then cut the branch or dowel to size. One option is to match its length to the dresser or drawers beneath it, creating a neat line above the furniture.
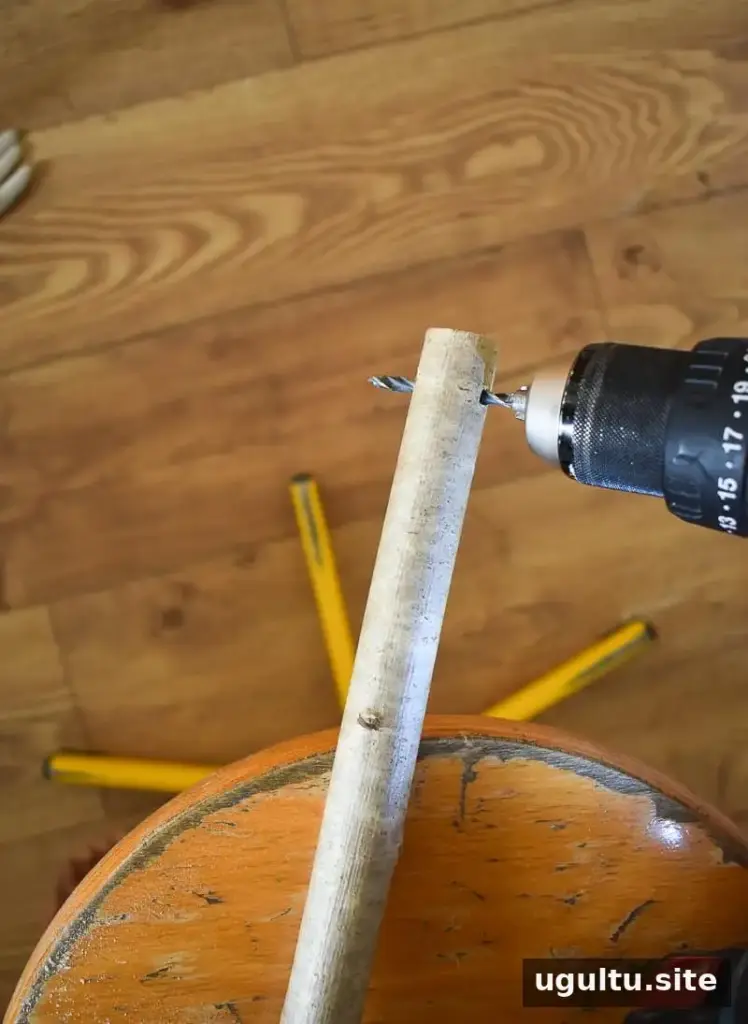
Drill a hole near each end, wide enough for the rope to pass through. Smooth any rough edges around the holes with sandpaper so they are less likely to snag the cord.
2. Mark and install the ceiling hooks
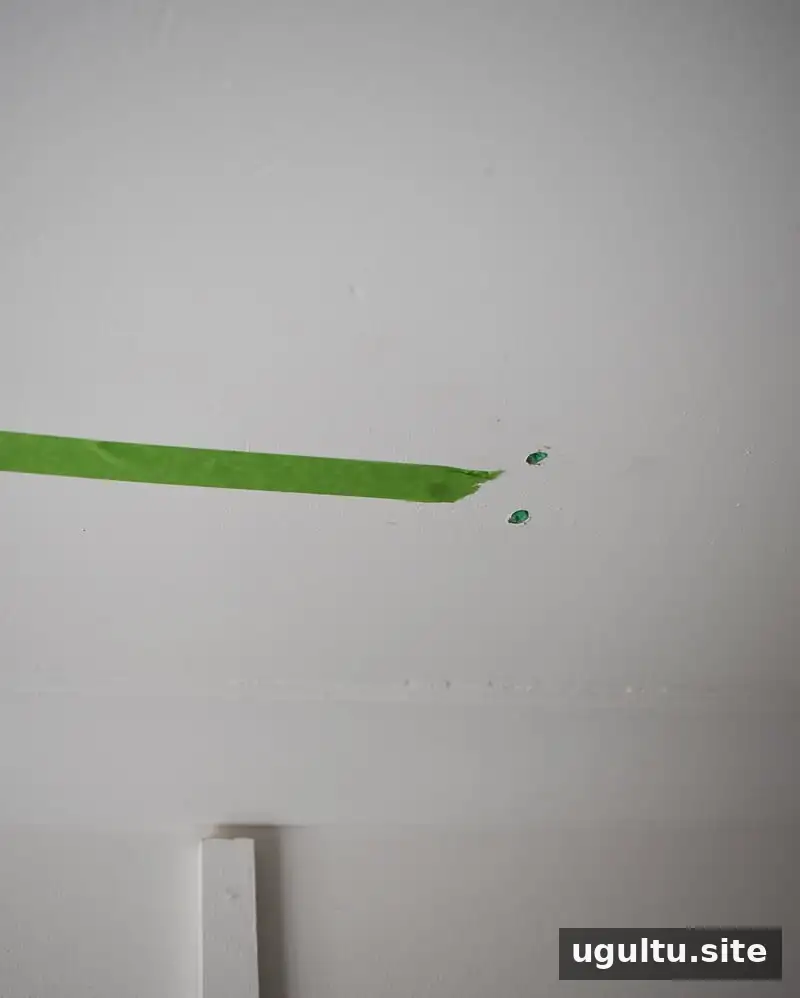
Measure the distance between the two holes in the wood and mark the same spacing on the ceiling. Using the dresser as a reference can help align the rail with the furniture. Masking tape can also make the marked drilling points easier to see.
Install the hooks with anchors suited to the ceiling. For a functional clothes rail, do not rely on adhesive hooks: they may not safely carry the combined weight of the rail and garments. If drilling is not permitted in a rental, ask the property owner about suitable alternatives and treat adhesive options as decorative only unless their load rating and mounting surface are appropriate.

3. Attach the rope
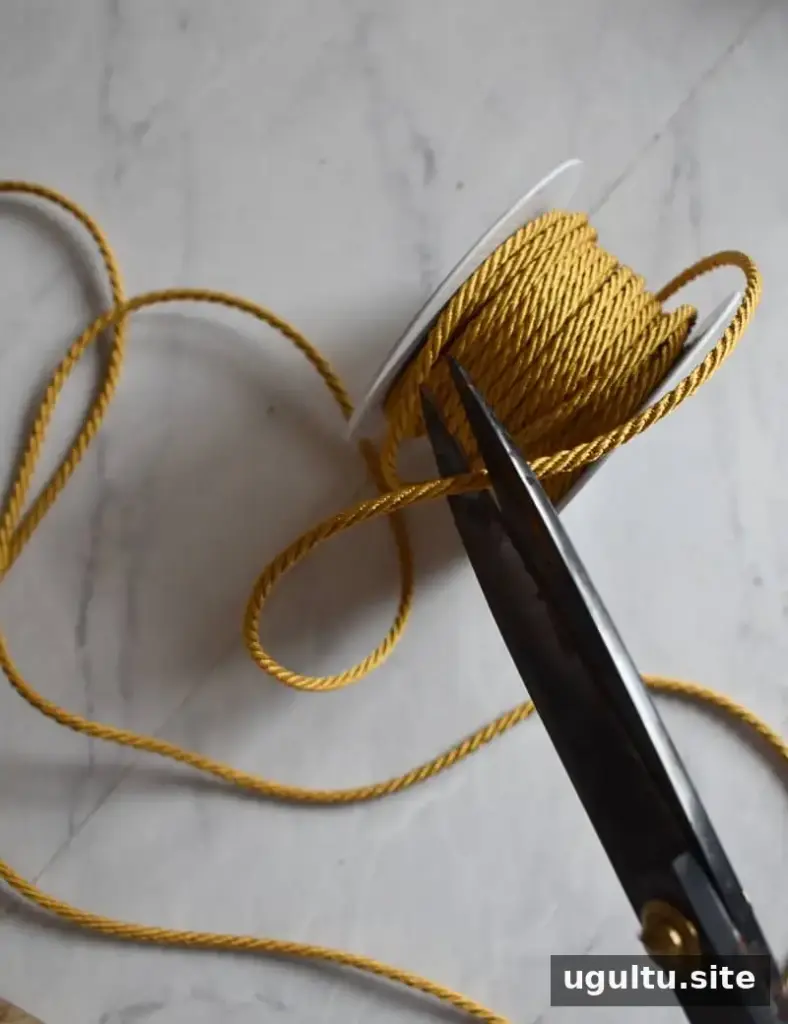
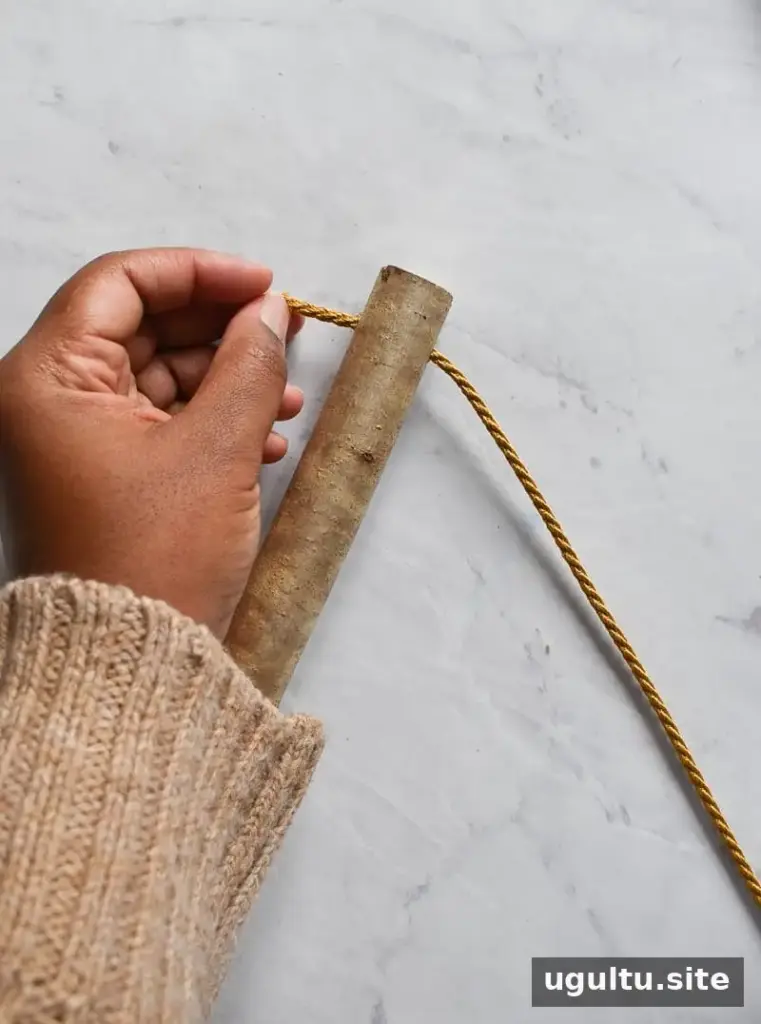
Cut two lengths of rope, allowing extra length for adjustments. Thread one piece through each hole in the wood and tie secure knots beneath the rail. Check that both pieces are strong and securely fastened before lifting the rail.
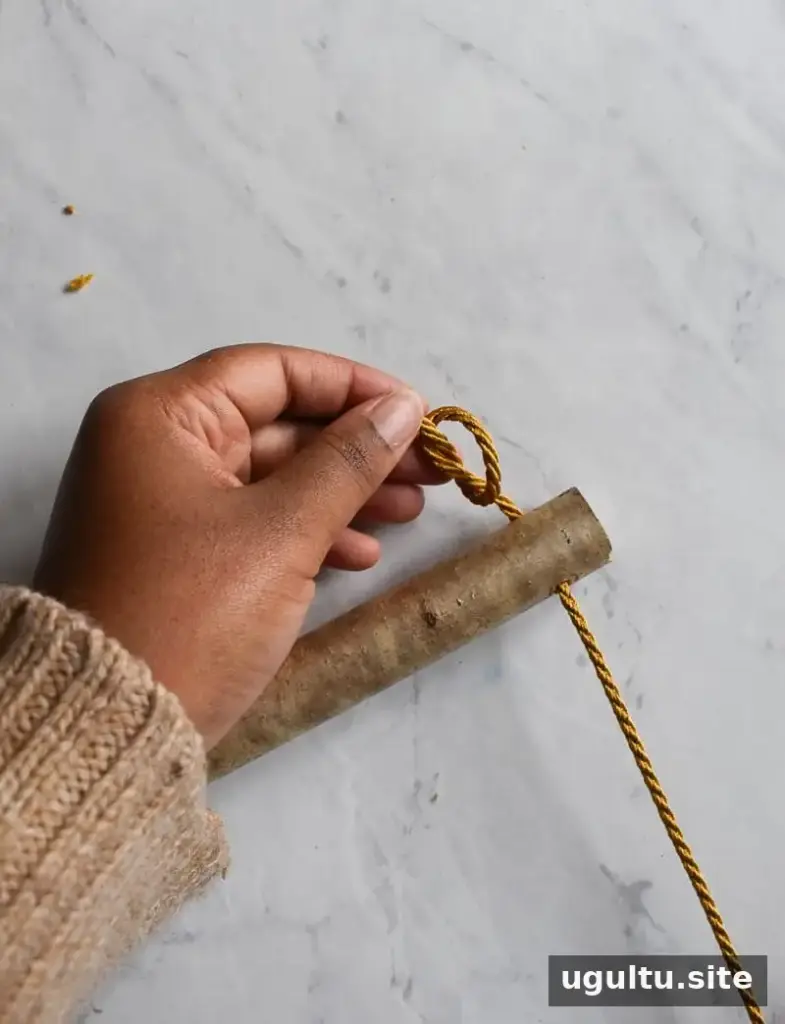

4. Hang and level the rail
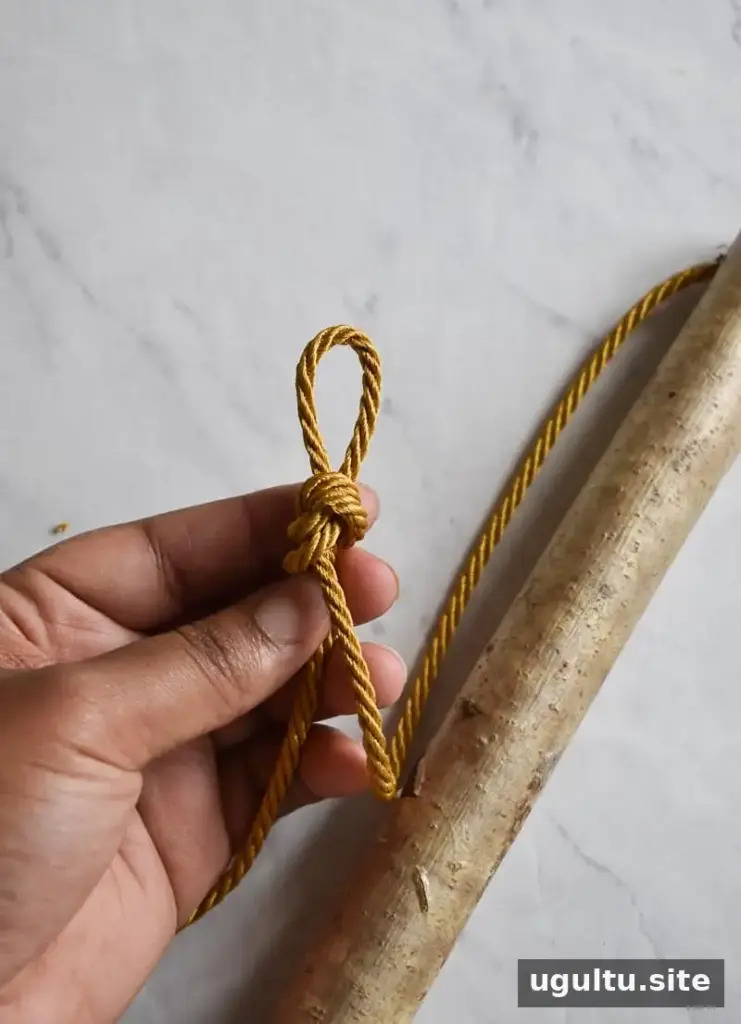
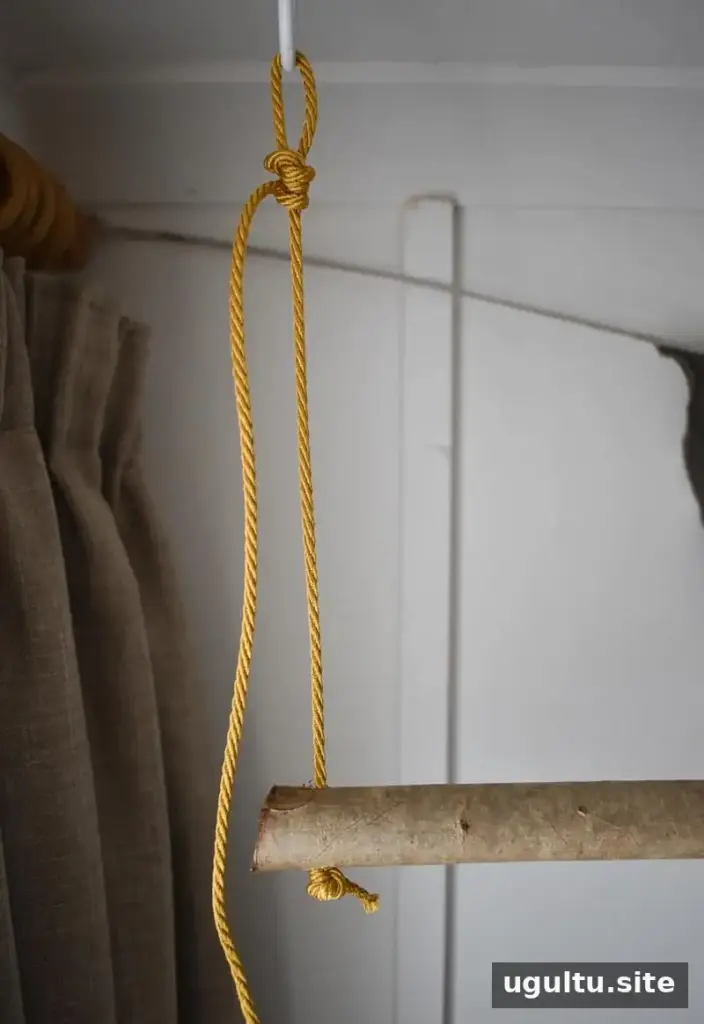
Tie a loop at the top of one rope and hang it on a ceiling hook. Trim excess rope only after you are confident the length is correct. Attach the other side, then adjust the loop or knot until the rail hangs level. Make small adjustments and recheck the alignment before adding clothes.
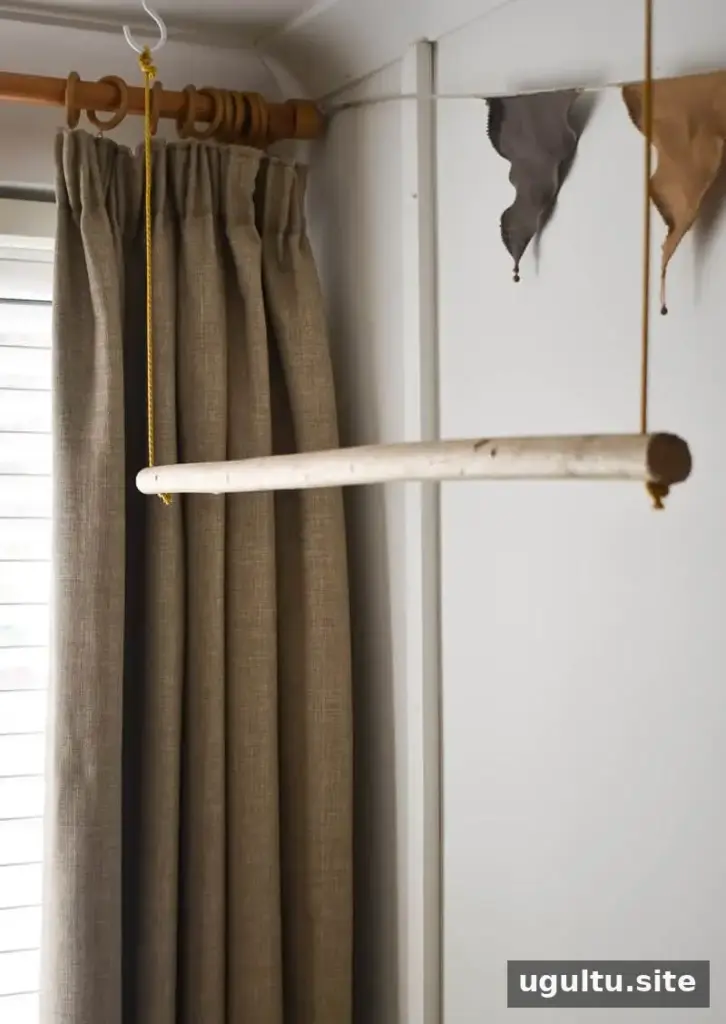
Before using your clothes rail
Test the installation gently and add garments gradually. The amount the rail can hold depends on the wood, rope, hooks, anchors and ceiling structure. The original project notes that the rail held two to three times more clothing than shown in its photographs, but that should not be treated as a guaranteed capacity for every installation.
For a nursery or child’s room, position the rail securely away from a cot or crib and keep loose rope out of reach. Inspect the knots and fixings occasionally, especially if the rail is used regularly.
Conclusion
A DIY hanging clothes rail is a flexible storage idea for small rooms, with a simple design that can be sized to fit your furniture and available space. Measure carefully, choose suitable ceiling fixings and avoid overloading the rail. With those details in place, this DIY hanging clothes rail can provide useful everyday storage while keeping the room feeling open.