
 admin
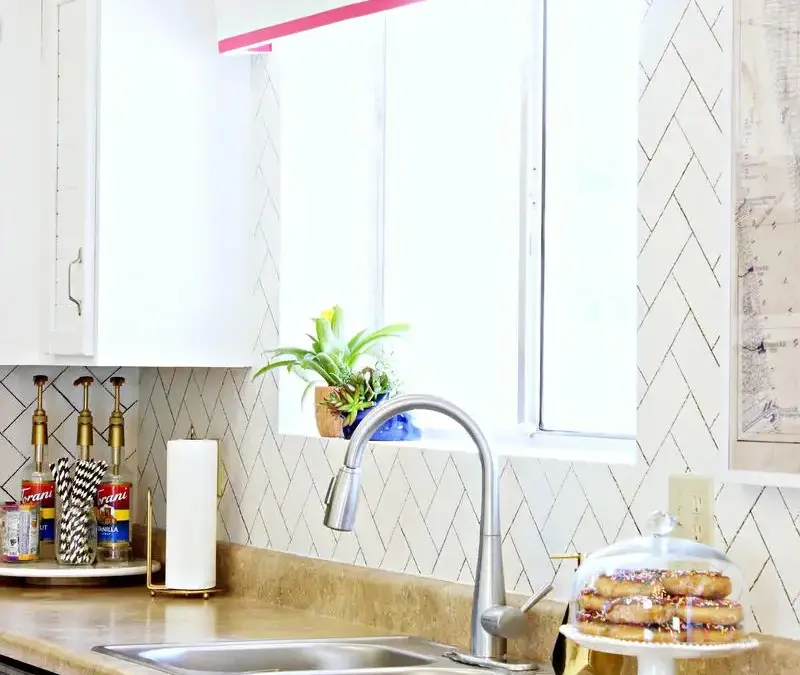
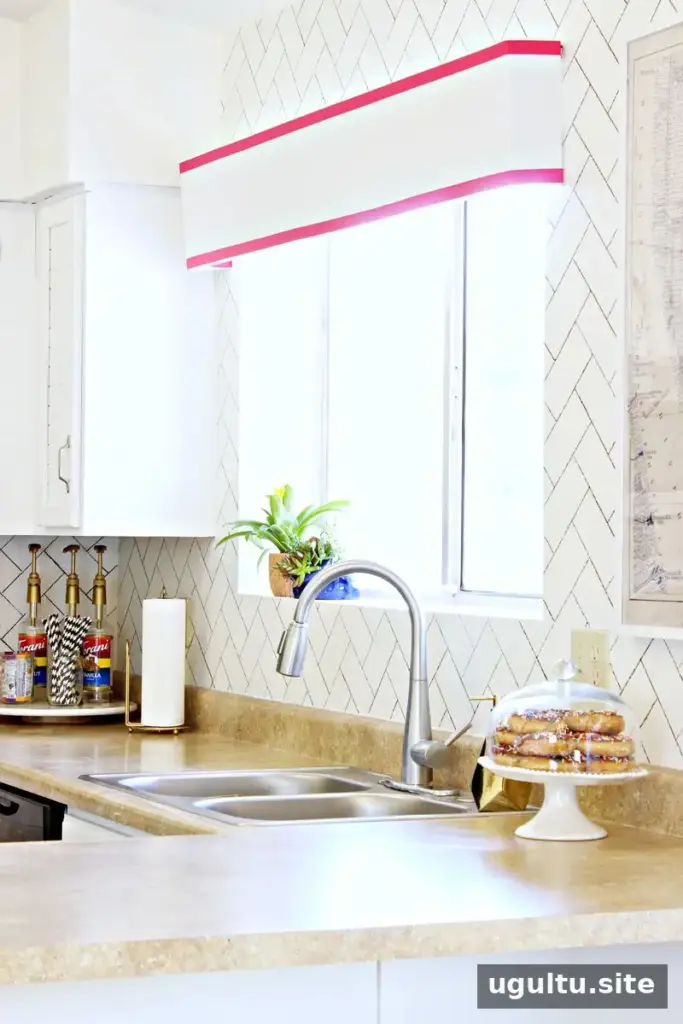
A DIY herringbone faux backsplash can bring the look of patterned tile to a kitchen wall without installing actual tile. This paint-based project is a renter-friendly option when painting is permitted, and the original project cost less than $10. Materials and prices can vary, but a template, a ruler, and paint pens are enough to create the look in an afternoon.
Because this is a painted design rather than a tile surface, check with your landlord before starting and test the paint pen on an inconspicuous area first. Painted lines may need careful cleaning, so avoid treating the finished wall like a waterproof or heat-resistant backsplash.
Supplies for a DIY Herringbone Faux Backsplash
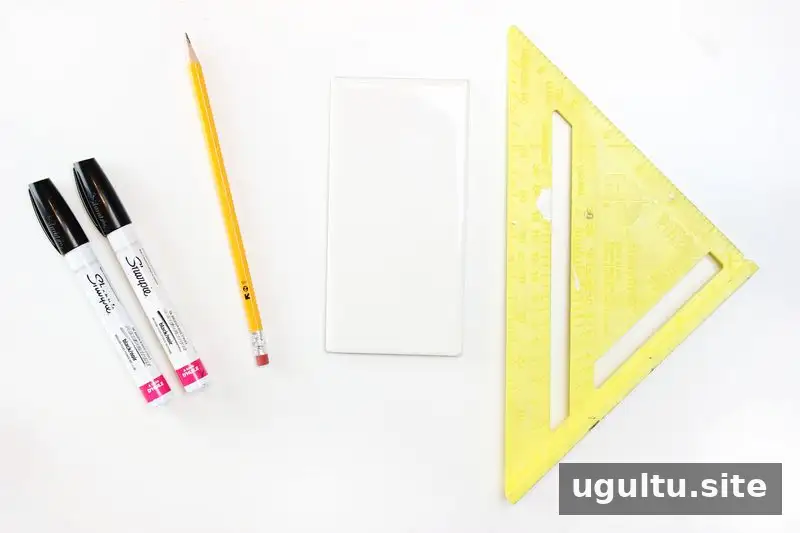
- Carpenter’s square
- Pencil with an eraser
- Ruler; a clear ruler can make alignment easier
- Two or three black paint pens
- A subway tile or a 3×6-inch cardboard template
- Touch-up paint that matches the wall
Use a template that matches the size you want the painted tiles to appear. Before drawing, make sure the wall is clean and dry so pencil marks and paint lines are easier to apply.
How to Paint the Herringbone Pattern
1. Mark the first column
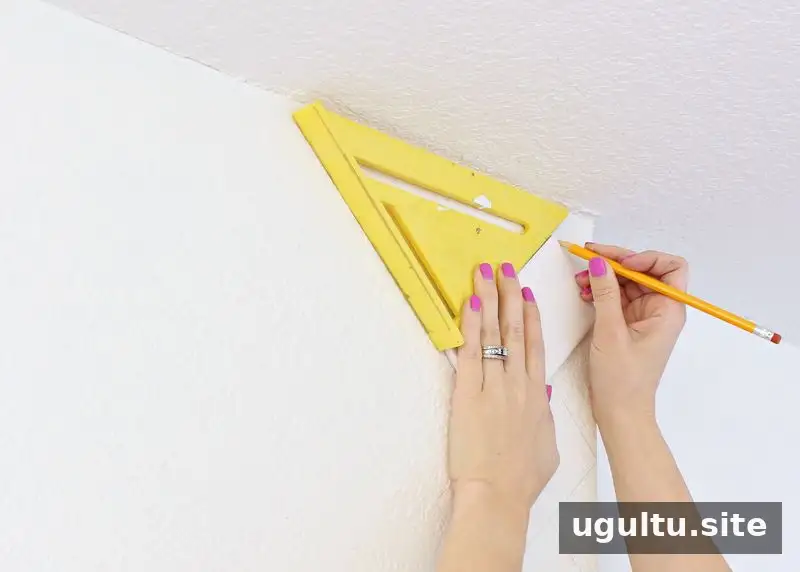
Begin at the top corner of the wall. Position the carpenter’s square in a V shape to help establish the angle of the pattern. Trace around the subway tile or cardboard template with a pencil to make a rectangle, then repeat the shape vertically toward the bottom of the wall.
Keep the pencil marks light. This makes adjustments easier and reduces the chance of visible marks remaining beneath the paint.
2. Create the next column
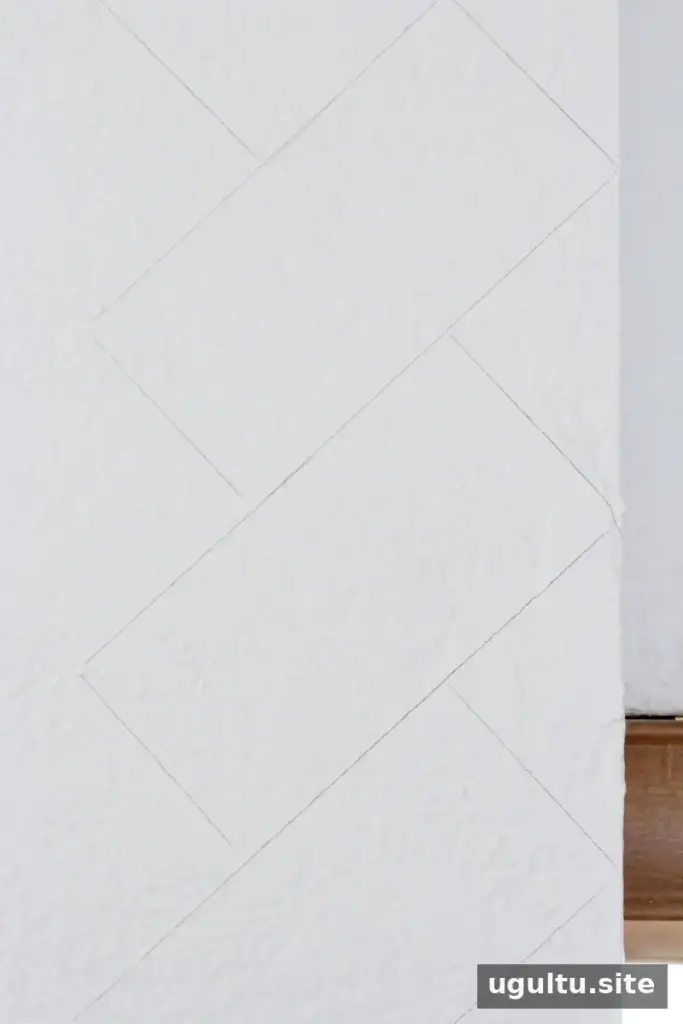
Start the next column of rectangles in the opposite direction to form the V pattern. Check that the shapes meet consistently before continuing. A ruler can help keep the edges straight and the spacing even.
3. Continue across the wall
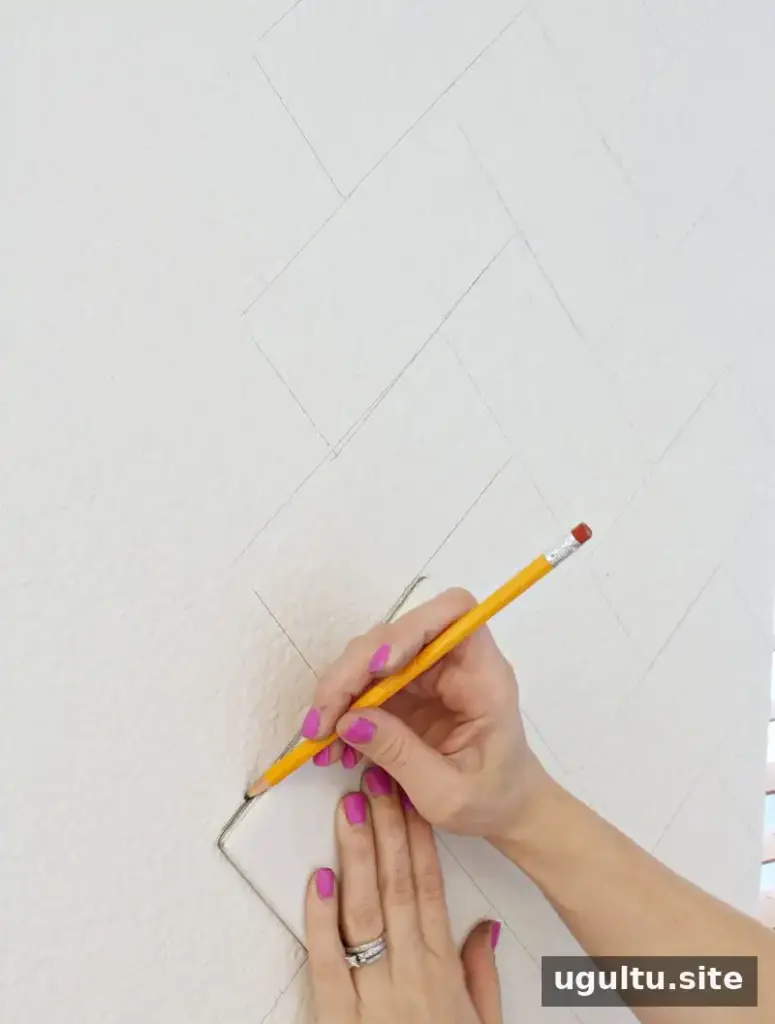
Alternate the direction of each column as you work across the wall. Building the design one column at a time helps maintain the herringbone layout and makes mistakes easier to spot. Erase and redraw any pencil marks that do not line up before applying paint.
4. Trace the lines with paint
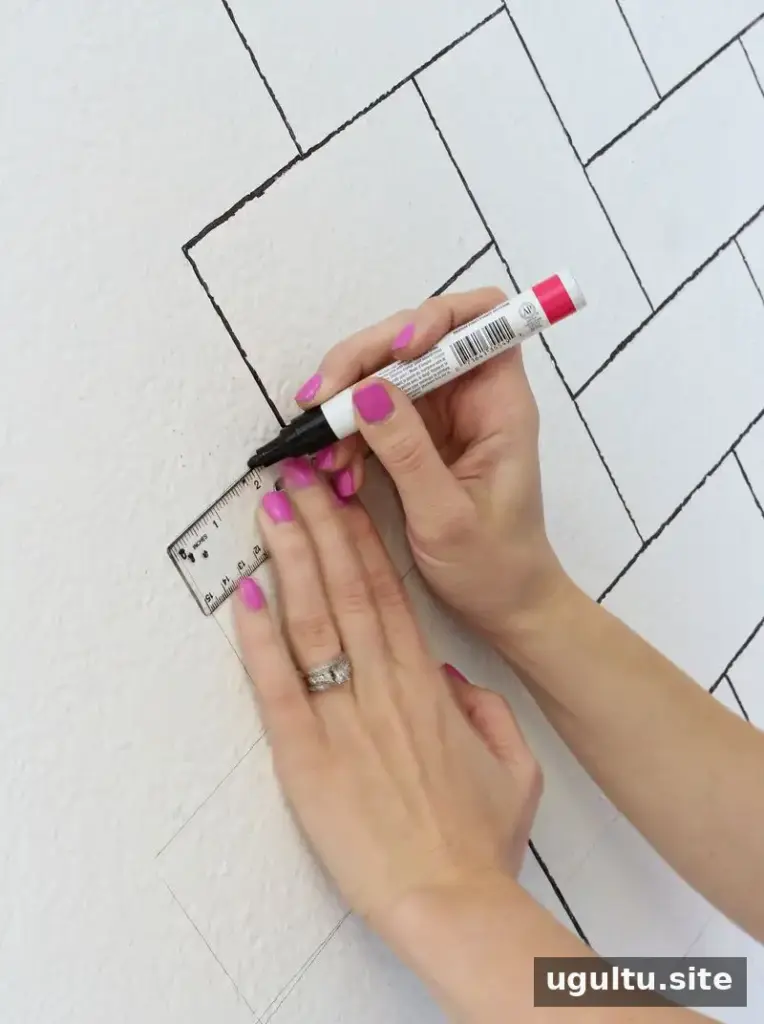
When the penciled pattern covers the intended area, go over the lines with a black paint pen. Use a ruler as a guide, particularly on textured walls, and work carefully to keep the lines even. Keep matching touch-up paint nearby for small errors or drips. Follow the paint pen’s label for application and drying instructions, then let the design dry fully before cleaning or using the area.
Finishing the Painted Backsplash
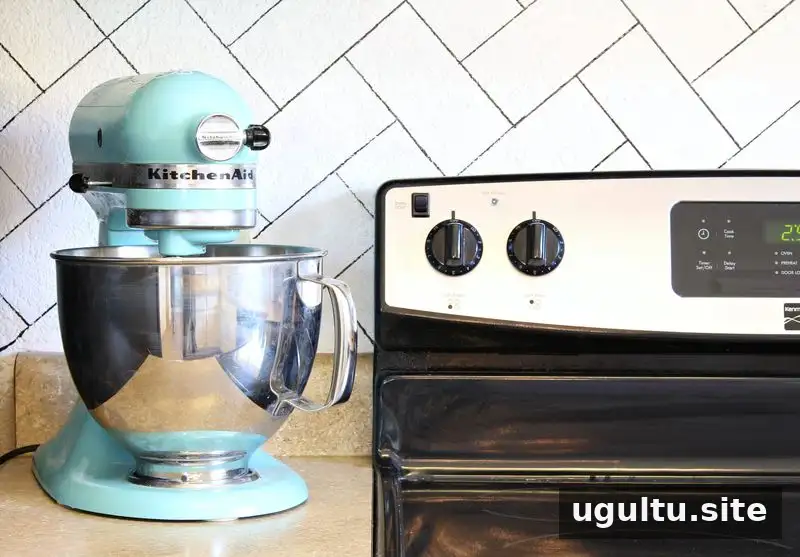
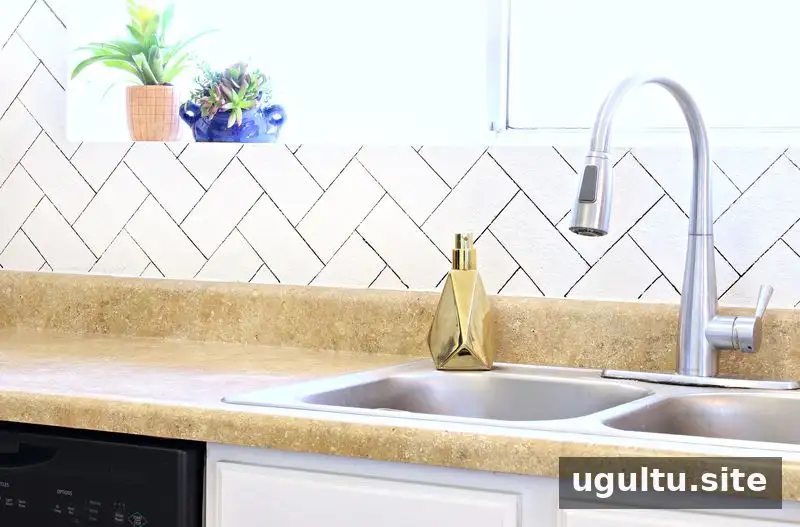
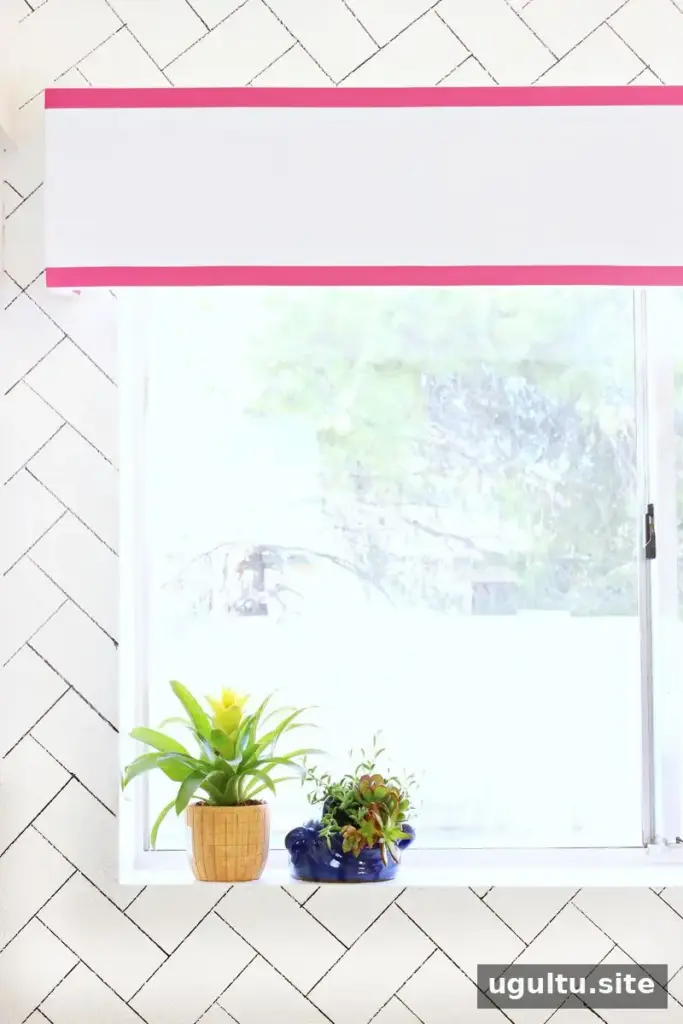
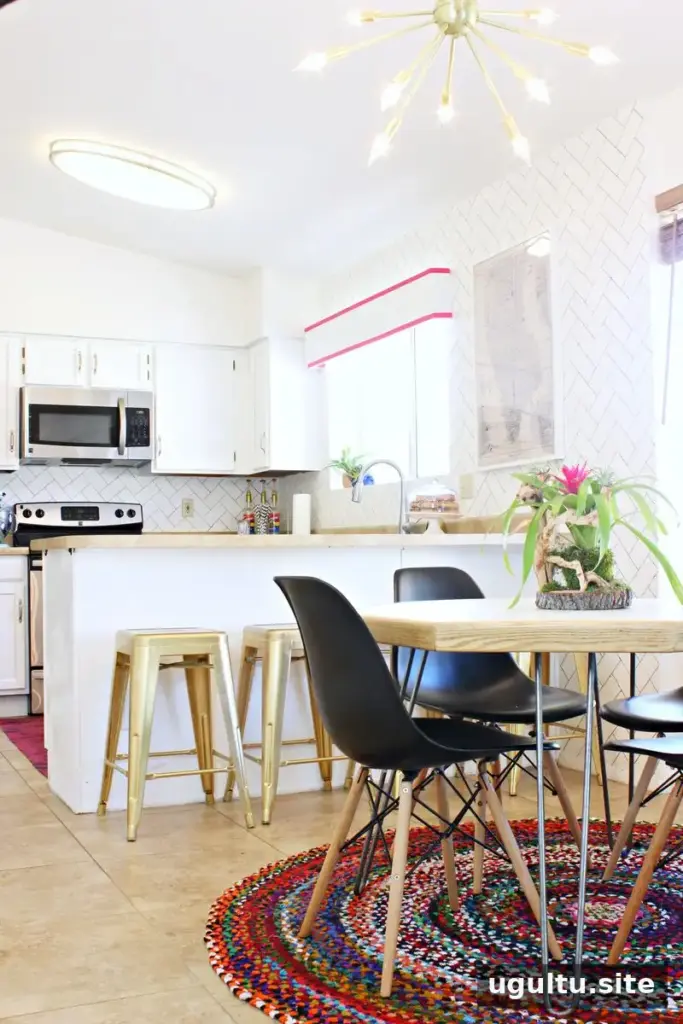
The finished black lines can suggest dark grout, while extending the pattern to the ceiling creates a more dramatic look. The original project was completed in one afternoon. For a cleaner finish, inspect the full wall after the paint has dried and touch up any uneven edges with the wall’s original paint.
Conclusion
A DIY herringbone faux backsplash offers a simple way to add a tile-inspired pattern with paint instead of a permanent installation. Plan the layout in columns, use a consistent template, and test the materials on the wall before committing to the full design. Remember that painted walls do not provide the same protection as real backsplash tile, especially around water and heat.


