
 admin
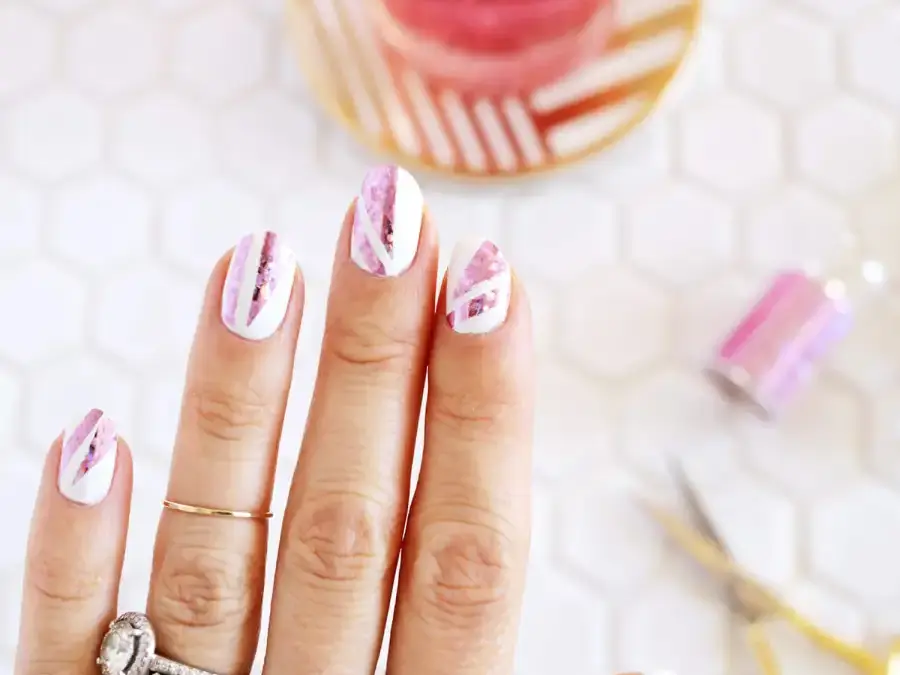
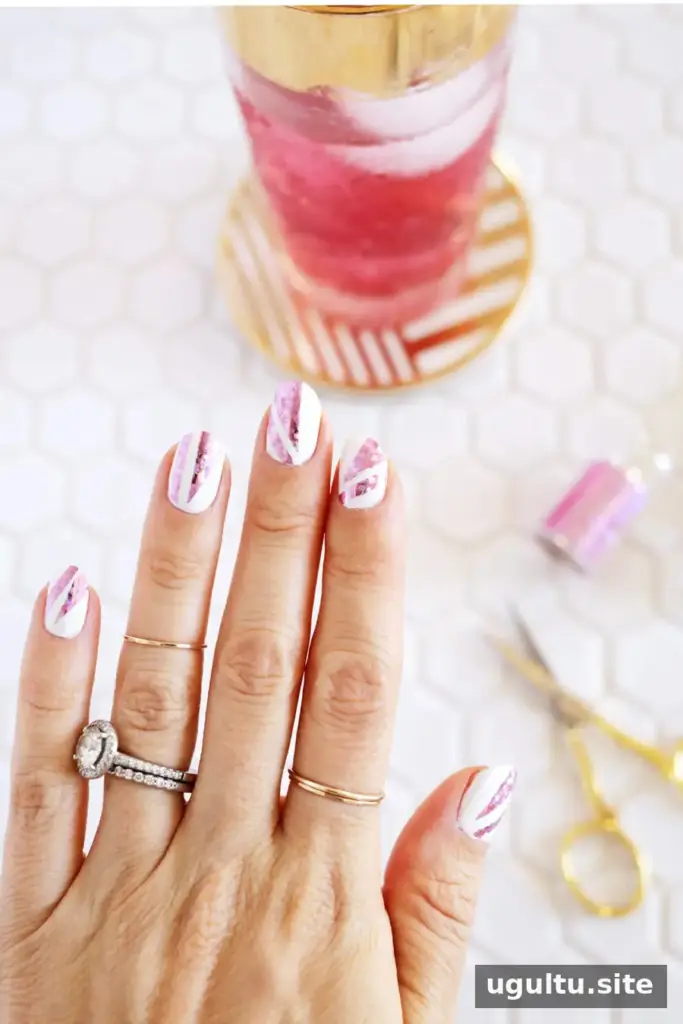
A DIY holographic foil manicure adds reflective color and geometric detail to your nails using transfer foil and nail foil adhesive. The process is straightforward: prepare and polish your nails, wait for the adhesive to become tacky, then press the foil onto the surface and seal the design with top coat.
Supplies for a DIY Holographic Foil Manicure
Gather everything before you begin so the foil pieces are ready when the adhesive reaches the right stage. You will need:
- Nail foils
- Nail foil adhesive
- Base-coat color nail polish
- Top coat; a quick-dry formula is not recommended for this technique
- A cuticle stick
- A small pair of scissors
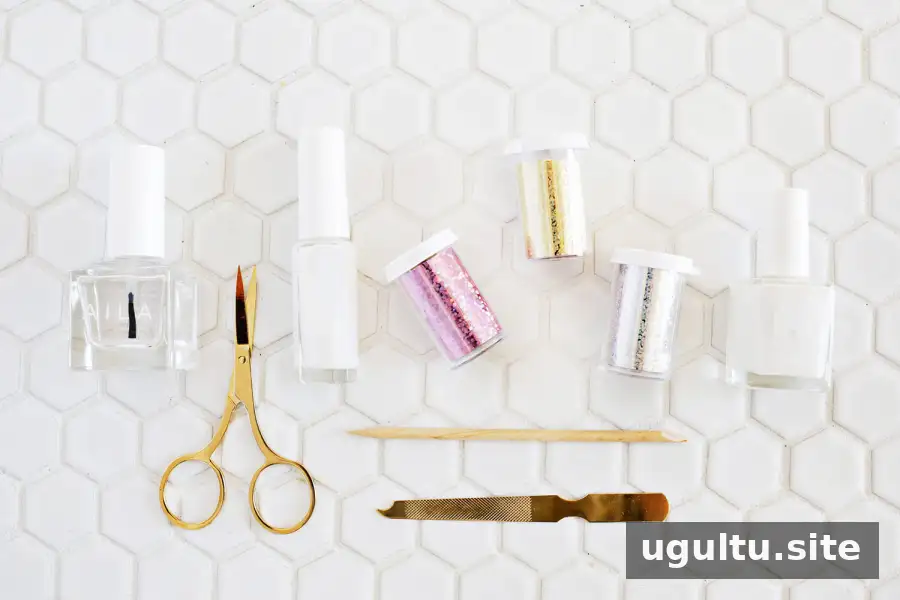
Choose a base color that contrasts with the foil if you want the design to stand out. A light polish, such as white under pink foil, makes the foil pattern easy to see. Check the adhesive and foil packaging for any product-specific instructions before starting.
Prepare Your Nails and Cut the Foil
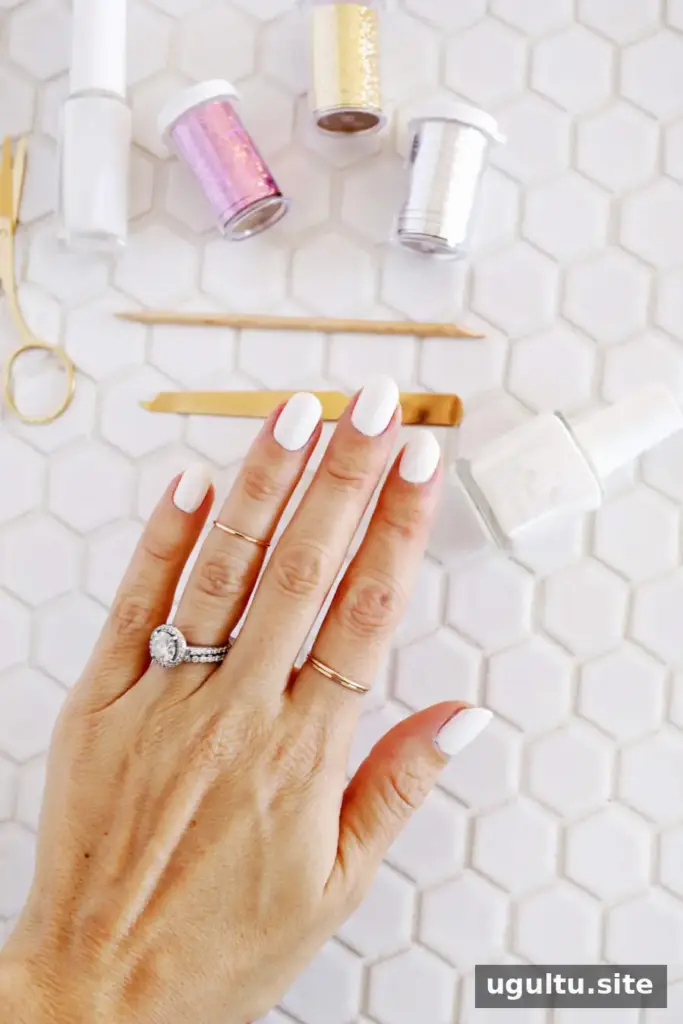
Shape and trim your nails, then apply a few coats of your chosen base color. Let the polish dry completely before applying foil adhesive; working over damp polish can interfere with the transfer and leave the surface uneven.
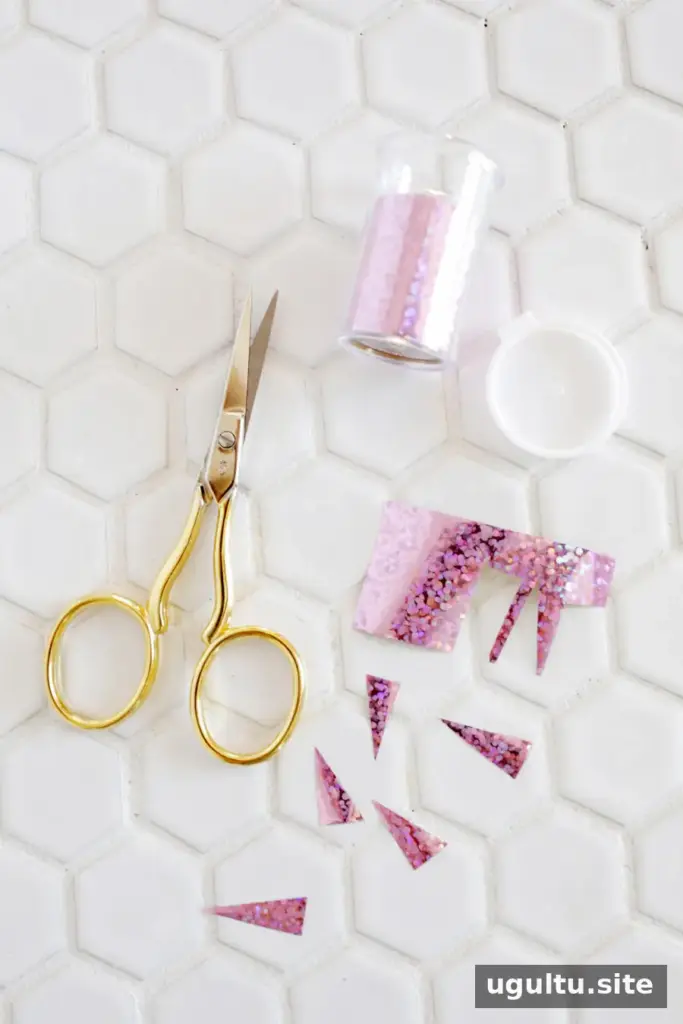
Cut triangle pieces from the foil transfer sheet, about 3/4 inch long. You can make a slightly smaller piece for your pinky. If you want to add extra detail, cut a few long, thin strips as well. Preparing the shapes in advance makes placement easier and helps avoid handling scissors while the adhesive is tacky.
Apply Adhesive and Transfer the Foil
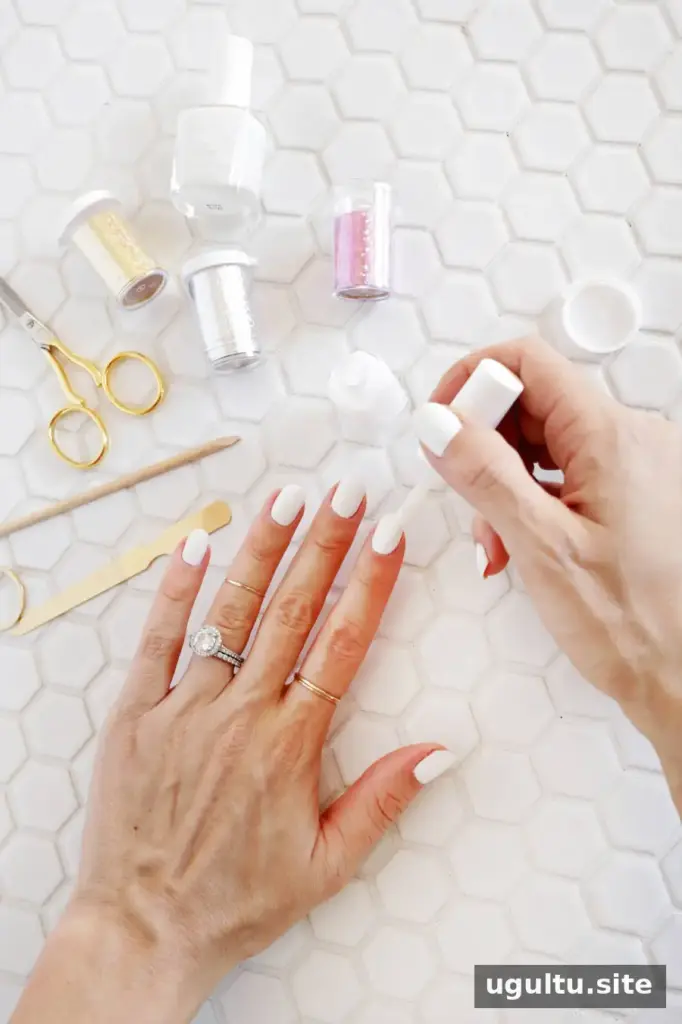
Brush a thin, even layer of nail foil adhesive over your nails. Working on one hand at a time can make the timing easier to manage. Let the adhesive dry until it turns clear and feels tacky rather than wet. The original technique allows about 15–20 minutes for drying, but follow the product directions and check the adhesive before transferring.
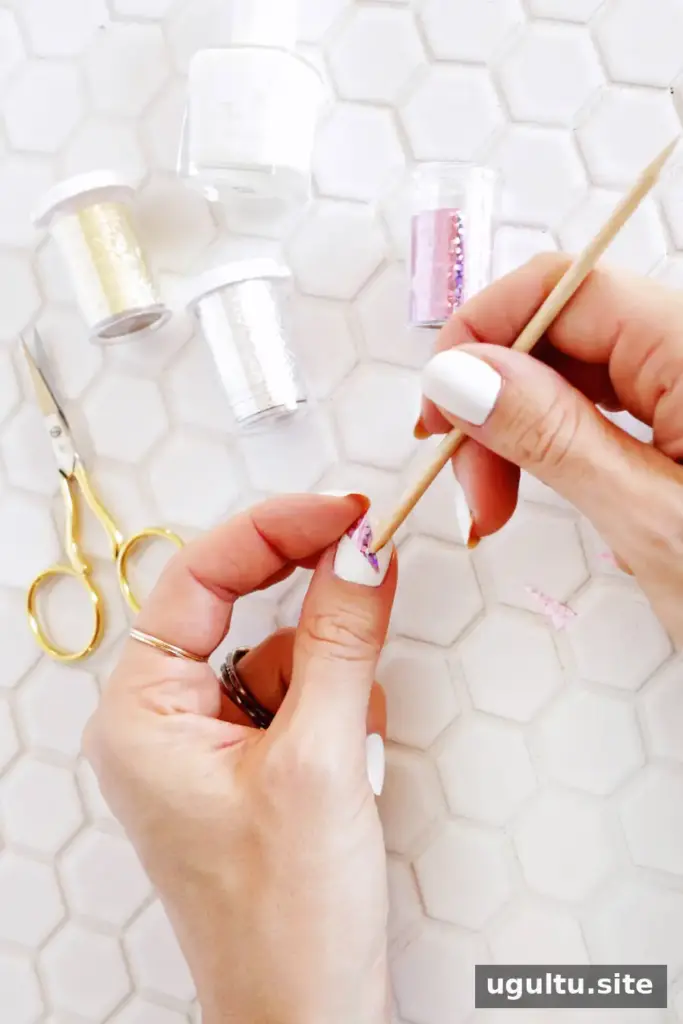
Place a piece of foil where you want the design to appear. Use the cuticle stick to rub firmly over the foil so the pattern transfers onto the tacky adhesive. You can gently lift an edge of the transfer sheet to check whether the design has adhered. If parts have not transferred, lay the sheet back down and rub that area again. Once the design is in place, peel away the remaining transfer layer.
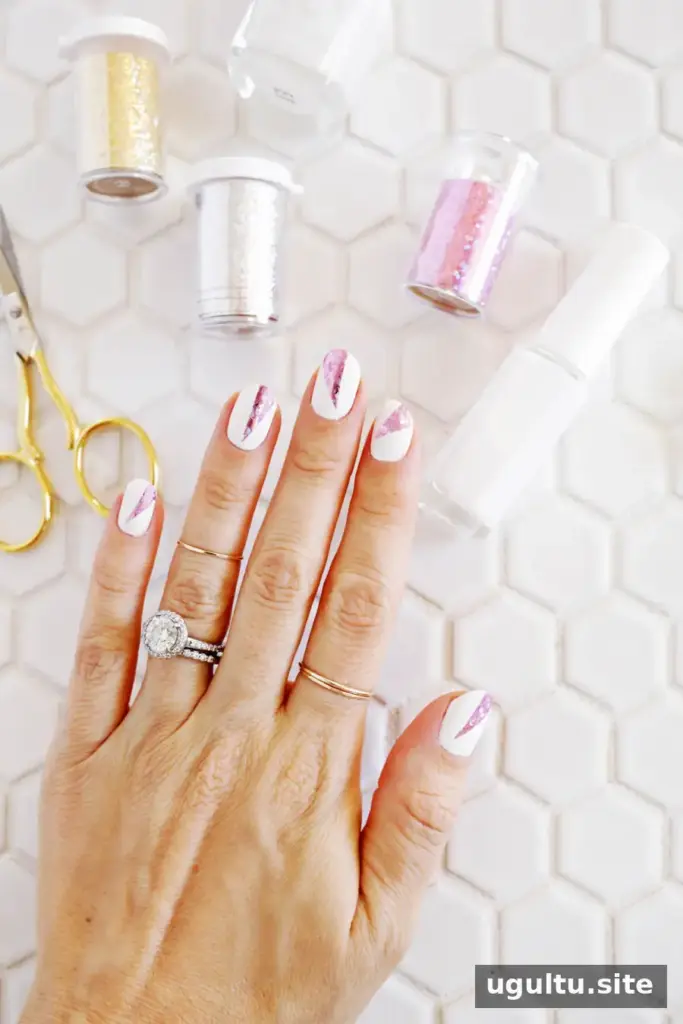
Repeat the transfer process on each nail, adjusting the foil pieces to fit the nail shape. Take care near the edges so the design stays on the nail rather than folding over the skin.
Add Details and Seal the Manicure
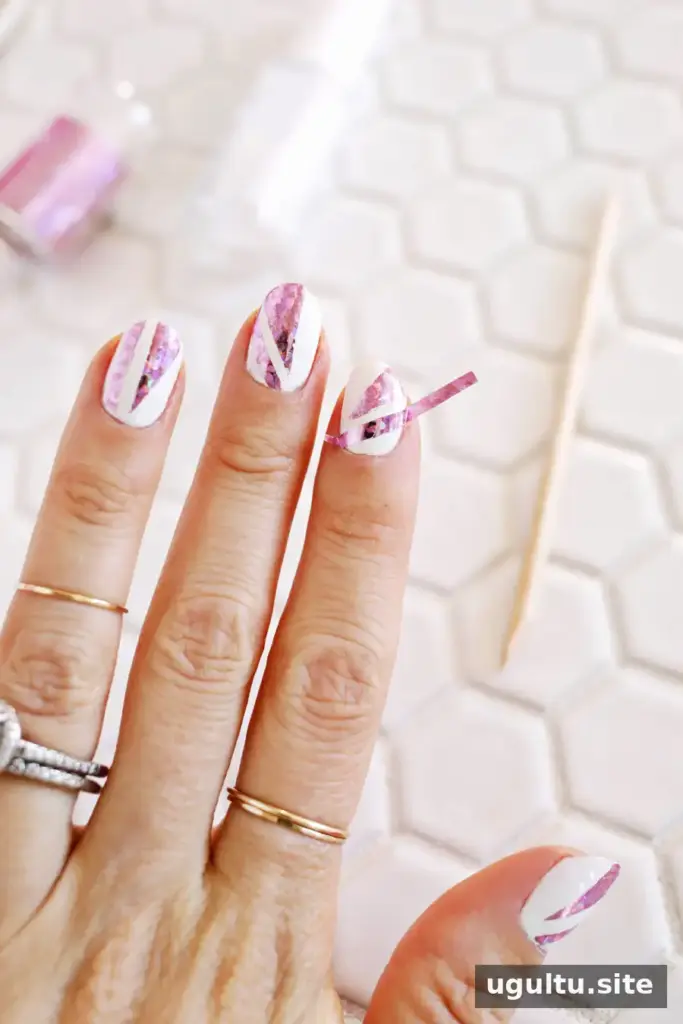
You can keep the manicure simple with one triangle on each nail or add thin foil strips beside the triangles for a more detailed pattern. Apply each piece to the tacky adhesive, rub it firmly with the cuticle stick, and peel off the transfer layer.
Finish with a quick, even coat of top coat to protect the foil. Avoid making multiple passes where possible, as repeated brushing can disturb the design. Let the top coat dry fully before using your hands as usual.
Removing Holographic Nail Foil
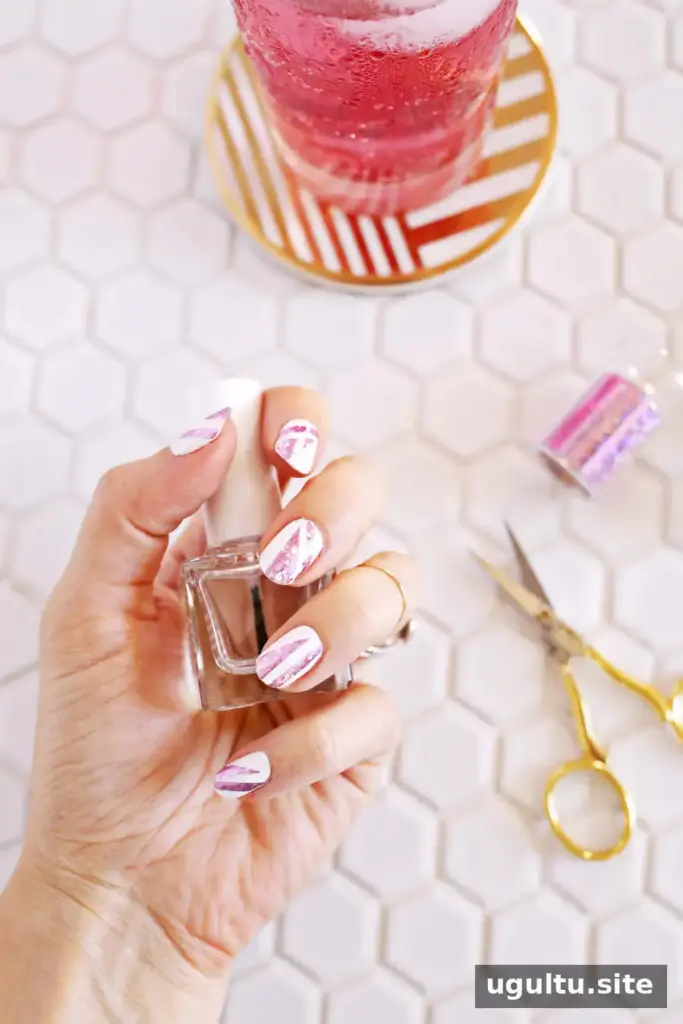
When you are ready to remove the manicure, use regular nail polish remover along with your usual polish-removal routine. The foil does not require a separate removal step. For a smoother result next time, focus on letting the adhesive reach a tacky—not wet—state and prepare all foil pieces before applying it.
A DIY holographic foil manicure is a flexible way to experiment with shapes, placement, and color combinations using a few basic supplies. Start with a simple design, then add stripes or other foil pieces as you become more comfortable with the transfer technique.
— Laura


