
 admin

DIY honeycomb shelves add geometric storage and display space to a room. This project, credited to Sarah and Josh, creates a three-comb unit from fencing planks. It requires accurate angled cuts and basic power tools, so plan your cuts before you begin and work carefully.
The instructions below make one connected unit with three hexagonal sections. Once you understand how the pieces fit together, you can adapt the design by adding more sections.
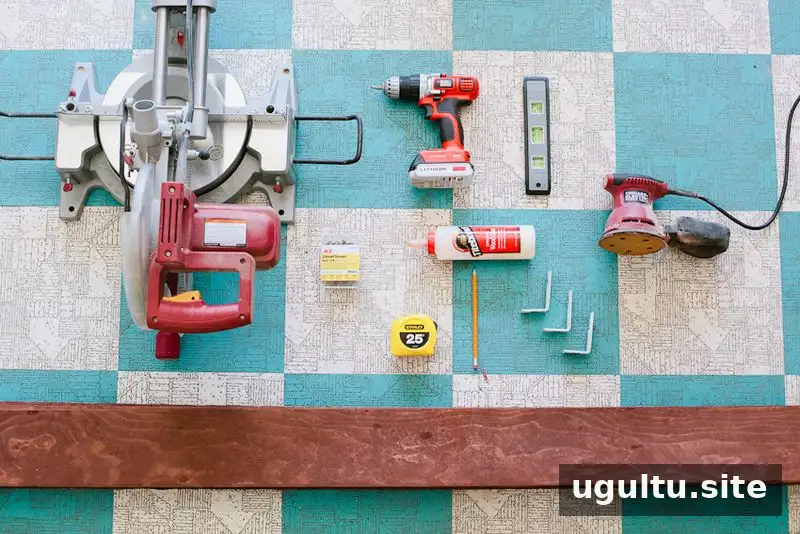
Materials and tools
- A miter saw or chop saw
- Three fencing planks
- Wood screws or 1 1/4-inch sheetrock screws
- A drill and a drill bit slightly smaller than the screws
- Wood glue
- A level and tape measure
- A rotary sander or sandpaper
- Wall brackets
- A pencil for marking measurements
Choose planks that are as straight and flat as possible. Warped or twisted boards can make it difficult to align the joints and keep the finished shelves even.
How to make DIY honeycomb shelves
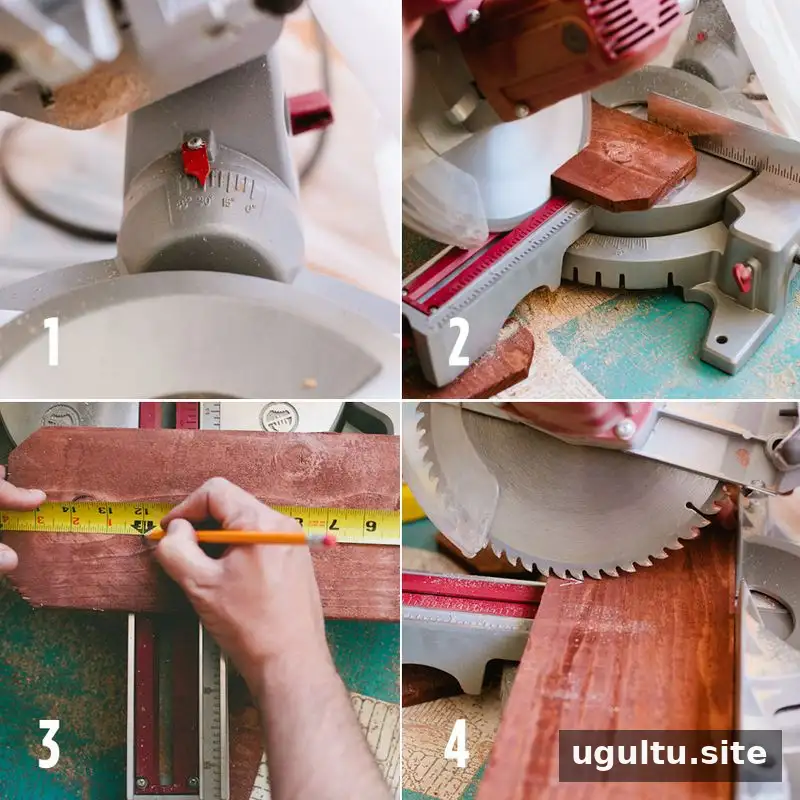
1. Set the saw and prepare the boards. Set the miter saw to 30 degrees and keep that setting throughout the project. Cut off the more decorative end of each fencing plank at this angle.
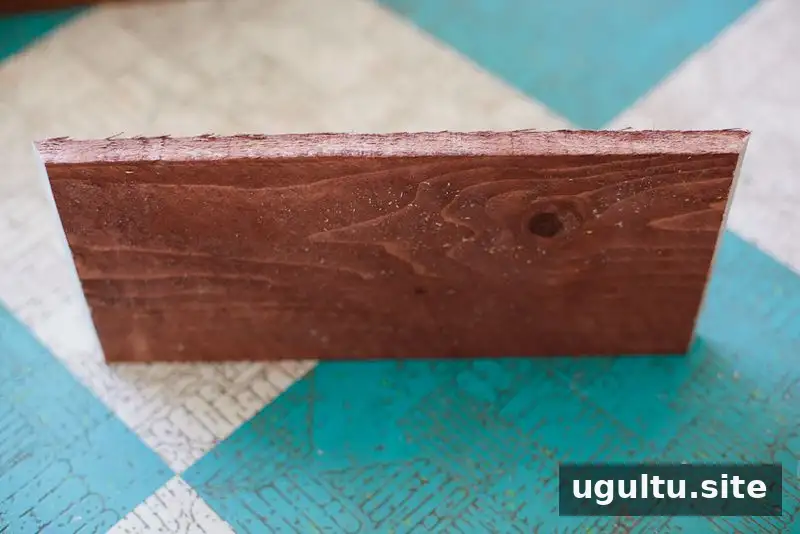
2. Mark and cut the pieces. Turn the plank so you can measure along its long edge. Measure 12 inches from the first cut and mark the next cut. Cut at the mark, keeping the angled ends oriented so the long edge measures 12 inches and the opposite side is shorter. Repeat until you have 15 pieces of the same size.
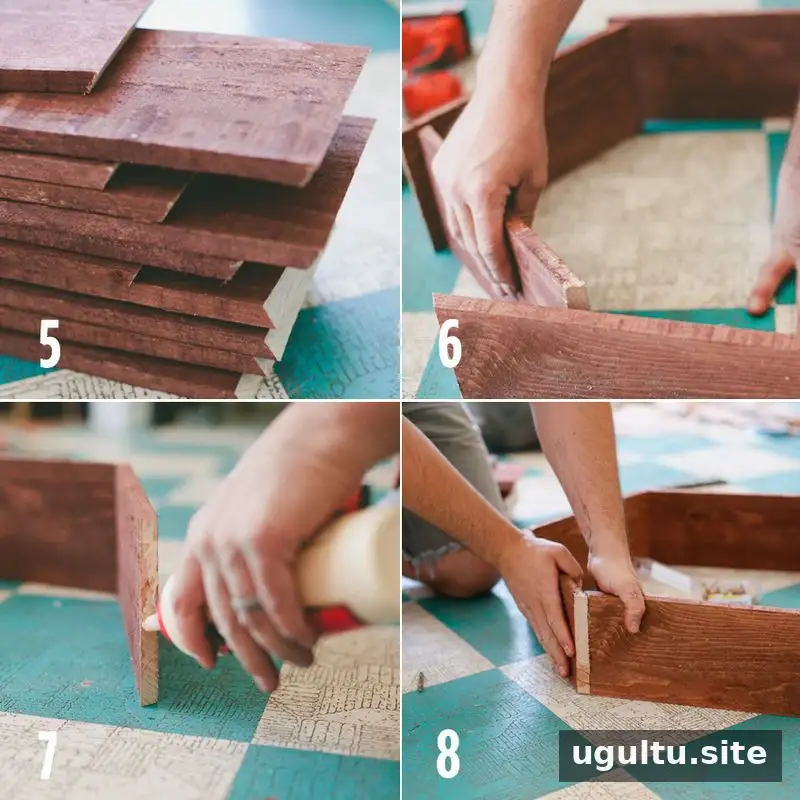
3. Lay out the first hexagon. Count the pieces and check that all 15 match. Stand six pieces on a flat surface to form the first hexagon. Decide which side will be the shelf’s base, then adjust the pieces until the layout looks right before joining them.
4. Glue and fasten the joints. Work on one joint at a time. Apply wood glue to the edge, press the pieces together for several seconds, and pre-drill screw holes. Pre-drilling helps reduce the risk of splitting the wood. Screw the pieces together, using two screws where each piece meets the base and one screw at each side joint, as suggested for this design.
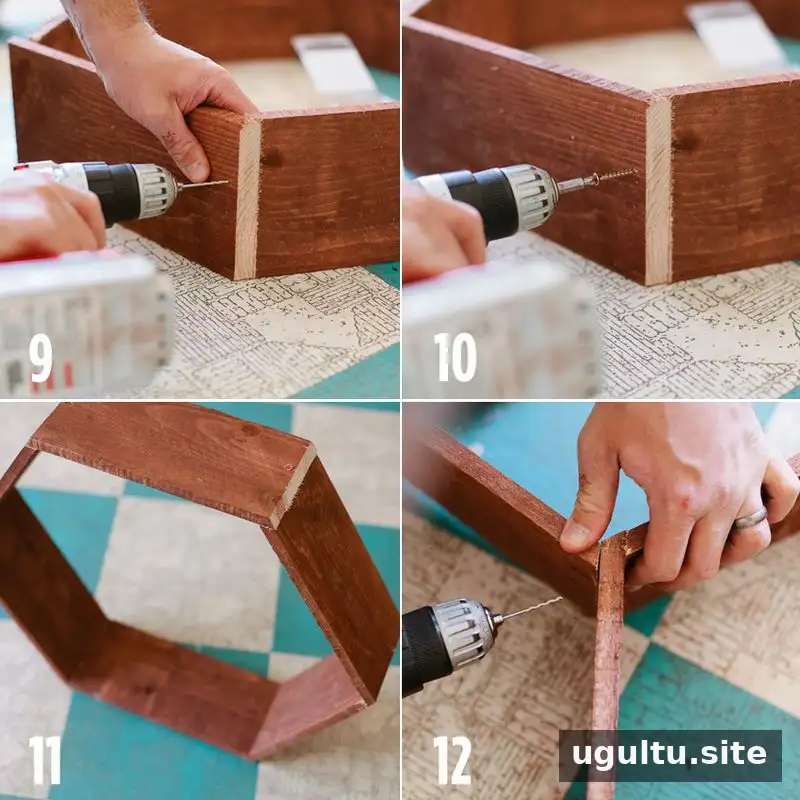
Continue around the shape until the first hexagon is assembled. Keep the pieces aligned as you work, and wipe away excess glue before it dries if needed.
Connect the three honeycomb sections
Build the second and third sections onto the first rather than assembling three separate hexagons. The finished sections share sides, which is why 15 pieces are used for the connected three-comb layout. Before gluing, arrange the next section against the existing one to check how the shared sides fit and confirm the overall shape.
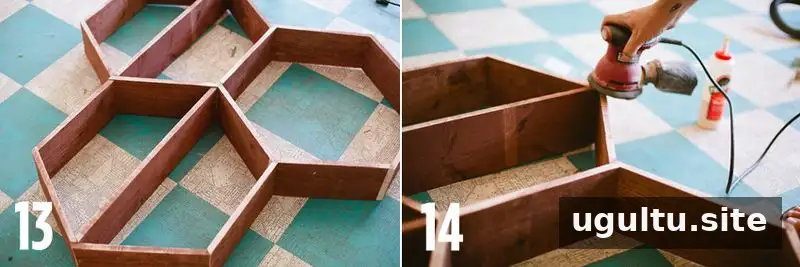
Optional interior shelves can be added to selected combs. Measure the width at the point where each shelf will sit, use that measurement for the long edge, and cut the ends at the same angle as the other pieces. Measure each opening individually, since the required width can vary by section and position.
Sand the edges and corners when assembly is complete. This removes splinters and can soften the appearance of pre-stained wood. Wear appropriate eye protection while cutting and sanding, and follow the tool manufacturer’s safety instructions.
Mount the shelves securely
Before hanging the unit, identify the wall studs where the brackets will be installed. A stud finder is a practical way to locate them. Avoid relying only on the sound of a knock or a nail test, which may not reliably confirm a stud’s position.
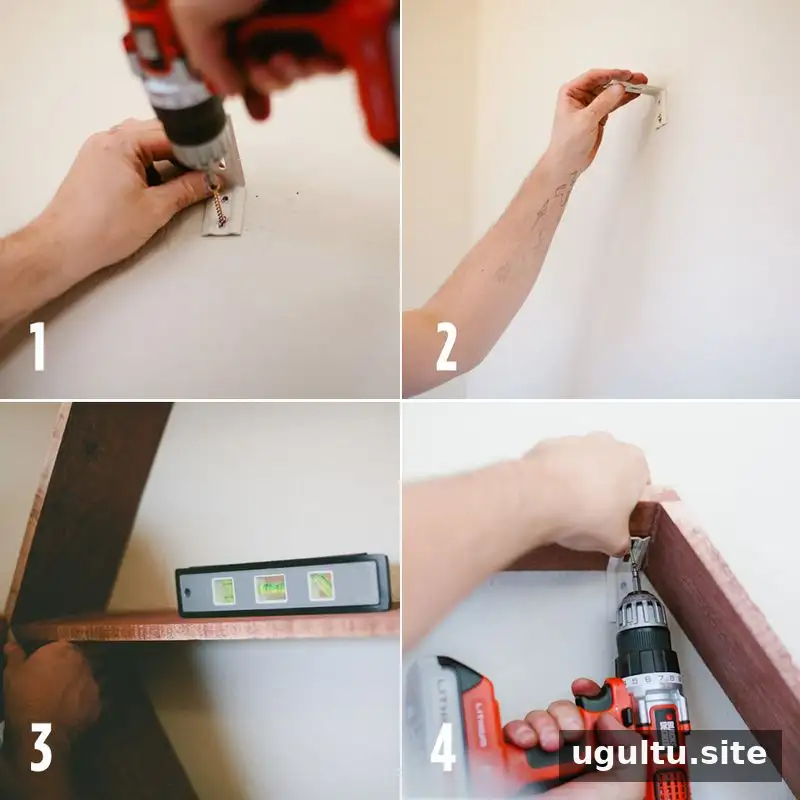
Attach the lower part of a bracket to a stud with an appropriate screw. Check that it is secure, then rest the shelf on the bracket and place a level along the bottom shelf. While the unit is level, mark the positions for the remaining brackets and fasten them to studs. Use shorter screws to secure the brackets to the shelf, taking care not to drive them through the wood.
Before loading the shelves, check that all joints and wall fixings are secure. The safe load depends on the wall, brackets, fasteners, and construction, so do not assume a weight capacity that has not been specified.
Finishing your DIY honeycomb shelves
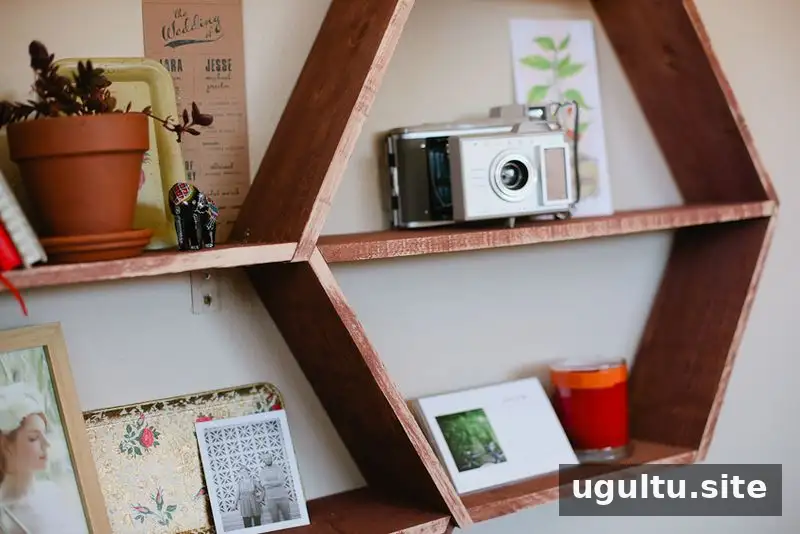
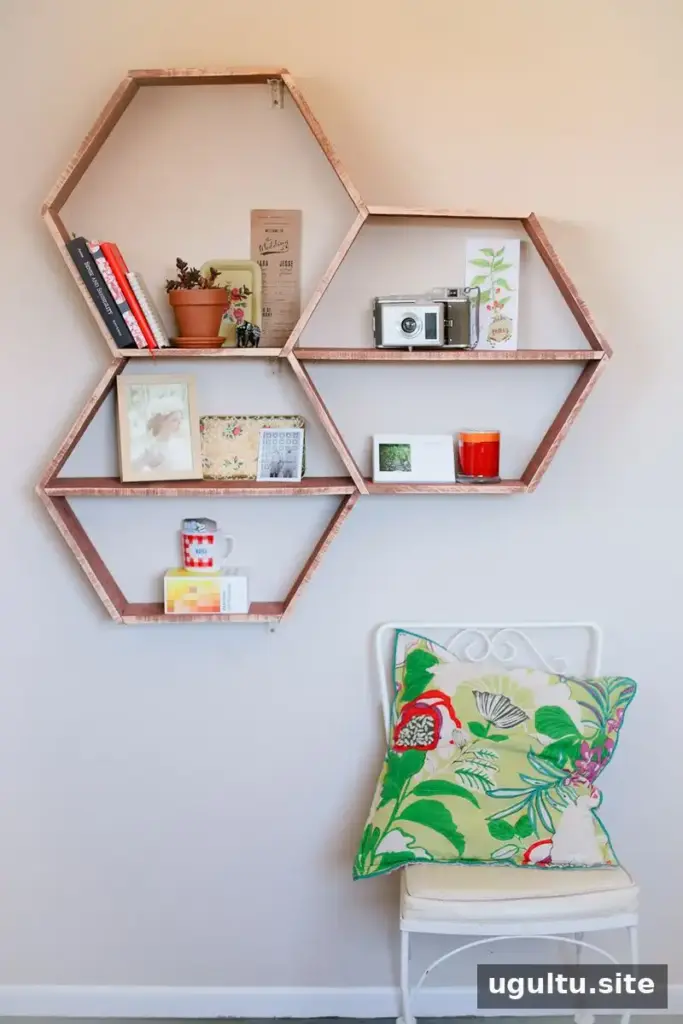
Once installed, arrange lightweight display items or storage that suits the room, and distribute items evenly. DIY honeycomb shelves combine useful display space with a distinctive shape; careful measuring, consistent cuts, and secure wall mounting are key to a neat, sturdy result.


