
 admin
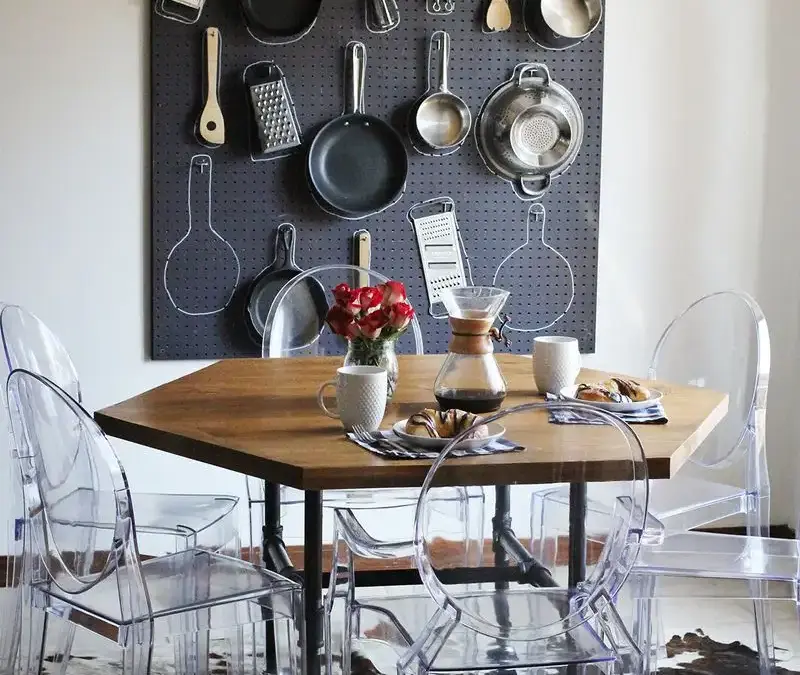
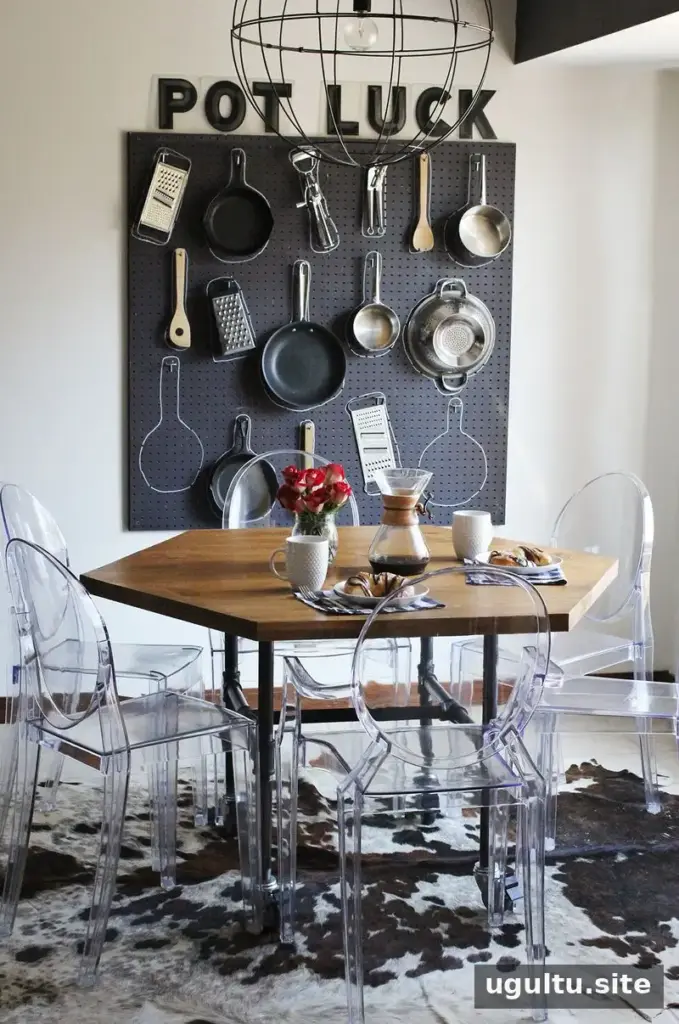
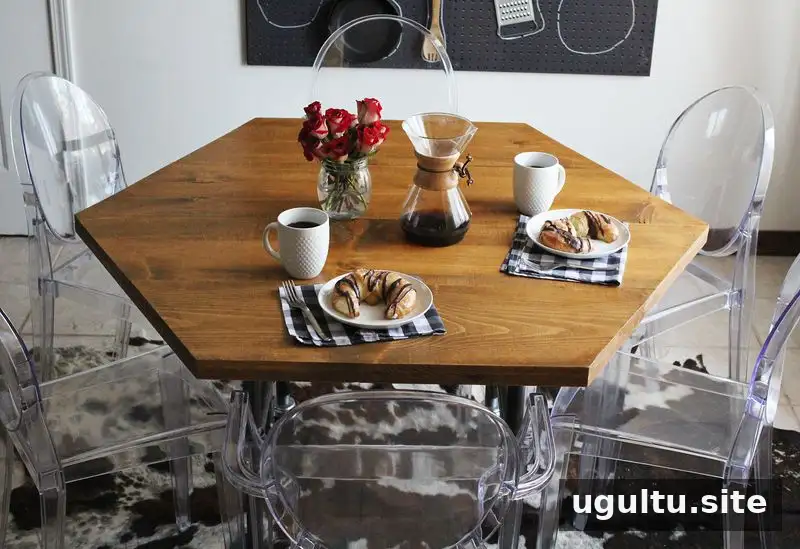
A DIY honeycomb table can make better use of a compact dining area while providing room for extra guests. This project combines a six-sided wooden tabletop with industrial-style plumbing pipe legs fitted with casters, so the table can be moved when needed. The finished build cost around $250, with most of the expense going toward the pipes.
The hexagonal shape was chosen to help seat six people in a small breakfast nook. Casters also make it easier to reposition the table for everyday use or when more open floor space is useful. If pipe fittings are outside your budget, hairpin legs or painted PVC pipe are possible alternatives, though they will change the table’s appearance and construction.
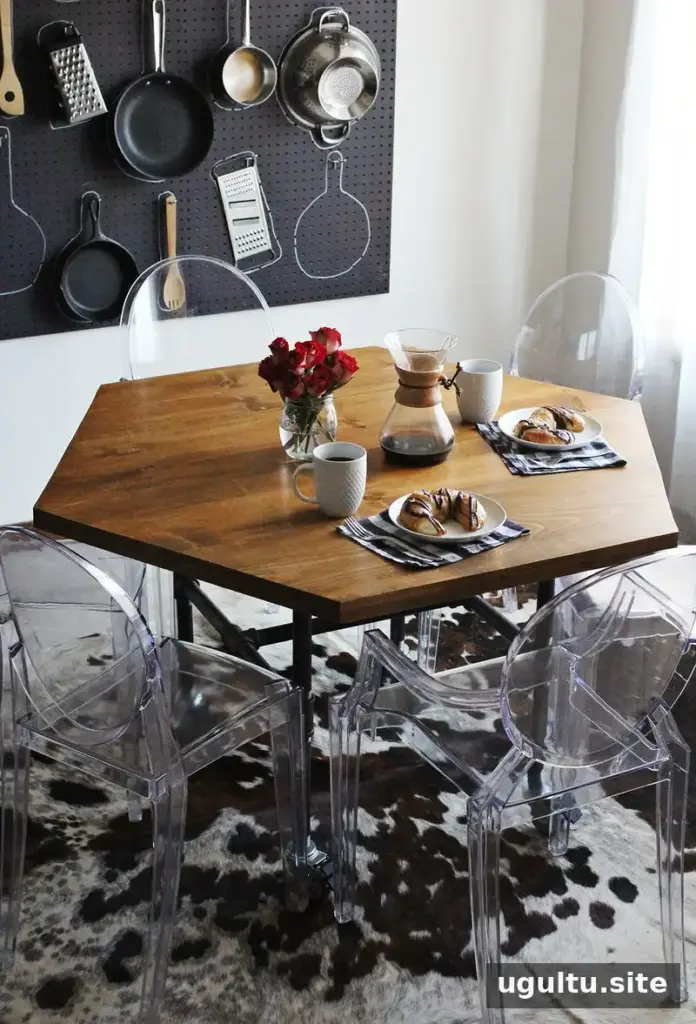
Materials for the DIY honeycomb table
- Four 10×1-inch black iron nipple fittings
- Eight 8×1-inch black iron nipple fittings
- One 16×1-inch black iron nipple fitting
- Four 1-inch floor flanges
- Four casters sized to fit 1-inch pipe; the original build used 3-inch, size 6 casters with brakes
- Six 1-inch black iron tee fittings
- Four 8-foot 1×12 wood planks
- Six 4-foot 1×2 wood pieces
- One 4-foot 1×8 hardwood piece, up to 3 inches wider or longer
- A protractor, pencil, power saw, drill, and sandpaper
- At least sixteen 0.75-inch screws and around fifty 1.25-inch screws
- Wood stain, if desired, polyurethane, and clean rags or brushes
Check pipe and caster compatibility before buying, and confirm that the casters have brakes if you want to keep the table from rolling while in use. If you do not need a mobile table, the casters can be omitted and replaced with four additional flanges.
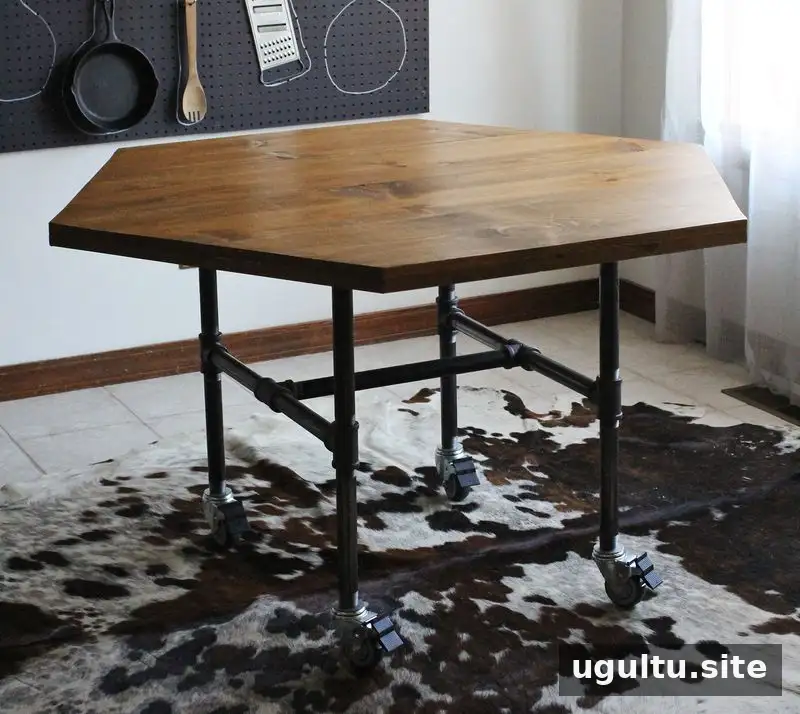
How to build the tabletop
Join the planks and mark the hexagon
Arrange the four 1×12 planks side by side and fasten them together with the 4-foot hardwood piece, using 1.25-inch screws. The nominal lumber dimensions are not the same as the finished measurements: a 1×12 board is typically about 0.8×11.25 inches. Measure your actual boards before marking the tabletop.
For the original build, the in-radius was 22.5 inches, each side measured 26 inches, and each corner angle was 120 degrees. The side length and angle are the key measurements for laying out a regular hexagon. Mark the side lengths across the joined boards, then use a protractor and a straight edge to draw the angled cuts. Measure carefully and check that opposing marks line up before cutting.
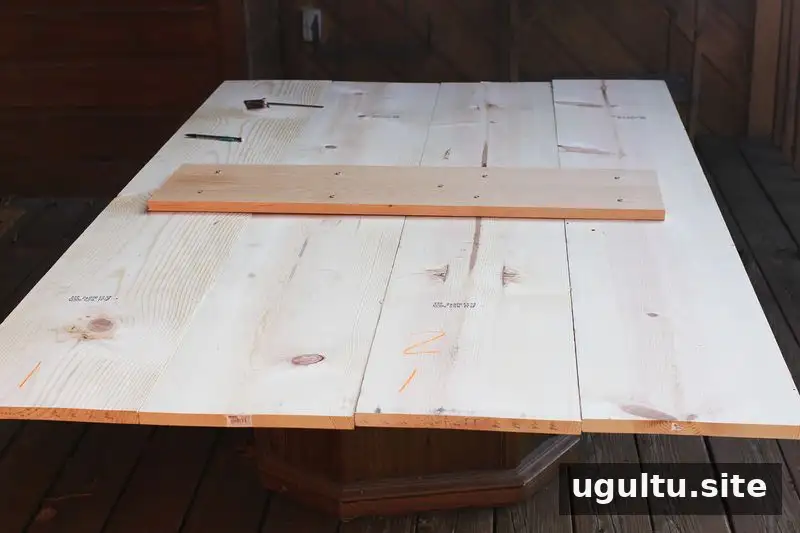
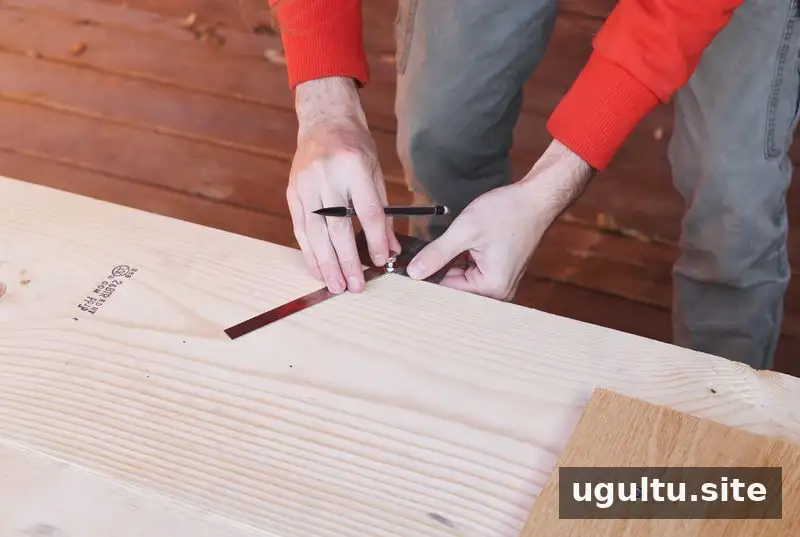
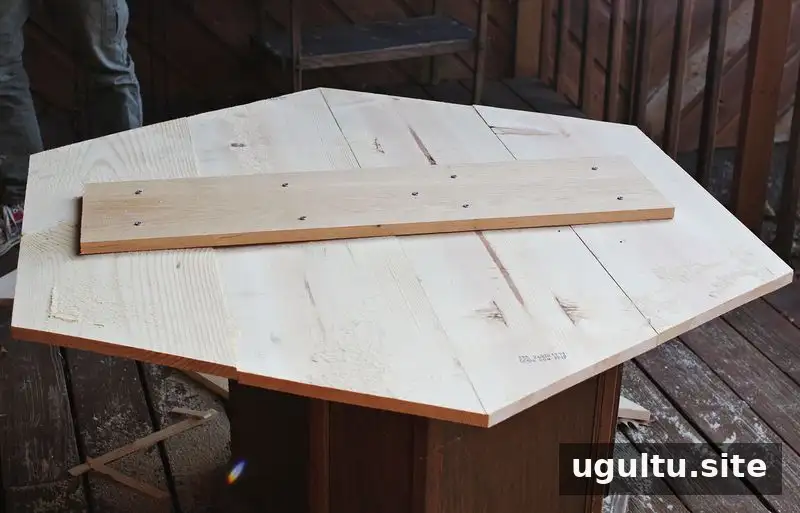
Cut along the marked outline with a power saw. Support the boards securely while cutting, and wear appropriate eye protection. Smooth the edges after cutting so the tabletop is comfortable to handle and ready for finishing.
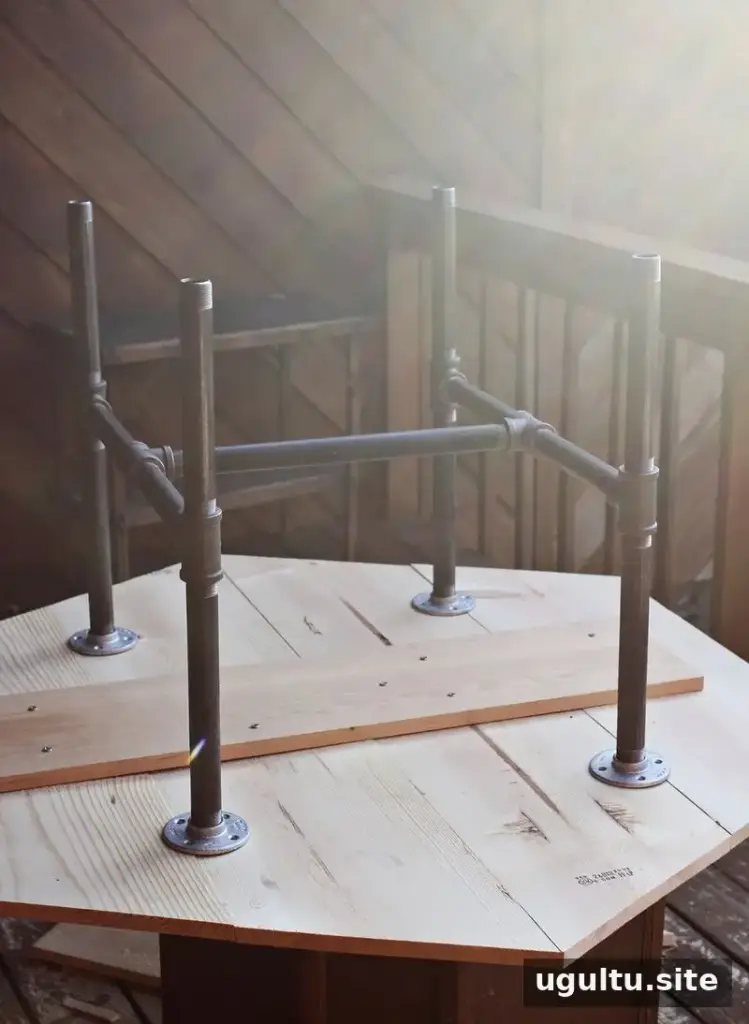
Fit the pipe legs and add the table edge
Assemble the pipe pieces and position the leg structure beneath the tabletop to check the fit. Adjust pipe lengths if needed before attaching the legs. Having another person help hold and position the parts can make this step easier.
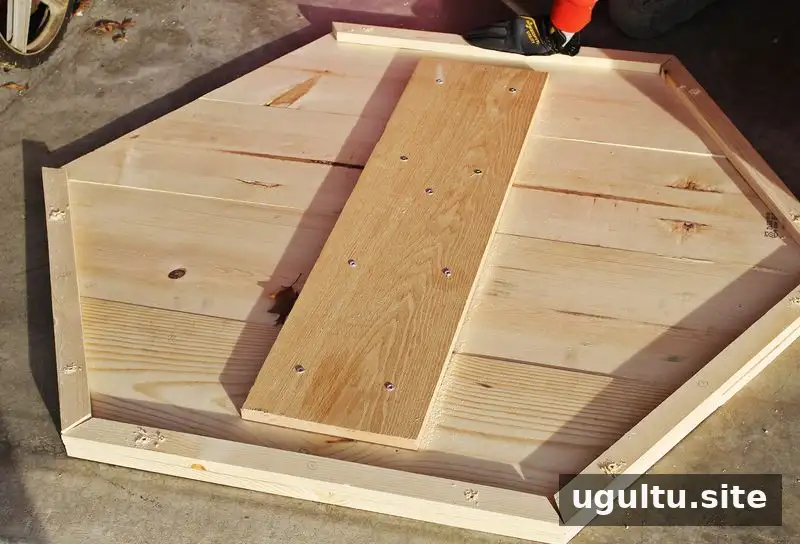
To make the supporting lip, cut six 26-inch pieces from the 1×2 lumber. Shape the ends with inward angles so the pieces meet around the hexagonal edge. The hidden angles do not need to be as precise as the tabletop outline, but keep the finished outer lengths consistent so the visible corners fit neatly. Secure the lip with 1.25-inch screws; it helps support the joined boards and gives the edge a more finished look.
Wood can be uneven or slightly warped. After attaching the lip, check whether any tabletop planks sit higher than the others. If needed, use offcuts from the 1×2 pieces to reinforce the planks from underneath, taking care not to obstruct the leg attachments.
Sand, finish, and attach the casters
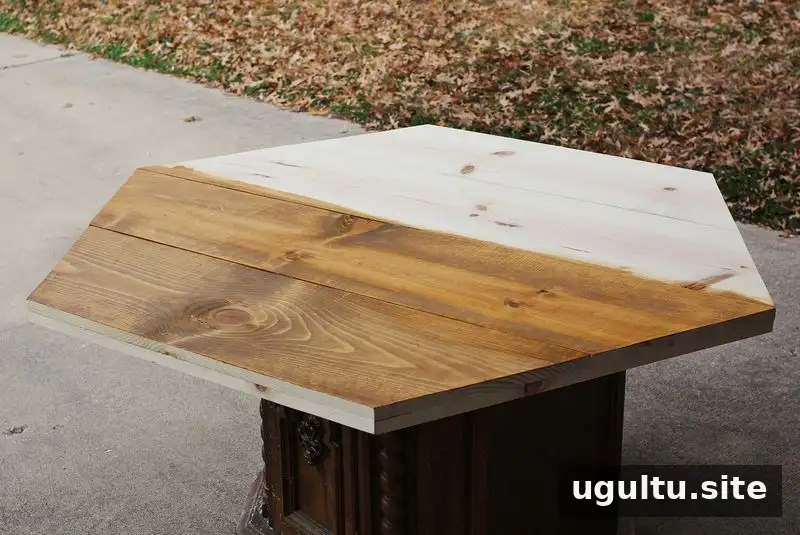
Sand the tabletop until the surface and edges feel smooth. Apply stain if you want to change the wood color; the original table used wheat stain. Let the stain dry fully, then seal the wood with polyurethane. Two coats were used on this table for added protection. Follow the product’s drying instructions between coats.
Once the finish is dry, attach the legs and wheels to the underside with 0.75-inch screws. The legs can also be installed before sanding and staining, but leaving them off can make the tabletop easier to finish. Fit the casters according to their hardware instructions and check that each one is secure and that the brakes work.
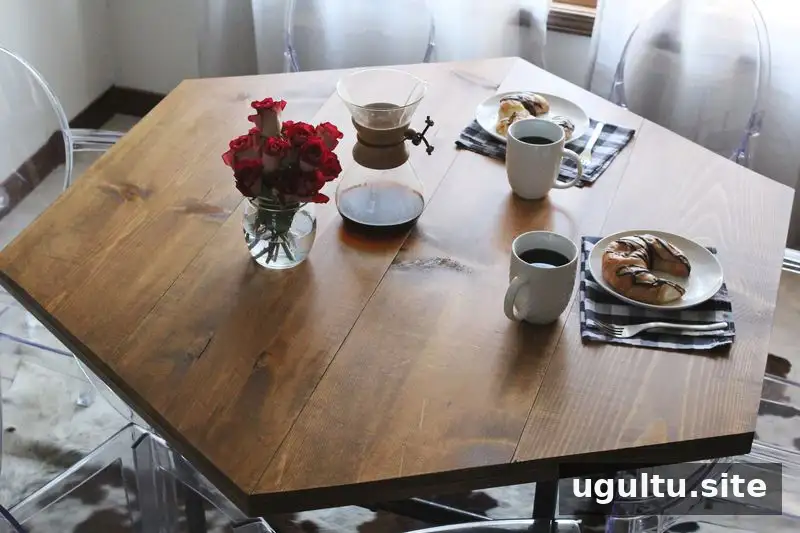
Using the finished table
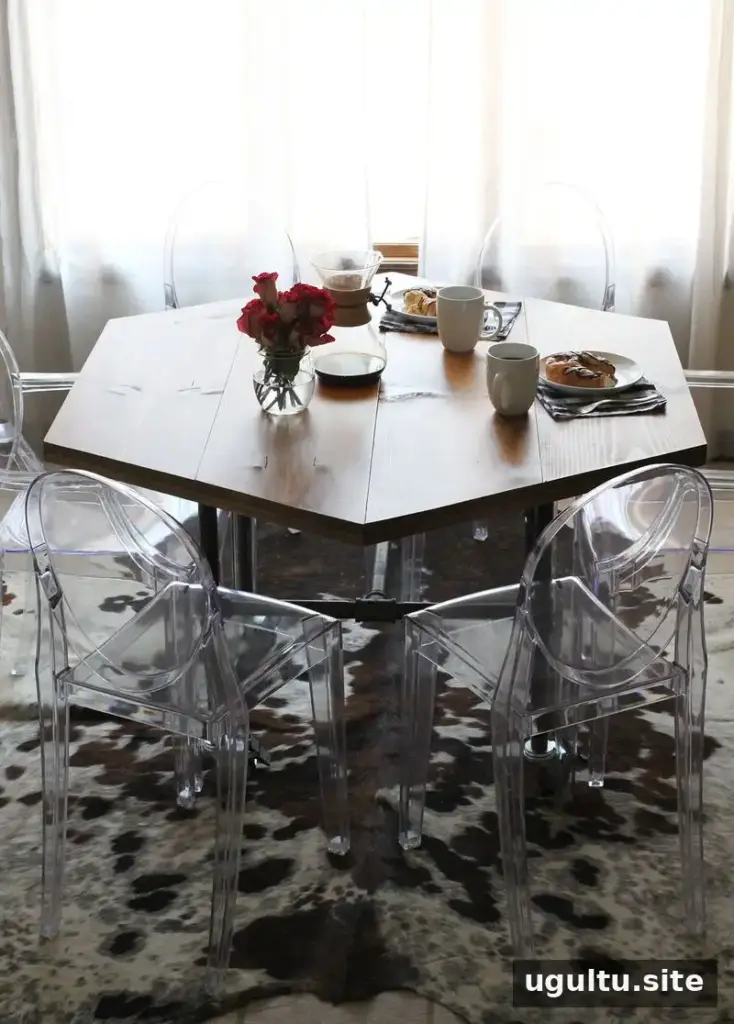
The completed table was paired with six chairs in a small dining area. A transparent chair style can help a compact room feel less crowded, while the casters make it easier to move the table for cleaning or to open up the space. Before regular use, check the screws and pipe connections, and make sure the table remains stable when people are seated around it.
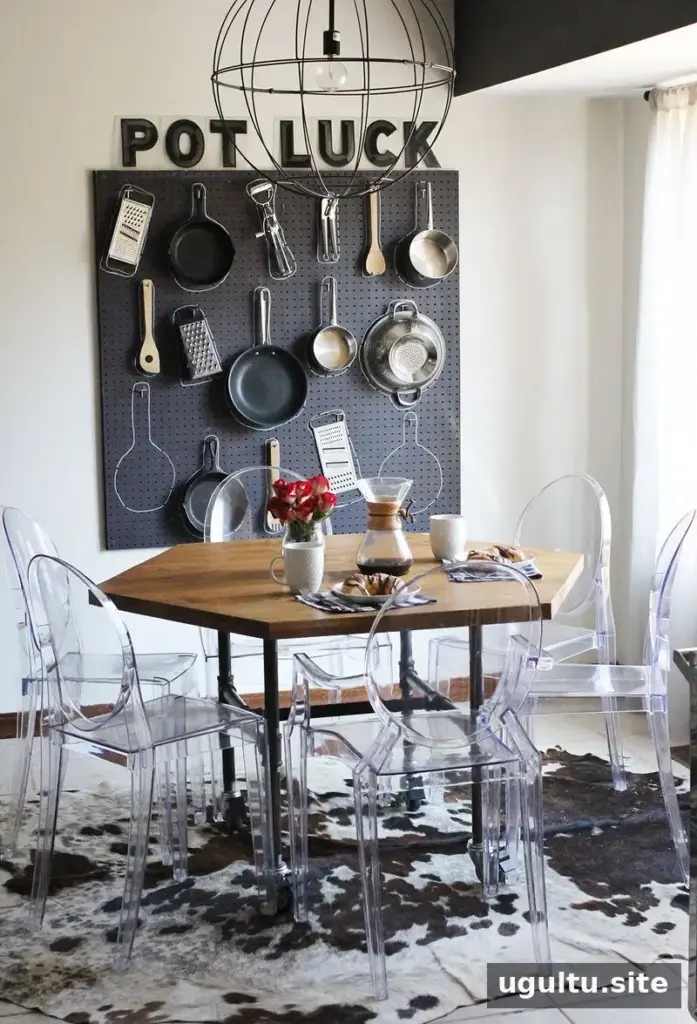
This DIY honeycomb table offers a practical way to add seating and mobility to a small dining space. Measure your lumber before drawing the hexagon, test-fit the pipe legs before final assembly, and let each finish coat dry completely. Project shared by Emma and Trey.


