admin
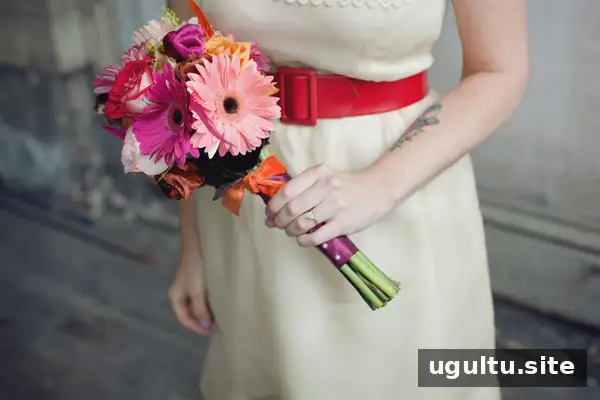
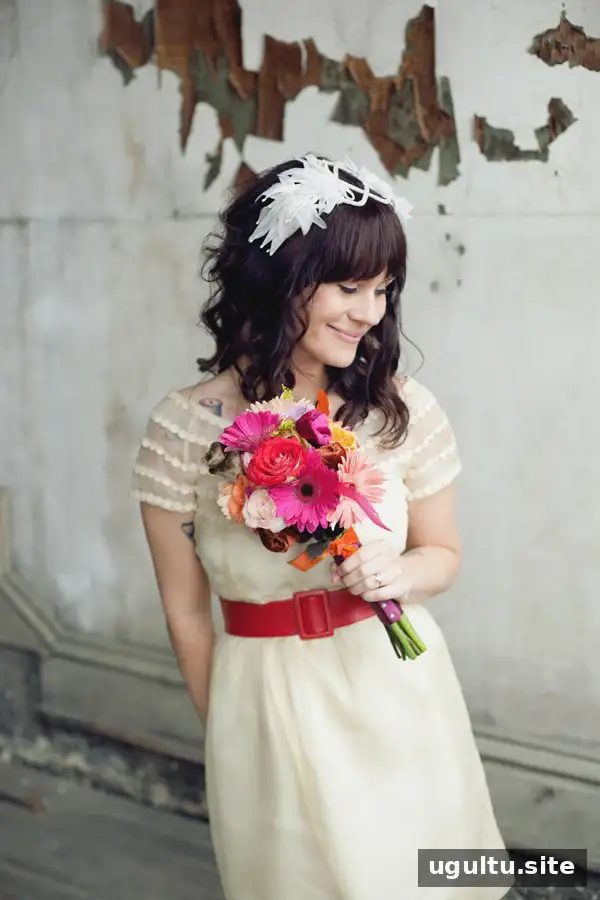
A DIY wedding bouquet can be a personal and creative way to bring meaningful details into your wedding flowers. Making the bouquets without hiring a florist may also reduce costs, although the amount saved depends on the flowers and materials you choose. With a few supplies and a straightforward method, you can create a bouquet that reflects your style.
Bouquet-making can also be a fun group activity. In this example, the bouquets were made with bridesmaids after the rehearsal dinner, and each person added individual details. Allow enough time to gather supplies and arrange the flowers without rushing.
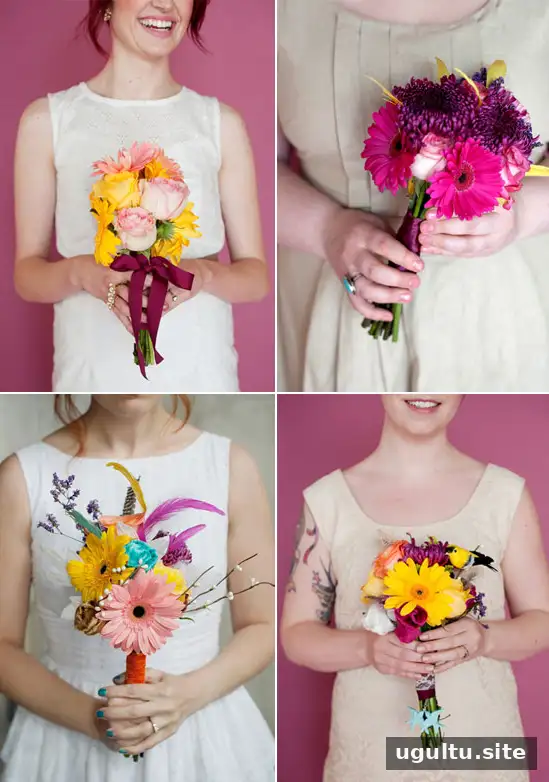
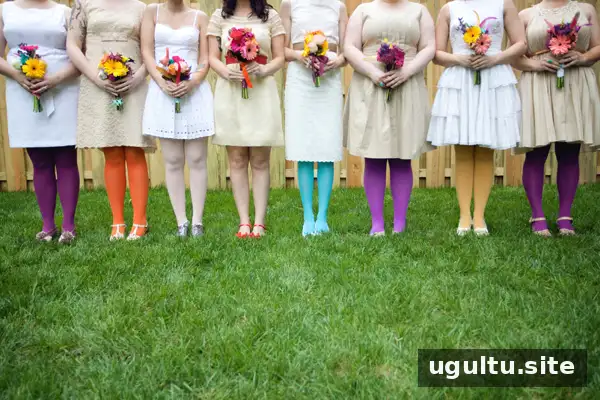
Each bridesmaid made a bouquet with personal touches, including a bird charm on Holly’s and berry branches on Katie’s. Keeping a shared color palette or a few common materials can help different bouquets feel coordinated while still letting each one be unique.
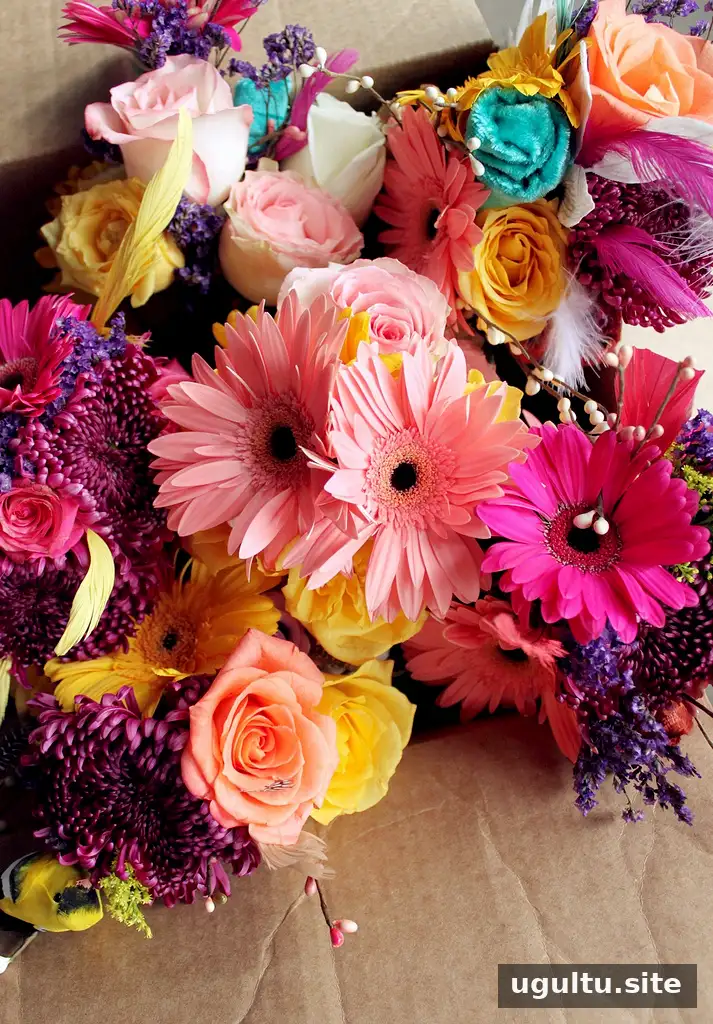
Rachel captured this photo on the morning of the wedding.
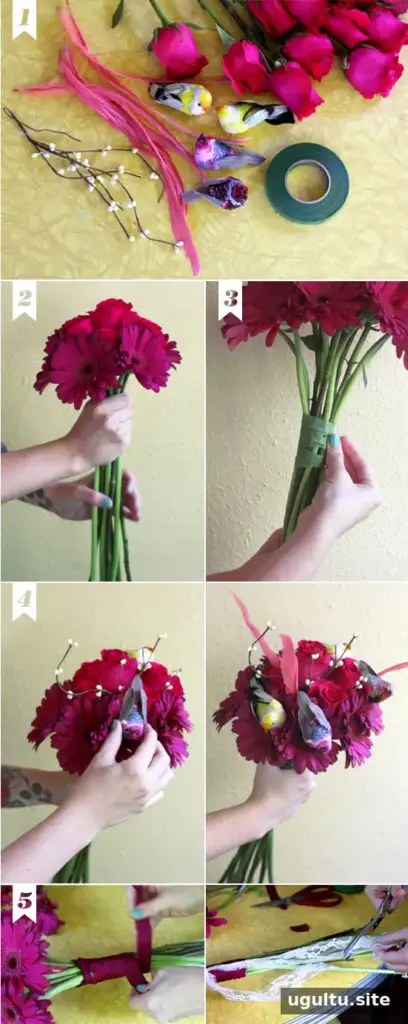
How to Make a DIY Wedding Bouquet
Before you begin, set out your materials on a clean, spacious work surface. Gather everything in advance so you can focus on arranging and securing the flowers.
Step 1: Collect your supplies
The bouquets featured fresh flowers, handmade velvet flowers, berry twigs, feather birds, feathers, vintage brooches, heirloom ribbon, and velvet ribbon. Choose accents that have personal meaning, and make sure any decorative pieces can be attached securely. Keep sharp wire ends and brooch pins away from hands while arranging.
Step 2: Build the floral base
Begin with flowers in the center, then add more blooms around them to build the shape outward. Turn the bouquet as you work so you can check its balance from different angles. Adjust stems as needed before wrapping them.
Step 3: Secure the stems
Wrap floral tape around the stems where you plan to place the ribbon. Use enough tape to hold the arrangement firmly; the ribbon will cover it. Check that the flowers stay in position before moving on.
Step 4: Add decorative accents
Add details such as feathers or feather birds. The feather birds used for these bouquets had wires beneath them that could be secured around the blooms. Attach accents carefully so they do not shift or damage the flowers.
Step 5: Finish with ribbon
Wrap ribbon around the taped stems and tie it securely. Lace can be added as an extra accent. Keep the handle comfortable to hold, and trim excess ribbon only after checking the finished look.
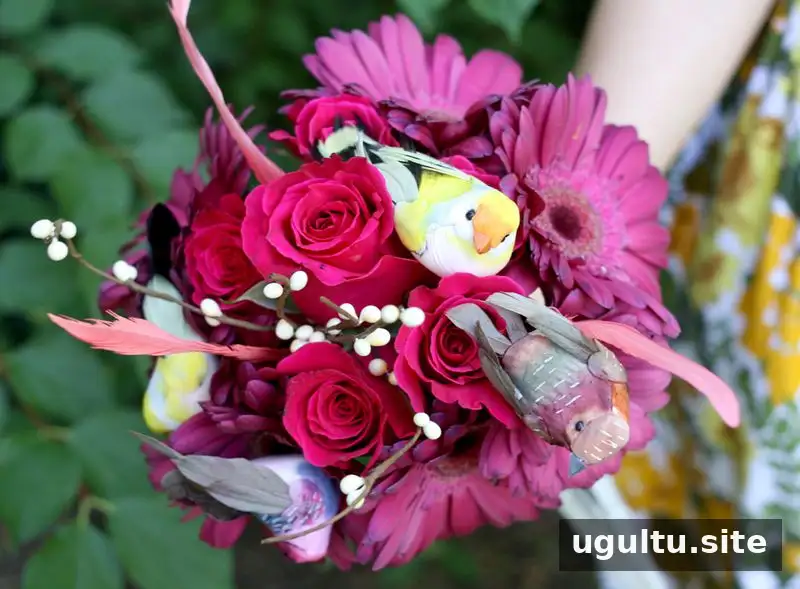
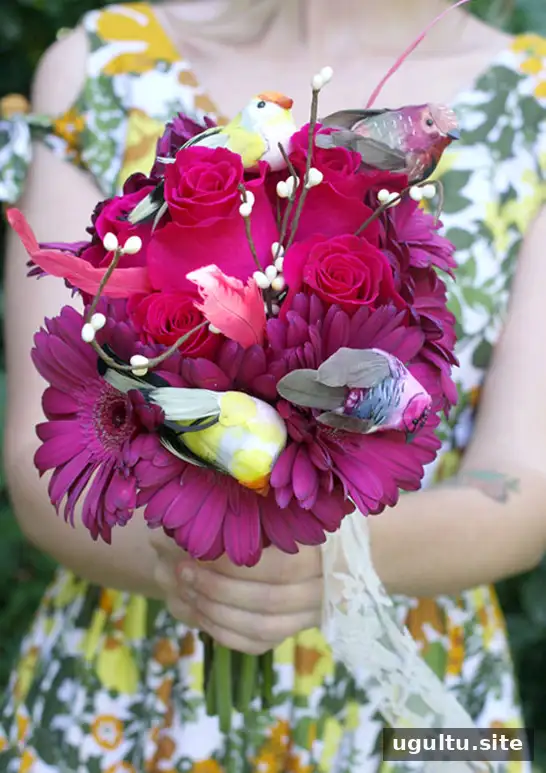
The finished bouquet combines the flowers and decorative details into one personal arrangement. If you are making several bouquets together, set aside time for each person to check the shape, handle, and accents before the event.
Final Tips for Your DIY Wedding Bouquet
A DIY wedding bouquet does not need to look identical to anyone else’s. Choose a few materials that suit your wedding, arrange the flowers from the center outward, and secure the stems before adding ribbon. Making bouquets with friends or family can turn the preparation into a shared activity, while personal charms, branches, and fabric details help each arrangement feel distinctive.
Photography by Arrow & Apple; DIY photos by Emma & the author.