
 admin
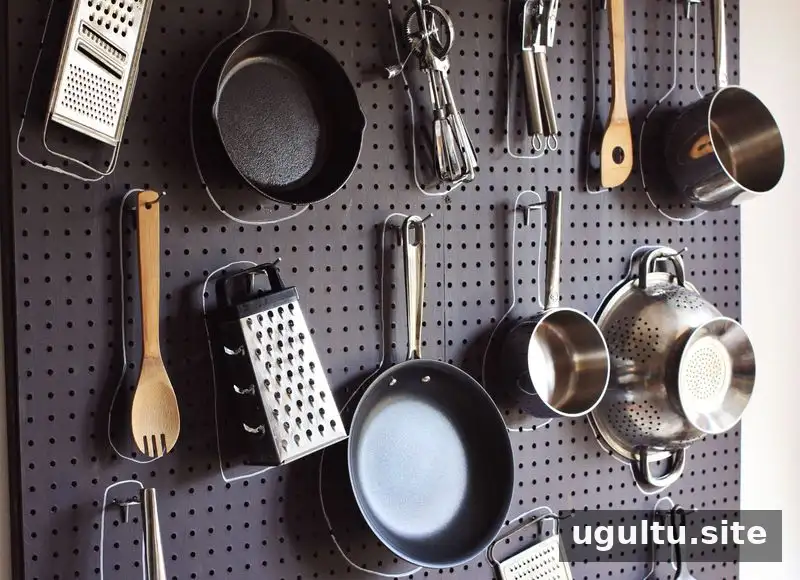
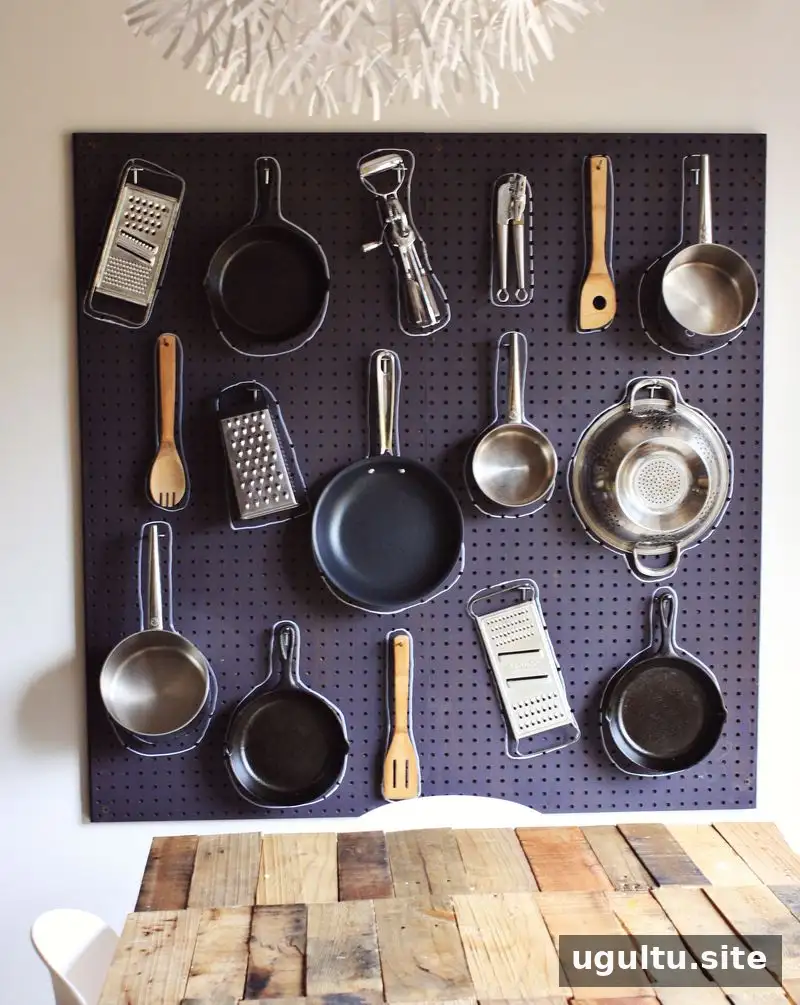
A DIY kitchen pegboard can turn an unused wall into practical storage, especially in a small kitchen with limited cabinets. Hanging pots and pans keeps them visible and accessible while freeing up cupboard space for groceries and other kitchen essentials.
When a kitchen has no pantry and only a few shelves for dry goods, making better use of vertical space can help. This project uses two pegboards mounted on a simple frame made from five pieces of bracing wood. The boards were painted to coordinate with an accent wall, then finished with outlines showing where each item belongs.
DIY Kitchen Pegboard: Materials and Planning
Before mounting a pegboard, decide which cookware you want to hang and where the board will fit. Lay out the pots and pans on the floor or another flat surface first. Leave enough room between pieces for handles and for removing items without knocking neighboring cookware.
- Two pegboards
- Five pieces of bracing wood, cut to the same length as the pegboard
- Paint for the boards and wood, if you want to match your room
- Wall fasteners and screws suitable for the wall and the expected load
- Pegboard hooks sized for the items you plan to store
Check the pegboard and hook specifications before hanging heavy cookware. The wall, frame, fasteners, and hooks all need to support the combined weight.
Build and Mount the Pegboard Frame
First, paint the pegboards and bracing wood if you want a coordinated finish. In this project, the pieces were painted to match an accent wall in the living room. If the frame and boards will sit directly against the wall, painting every hidden surface may not be necessary.
Next, fasten the bracing wood to the wall to create a frame for each pegboard, then screw the boards onto the frames. Get help with this step if needed, and use fasteners appropriate for your wall type. Take care to mount the frame securely before adding cookware.
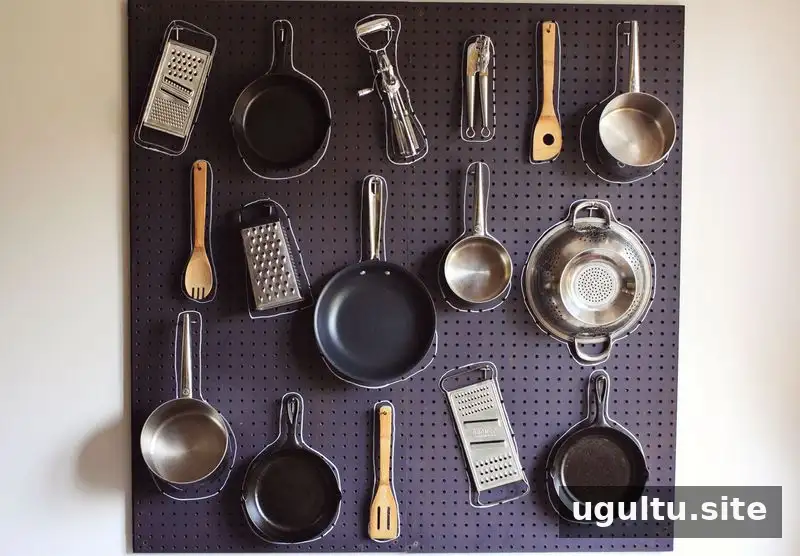
A framed installation creates space behind the pegboard for hooks to fit. Measure and check the placement before drilling so the finished storage area is convenient to use.
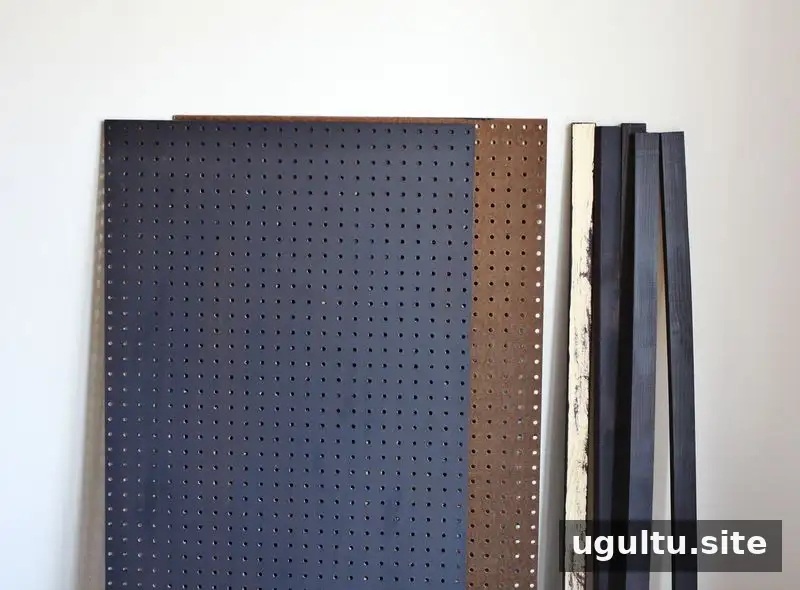
The boards and wood can be painted before installation, which makes the surfaces easier to reach. Allow the paint to dry fully before mounting the pieces.
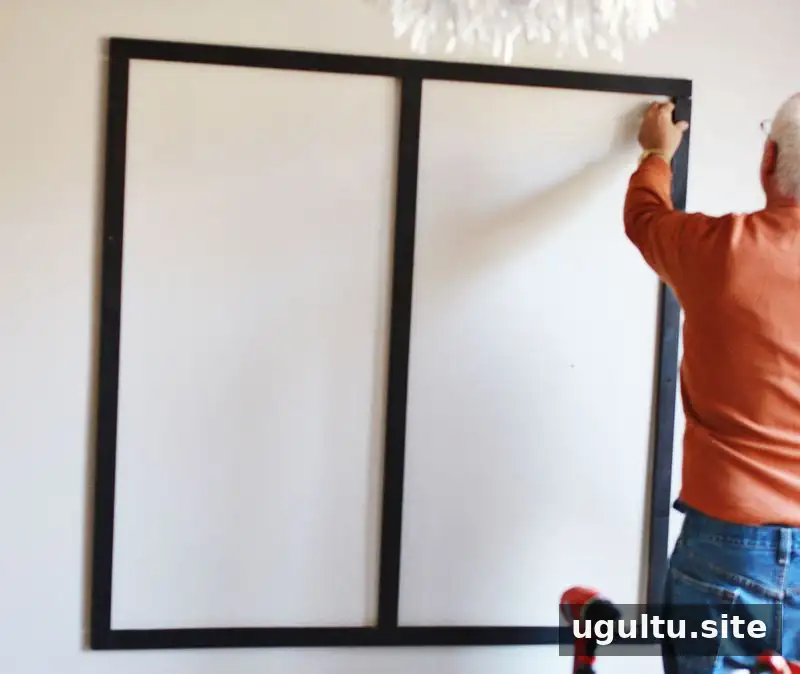
Attach the bracing wood first, then secure the pegboards to the frames. Ask someone to help hold the pieces in place during installation if they are difficult to manage alone.
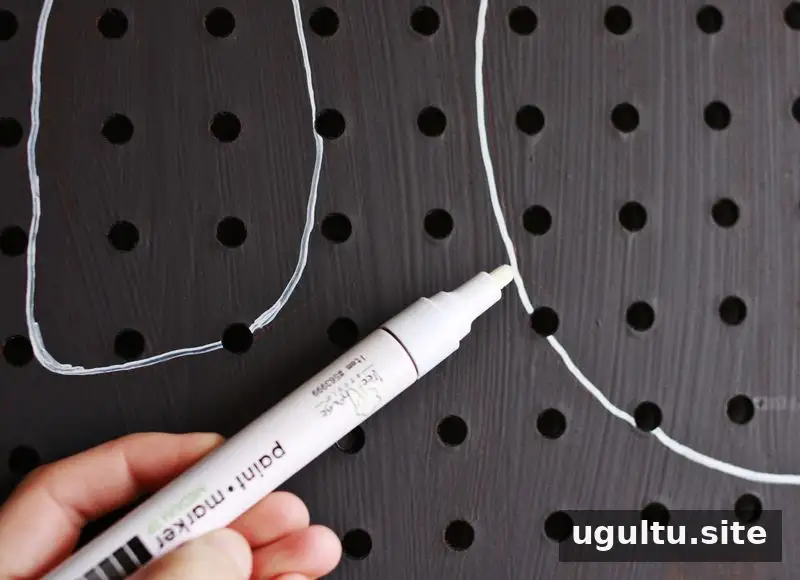
Add Outlines for an Organized Display
Once the pegboard is mounted, hang the cookware in the arrangement you chose. Trace around each item with a pencil, simplifying the outline where necessary, and then draw over the marks with a white paint pen. The outlines act as a visual guide, making it easier to return each pot or pan to its place.
Keep the drawings simple and make sure they do not interfere with the hook positions. If you change the arrangement later, you can update the outlines to match. Test the paint pen on a small area first to confirm that it shows clearly on the board.
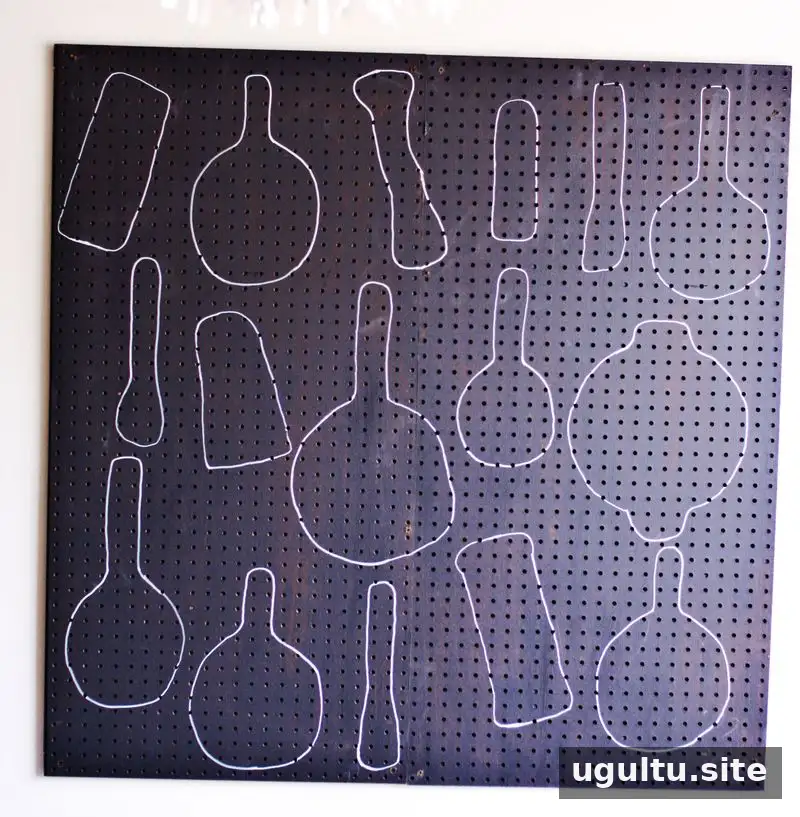
The finished outlines give the storage wall a playful, organized look. A clear layout is also useful when several cookware pieces share the same board.
Make the Most of Your Kitchen Wall
A well-planned pegboard can make frequently used cookware easier to reach and free up valuable cabinet space. Before loading it, check that every hook is fully seated and that the board remains firmly attached. Store heavier pieces on the most secure hooks and avoid exceeding the limits of the board or its mounting hardware.
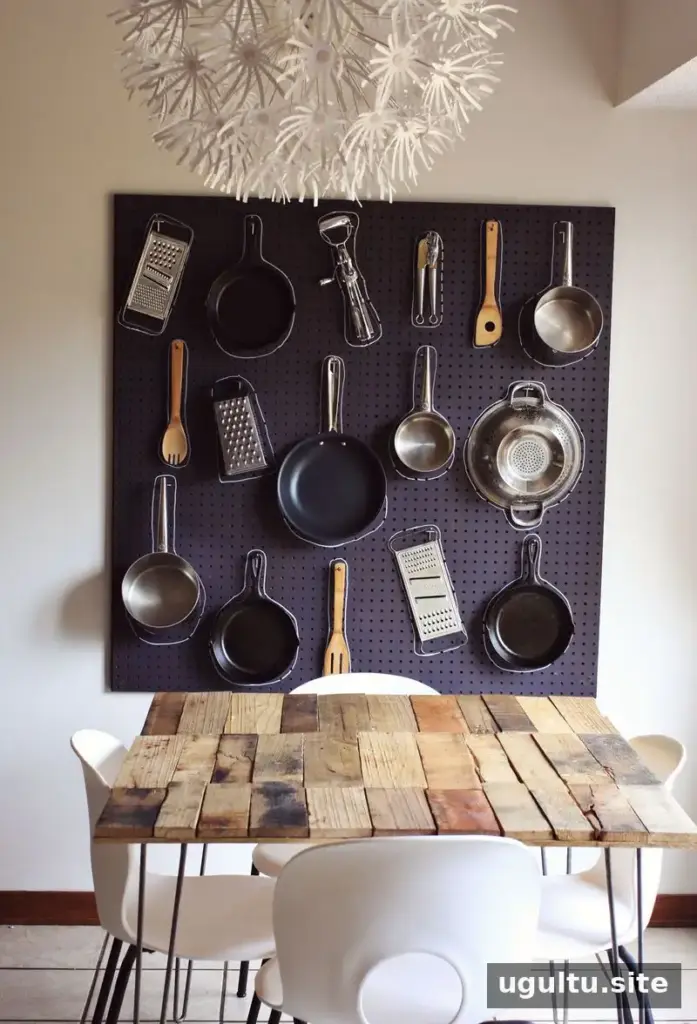
This DIY kitchen pegboard adds accessible storage and makes better use of an otherwise unused wall. Project by Emma.


