
 admin
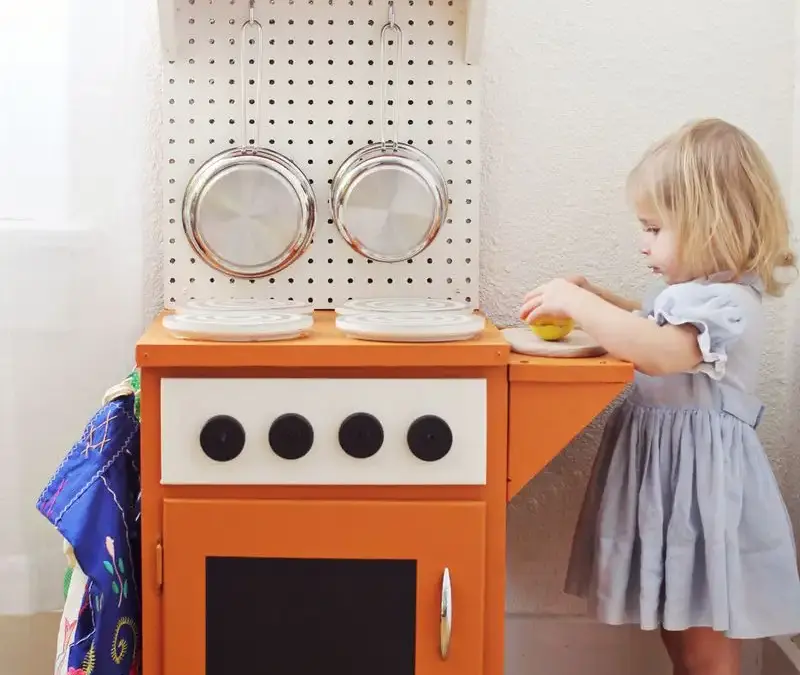
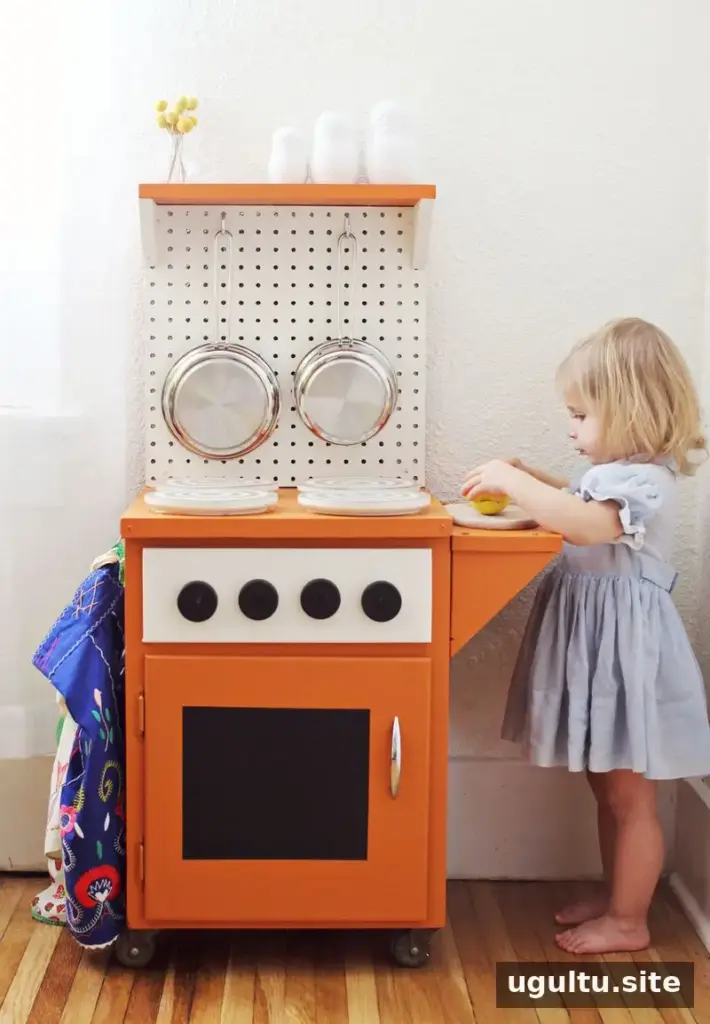
A DIY kitchenette can turn a small rolling cabinet into a hands-on play space for children. This project adds a pegboard backsplash, shelves, oven details, and pretend burners while keeping the cabinet’s original door and drawer usable. It’s a practical way to repurpose an existing piece of furniture, provided the structure is carefully assembled and finished for supervised children’s play.
Planning a DIY Kitchenette
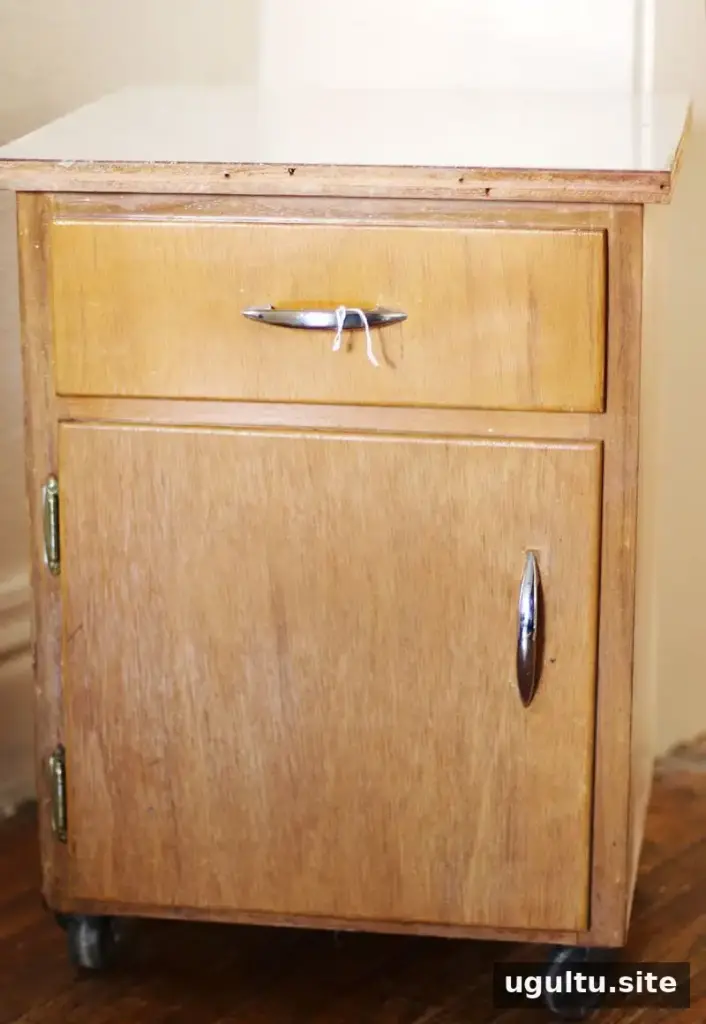
Start by choosing a rolling cabinet that is an appropriate size for the child and has a solid structure. Before adding decorations, consider how the cabinet will be used: the play pans need room to hang, the shelves should be accessible, and the door and drawer should still open and close. Sketching the layout first can help you plan the placement of the pegboard, shelves, and oven controls.
Build the Cabinet Features
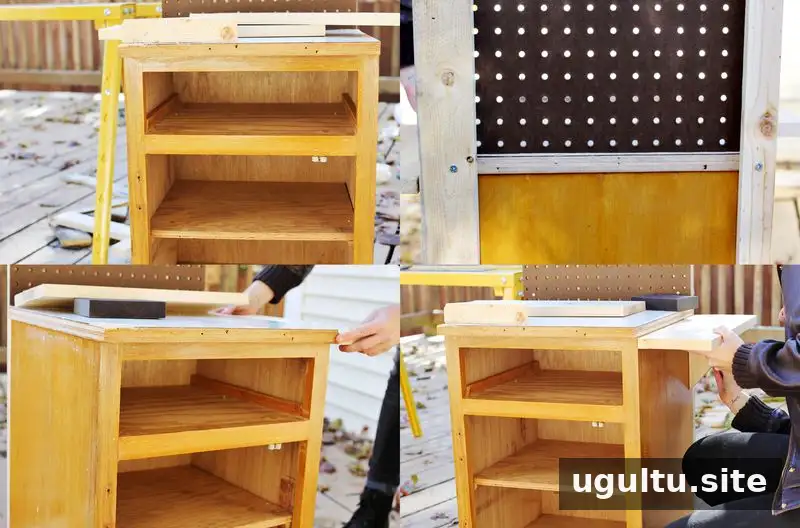
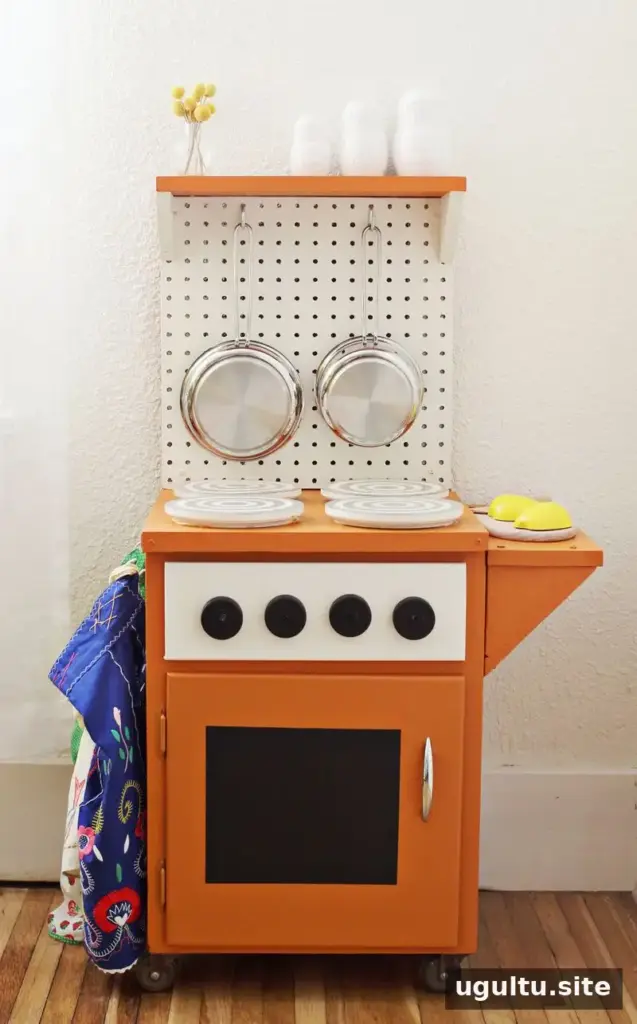
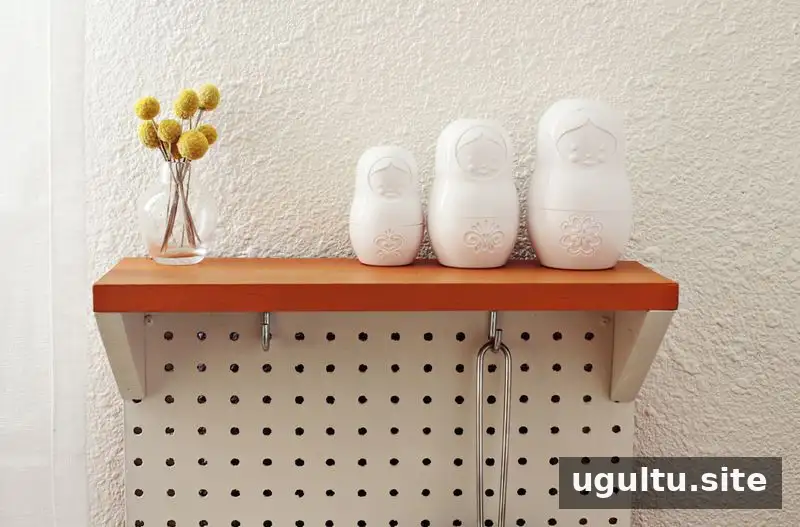
For this project, a pegboard was cut to a height that could hold two play pans. A frame made from wood planks was attached to the back of the cabinet to support it. A small shelf was added across the top of the pegboard, with another shelf attached to the side of the unit. Cut wooden triangle pieces supported the shelves and were fixed in place with construction adhesive.
The handle was removed from the top drawer, and four wooden knobs were attached to the front to represent oven controls. After painting, two hooks were added to the other side for play towels or aprons. When building a similar piece, check that shelves and hooks are firmly secured, and allow adhesives to cure according to their product instructions before children use the kitchenette.
Paint the Pretend Oven
Once the structure was assembled, orange and white paint were applied as the base colors, with several coats used across the cabinet. After the paint dried, a section of the door was masked off to create an oven window and painted with chalkboard paint. The same paint was also used on the wooden knobs.
Let each coat dry fully before adding tape or another layer, so the finish is less likely to peel or smudge. For a child’s play furniture, choose finishes suitable for the intended use and follow the manufacturer’s directions for drying and ventilation.
Make and Attach the Stove Burners
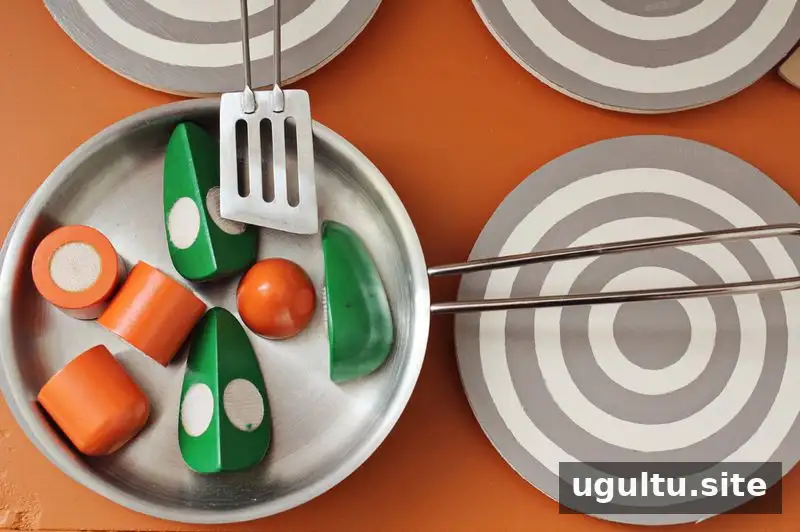
The pretend burners were made from 6-inch round wooden plaques. The underside of each plaque was painted grey. Circles were drawn on contact paper with a compass, and the paper was placed on the plaque as a paint mask. White paint was applied in the spaces between the circles. Once dry, the contact paper was removed and the circular lines were touched up with a small paintbrush.
The finished plaques were attached to the stovetop with a strong adhesive, and three coats of clear varnish were applied over the entire surface. Keep small parts and adhesives out of children’s reach during construction, and check that the burners are firmly attached before play.
Check the Finished Play Kitchen
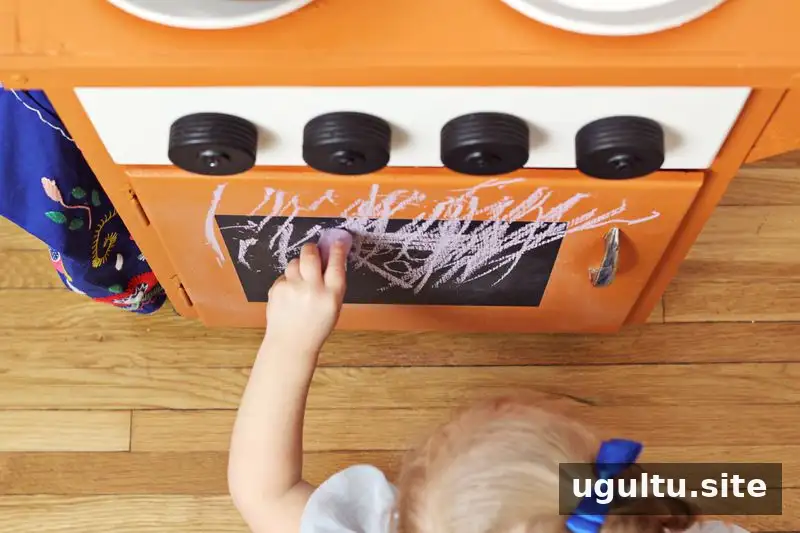
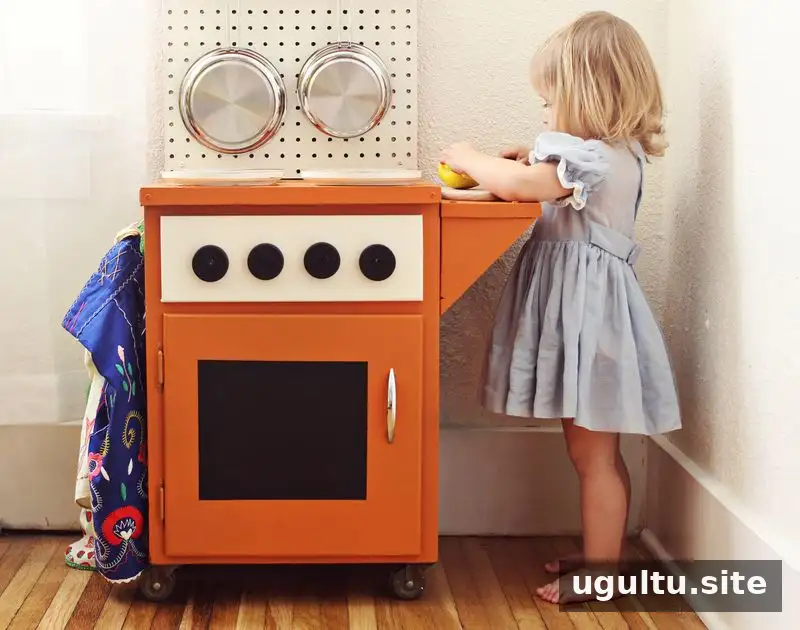
The original cabinet’s door and drawer remain functional: the door serves as an oven opening, while the drawer provides storage for play food and accessories. The assembled unit was described as sturdy, but every repurposed cabinet should be checked for stability, secure fittings, and smooth-moving parts before use. If the piece can tip or shift during play, stop using it until it has been made stable. An adult should supervise young children, especially around doors, drawers, and hooks.
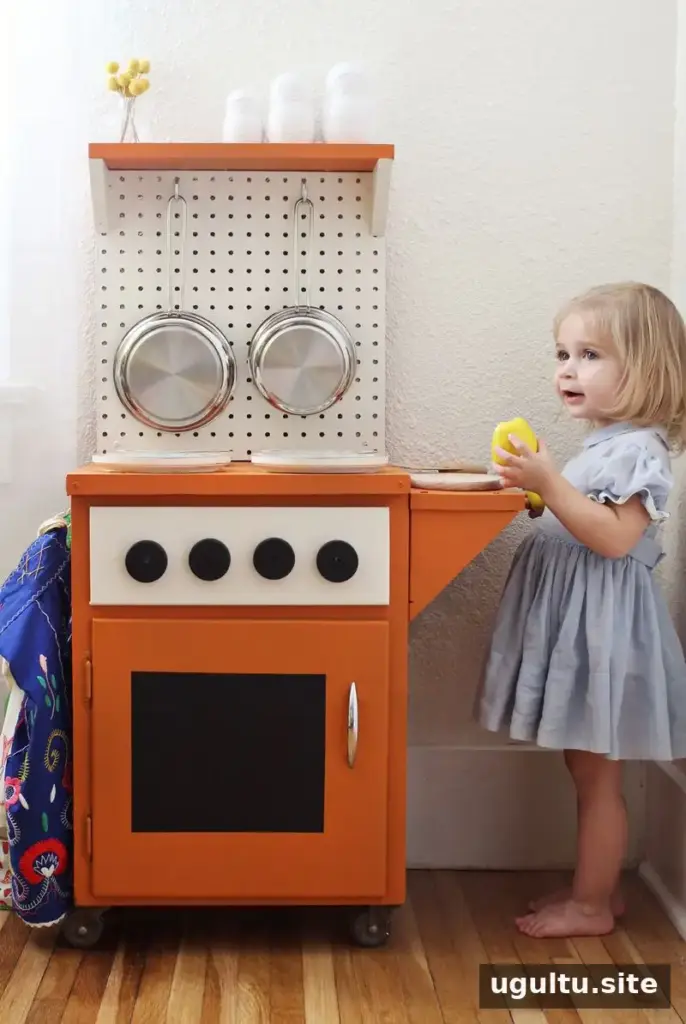
This DIY kitchenette shows how a rolling cart can become a colorful pretend kitchen with a few structural additions and decorative details. Keep the original storage features where possible, use suitable finishes, and inspect the completed piece regularly. Project credited to Katie and Emma.


