
 admin
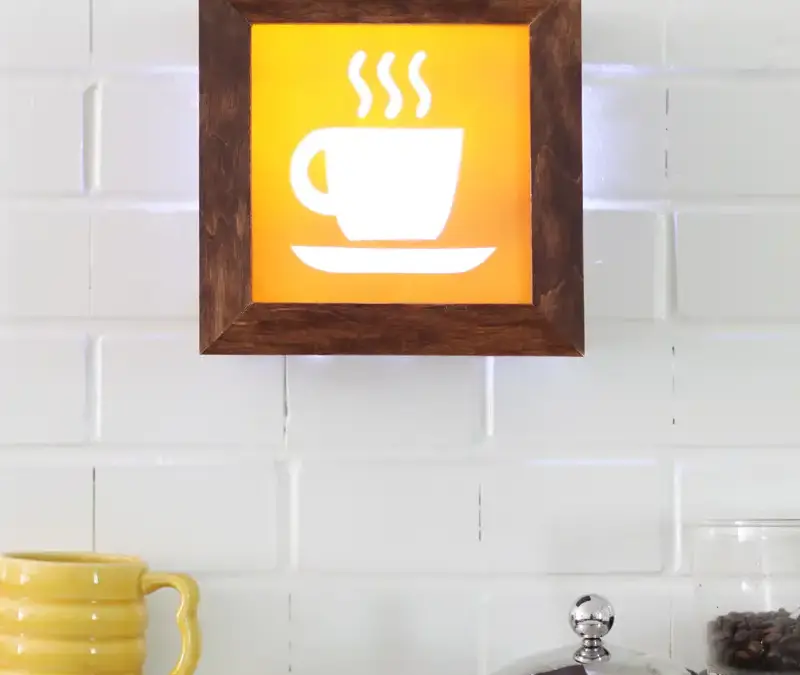
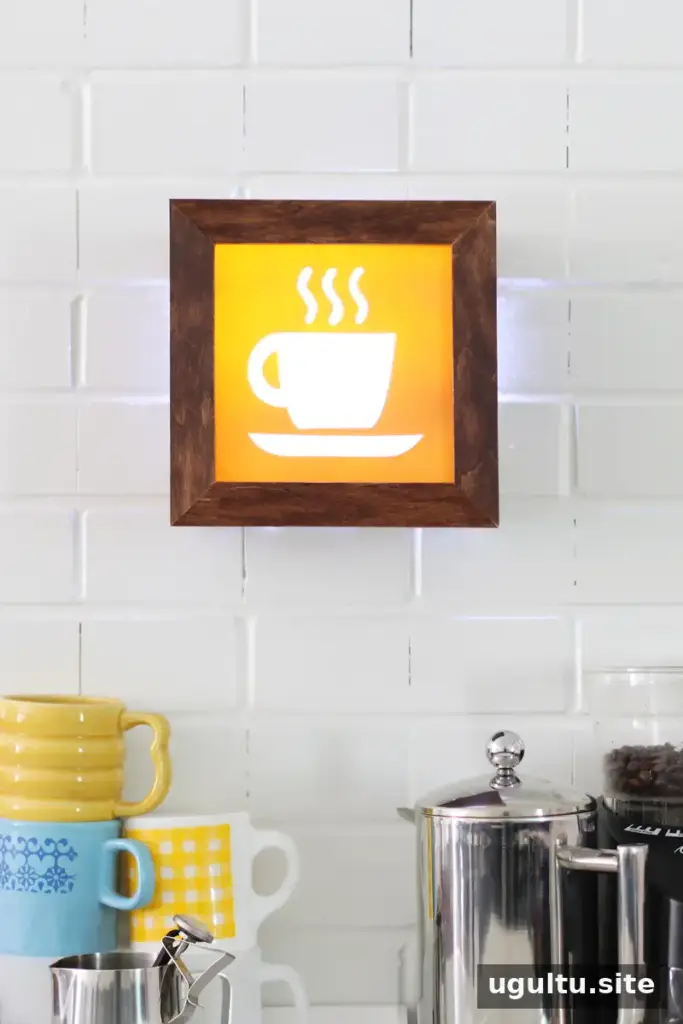
A DIY light-up café sign can add a warm, welcoming accent to a kitchen without requiring neon equipment or advanced woodworking skills. This small shadow-box project uses simple craft materials, a painted stencil, and battery-powered LED string lights. Set aside an afternoon for assembly, and allow extra time for stain and paint to dry.
The design features a coffee cup and saucer with rising steam, but the same method can work with other simple silhouettes. Choose a shape with clear, easy-to-cut outlines, and check that it will fit inside the shadow box before starting.
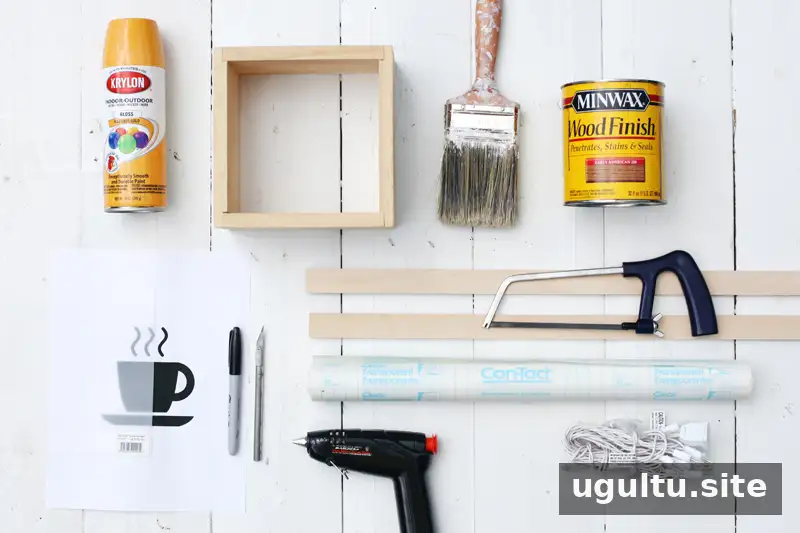
Materials and estimated cost
- Small, deep shadow box with hanging hardware: $6
- Wood stain: leftover stain can be used
- Two pieces of 1/4x1x24 basswood: $4.50
- Stencil plastic: $1
- Contact paper: leftover pieces can be used
- Spray paint: $4
- Small LED string lights: $6.25
- Printed clip-art template for the chosen design
Total estimated supply cost: $21.75
Tools: A brush or rag for applying stain, a miter-box saw or another suitable saw, a craft blade, and a hot glue gun. A miter box helps make consistent 45-degree cuts; a small craft saw may be harder to use accurately.
How to make a DIY light-up café sign
1. Prepare the stencil and design
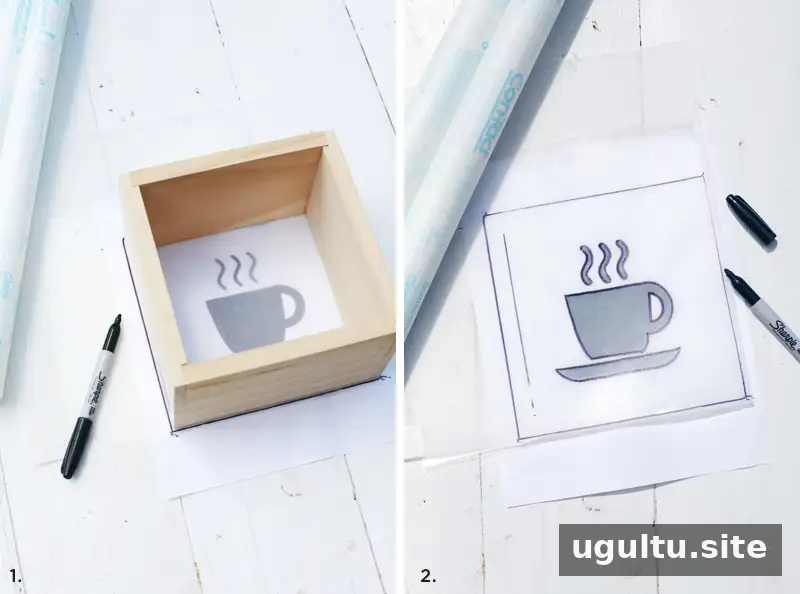
Cover the rough side of the stencil plastic with contact paper. Trace around the shadow box on the contact paper to mark the sign’s inner border. Place the printed cup design beneath the stencil and trace it onto the contact paper, centering it within the border.
2. Cut and stain the frame
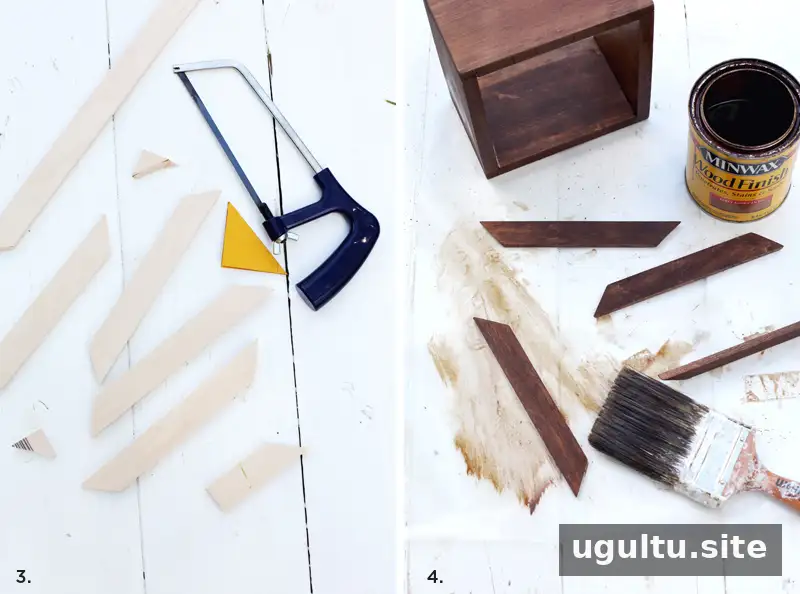
Cut four basswood pieces to the same length, with matching 45-degree angles at both ends. Place them together over the shadow box to check that they form a square and that the corners meet neatly. Adjust the cuts if needed, then stain the pieces and the shadow box. Let the stain dry fully; lightly buffing the wood with steel wool can help create a smoother finish.
3. Paint the stencil
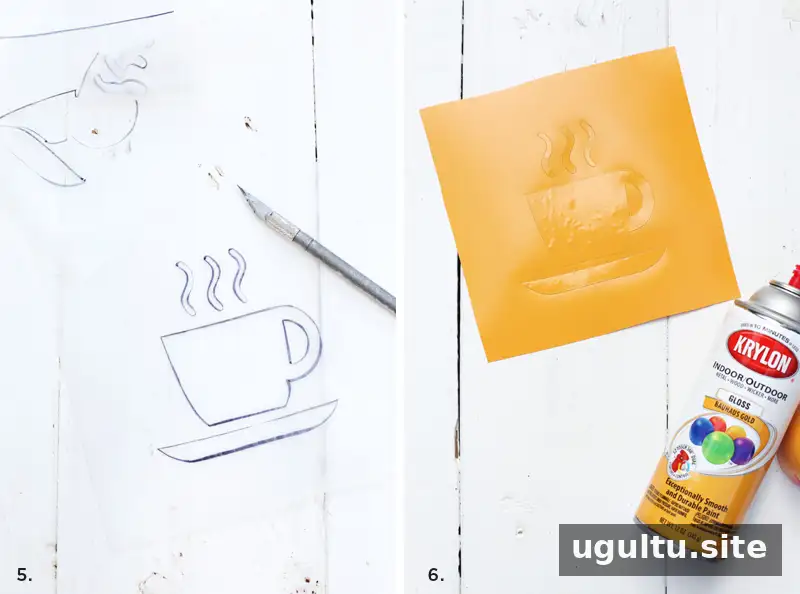
Trim the stencil plastic slightly smaller than the marked border. With a craft blade, cut only through the contact paper around the design; use light pressure to avoid cutting the plastic underneath. Remove the surrounding contact paper so the cup, saucer, and steam remain masked.
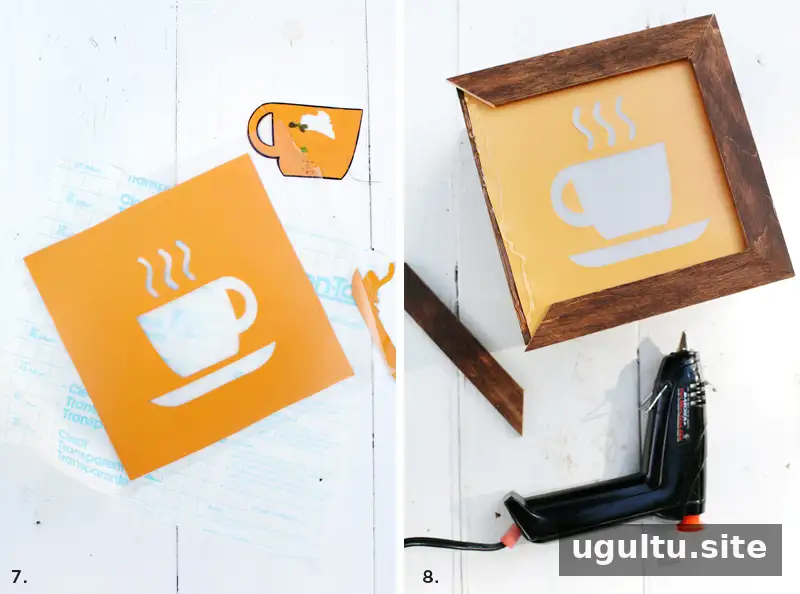
Apply a few thin, even coats of spray paint over the masked design and the rough side of the stencil. Follow the paint label for drying time and use the product in a well-ventilated area. Once dry, gently peel off the contact paper to reveal the design, then cover the painted side with a fresh layer of clear contact paper to protect it.
4. Assemble the sign and add lights
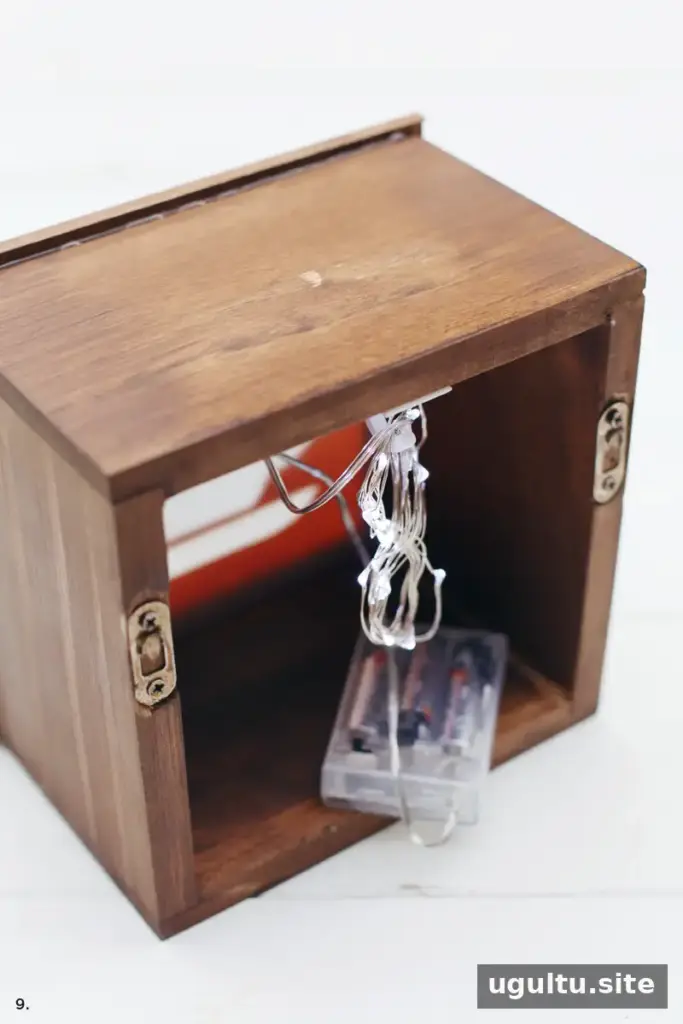
Use hot glue to attach the stencil to the front of the shadow box, then glue the stained frame over it. Arrange the string lights inside the back of the box, securing them with hot glue or adhesive-backed cup hooks. Spreading the lights around the interior can help create a more even glow.
Choose cool-running LED lights for this enclosed project, and make sure the lights and their battery pack are suitable for the way the sign will be displayed. Do not leave the lights on when leaving home or going to sleep. Keep the battery pack accessible so the lights can be switched off easily.
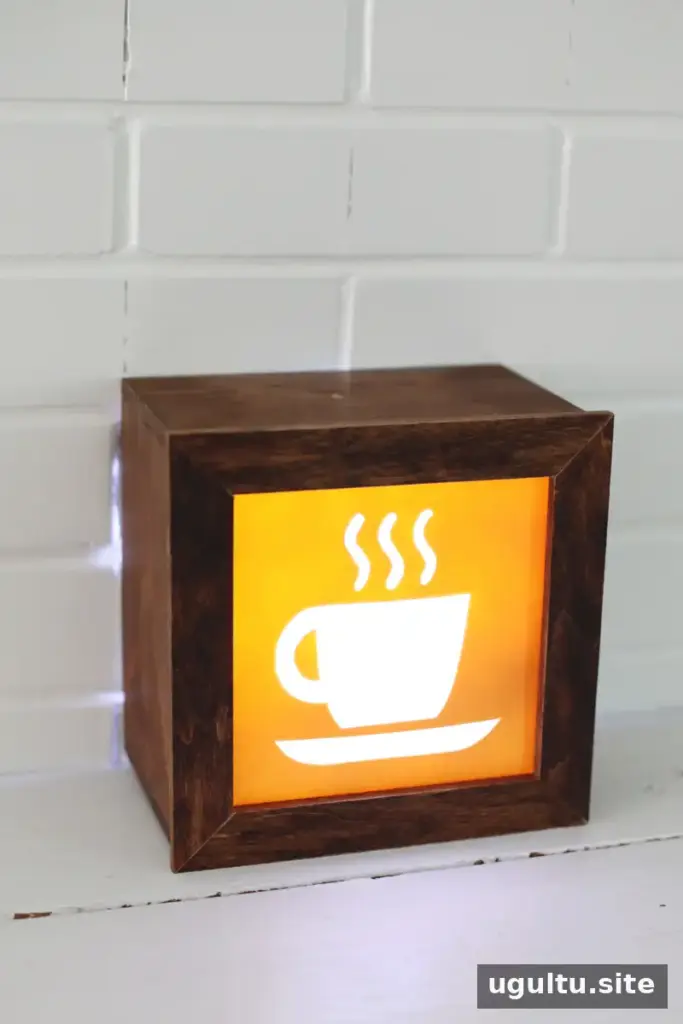
Display the finished sign using the shadow box’s attached hanging hardware or a wall-mounting method appropriate for the wall surface. Battery-powered lights avoid the need for a nearby outlet and keep the display free of a trailing power cord.
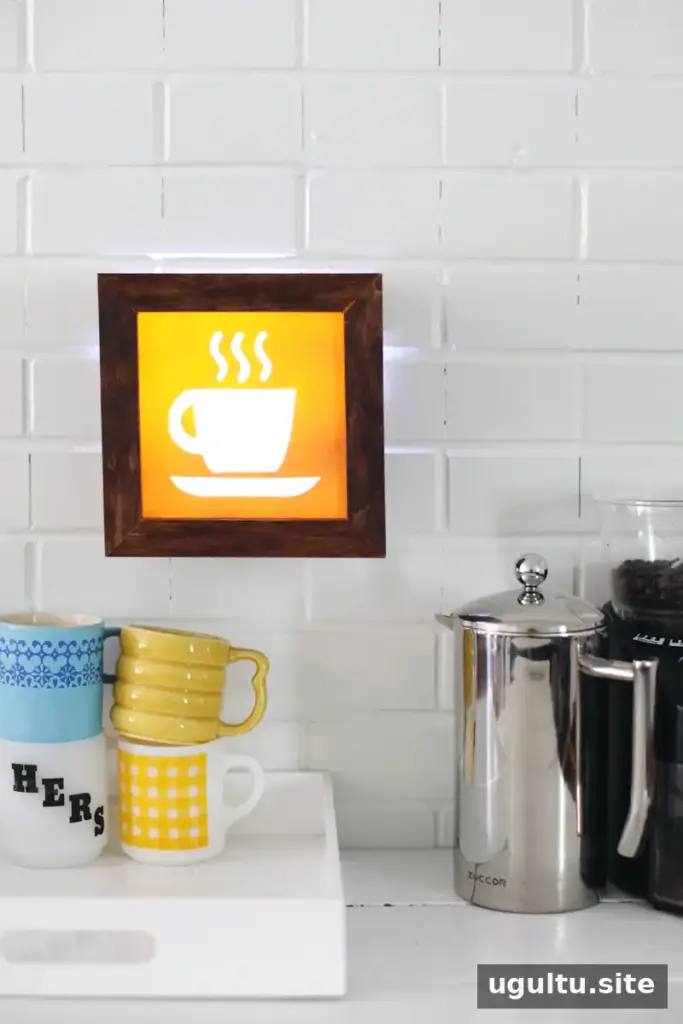
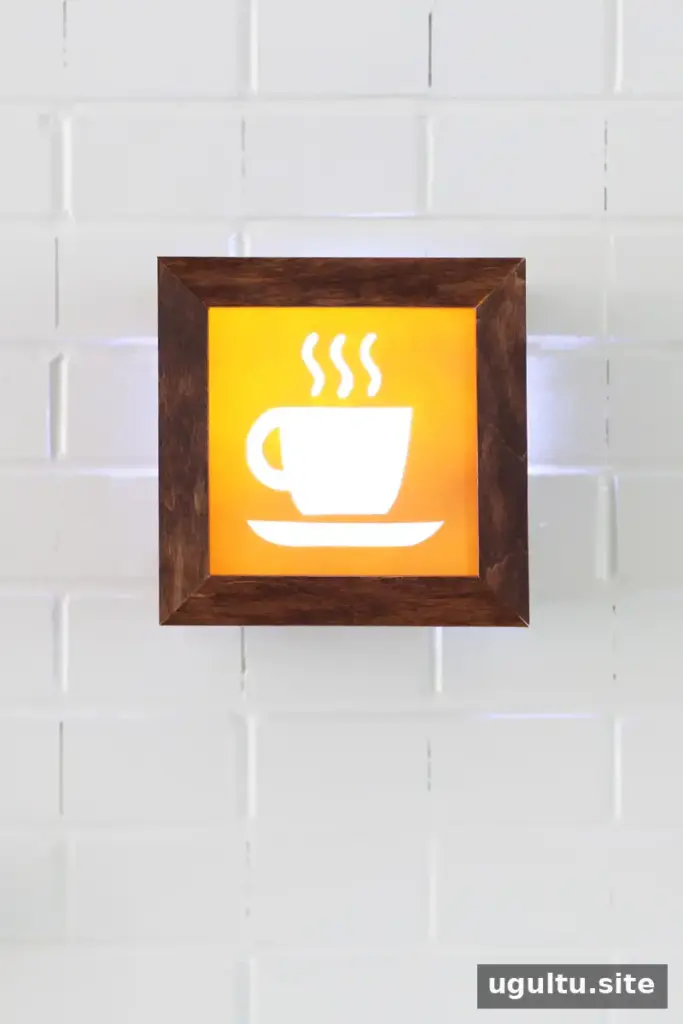
Switch on the sign for a soft kitchen glow. A different simple stencil—such as fruit, an animal, or a glass silhouette—can give the same shadow-box technique a new look. Mandi
Final tips for a DIY light-up café sign
A successful DIY light-up café sign depends on careful measuring, clean stencil cuts, and evenly spaced LEDs. Test the lights inside the box before closing up the front, and let all finishes dry completely before assembly. These small checks help the sign look tidy and make it easier to use safely.


