
 admin
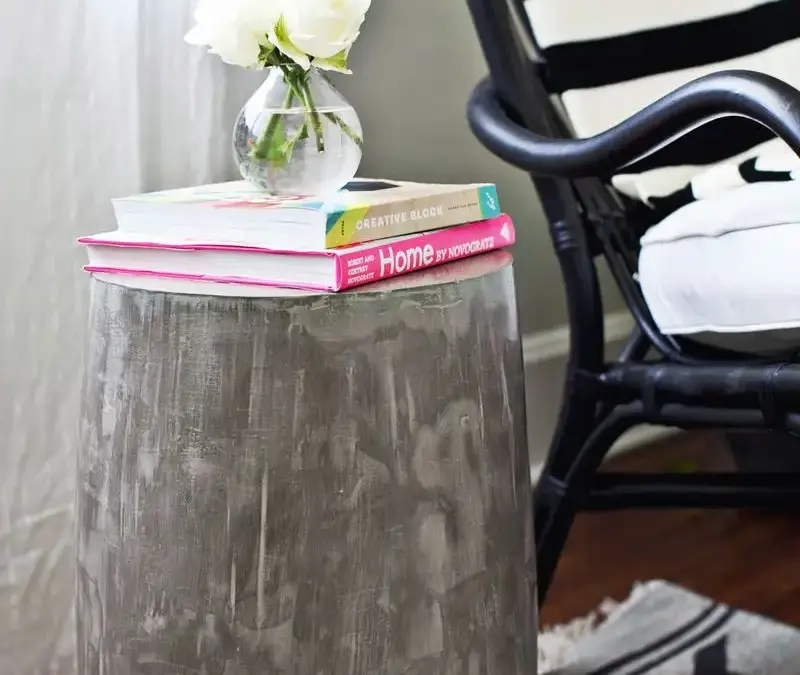
DIY lightweight cement side tables offer the look of concrete without the weight or expense of making a solid-cast table. This method builds a shaped core from insulation foam board, then covers it with several thin coats of cement-based FeatherFinish. The result can be customized in size and shape, making it a practical project for a living room or bedroom.
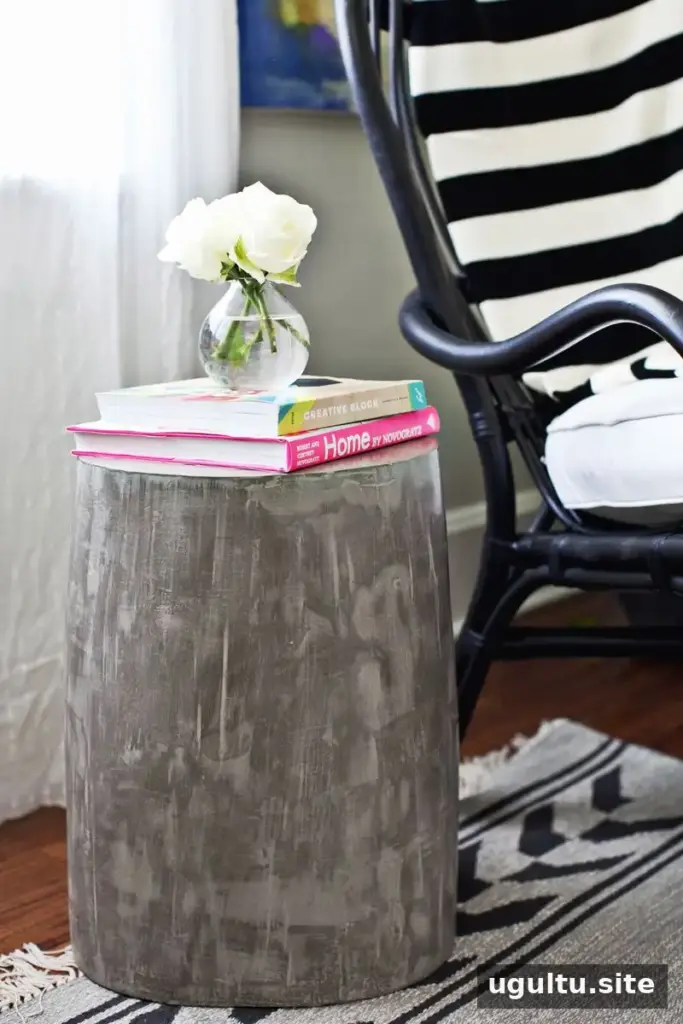
Why use a foam core for lightweight cement side tables?
A solid concrete table can be costly to make and difficult to move. A foam core keeps the finished piece light while providing a base for a cement-like surface. The project described here cost less than $50 per table, and the basic approach can be adapted to different shapes. Keep in mind that a lightweight table is best suited to ordinary, light-duty use rather than supporting unusually heavy items.
Materials and tools
The quantities below are for one table made to the original dimensions. Adjust the foam size and amount of finish if you change the table’s scale.
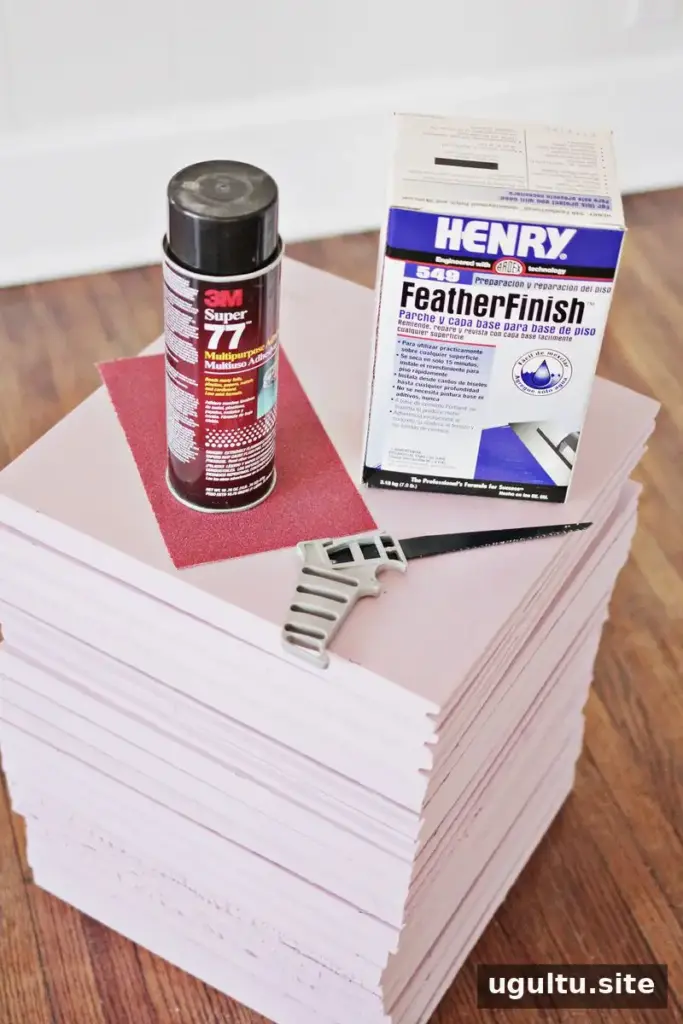
- One 4′ x 8′ x 1″ insulation foam board (about $15)
- One box of HENRY 549 FeatherFinish (about $15)
- One can of 3M Super 77 adhesive (about $9 online)
- Hand saw and utility knife
- Sandpaper, including 36- to 120-grit paper; finer grits can be used for polishing
- Trowels in different sizes
- Disposable paint buckets, measuring cups and a straight edge
- Sander (optional) and a dust mask
How to make DIY lightweight cement side tables
1. Cut the foam board
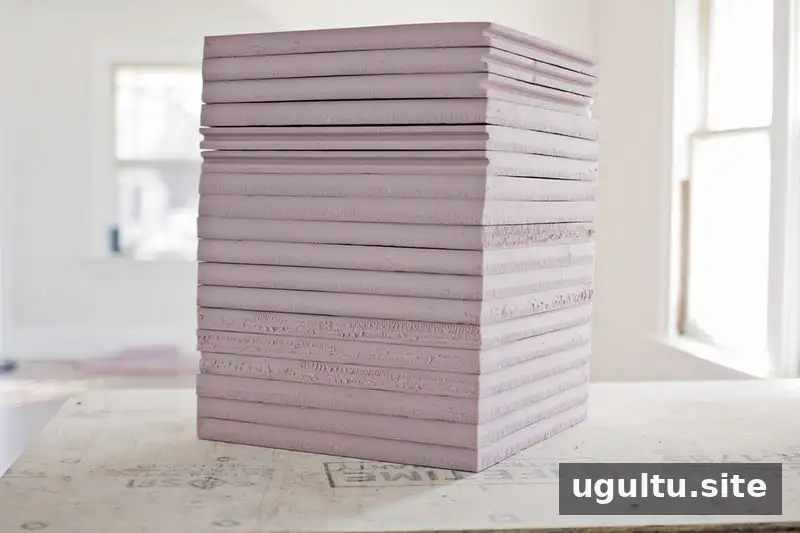
Measure and mark the board, then score it with a utility knife using a straight edge as a guide. Once scored, the foam can be snapped along the cut. From a 4-by-8-foot sheet, cut eighteen 16″ x 16″ squares. Stacked together, the squares form a block measuring 16″ x 16″ x 18″. Check the edges for alignment before bonding, as a neat stack makes shaping easier.
2. Bond the layers
Use 3M Super 77 in a well-ventilated outdoor area and follow the product label. Wear gloves and clothing that covers your arms, especially if it is windy. Spray an even layer on one face of each of two foam squares, wait about 15 seconds, then press the coated faces together with their edges aligned. Continue adding squares in the same way. Press down on the stack after every three or four layers to help the pieces bond. Allow the completed block to sit for about 30 minutes before shaping.
3. Shape and sand the foam
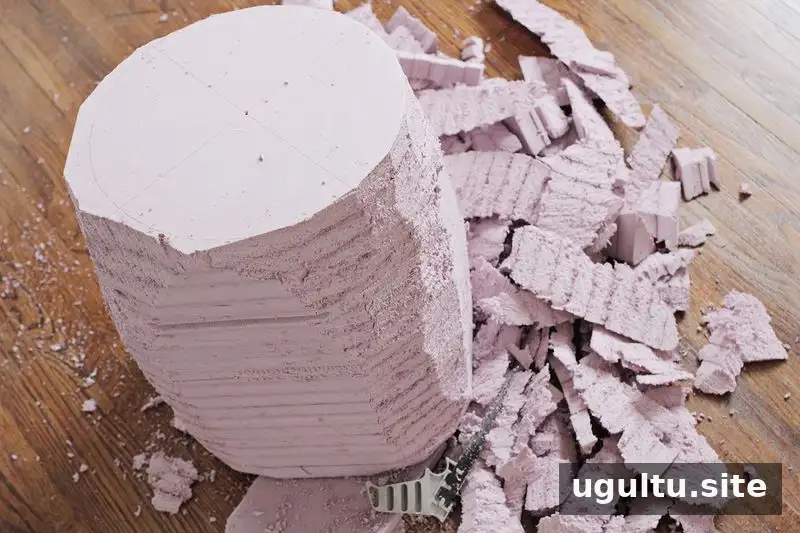
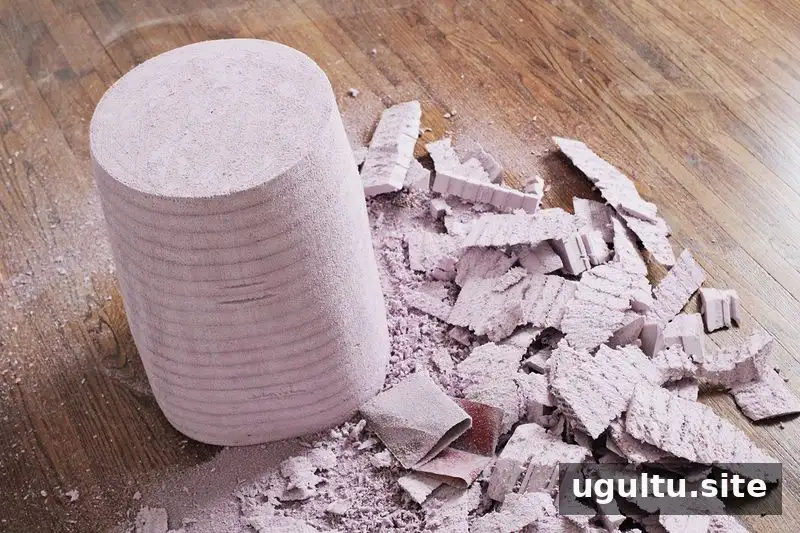
Draw the desired outline on the block. The original design used a tapered cylinder, but a simple block or another shape can also work. Cut along the outline with a hand saw, then refine the form with coarse sandpaper. Move to a finer grit to smooth the contours. The foam does not need to be perfectly smooth: a slightly rough surface can help the skim coat grip. Clear away loose foam and dust before applying the finish.
4. Apply the FeatherFinish coats
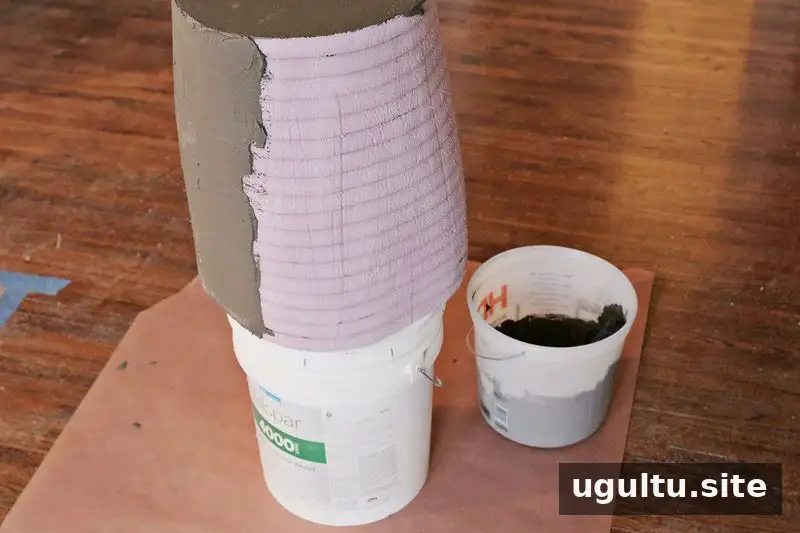
Mix HENRY 549 FeatherFinish according to its package directions. For the original table, a small batch used about 8 ounces of water with 16 ounces of powder. Cover the work area and set the foam on an old bucket so you can reach around the sides. Spread a thin coat over the whole form, working on the sides and then the top. The mix has about 20 minutes of working time, so prepare tools and materials before mixing. Smooth the surface while the coat is workable, then apply another coat once it dries. Four or five thin coats were used for this project; additional coats can help create a smoother finish.
5. Sand and finish the surface
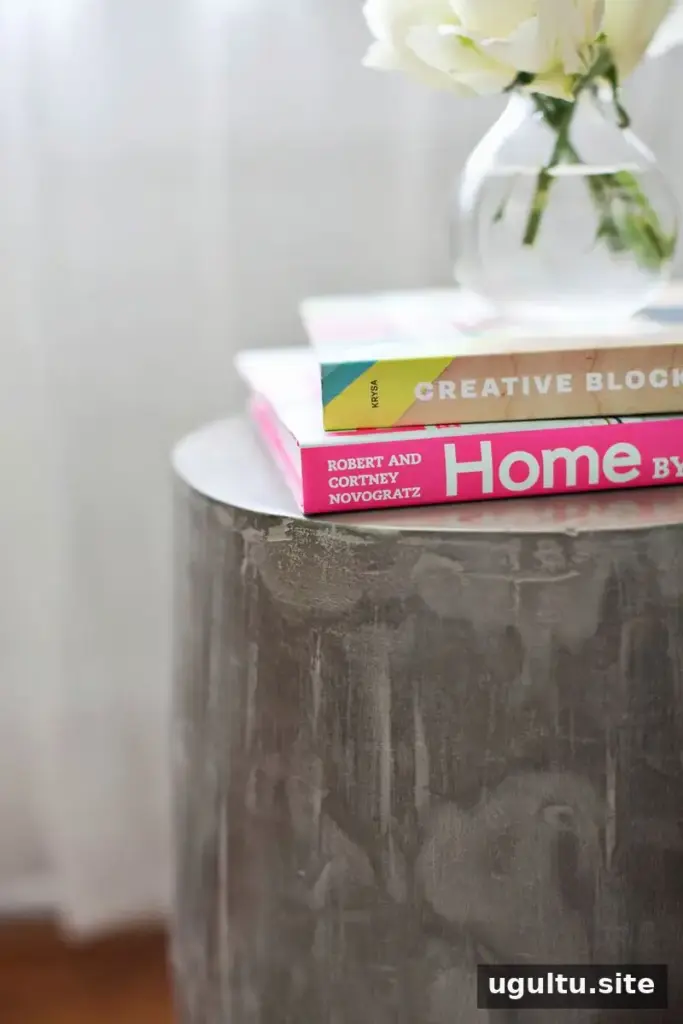
After the final coat has dried, the table can be left as-is or sanded. For a polished top, begin around 100 grit to remove small bumps, then gradually move to finer sandpaper. The original project used grits up to 2000 for a reflective finish. Wear a suitable dust mask while sanding, and avoid breathing cement-based dust. Work patiently and use light pressure as the surface becomes smoother.
Practical tips for the finished table
- Let each coat dry before applying the next, and follow the product instructions for mixing and handling.
- Use a stable, protected work surface because cutting, sanding and coating can create dust and mess.
- Keep the finished piece away from excessive weight or moisture unless you have confirmed that the surface has suitable protection.
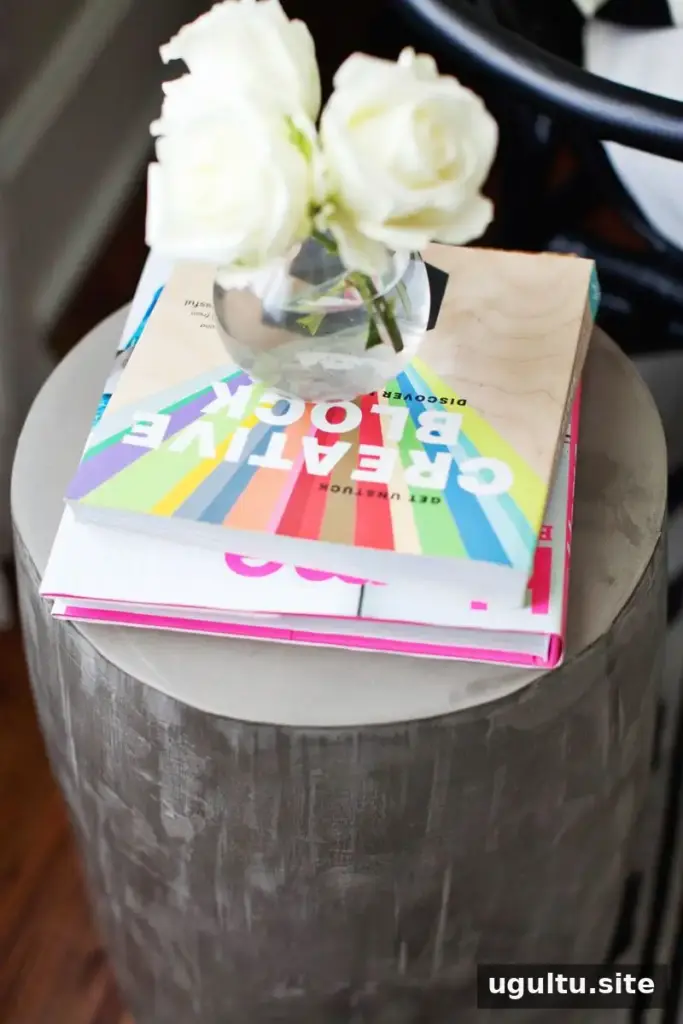
These DIY lightweight cement side tables combine a custom-shaped foam core with a cement-like finish, creating a piece that is sturdy yet easy to move. Adjust the form to suit your room, and take time with the thin coats and gradual sanding for the finish you want. — Josh


