
 admin
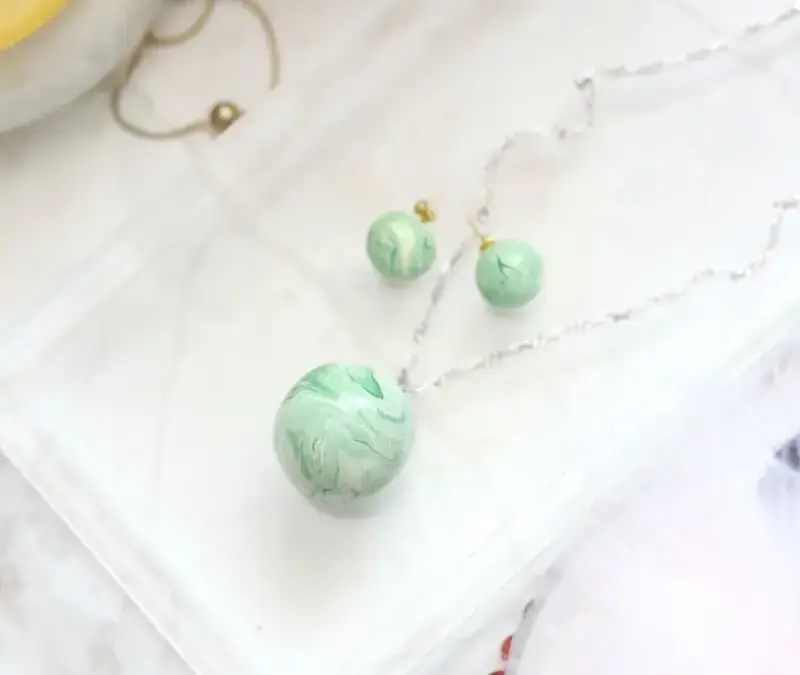
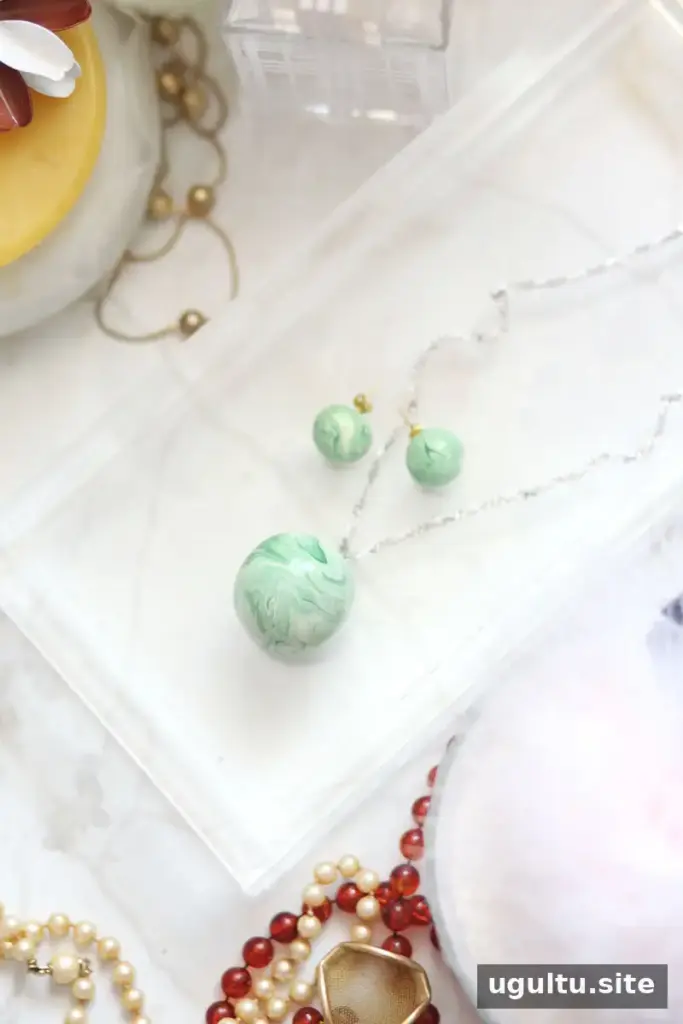
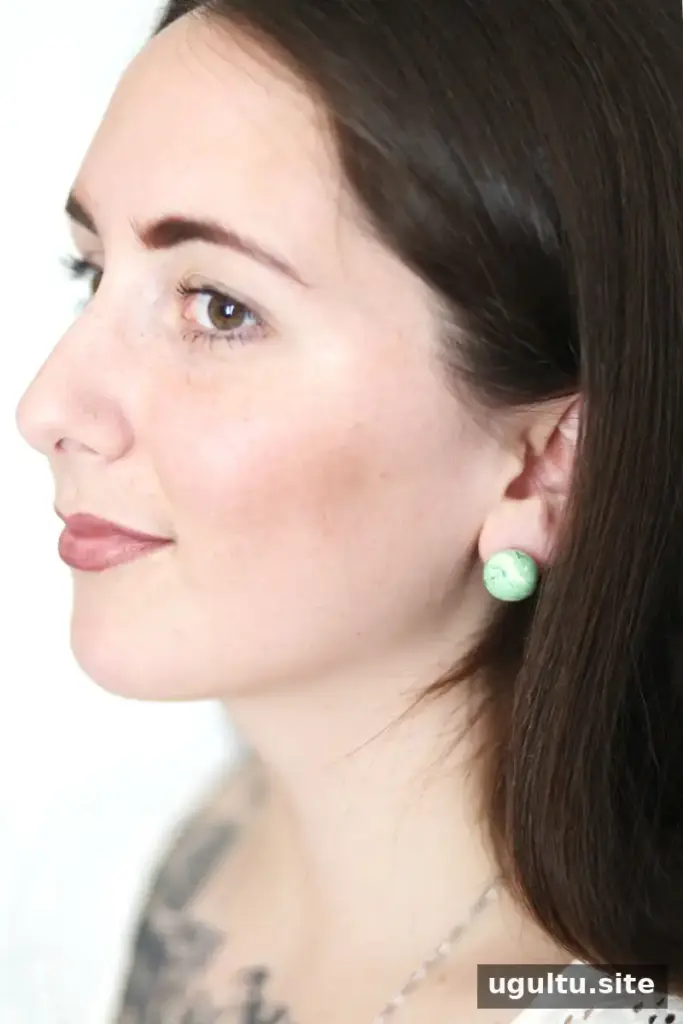
Create a coordinated set of marble jade earrings and a pendant necklace with polymer clay. Blending green and white clay produces a jade-inspired pattern, while optional gold accents add another color detail. This beginner-friendly project uses basic jewelry findings and lets you customize the shapes and shades to suit your style.
Prepare your materials before shaping the clay, and keep the color blending light enough to preserve the marbled contrast. You can make the earrings and pendant from one batch, or adjust their sizes to create a balanced set.
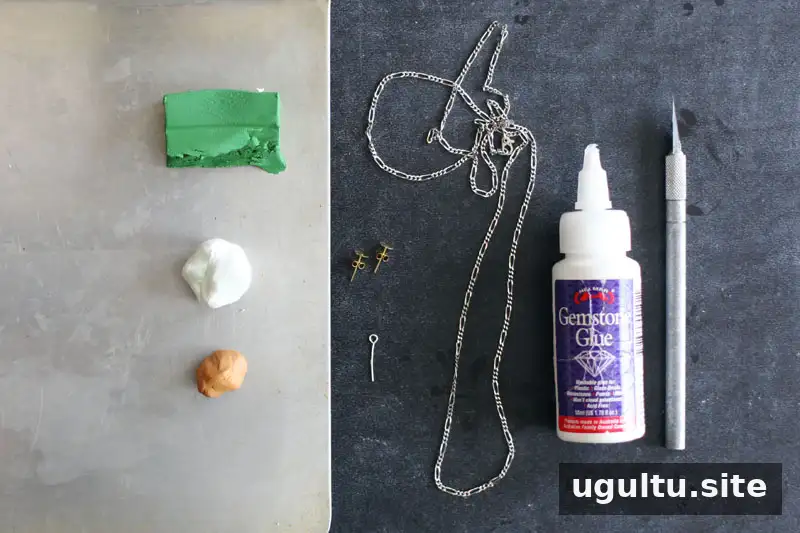
Supplies
- Green and white polymer clay; gold clay is optional
- Two earring posts
- A necklace chain
- A long eyelet for the pendant
- Adhesive suitable for jewelry
- A clear gloss finish labeled as safe for polymer clay
Tools
- Baking sheet
- Oven
- Craft blade
How to Make Marble Jade Earrings and a Pendant
1. Mix the base color
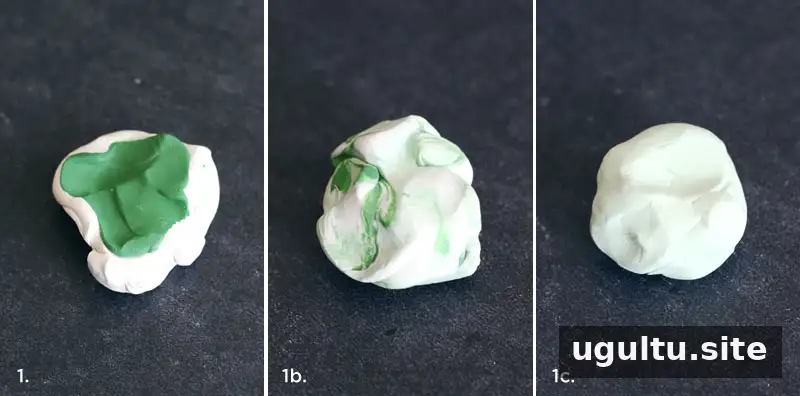
Warm the white and green clay by kneading each piece until it becomes pliable. Add a small amount of dark green clay to the white, then blend until you have a light jade-green shade. Start with less green than you think you need; adding color gradually makes it easier to control the final tone.
2. Create the marble pattern
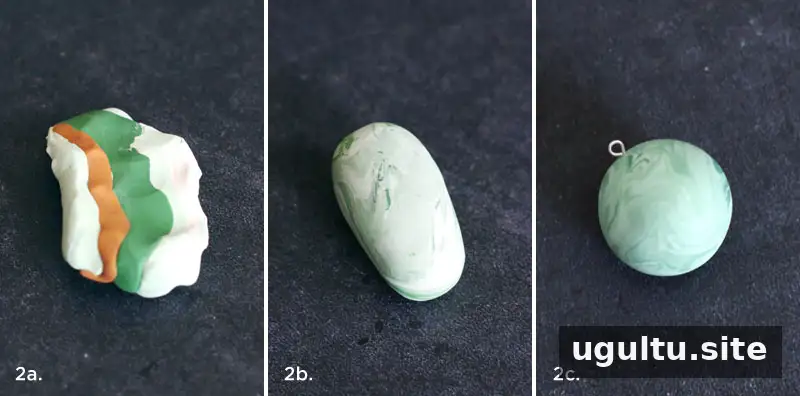
Roll a small amount of dark green clay into a thin strand. If desired, prepare a similarly thin strand of gold clay. Fold or twist the strands into the light green clay, then gently pull and roll the mixture until the colors form a marble-like pattern. Avoid kneading it thoroughly, since overmixing can blur the contrasting lines.
Separate enough clay for the earrings and pendant. Shape the larger portion into a ball and carefully insert the long eyelet into it. Check that the eyelet is positioned securely and leaves a loop available for the chain.
3. Shape the earrings
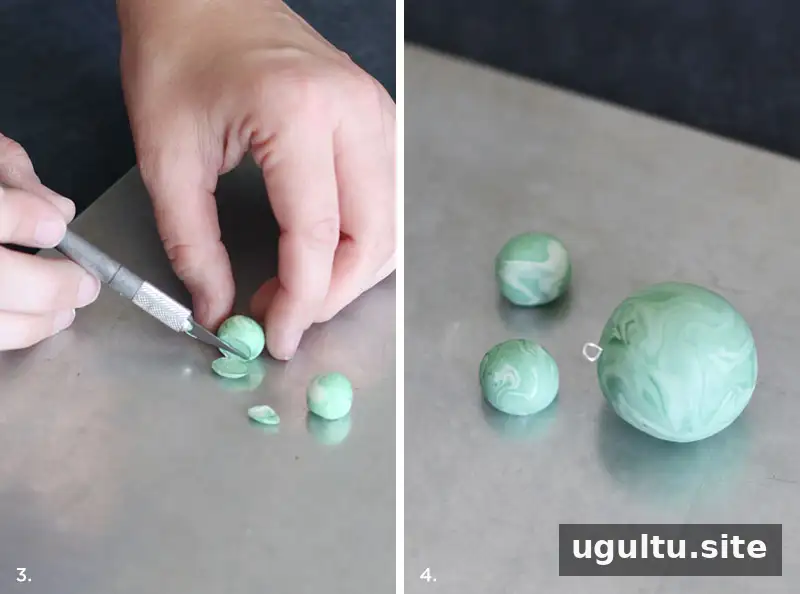
Divide the remaining clay into two equal portions and roll them into matching balls. Use the craft blade to make a small flat edge on each ball. These flat surfaces will give the earring posts a better place to attach after baking.
4. Bake and finish the pieces
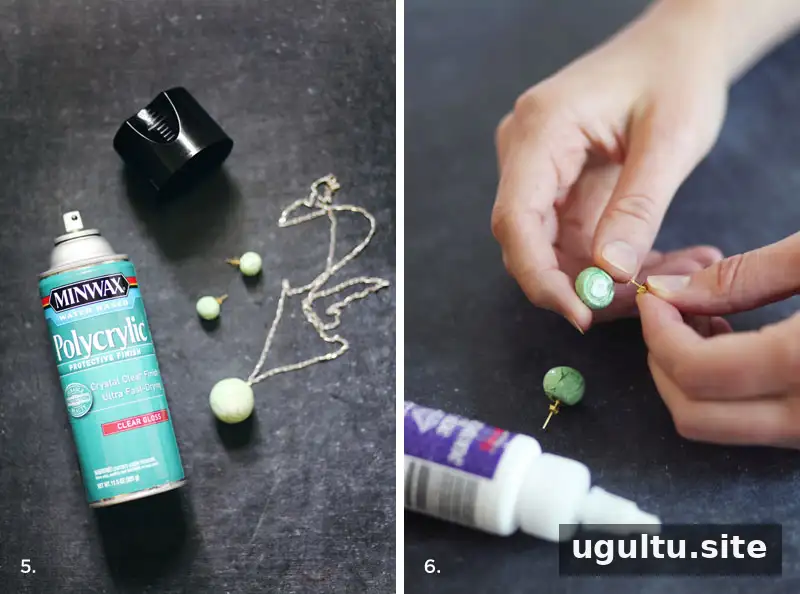
Bake the clay at 270°F for 30 minutes per 1/4 inch of thickness. The original project baked the larger pendant for two hours and the smaller earrings for one hour. Check the clay package for its specific baking directions, and use an oven thermometer if you need to confirm the temperature. Let the pieces cool completely before applying the finish.
Apply a few coats of clear gloss finish that is explicitly suitable for polymer clay, following the product directions between coats. Work in a well-ventilated area and allow the finish to dry fully.
5. Assemble the jewelry
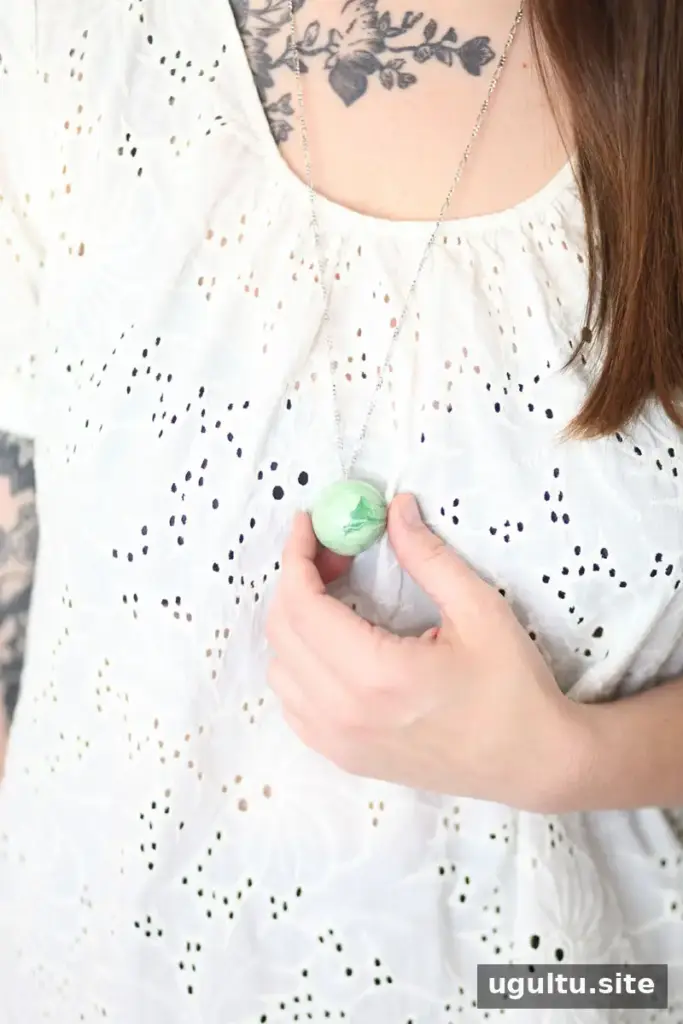
Use jewelry adhesive to attach one post to the flat edge of each earring. Leave the adhesive to cure for the time stated on its packaging; the original project allowed 24 hours before handling. Thread the necklace chain through the pendant eyelet to complete the set.
Make the Set Your Own
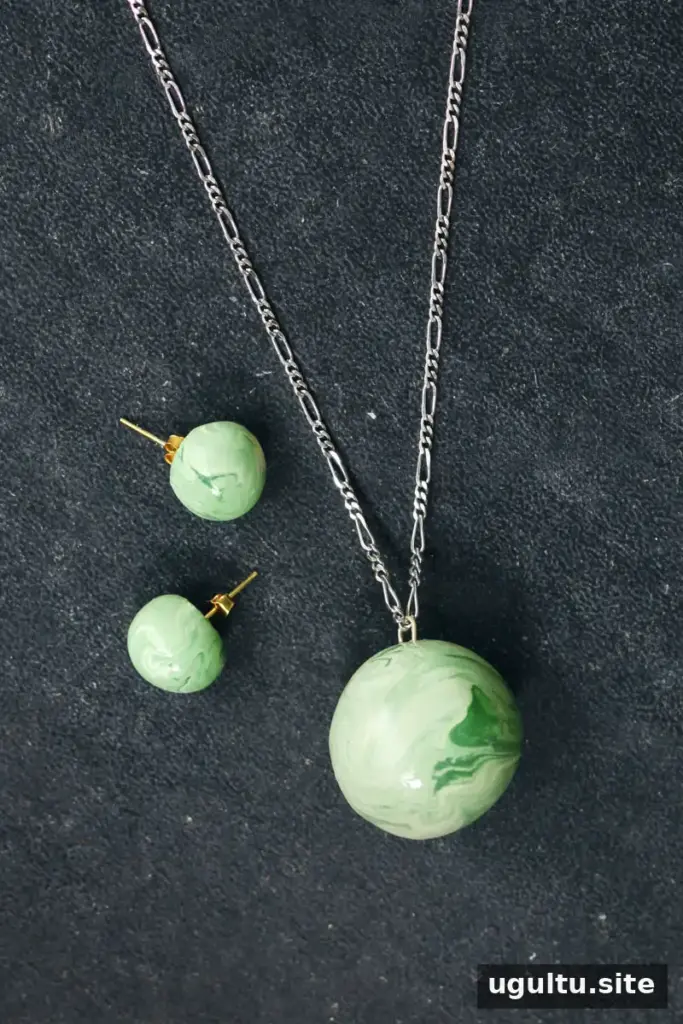
This simple method can be adapted with different colors, proportions, or shapes. Keep the pieces similar in size for a coordinated look, or make the pendant larger so it becomes the focal point. Marble jade earrings and a matching pendant also make a thoughtful handmade gift; prepare each piece in a separate batch if you want distinct color patterns.
Follow the clay and finish manufacturers’ safety and curing instructions, and handle the craft blade carefully. With a restrained blend of colors and fully cured components, you can create a polished set that is personal and easy to wear.
–Mandi


