
 admin
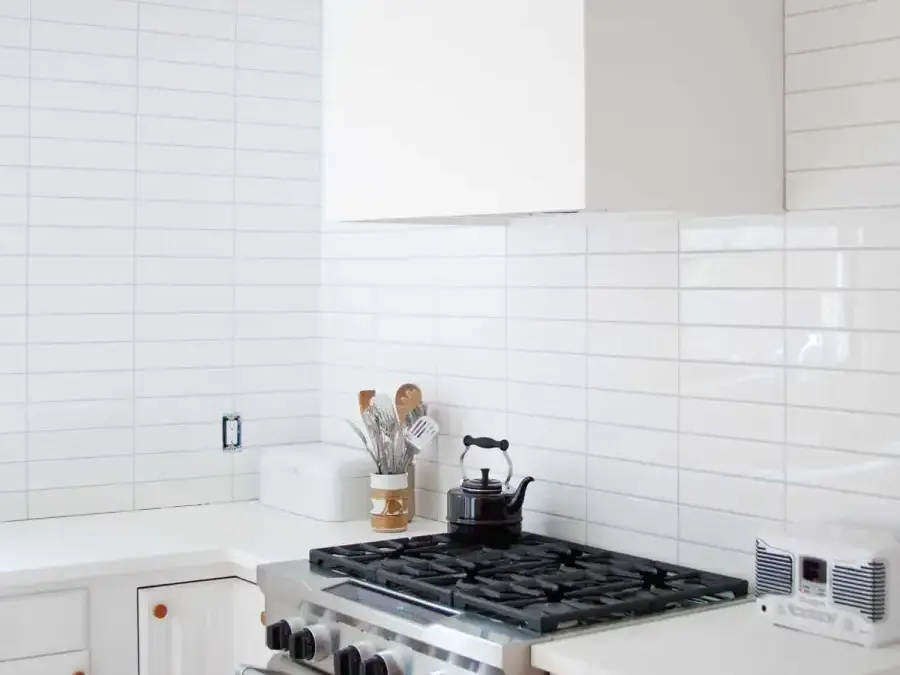
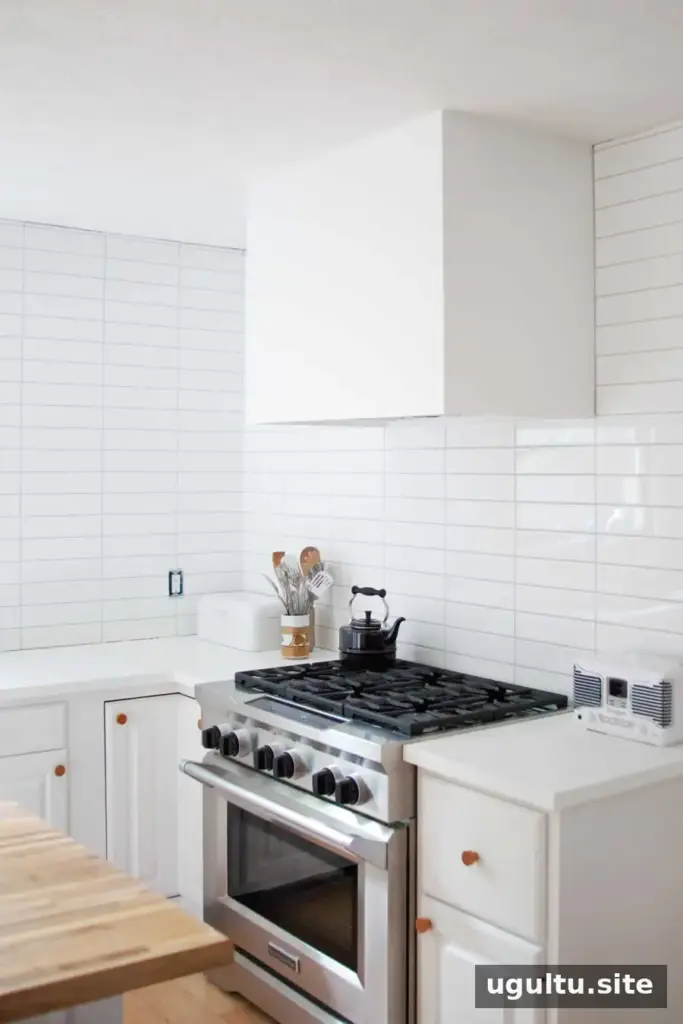
A DIY modern hood vent cover can give a kitchen a clean, understated look while letting other features take center stage. This project surrounds a 30-inch Whirlpool hood vent with a painted wood-and-plywood box. The simple frame-based design keeps the front controls accessible and can be finished to suit the room.
Before starting, check the hood manufacturer’s installation instructions for required clearances and ventilation details. A decorative cover should never block the vent, interfere with the controls, or prevent access for maintenance.
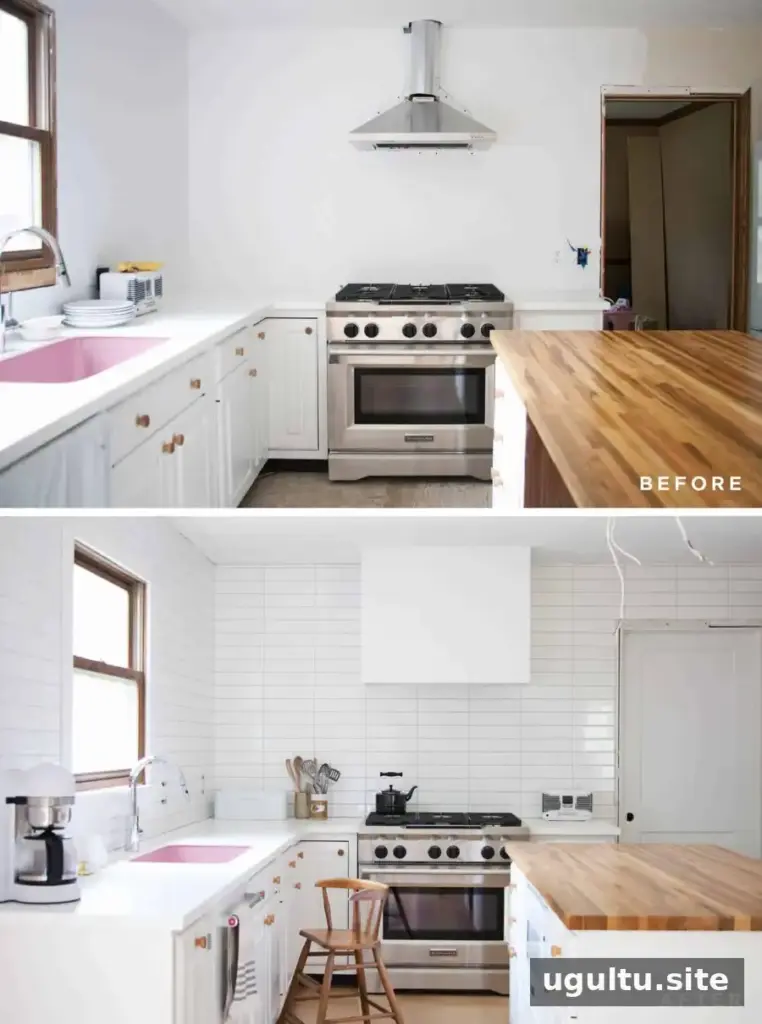
DIY Modern Hood Vent Cover: Materials and Planning
The basic build uses 2×3 lumber for the side frames, 2×4 lumber to connect them across the front, and plywood for the visible sides and front. The project also uses screws, wood filler, primer, paint, sandpaper, caulk, and either wire brads or a nail gun.
Measure the hood and plan the cover around its shape and control locations. In this example, the side frames end one inch below the hood and extend one inch beyond its front, leaving room to reach the front-mounted buttons. Confirm that your own hood’s controls remain easy to operate before cutting materials.
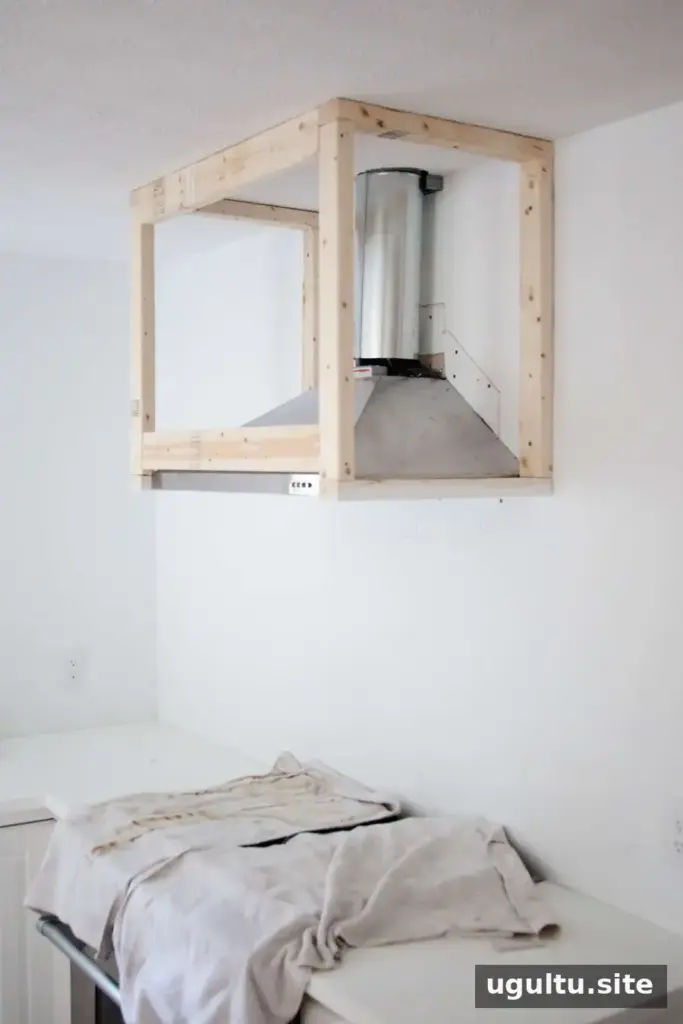
The hood used for this project is a 30-inch Whirlpool model. Its controls are on the front, so the cover was designed to leave them exposed.
How to Build the Hood Vent Cover
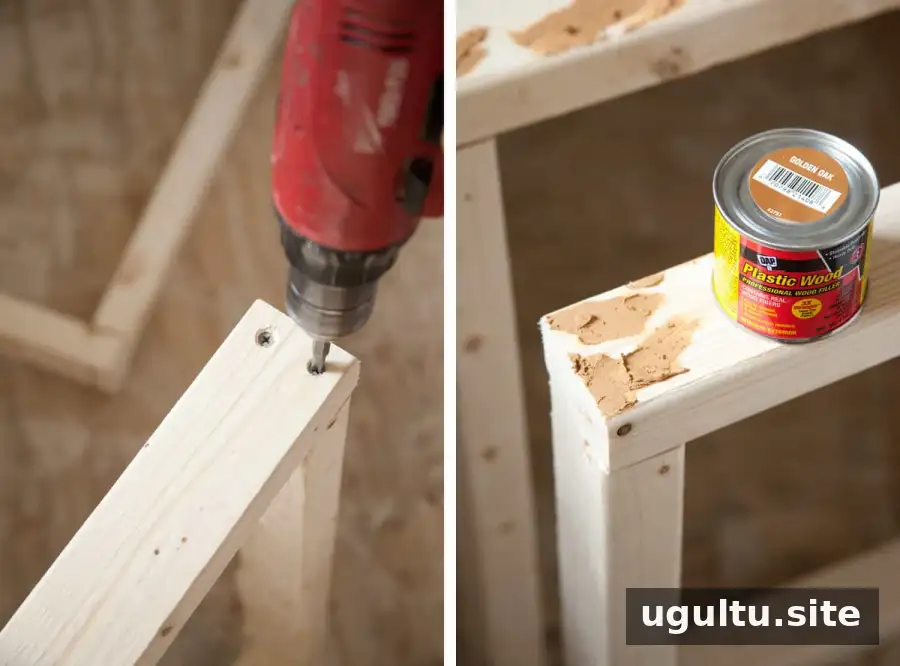
Step 1: Build the side frames. Screw together a frame for each side of the hood. Countersink the screws far enough that the holes can be filled and concealed. Set the frames to the planned dimensions, keeping the controls and required clearances in mind.
Step 2: Fill the screw holes. Apply wood filler to the countersunk holes and let it dry according to the product directions. Filling the holes now helps create a smoother painted finish.
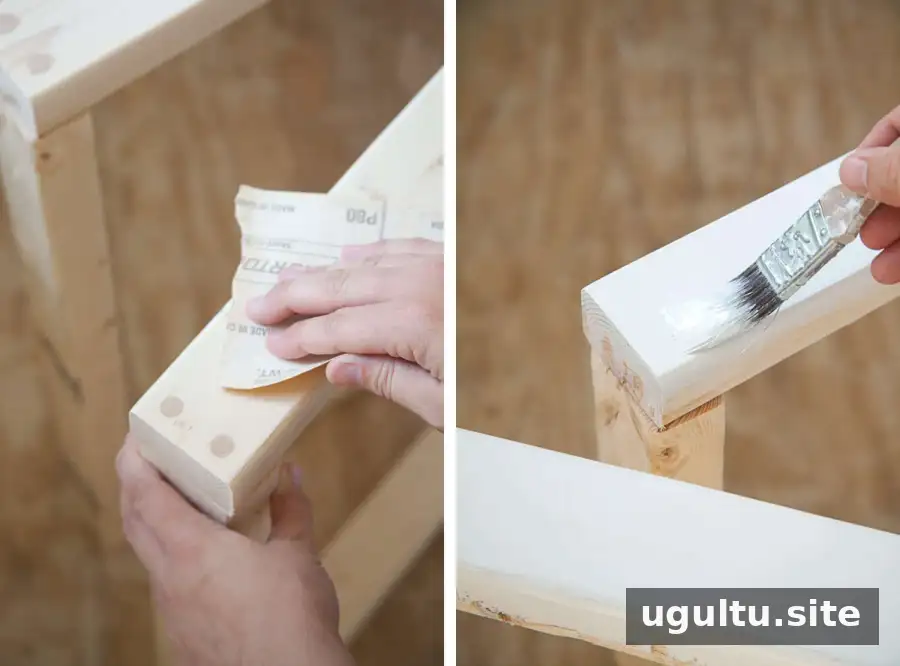
Step 3: Prime and paint the visible lower edges. Sand the filler smooth, then prime and paint the parts of the frame that will be visible from below. Painting these areas before installation can be easier than masking around the hood later.
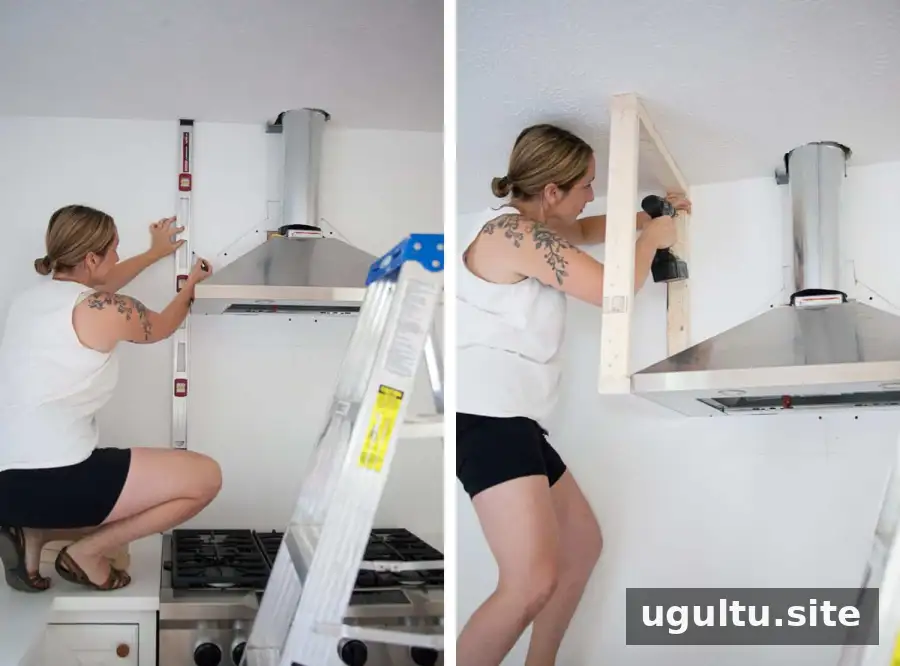
Step 4: Mark the wall. Use a level to mark where the inside edges of the side frames will sit. Drill pilot holes through the frames and into the wall. Whenever possible, position fasteners in wall studs.
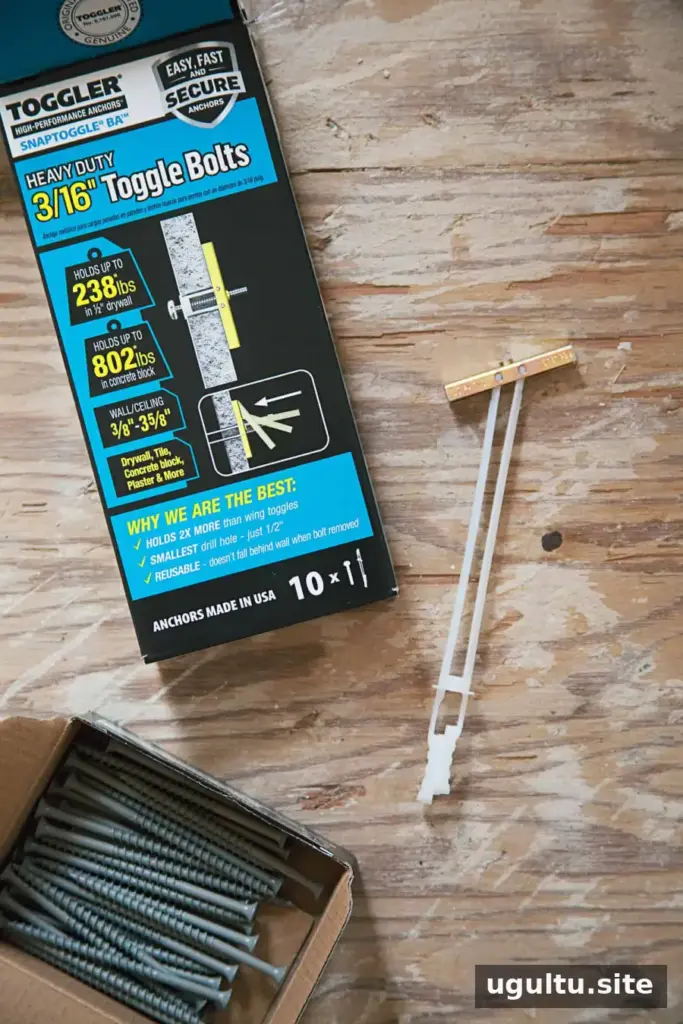
If a stud is not available at the planned attachment point, use an appropriate hollow-wall anchor rated for the load. Toggle bolts were used in this project; choose hardware suited to your wall type and the weight it must support.
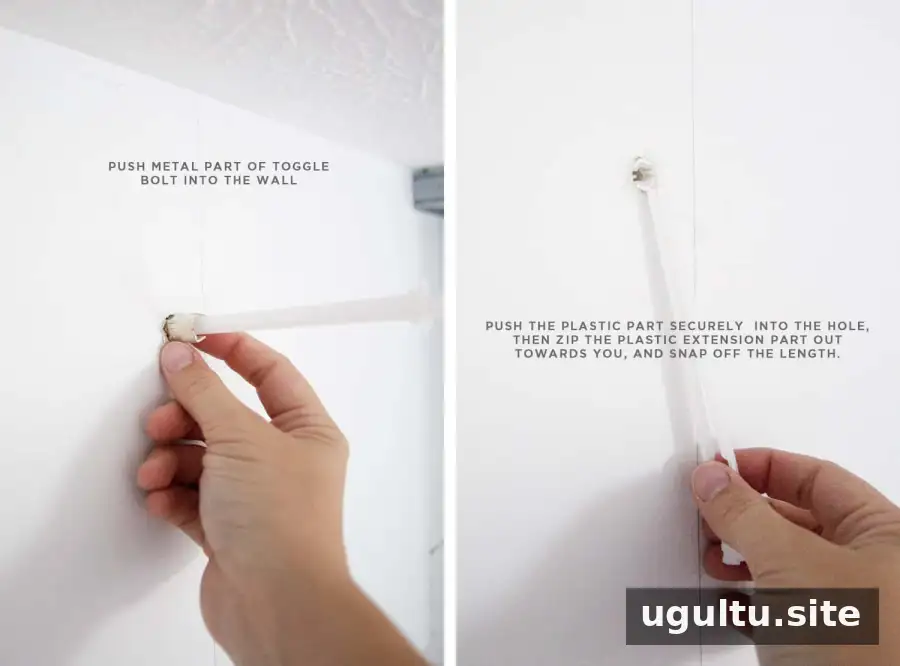
Step 5: Install the toggle bolts. Drill holes using the size recommended for the selected toggle bolts. Insert the metal toggle through the drywall, then follow the hardware instructions to seat it securely. Keep the bolt positions aligned with the frame’s pilot holes.
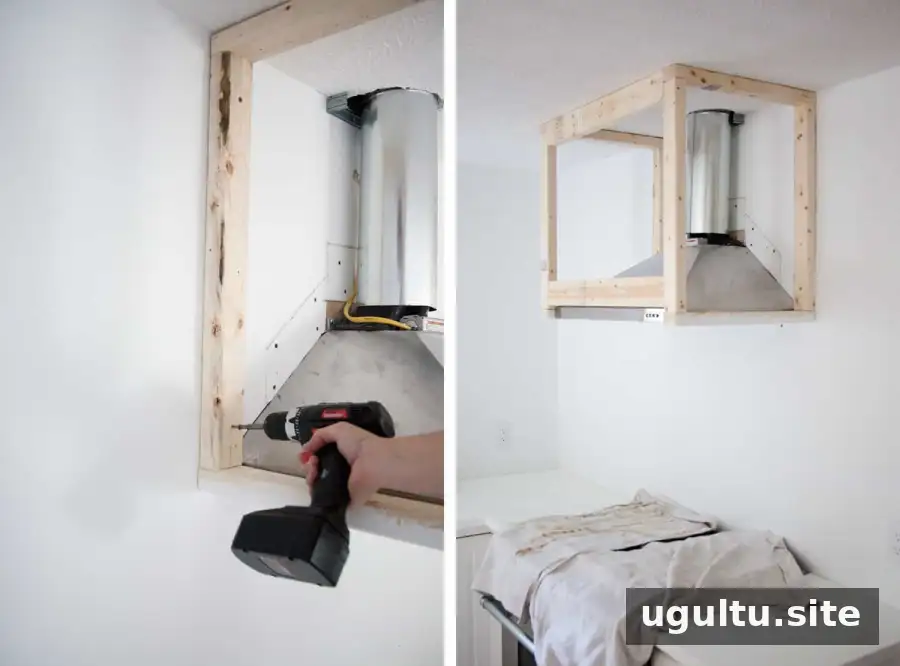
Step 6: Attach and connect the frames. Fasten the side frames to the wall with three-inch screws sized to fit the toggle bolts. Once both sides are secure, connect them across the front with screwed-on 2×4 pieces.
Step 7: Add the plywood. Cut plywood to fit the sides and front of the frame. The project used plywood attached with wire brads or a nail gun; 1/4-inch plywood is an option for a slimmer profile. Check that each panel fits without covering controls or obstructing ventilation.
Step 8: Finish the cover. Fill nail holes, sand the surface, apply primer, and paint. Sanding lightly between coats can help smooth the finish. Caulk small gaps where the plywood meets the ceiling or walls, using a paintable caulk compatible with the surfaces.
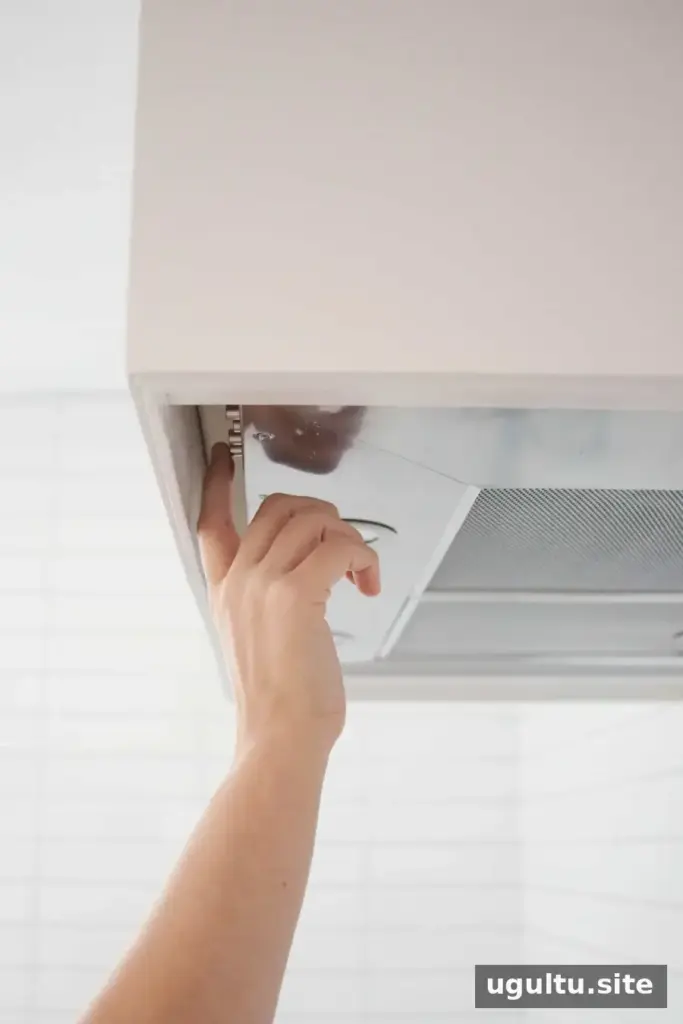
The front controls remain reachable through the open area below the cover. Test every button and verify that the hood operates correctly before considering the project complete.
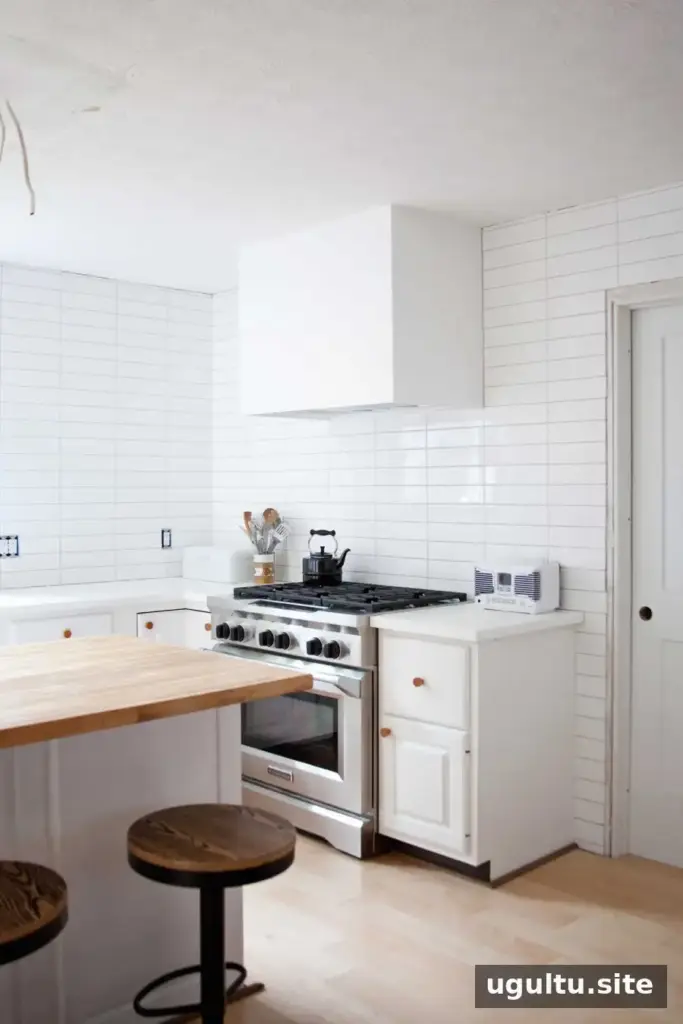
Final Checks and Design Tips
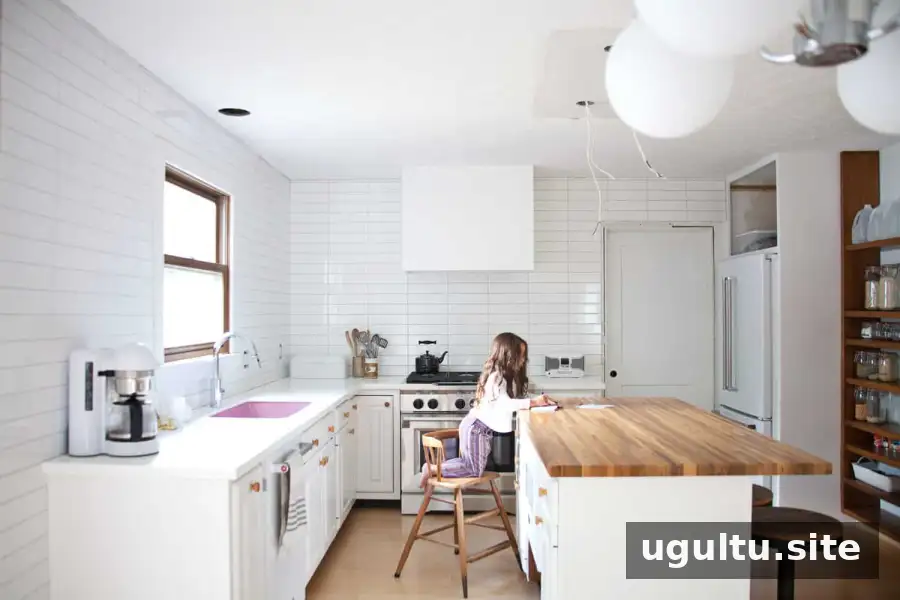
A simple painted cover can make the hood feel more integrated with the kitchen and allow details such as a colorful sink or open shelving to stand out. Choose a finish that coordinates with the room, and allow paint and caulk to cure as directed before regular use.
- Confirm manufacturer clearances and keep the vent path unobstructed.
- Use a level during layout so the cover sits straight.
- Secure the frame to studs where possible, or use suitable rated anchors.
- Check that controls, filters, and any service areas remain accessible.
This DIY modern hood vent cover is a straightforward way to create a minimal look with basic framing and plywood. Careful measuring, secure wall attachment, and clear access to the hood’s controls are essential to a neat and functional result.
Project by Mandi.


