admin
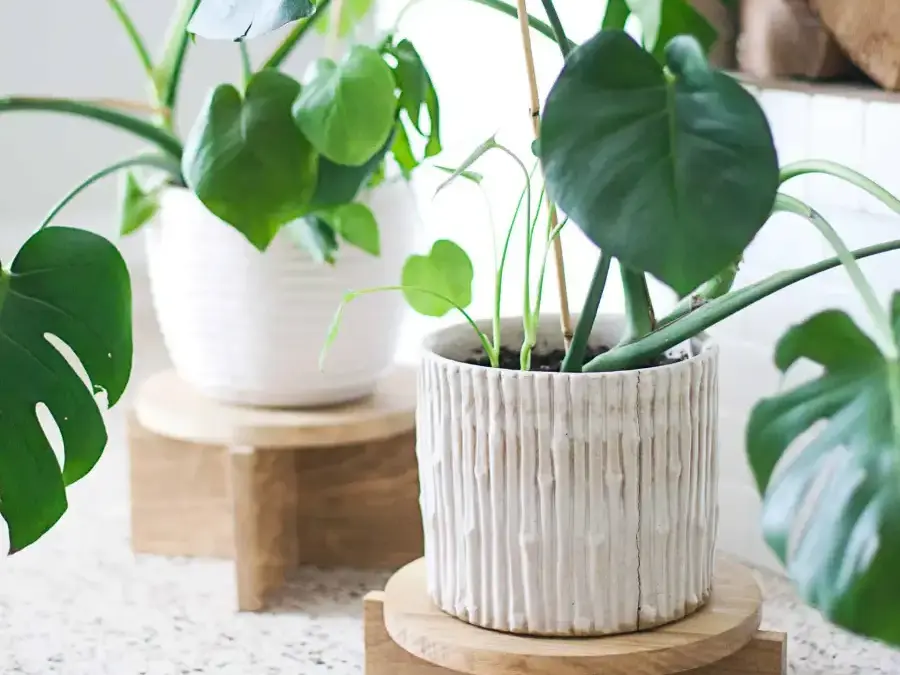
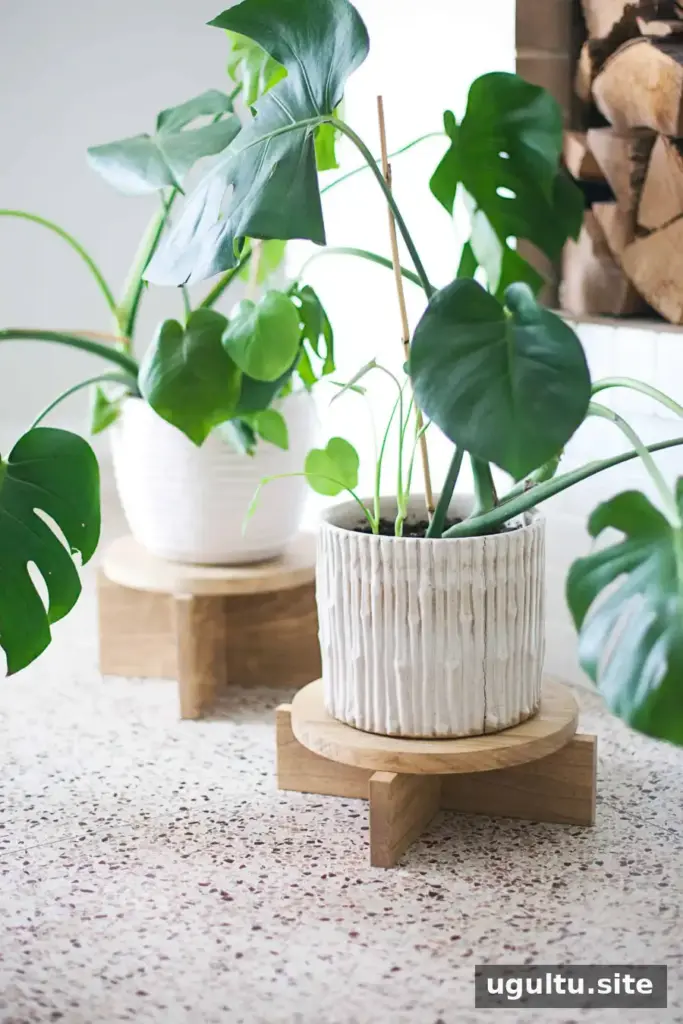
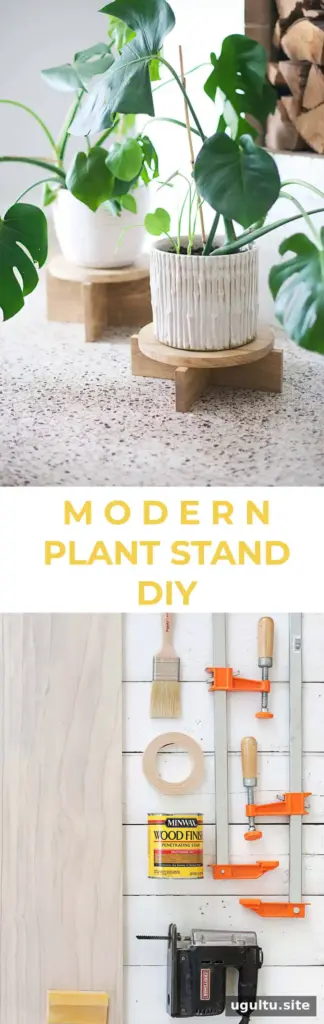
A DIY wood plant stand is a practical way to add height and a clean, modern look to potted plants. This simple design pairs a circular top with an X-shaped base, and you can adjust its size to suit your pot and space. Before cutting, measure the pot’s base so the finished stand provides a stable surface.
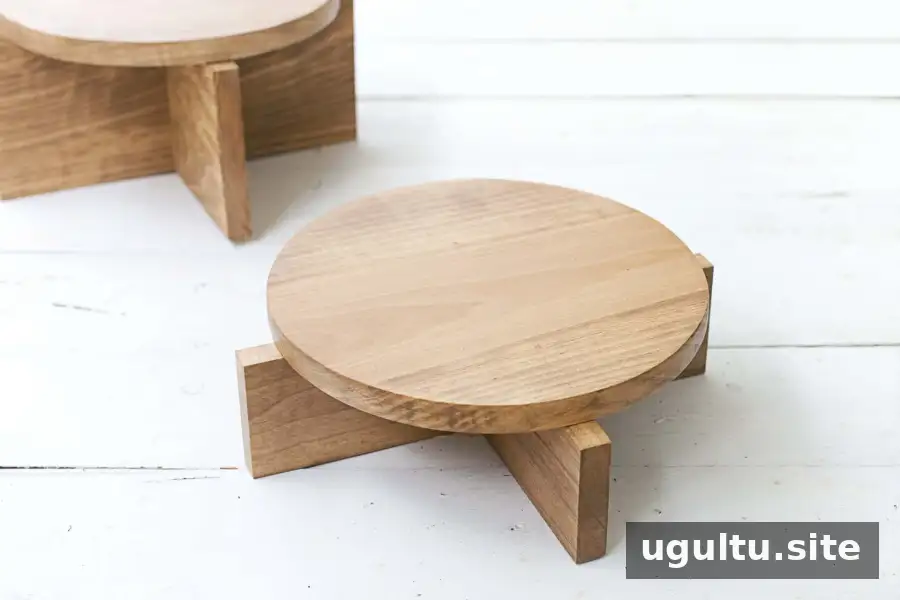
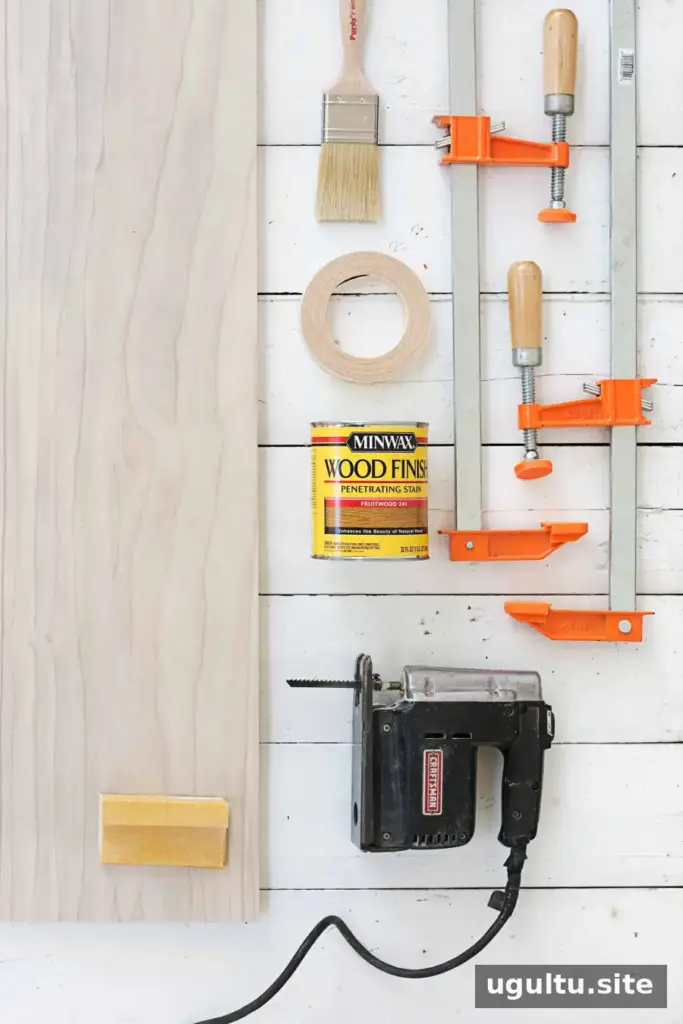
Tools and materials for a DIY wood plant stand
Tools
- Jigsaw with a fine-cutting blade
- Clamps that extend to at least 12 inches
- Hammer
- Orbital sander, optional but helpful
- Staining brush or rag
Materials
- 1×12 lumber, at least 3.5 feet long
- 80- and 180-grit sandpaper; 120-grit is useful between them
- 0.75-inch wire brads or finishing nails
- Wood glue
- Iron-on veneer edge banding, optional when using plywood
- Wood stain and polyurethane, or primer and paint
For a stained finish, maple is a suitable choice. Rift-sawn oak is another option, while quarter-sawn oak typically has a more prominent grain pattern. Pine can be difficult to stain evenly and dents easily. Poplar takes paint well but may show yellowish streaks and is not ideal for a consistent stain. Plywood is also an option; edge banding can cover its layered edges.
Estimated cost: A 1×10×6-foot board can yield two stands and costs about $35 when choosing higher-quality wood. If sandpaper, nails, glue, and finish are already available, the estimated total is around $45 for two stands. Pine may reduce the cost. Prices vary by location and material.
How to make the DIY wood plant stand
Step 1: Cut the circular top
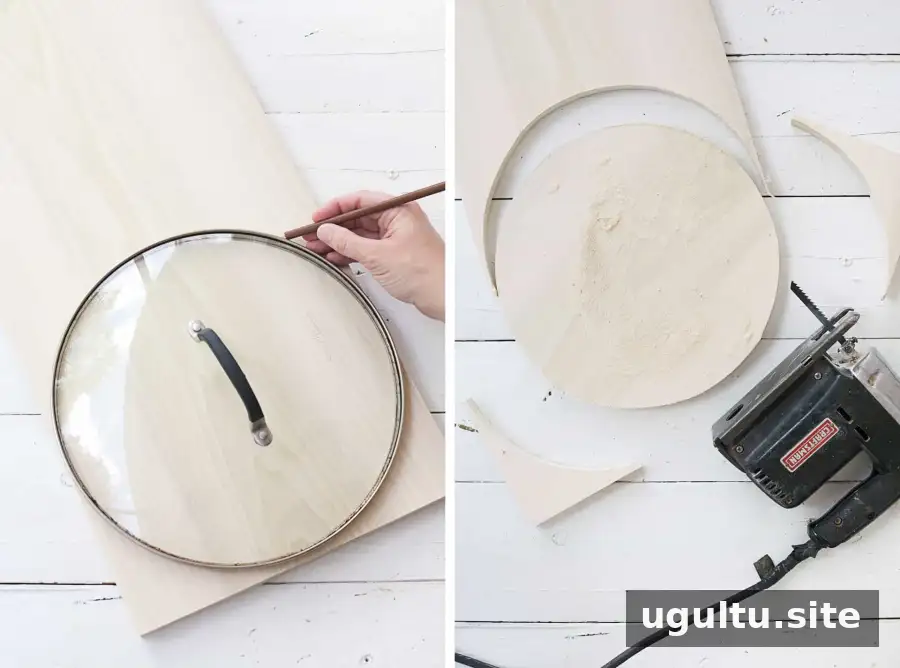
Use a compass or round object to mark a 10-inch circle near the end of the board, then cut it with a jigsaw. Make two circles if you are building two stands. Secure the lumber firmly before cutting, keep hands clear of the blade, and wear appropriate eye and hearing protection. Turn off and unplug the saw before making adjustments.
If you are new to using a jigsaw, work slowly and support the board so the section being cut can move freely. Reposition the lumber as needed rather than forcing the blade around the curve.
Step 2: Cut the X-base pieces
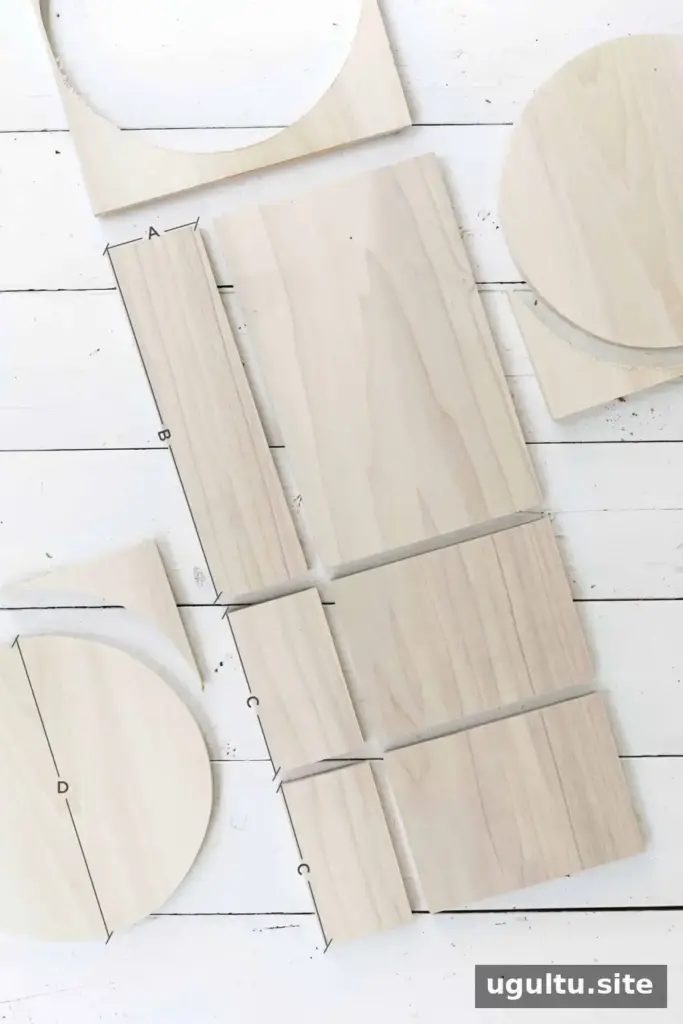
Plan the base after deciding the diameter of the circular top. The diagram shows how the pieces fit together. Use these measurements:
- D: Diameter of the circle; the example uses 10 inches.
- A: Height of the X-base. A height greater than 6 inches may look out of proportion with this design.
- B: Circle diameter plus 2 inches.
- C: Half of measurement B minus half the board thickness.
Measure and mark the pieces carefully before cutting. Checking the fit of the base components while they are still unglued can help catch measurement errors early.
Step 3: Sand the wood
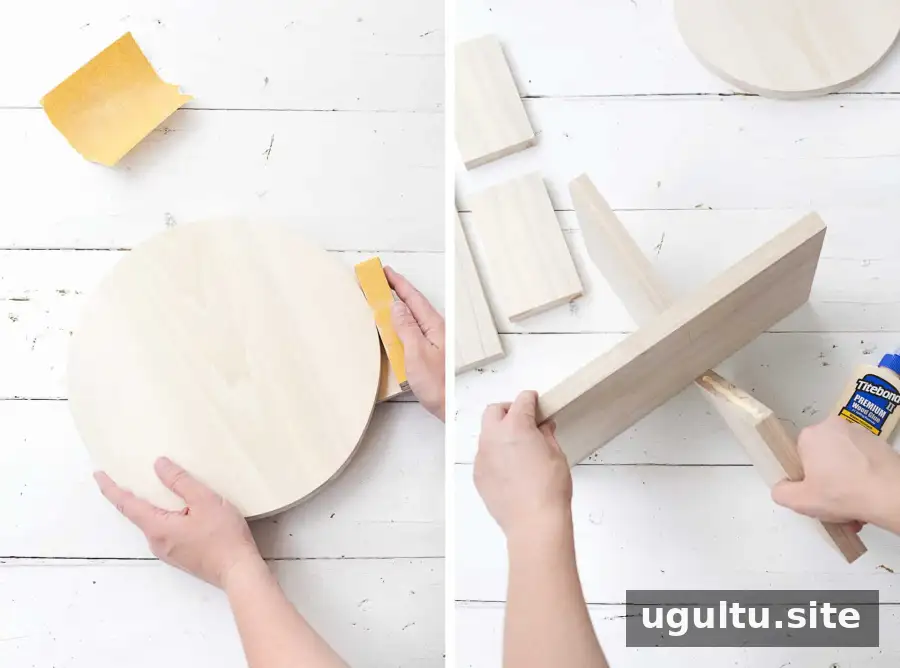
Sand every surface and smooth the edges, especially around the circular top. Start with 80-grit paper to shape the edges, then use 120-grit to reduce scratches. Finish with 180-grit for a smoother surface. Remove sanding dust before applying stain or paint; uneven sanding can lead to a rough or blotchy finish.
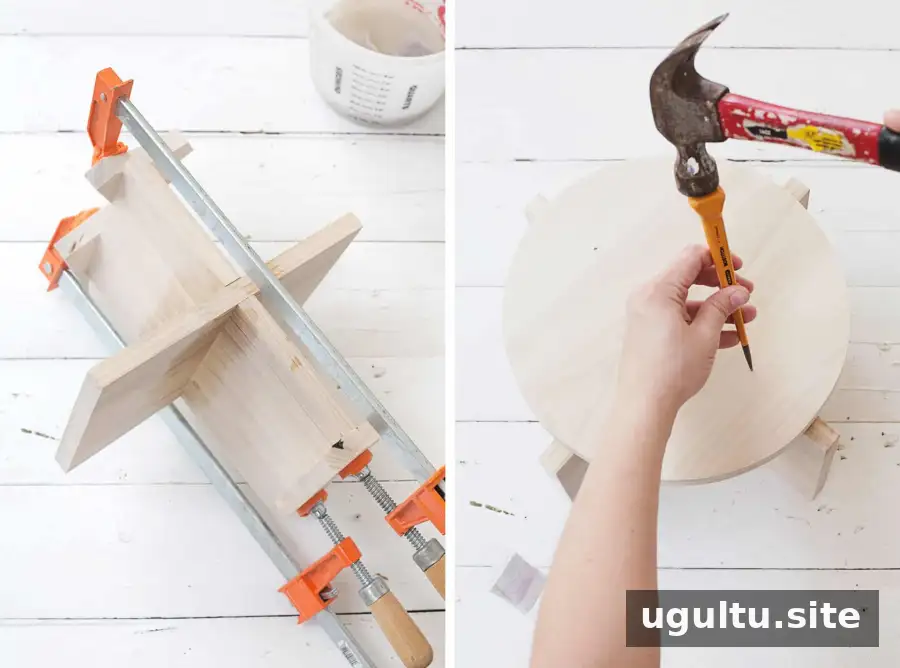
Step 4: Assemble the X-base
Apply wood glue to the unfinished base pieces and fit them together according to the measurements and diagram. Glue adheres best to clean, bare wood, so avoid applying it over stain or finish. If the pieces are already stained, follow the adhesive manufacturer’s guidance and use a product suitable for the surfaces.
Step 5: Clamp and clean the base
Clamp the X-base tightly and wipe away glue that squeezes out while it is still wet. Dried glue can resist stain and leave visible marks, so inspect the joints before the adhesive sets. Follow the glue label for drying time.
Step 6: Attach the top
After the base glue has dried, glue the circular top to the X-base and clamp it in place. Finishing nails can provide additional reinforcement. If you use nails, set their heads slightly below the wood surface and fill the holes with stainable wood filler. Let the filler dry, then sand it smooth before finishing.
Step 7: Apply a protective finish
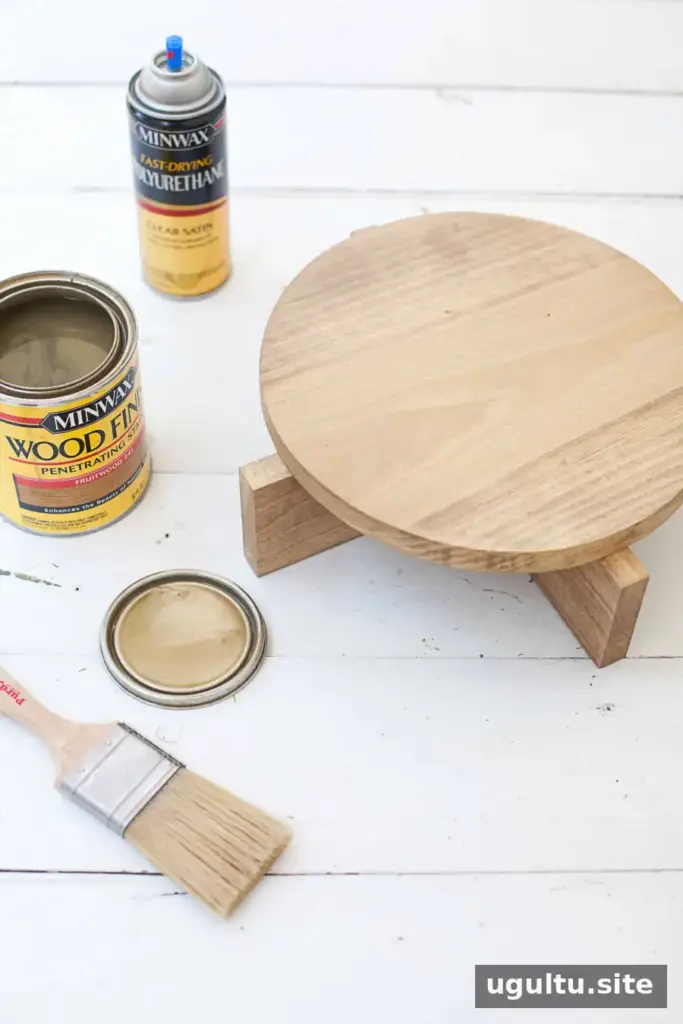
Choose stain or paint to suit the room. For stained wood, polyurethane can help protect the surface from occasional water splashes. Apply light coats according to the product directions. Once dry, smooth the surface with 0000-grade steel wool if the finish instructions permit, then apply a final coat.
For a painted finish, apply primer and let it dry before lightly sanding with 400-grit wet sandpaper, following the product instructions. Remove dust and apply the finish color in light coats. Allow each coat to dry as directed. Use finishes in a well-ventilated area and keep them away from plant soil and leaves.
Styling and care tips
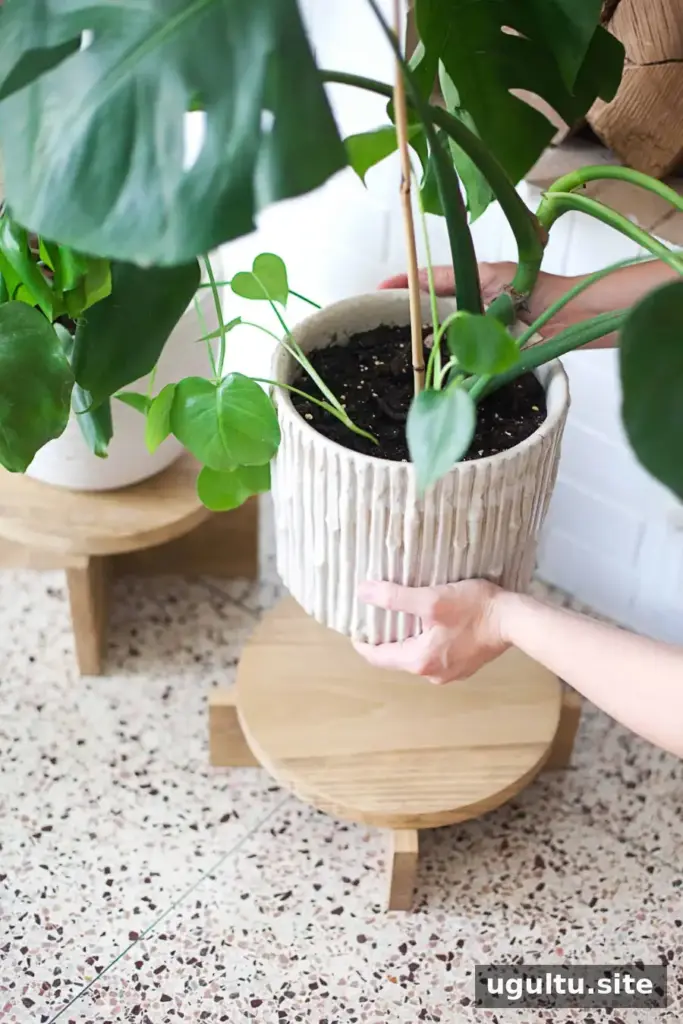
The round top works with planters of different shapes, provided the pot sits securely and does not overhang in a way that makes the stand unstable. Place the stand on a level floor, and use a waterproof saucer beneath the pot to help protect the wood from drainage and spills. Check the stand periodically for loose joints, particularly if it is moved often.
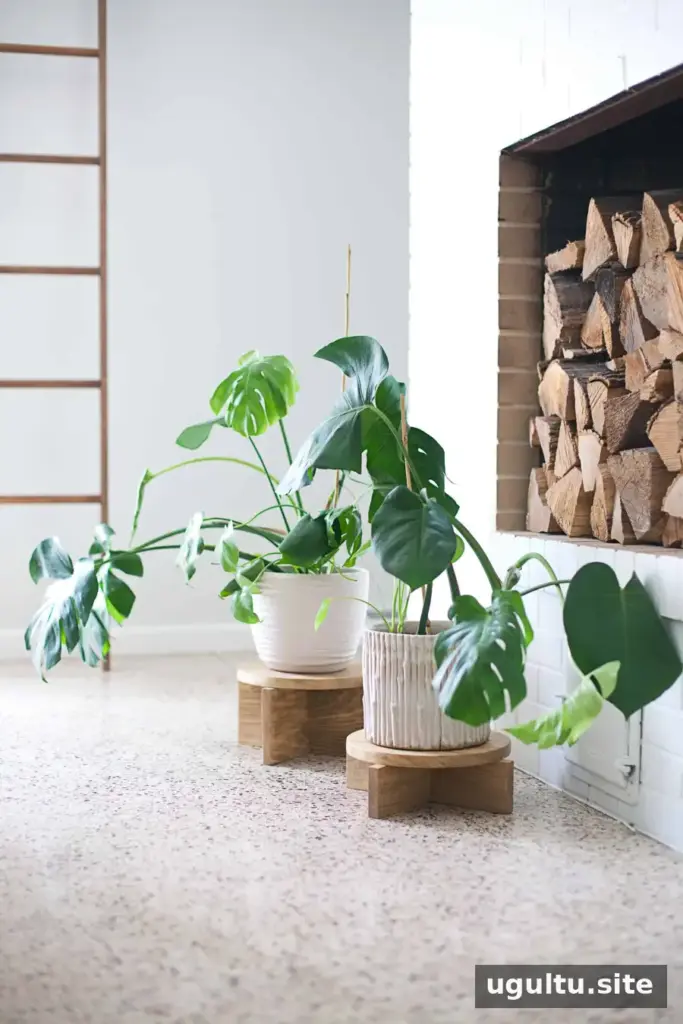
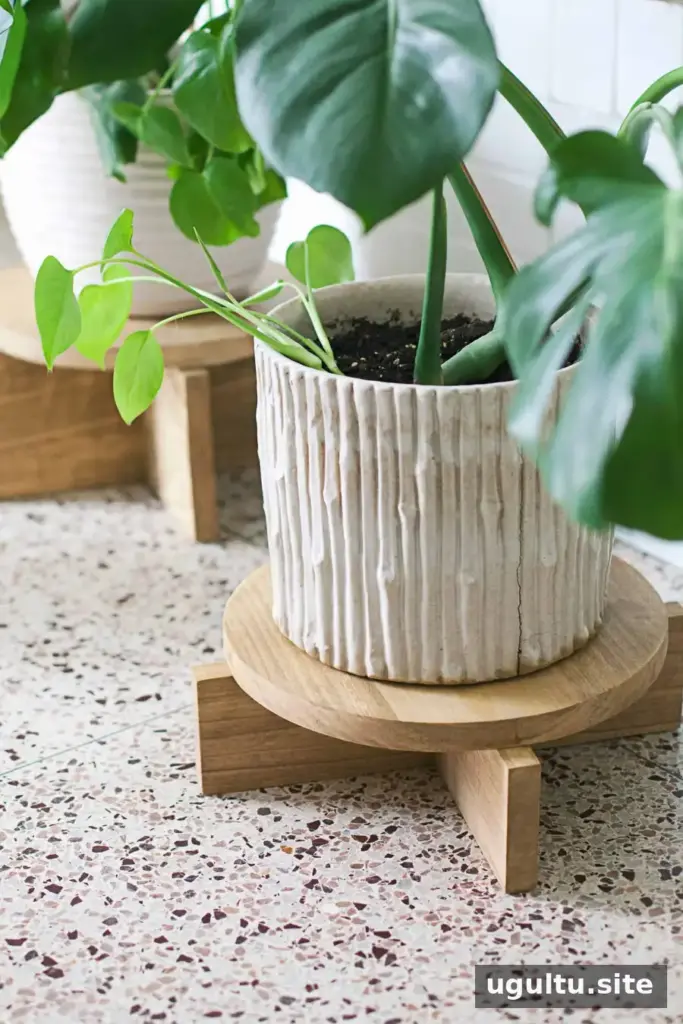
A larger version can be made by adapting the dimensions and using plywood, but the cuts and base should be planned for the intended pot and load. For this project, the DIY wood plant stand combines a straightforward build with a finish that can be customized to the room. —Mandi