
 admin
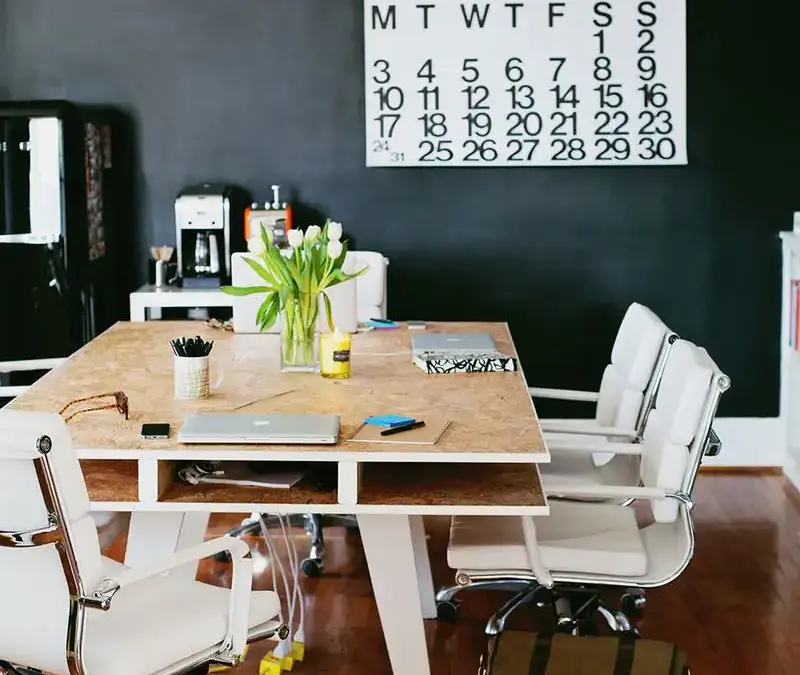
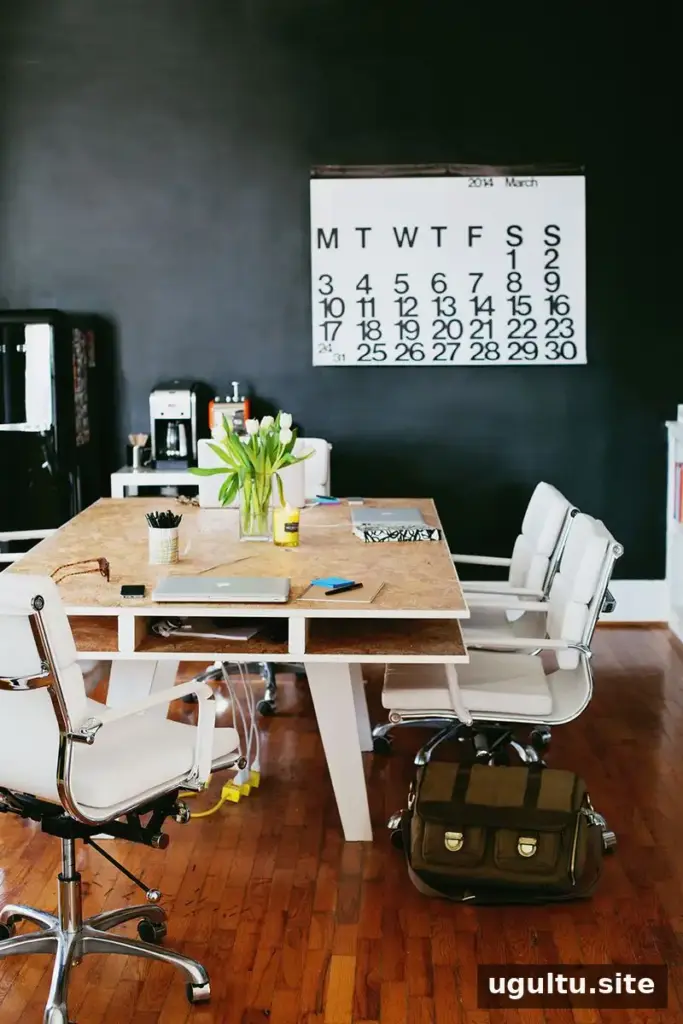


Building a DIY office desk can be a practical way to create a shared workspace that fits your room, team and storage needs. This large worktable was designed to seat six people, keep everyday supplies close at hand and help organize laptop cords. The project used OSB panels and cost $98 in materials purchased specifically for the build; tools already on hand were not included in that amount.

The team moved from working around a dining table to a studio office as it grew from four full-time people to six. Keeping everyone in one room made communication easier, so the new desk needed enough space for multiple computers without making the work surface feel crowded. Built-in cubbies and centrally placed cable holes helped address storage and cord management.
DIY office desk materials and tools
The following supplies were used for the desk. The listed dimensions are part of the original plan, so measure your own room and check the intended seating before buying materials.
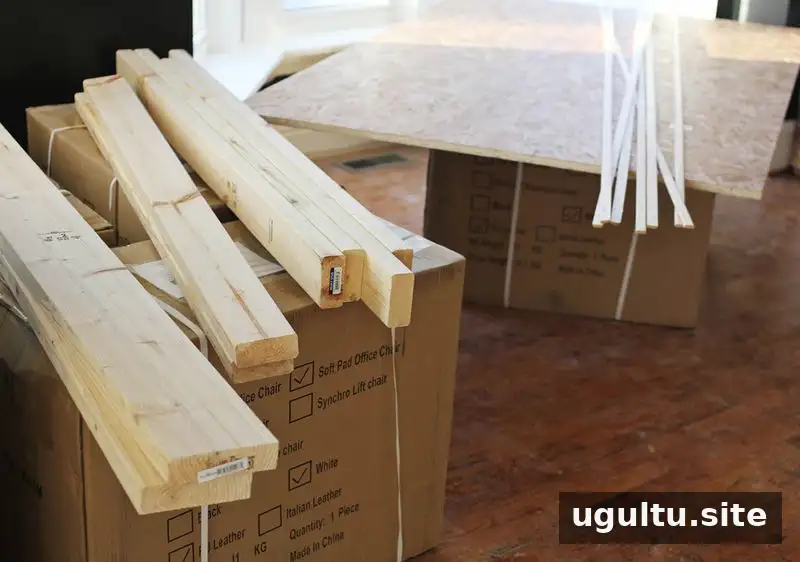
- Two 3/4" x 48" x 78" OSB subfloor panels
- Six 1 1/2" x 3 1/2" x 48" boards, or three 1 1/2" x 3 1/2" x 96" boards
- Two 1 1/2" x 5" x 48" boards, or one 1 1/2" x 5" x 96" board
- Six 1/4" x 3/4" x 8" interior stain-grade pine screen moulding pieces
- One box of fifty 2" screws (not all are needed)
- Thirty 1/4" steel brads
- Power saw, power drill, pliers, hammer and 1 1/2" spade bit
- Wood glue and paint brushes
- High-gloss polyurethane and less than a quart of white paint, both optional
The project creator chose OSB partly because it was an inexpensive option. The listed total of $98 covers only supplies bought for this build, not tools that were already available.
How to build the desk
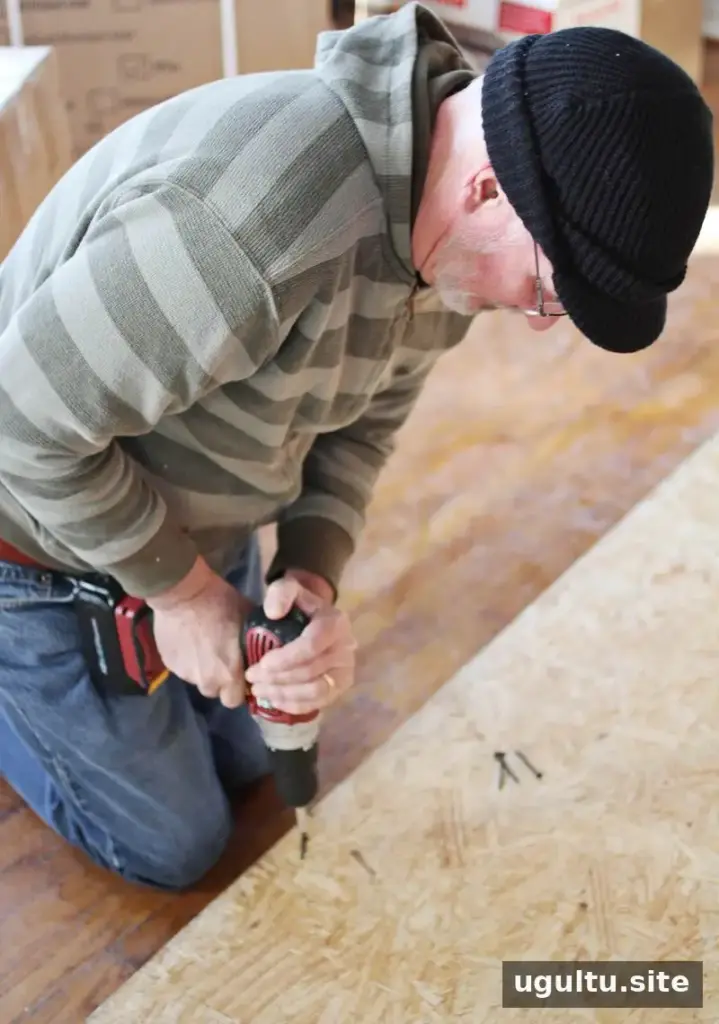
This is a large, heavy project. Work with a partner when lifting and positioning the panels, and use appropriate care with saws, drills and small fasteners. Emma completed the project with her father, Don Chapman, whose woodworking experience helped with the build.
1. Assemble the tabletop and cubbies
The OSB panels were cut to 3/4" x 48" x 78". Panels are commonly sold in a 3/4" x 48" x 96" size, so the pieces were trimmed to fit the planned space. Measure carefully before cutting; building your own desk makes it easier to accommodate a room that needs a nonstandard size.
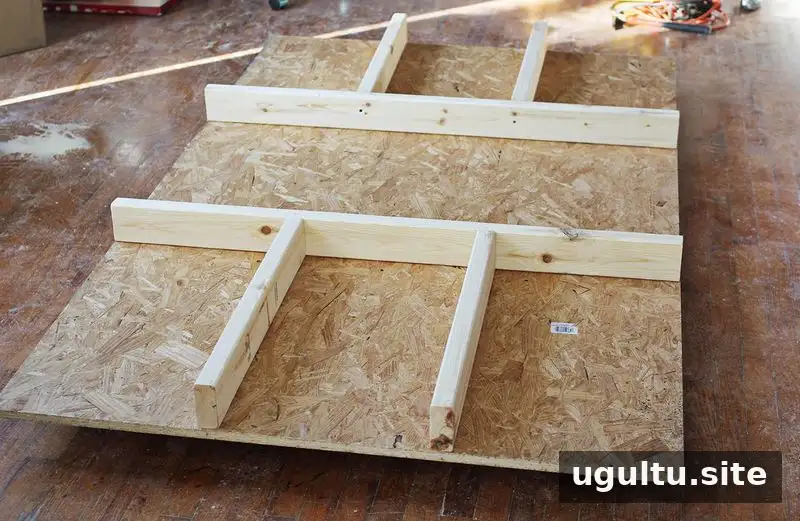
Cut the 1 1/2" x 3 1/2" boards to form the internal supports and cubby dividers. Position and screw them in place, then add the second OSB panel over the supports to create the tabletop structure. The internal boards also add stability.
2. Make and attach the legs
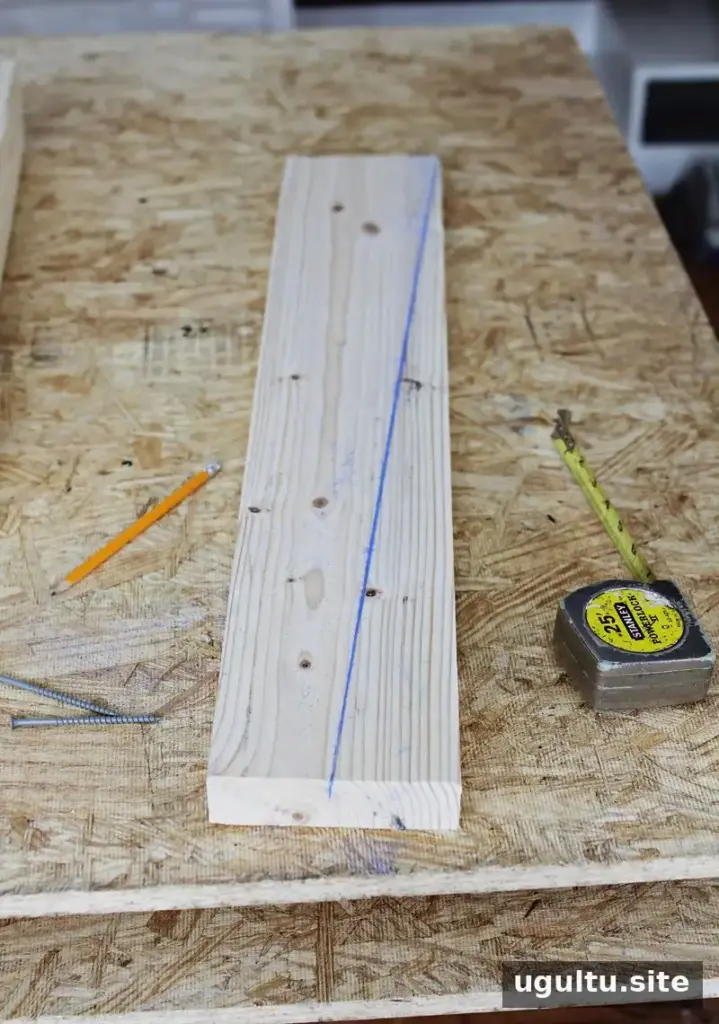
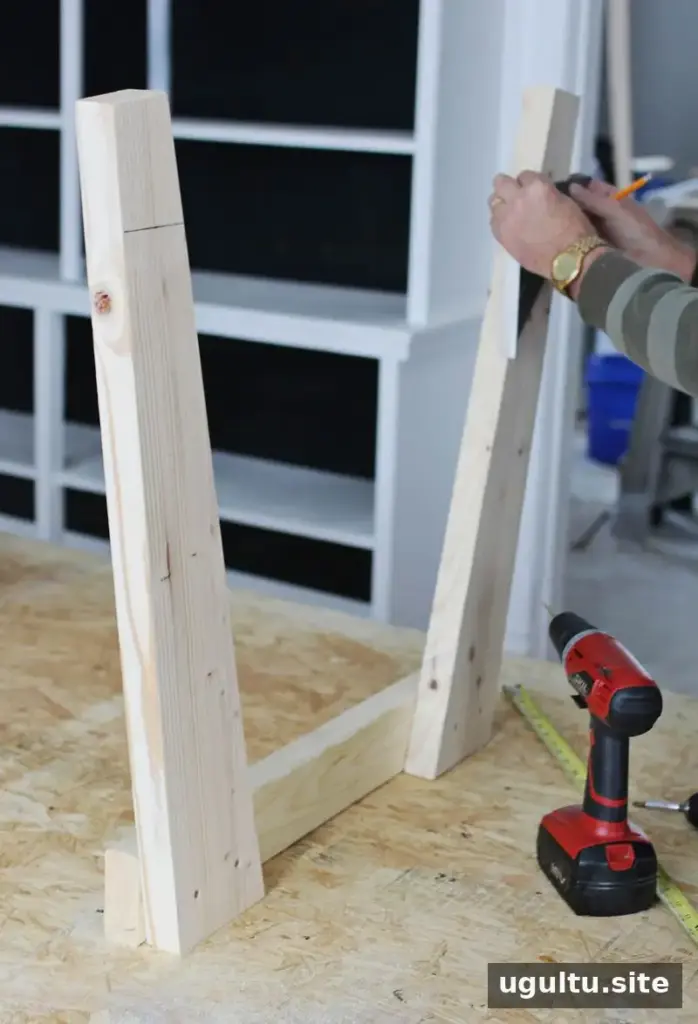
Cut each 1 1/2" x 5" board in half to make four pieces. Mark a diagonal line from one edge toward the center of the opposite edge, then cut along the marks to shape the legs. Attach a 2-foot section of 1 1/2" x 3 1/2" board at the center of each side of the desk, then screw the legs to those supports.
3. Set the desk height
Choose the height based on the chairs you plan to use. Measure the seating arrangement before trimming the legs so there is comfortable clearance beneath the desk. This desk was set at 25 1/2" from the floor. The team measured the legs after attaching them and cut off the excess.
4. Finish the edges
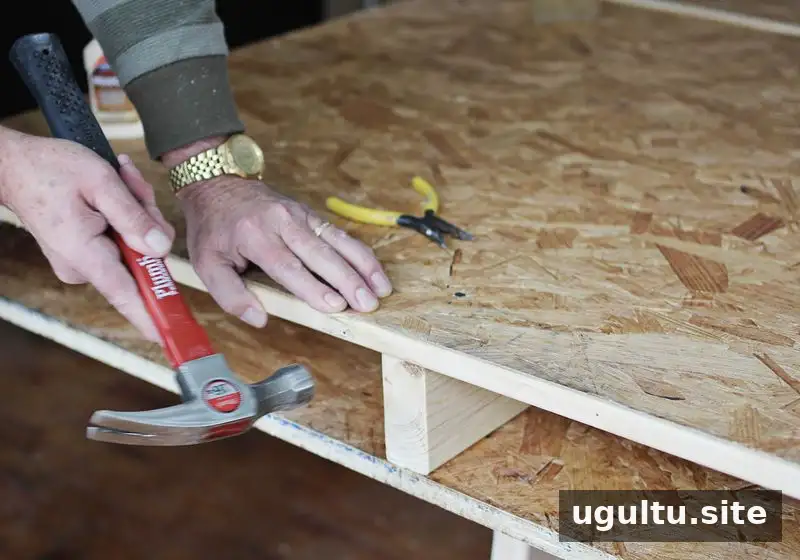
OSB is made from wood strands, so its edges may look rougher than the edges of solid boards. Measure and cut the pine moulding to cover the desk edges. Apply wood glue, press the moulding into place and wipe away excess glue. Secure it with brads.
Small brads can be difficult to hold safely while hammering. Pliers can help keep fingers away from the hammer’s path. Work carefully and check that the trim is aligned before fastening it.
5. Add cable holes
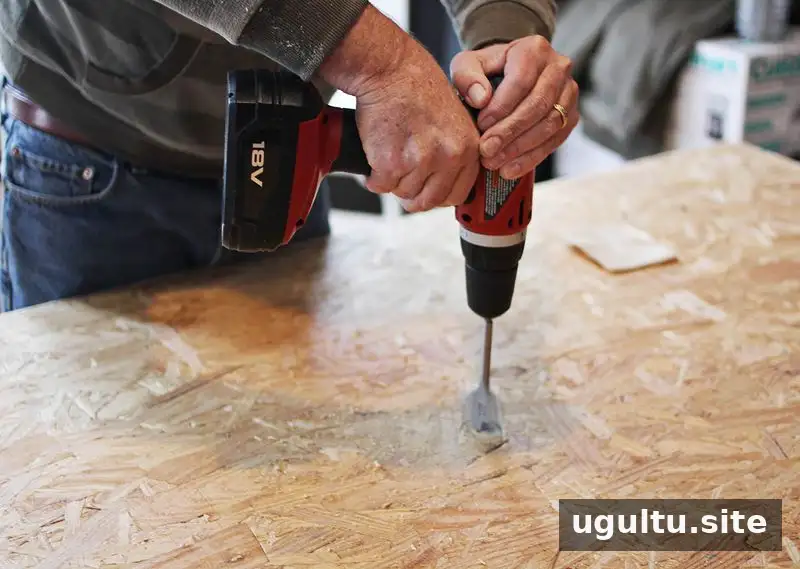
Two holes were drilled near the center of the tabletop to gather laptop power cords away from the outer edges. Use a 1 1/2" spade bit, and measure the locations so the openings line up with the holes on the underside. Before drilling, confirm that the planned positions work with the power outlet and cable layout in your room.
6. Paint and seal the surface
The moulding was painted white to coordinate with the office chairs and contrast with the room’s black walls. Paint is optional; choose a finish that suits your space and allow it to dry as directed on the product label.
The OSB panels used for this project were described as pretreated, but some areas still felt rough. A couple of coats of high-gloss polyurethane were added to smooth the tabletop further. Sealing is optional, so check the panel and finish product instructions before applying a coating.


Using the finished DIY office desk
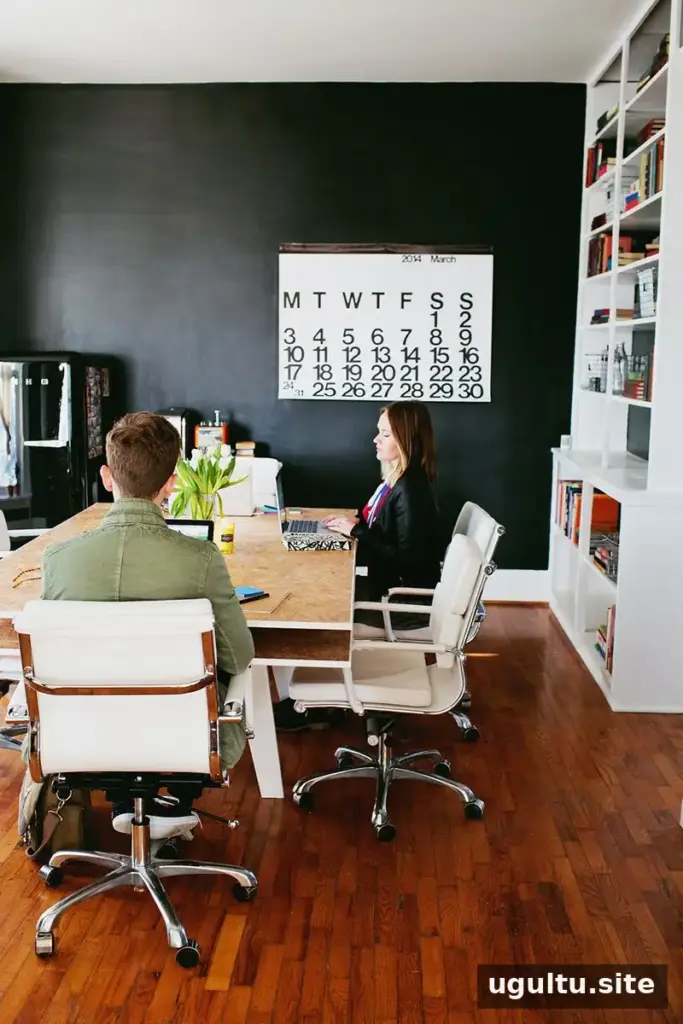
The six-person desk was used by the team for about three months, and the shared setup worked well for their office. Its cubbies provided room for papers, notebooks and pens, while the central cable openings helped keep cords grouped rather than trailing over the edges. Adjust the measurements and storage layout to suit your own chairs, equipment and available space.
This DIY office desk was created by Emma with her father, Don Chapman. The original supply cost was $98, excluding tools already owned. If you plan to make a similar table, arrange help for moving the heavy panels and measure the workspace before purchasing or cutting materials.


