admin
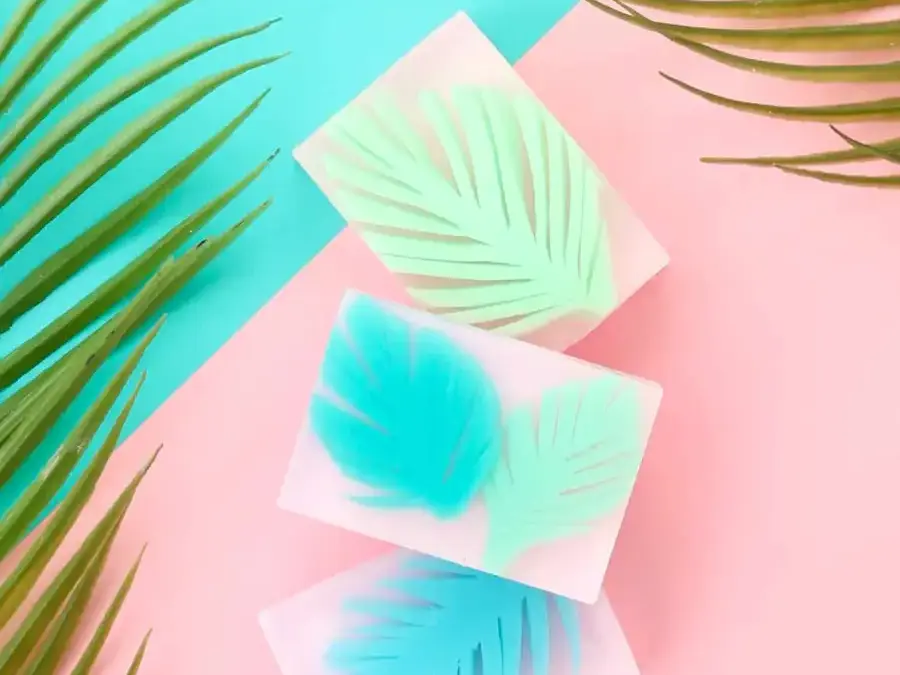
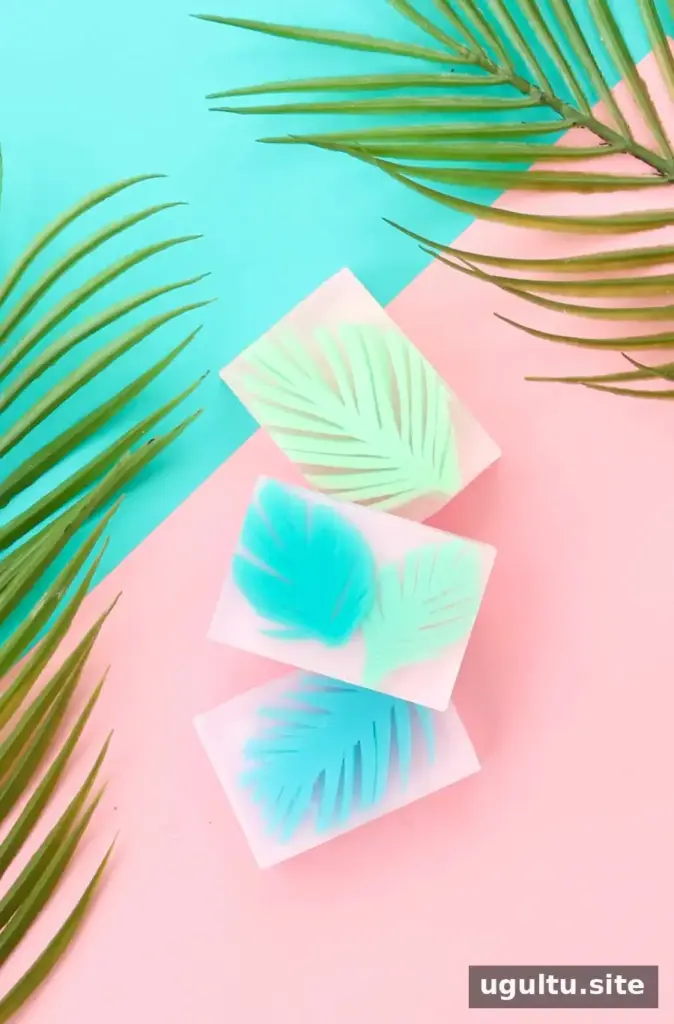
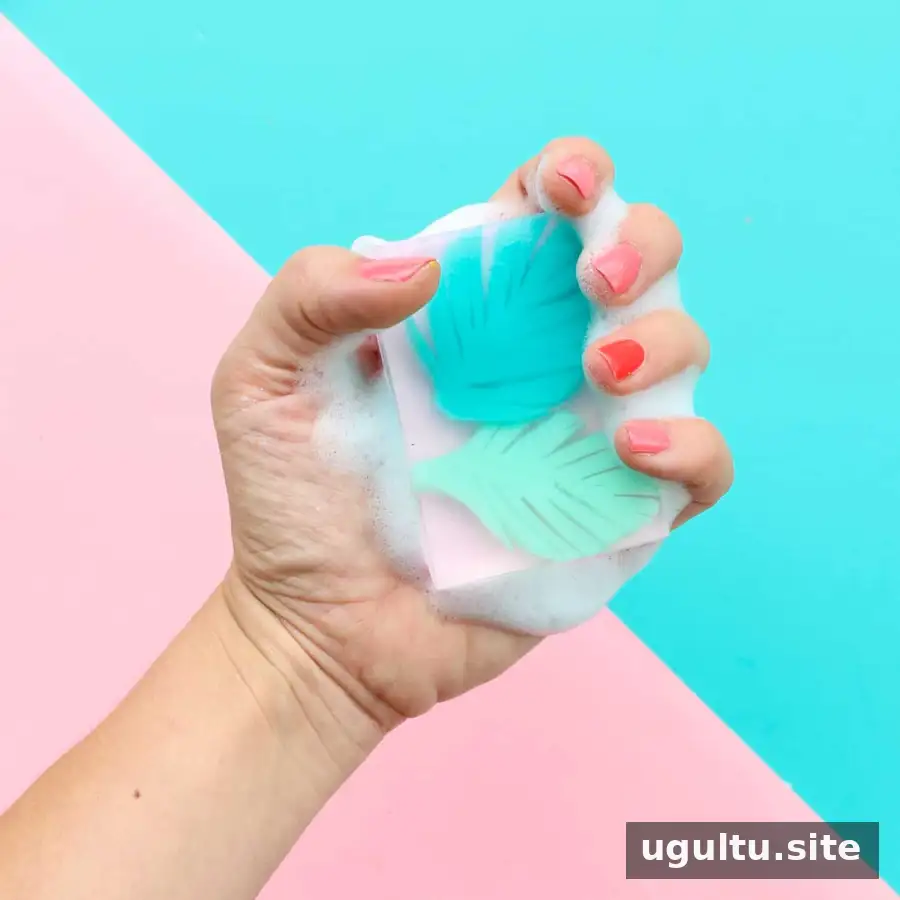
DIY palm leaf soap brings a bright, summery detail to a bathroom and can be made in an afternoon using melt-and-pour soap. Green soap leaves are embedded in a clear layer, with an optional pink base for extra color. This project involves melting soap, shaping the leaves, and assembling the layers, so prepare the mold and materials before you begin.
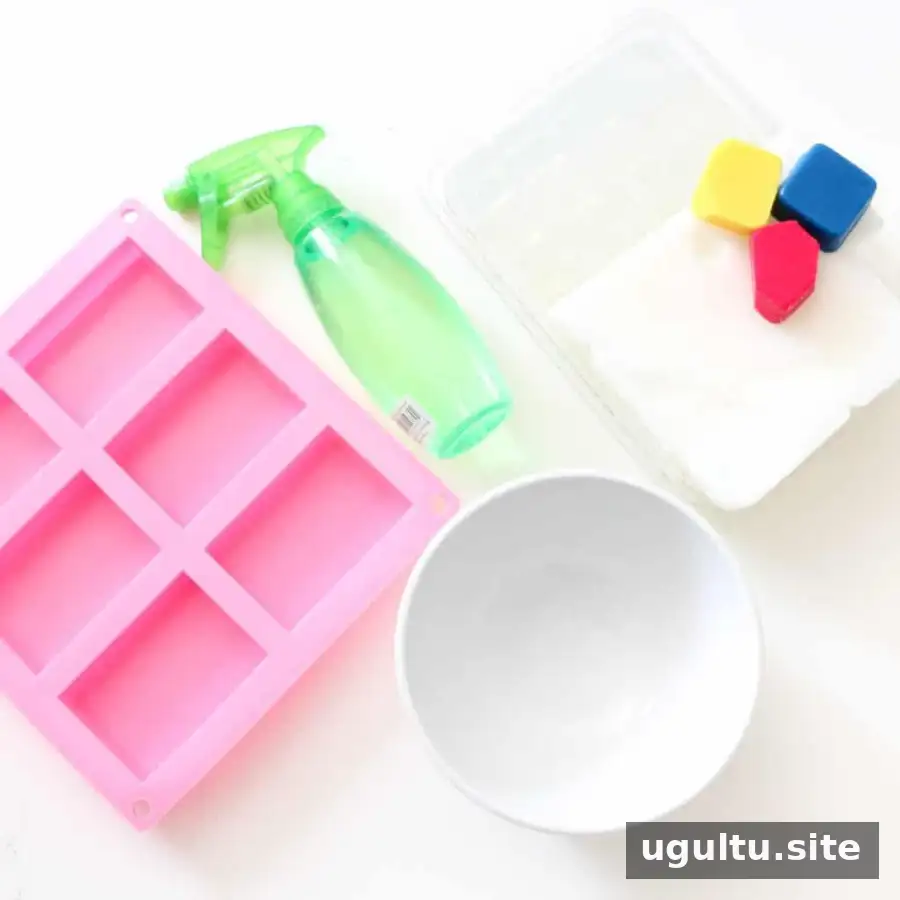
Materials for DIY Palm Leaf Soap
Gather the following supplies before starting. A silicone mold makes it easier to release the finished bars once they have cooled.
- White melt-and-pour soap
- Clear melt-and-pour soap
- Silicone soap mold
- Knife
- Yellow and blue non-bleeding soap colorants
- Spray bottle filled with rubbing alcohol
- Microwave-safe bowl or measuring cup
- Spoon
- Essential oils, optional
- Pink soap colorant, if making the optional bottom layer
How to Make DIY Palm Leaf Soap
1. Melt and color the soap for the leaves
Cut 1/2–1 cup of white soap into 1-inch cubes. Microwave it for 20–30 seconds, stopping when the soap has just melted; do not let it boil. If it needs more time, heat it in short intervals and check between each one.
2. Pour the green layer
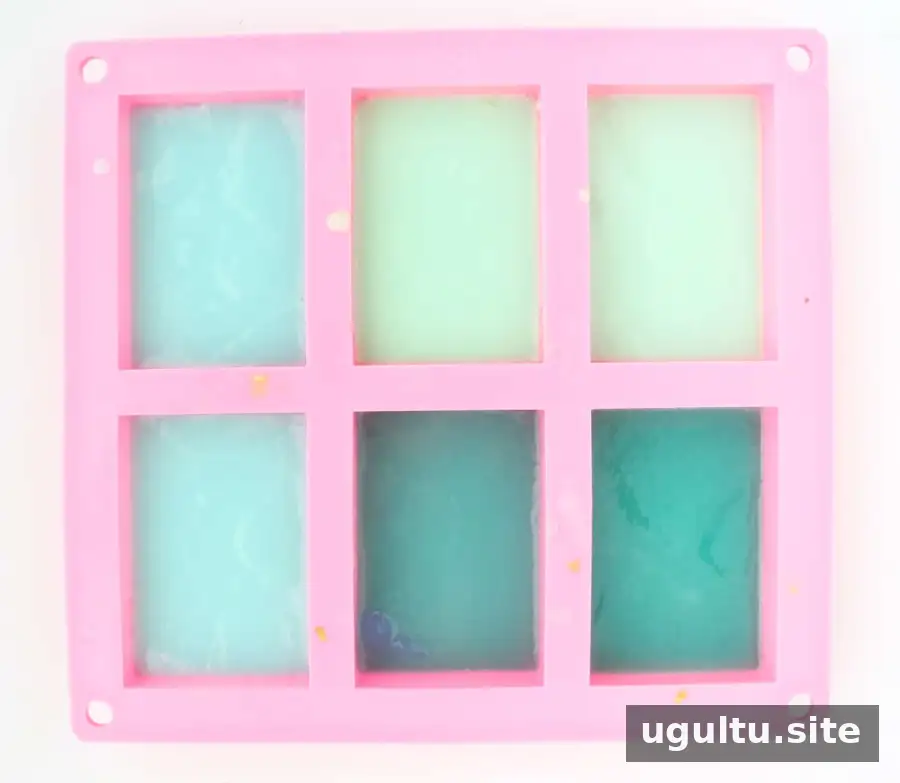
Add yellow and blue soap colorants and stir until you have a green shade you like. Pour the mixture into the mold to about 1/3 inch full. Repeat with different color combinations if you want leaves in more than one shade. Leave the soap to harden for 30 minutes.
3. Cut out the palm leaves
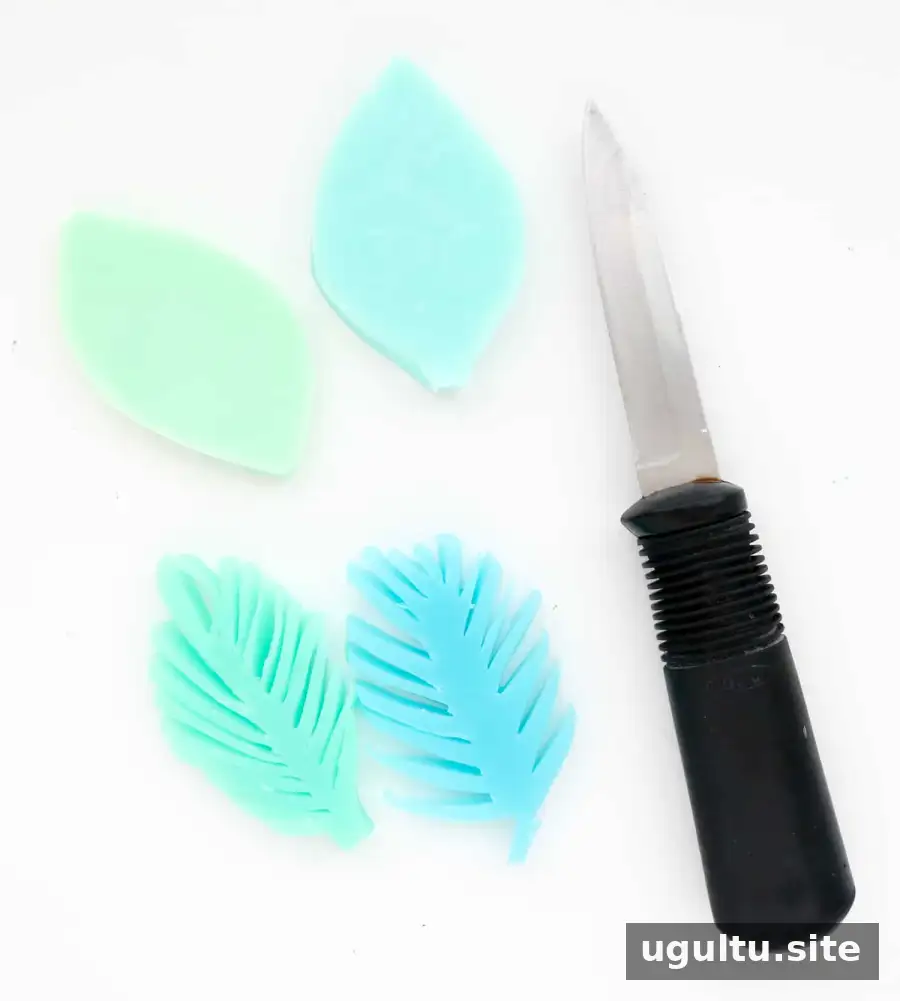
Remove the hardened green soap from the mold. With a sharp knife, cut it into leaf shapes, then trim small triangular wedges along the edges to create the look of palm fronds. Work carefully on a stable cutting surface and keep the pieces sized to fit inside your soap mold.
4. Prepare the clear soap layer
Cut 1 cup of clear soap into 1-inch cubes and melt it using the same microwave method. Let it cool until a thin film begins to form on the surface, then remove that film with a spoon.
5. Embed the leaves
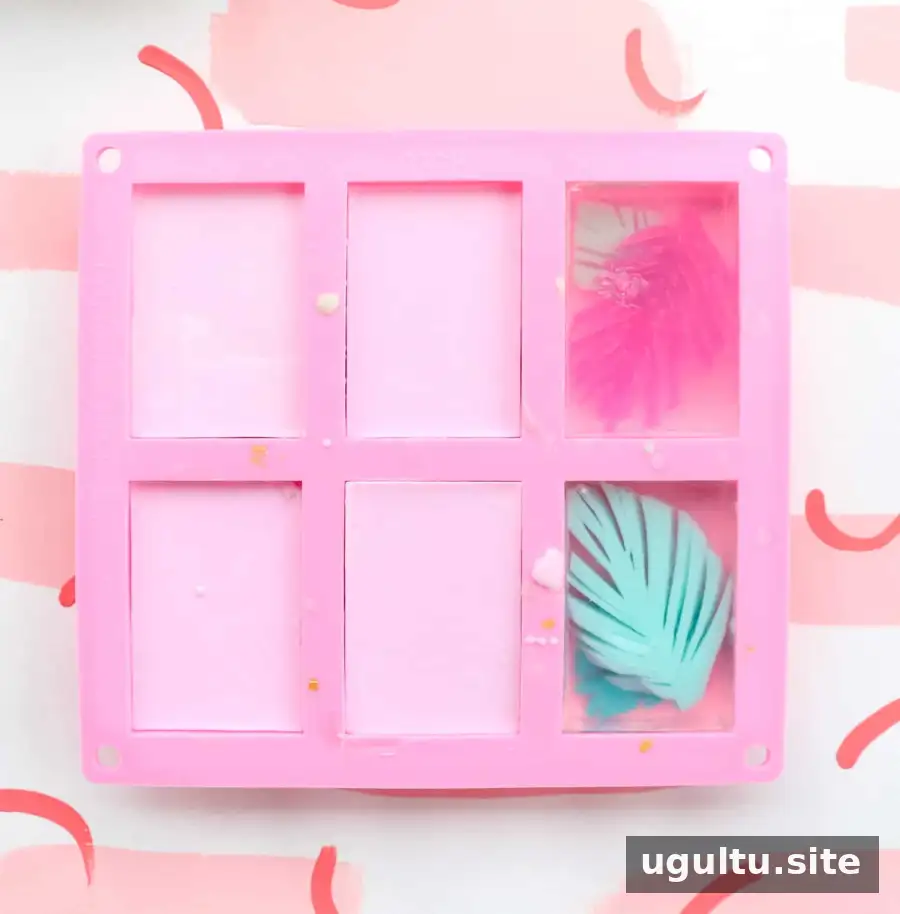
Pour clear soap into the mold until it is about halfway up the sides. Lightly spritz the surface with rubbing alcohol, then place a palm leaf piece into the clear soap. Make sure the leaf reaches the bottom of the mold so it remains positioned within the bar.
6. Add an optional pink layer
Once the clear soap has hardened, you can unmold it as-is or add a pink layer to the bottom. For the colored layer, melt more white soap and mix in a small amount of pink colorant. Spritz the hardened clear soap with rubbing alcohol, pour the pink soap over it, and let the bar cool for another 30 minutes to an hour.
7. Cool and unmold
Wait until the soap is completely cool and firm before removing it from the mold. If it resists, allow it more time to set rather than pulling forcefully, which could damage the design.
Finishing Tips and More Soap Projects
For clean layers, let each section harden before adding the next, and avoid overheating the soap base. Follow the instructions on the melt-and-pour soap and colorant packaging, especially if adding essential oils. Rubbing alcohol is flammable, so keep it away from heat and open flames.
For more easy soap-making ideas, explore gemstone soap, color-blocked soap, crystal soaps, or pumpkin spice soap projects.
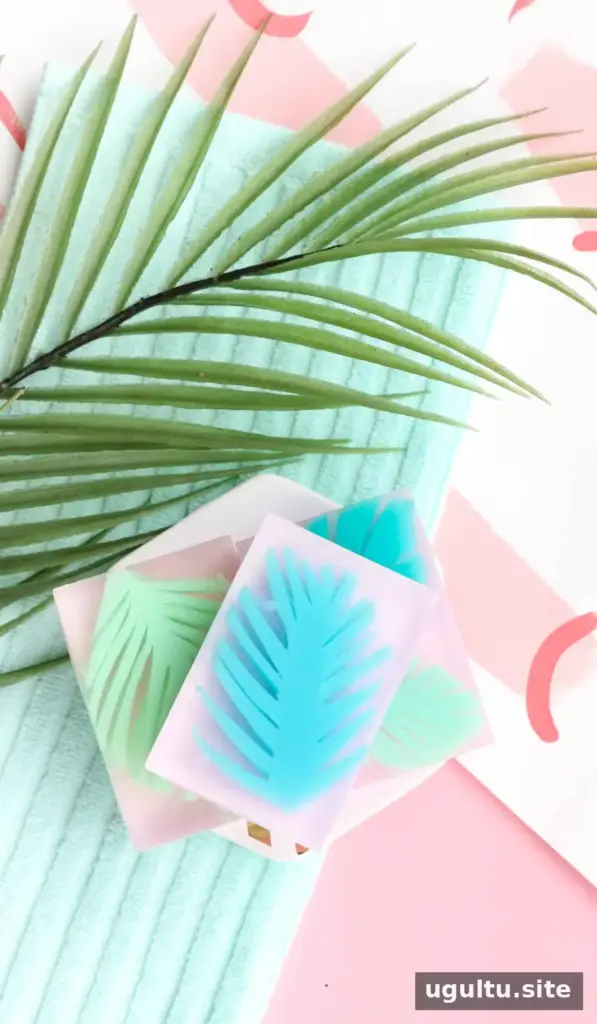
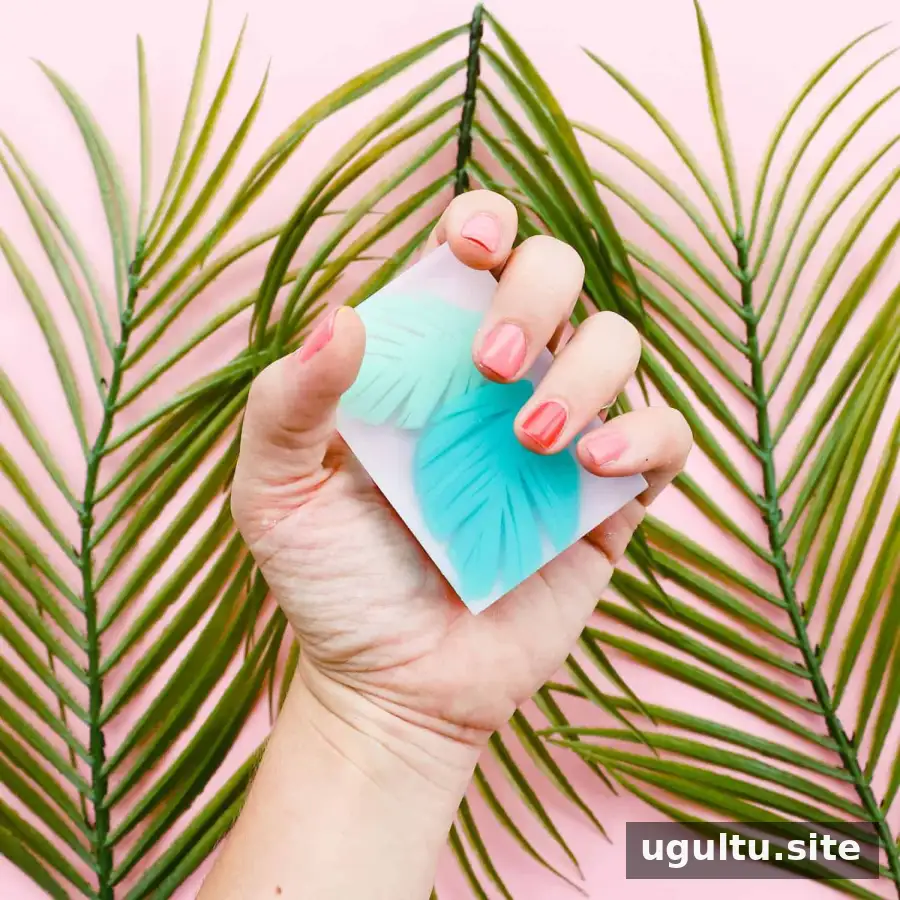
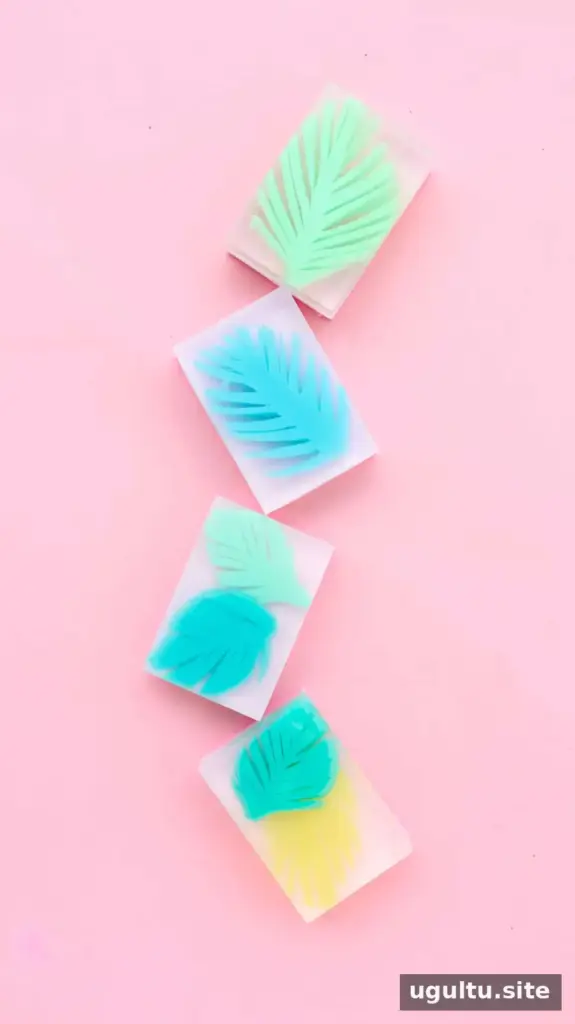
This layered design combines a clear bar with green palm fronds and an optional pink base. Melt-and-pour soap keeps the process accessible: melt the base, pour it into a mold, and allow each layer to set before moving on. With the steps prepared in advance, DIY palm leaf soap is a straightforward project for adding a seasonal touch to a bathroom.
By Kara