
 admin
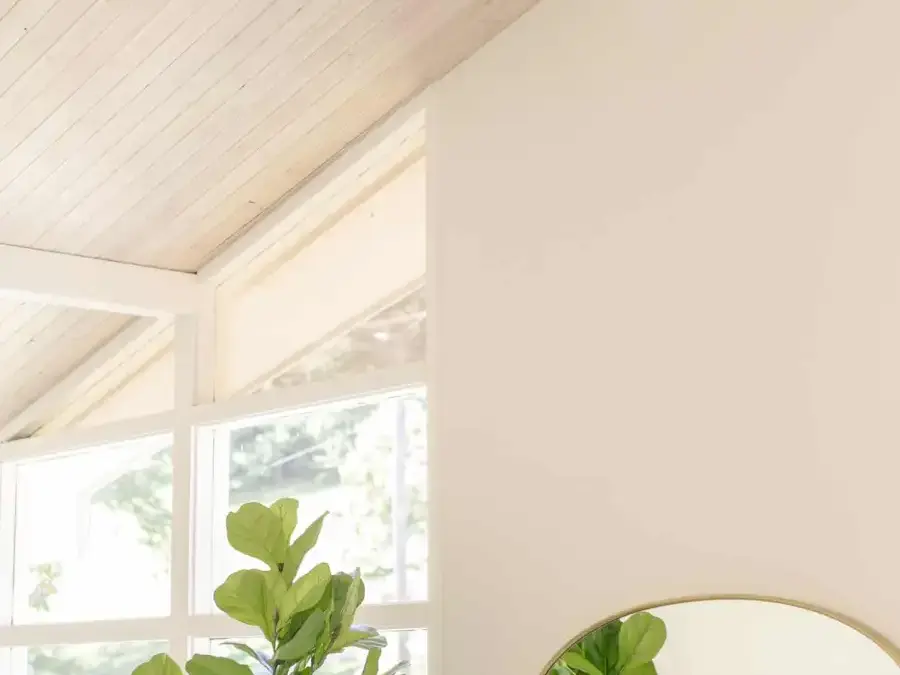
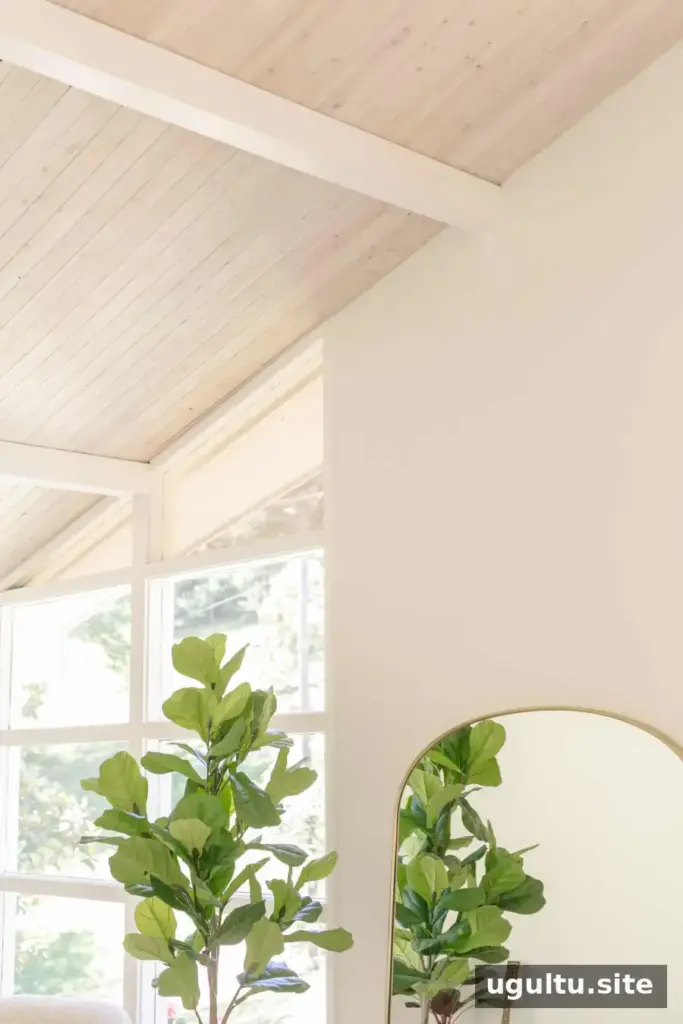
A DIY paneled ceiling can add warmth, texture, and architectural character to a room while covering an outdated ceiling surface. In this project, lightweight cedar planks transformed a vaulted living room ceiling in about a week, at an approximate cost of $800. The same approach may suit a popcorn ceiling, provided the existing surface and ceiling structure are appropriate for installation.
Why Choose a DIY Paneled Ceiling?
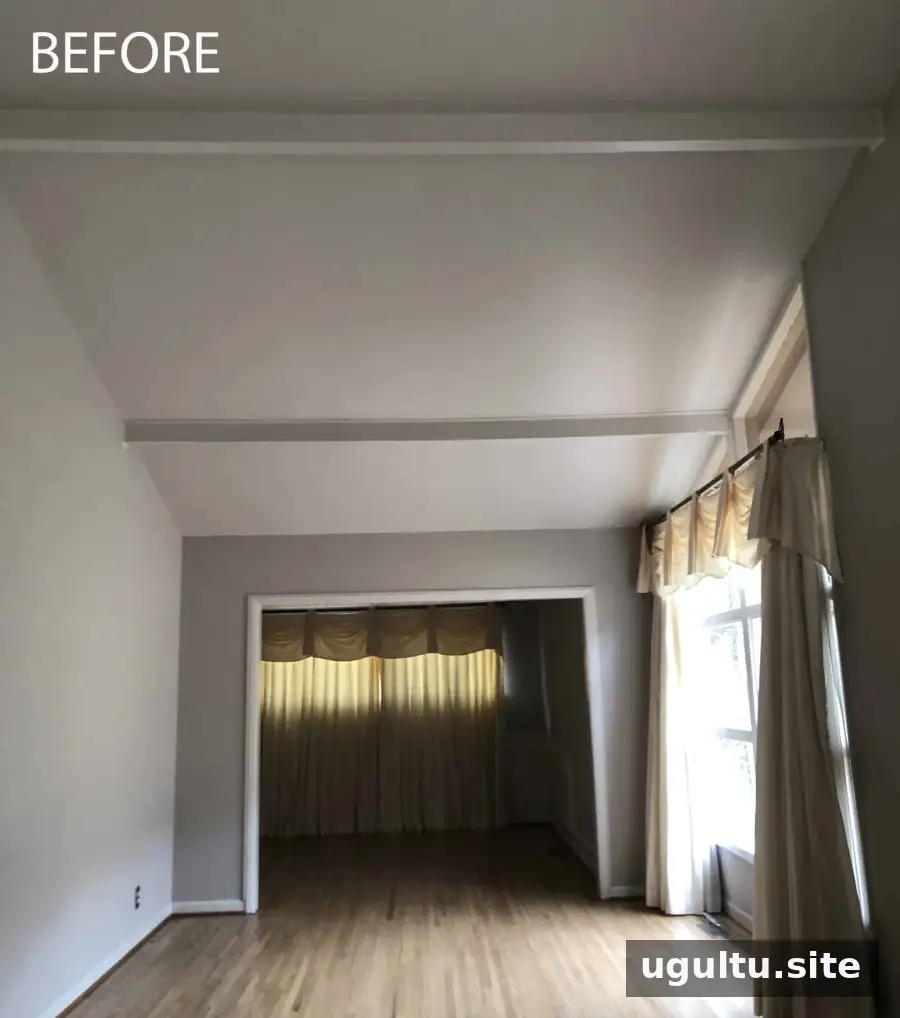
Before the renovation, the living room ceiling was painted gray to match the walls. Although the room had a vaulted ceiling, the overall space felt tall but visually small and lacked detail. Adding paneling, applying a whitewash finish, and making the existing beams slightly wider helped give the room a more finished appearance and better suited the home, which was built in 1965.
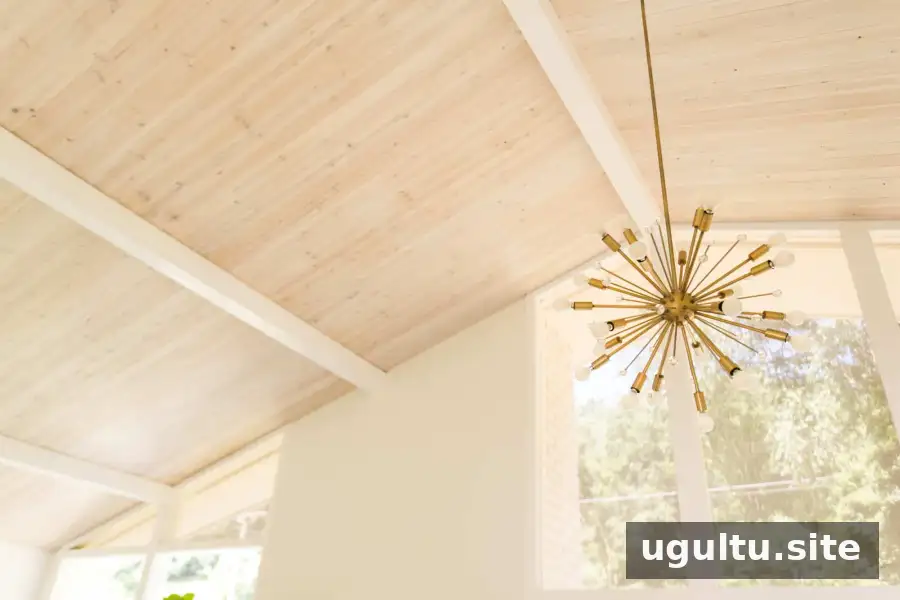
The finished ceiling uses pre-made panels across the surface. The existing beams were also wrapped with additional wood to make them appear more substantial. For a similar project, consider how the panel direction, beam placement, and finish will relate to the room’s shape and natural light.
Materials and Tools for a DIY Paneled Ceiling
The project used the following supplies and tools:
- Cedar wood planks
- Whitewash stain
- Liquid nails
- Circular saw
- Measuring tape
- Pneumatic nail gun
Measure the ceiling’s square footage before buying materials. The panels came in packages covering 14 square feet each. For a ceiling of about 425 square feet, the project required roughly 30 packages. Check the package coverage and allow for cuts or waste when calculating the amount needed; the exact quantity can vary with the room’s layout.
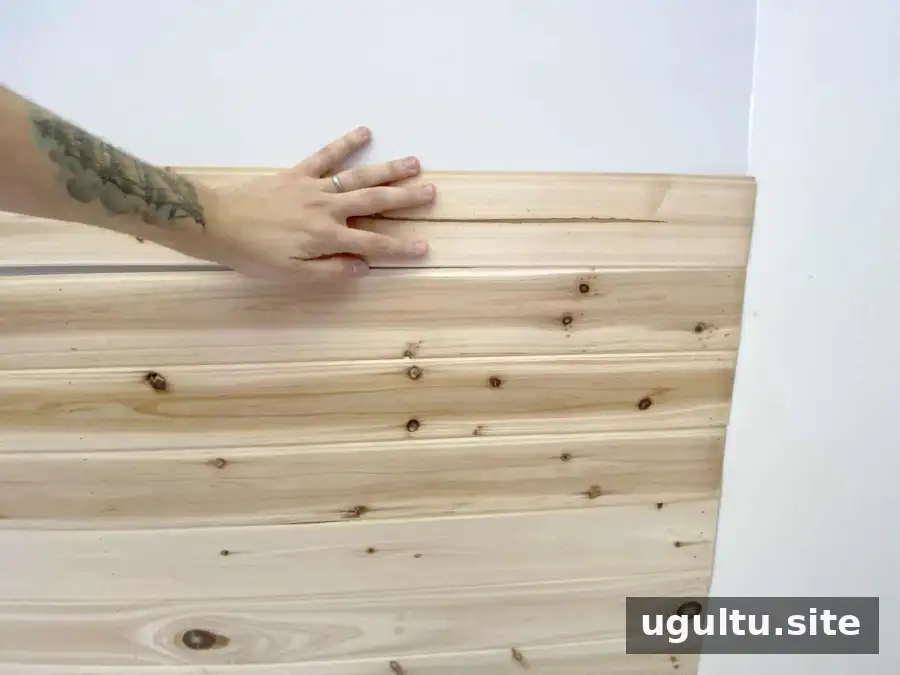
How to Install Ceiling Panels
The panels are lightweight, which makes them easier to handle overhead. Still, ceiling work can be difficult, especially in a vaulted room. Ask another person to help hold and position the panels, and use a stable ladder or suitable work platform. Avoid working at height if you are not comfortable or properly equipped.
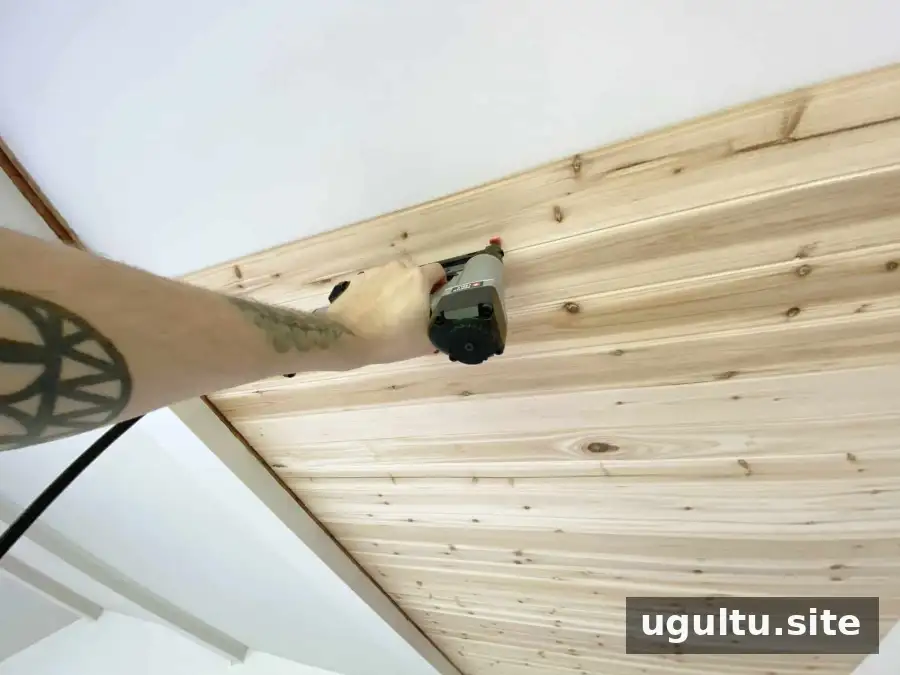
- Measure and cut each panel to fit the ceiling area.
- Apply a bead of liquid nails to the back of the panel.
- Position the panel and secure it with a nail gun at each end and in the middle.
- Fit the tongue-and-groove edges together for a more continuous appearance.
Follow the adhesive and panel manufacturers’ instructions, and confirm that the ceiling can support the added material. Before covering an older popcorn ceiling, check whether it needs testing for asbestos. Do not scrape, sand, or disturb a ceiling that may contain asbestos; consult a qualified professional if you are unsure.
Whitewashing the Panels and Updating the Beams
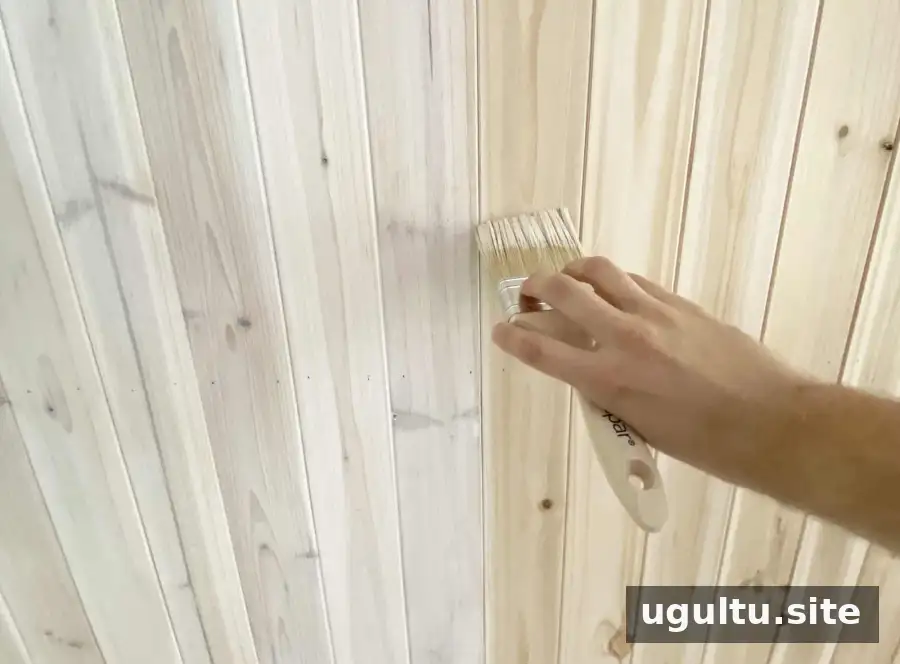
Whitewashing is an optional finishing step that can soften the wood’s color while leaving some grain visible. Once all the panels are installed, use a brush to apply the stain in the direction of the grain. This project used one coat. Add further coats only as needed to reach the appearance you want, following the product instructions and allowing the finish to dry as directed.
The existing beams looked too thin for the scale of the room. To make them appear wider, pieces of 3/4-inch wood were added to three sides of each beam. If you plan to modify existing beams, make sure the added pieces are decorative and do not interfere with wiring, fixtures, or structural components.
Finished DIY Paneled Ceiling
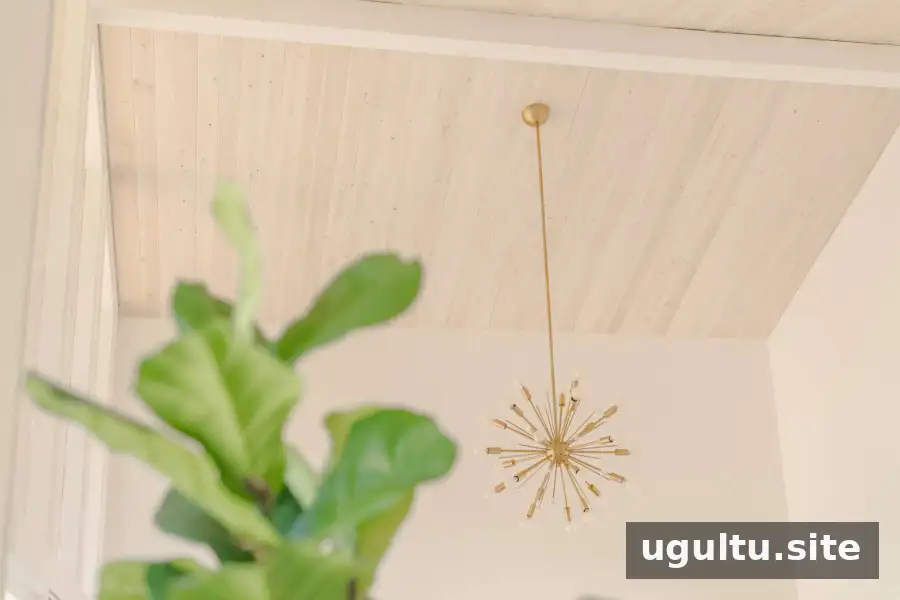
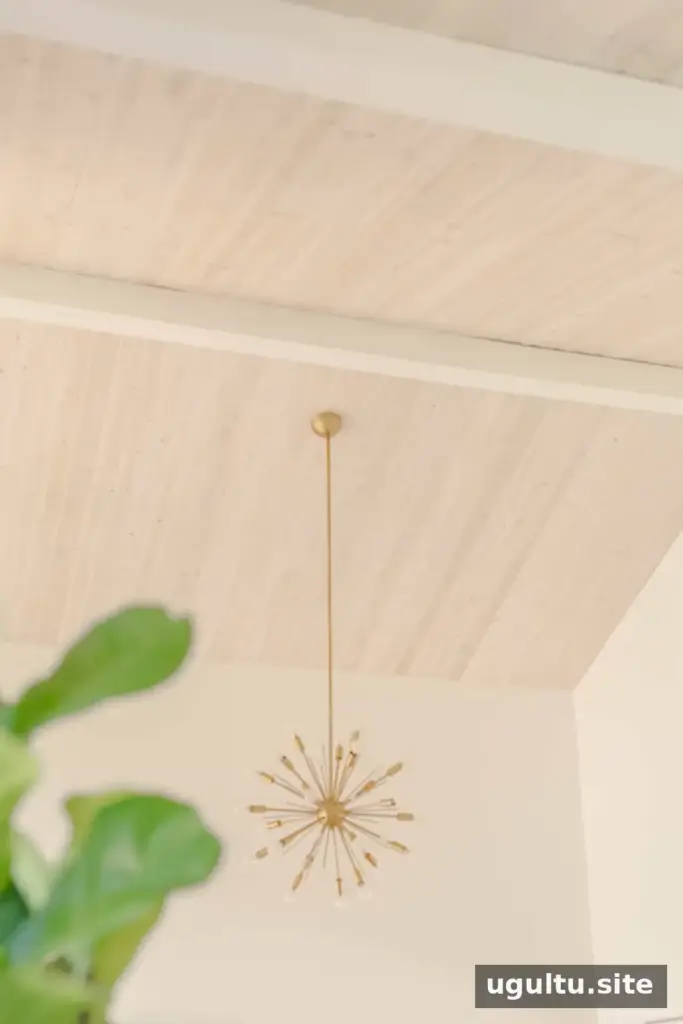
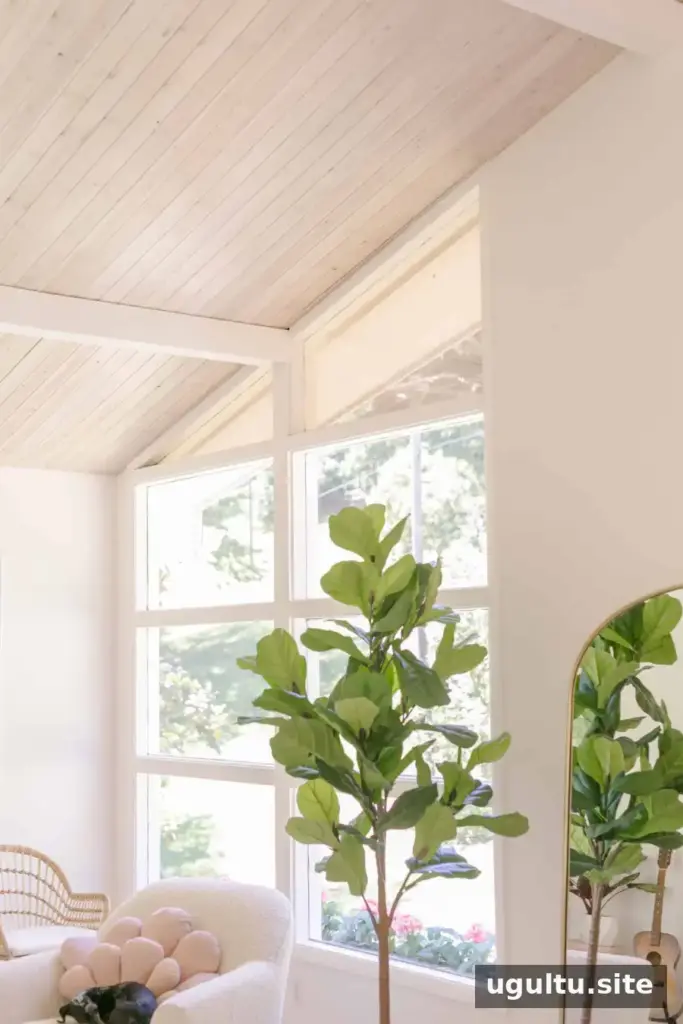
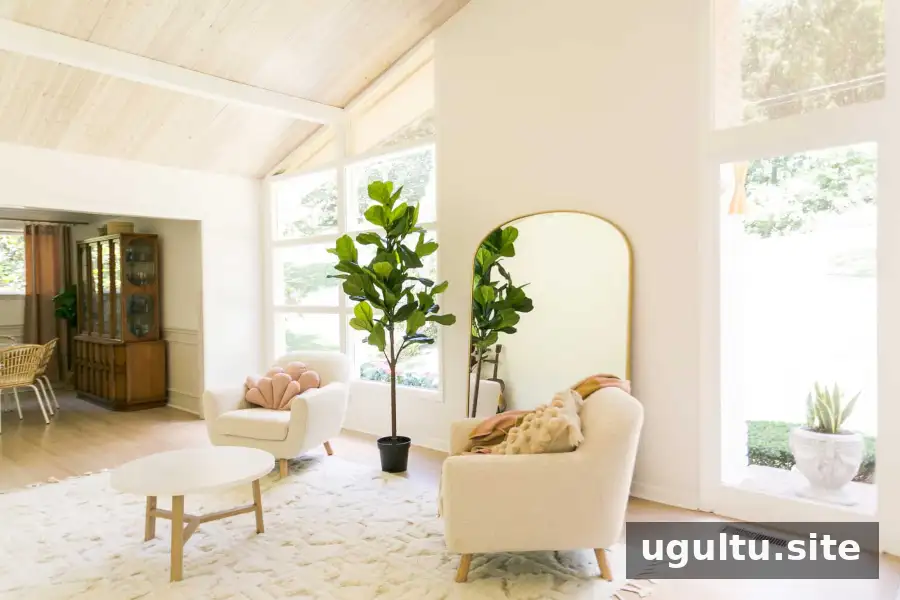
A DIY paneled ceiling can bring a noticeable change to a room when the materials, finish, and proportions work together. Measure carefully, plan for safe overhead installation, and check the condition of an existing popcorn ceiling before covering it. Project by Elsie and Collin.


