
 admin
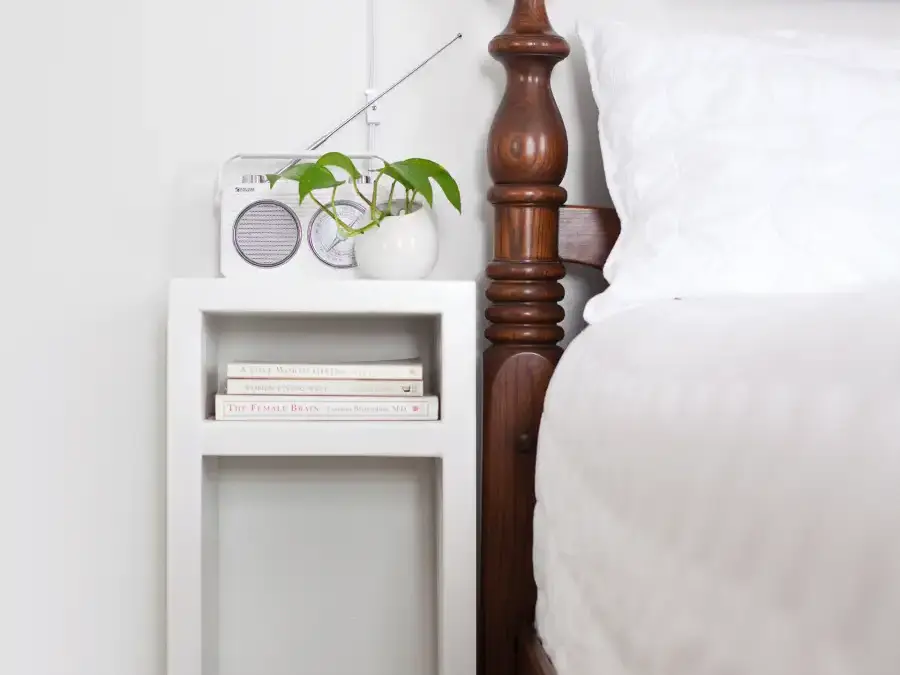
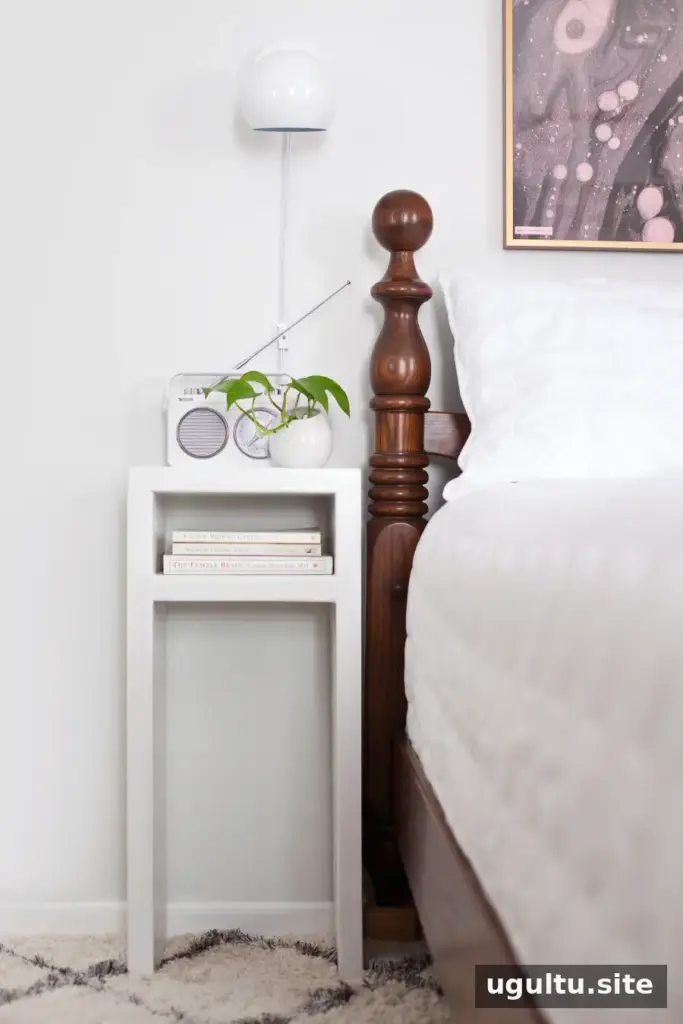
A DIY Parsons nightstand can add useful bedside storage without taking up as much room as a bulky table. This design uses 2×10 lumber and a clean, modern silhouette, making it a practical option for bedrooms where space and style both matter. The materials are relatively simple, and the painted finish can help the finished table complement a range of interiors.

The project includes a middle shelf for keeping everyday items close at hand. Before cutting the lumber, check the available space beside your bed and confirm that the nightstand’s planned height and width will fit. The original design uses pieces cut to the lengths shown in its accompanying diagrams, including 28-inch, 13-inch, and 11 7/8-inch sections.
Materials for a DIY Parsons Nightstand
Gather the following materials before starting. Confirm each cut against the project diagram and measure twice before cutting.
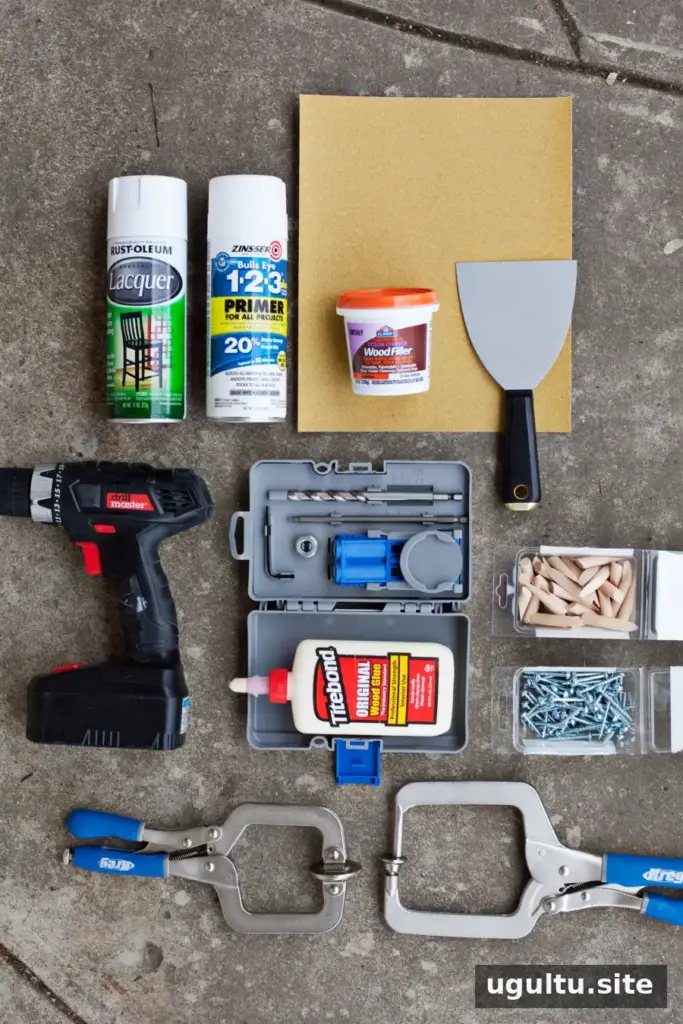
- Two 8-foot 2×10 boards, cut to the lengths shown in the design
- 100-grit sandpaper and 400-grit wet/dry sandpaper
- Primer and paint
- Wood filler and wood glue
Tools and preparation
You will need a pocket-hole jig, a small clamp, a right-angle clamp, 1 1/2-inch pocket-hole screws, paint-grade plugs, a putty scraper, a power drill, and a level. An orbital sander can make sanding quicker, but it is not essential.

Before working on the final pieces, practice drilling and joining pocket holes on scrap lumber. This helps you set the jig and drill-bit collar correctly. Choose the rougher face of each board for hidden joints where possible, leaving the smoother face visible on the outside.
Build the nightstand frame
Drill and join the main pieces
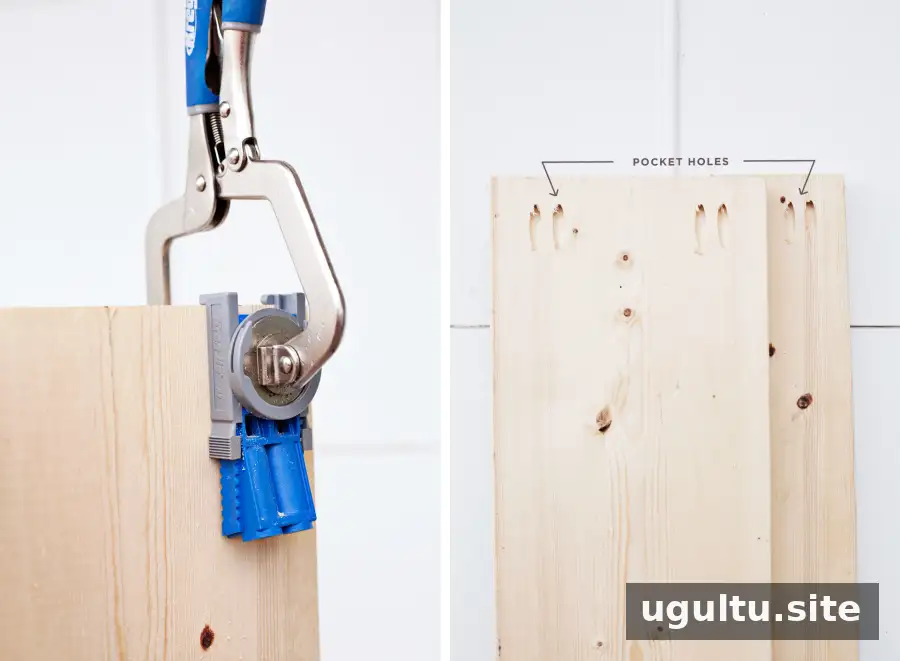
Clamp the pocket-hole jig to the edge of the 28-inch boards and drill two pocket holes on each side, following the layout in the project diagram. Use scrap pieces to test the screw placement before drilling the finished boards.
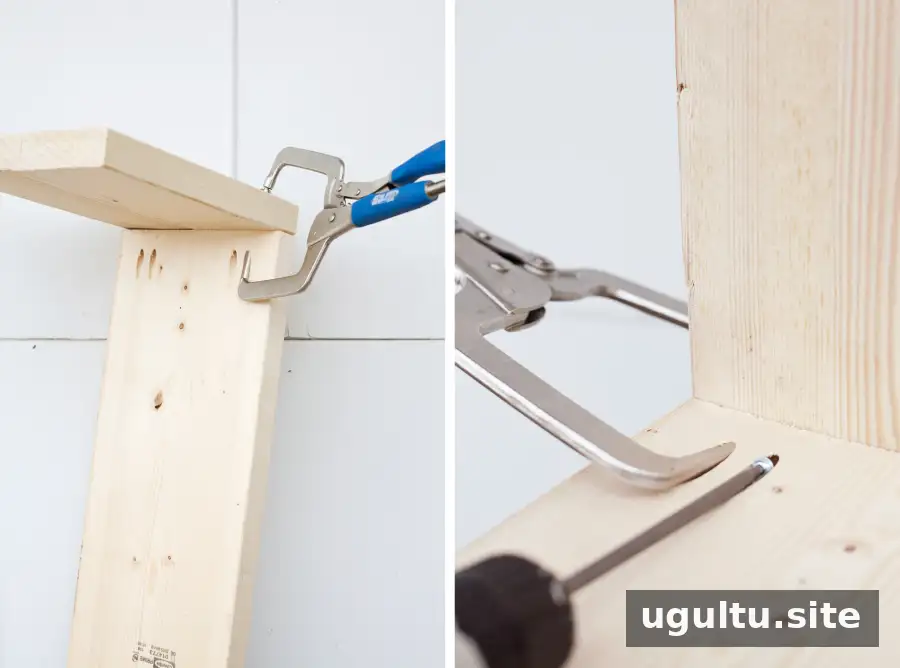
Clamp the 28-inch boards to the 13-inch piece with a right-angle clamp. Check that the pieces are square and their edges are flush, then drive the 1 1/2-inch screws into the pocket holes. A right-angle clamp helps hold the joint steady while you work.
Fit the middle shelf
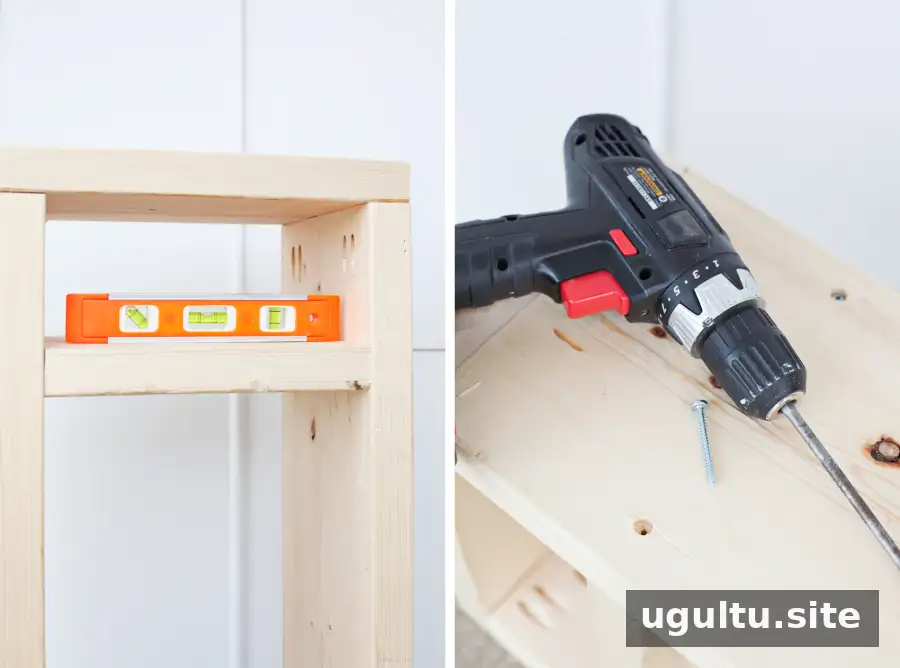
Position the 11 7/8-inch piece inside the opening to create the middle shelf. Its height is adjustable to suit your storage needs. Use a level to check that it is even from side to side and from front to back before fastening it.
Drill pilot holes through the side pieces and into the shelf, then countersink them so the screw heads sit below the surface. Use two screws on each side to secure the shelf. Take care not to move the shelf out of level as you tighten the screws.
Fill, sand, and paint
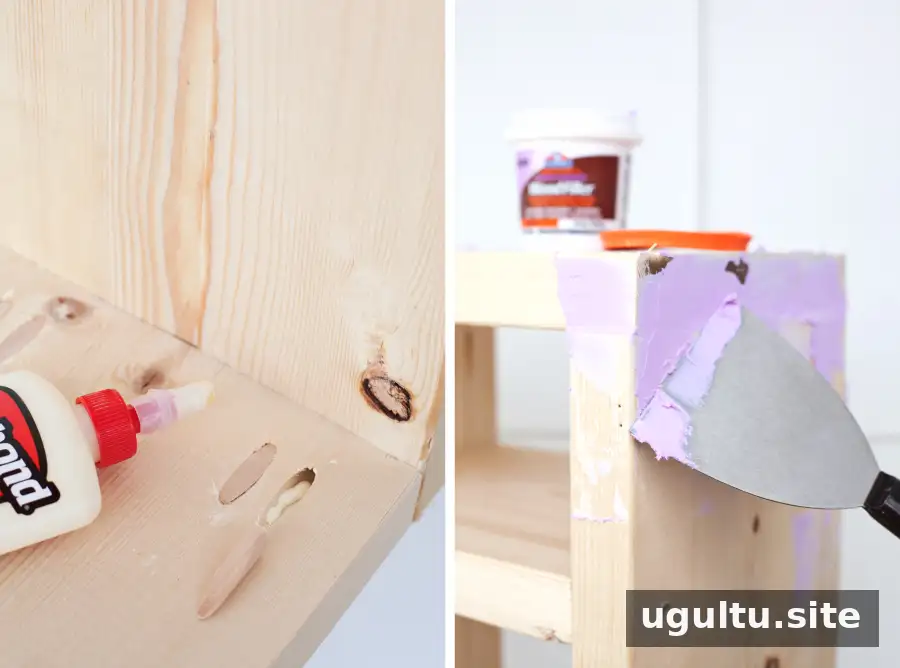
Apply wood glue to the paint-grade plugs and use them to cover the pocket holes. Fill visible holes, knots, and splintered areas with wood filler, following the filler’s drying instructions.
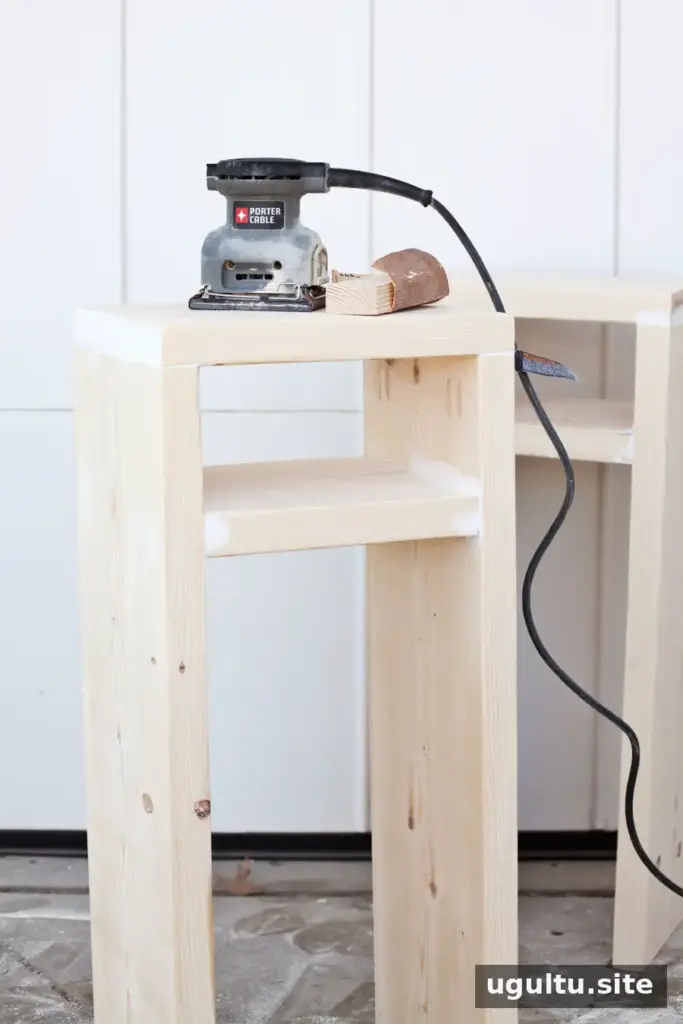
Once the filler is completely dry, sand the entire nightstand until it feels smooth. Check the surface by touch as well as by sight. If dents or holes remain, apply another layer of filler, let it dry, and sand again.
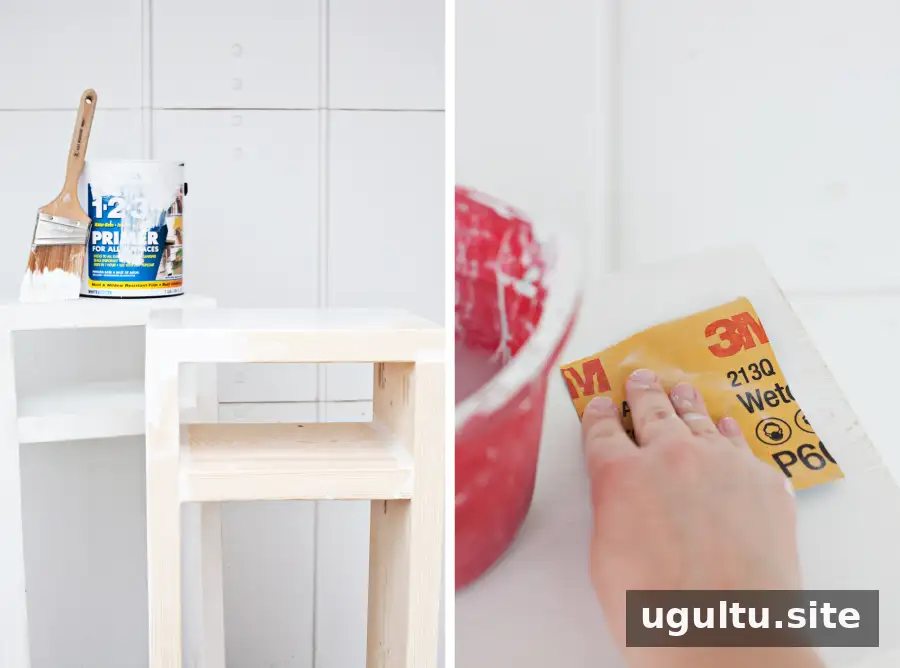
Apply primer with a brush and let it dry. For a smoother painted finish, wet-sand the primed surface with 400-grit wet/dry sandpaper. Keep the paper wet, replace it when it stops sanding effectively, and avoid sanding through the primer. More than one round of priming and wet sanding may be needed to smooth the wood grain.
Apply two light coats of paint, following the paint manufacturer’s directions and allowing the recommended drying time between coats. Leave the nightstand untouched for at least a day before placing items on it so the finish has time to cure. Add floor pads or levelers if needed; carpet may provide enough support without them.
Finishing the DIY Parsons nightstand

A completed Parsons-style table pairs a streamlined shape with practical bedside storage. Check that the nightstand sits level and that the paint has cured before using it.


This DIY Parsons nightstand is a useful way to make a bedside piece that suits your room’s dimensions and decor. Careful measuring, square joints, and patient sanding are key to a sturdy build and a smooth finish. —Mandi


