
 admin
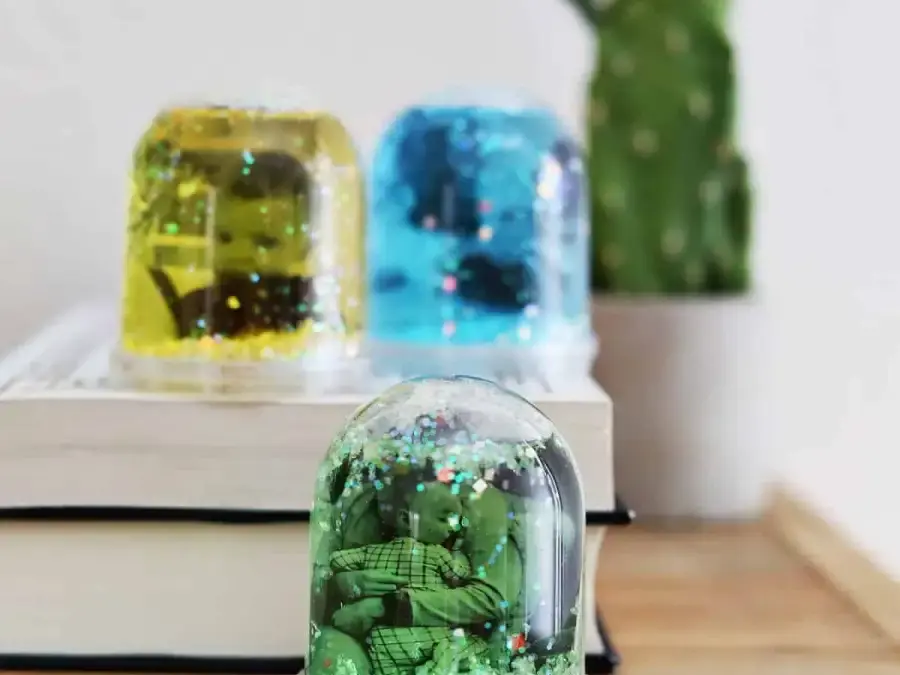
DIY photo glitter globes turn small printed pictures into colorful keepsakes that can be displayed at home or given as thoughtful gifts. These mini snow-globe-style decorations are easy to customize: choose meaningful photos, pick glitter and water colors, and assemble each globe with a few simple supplies.
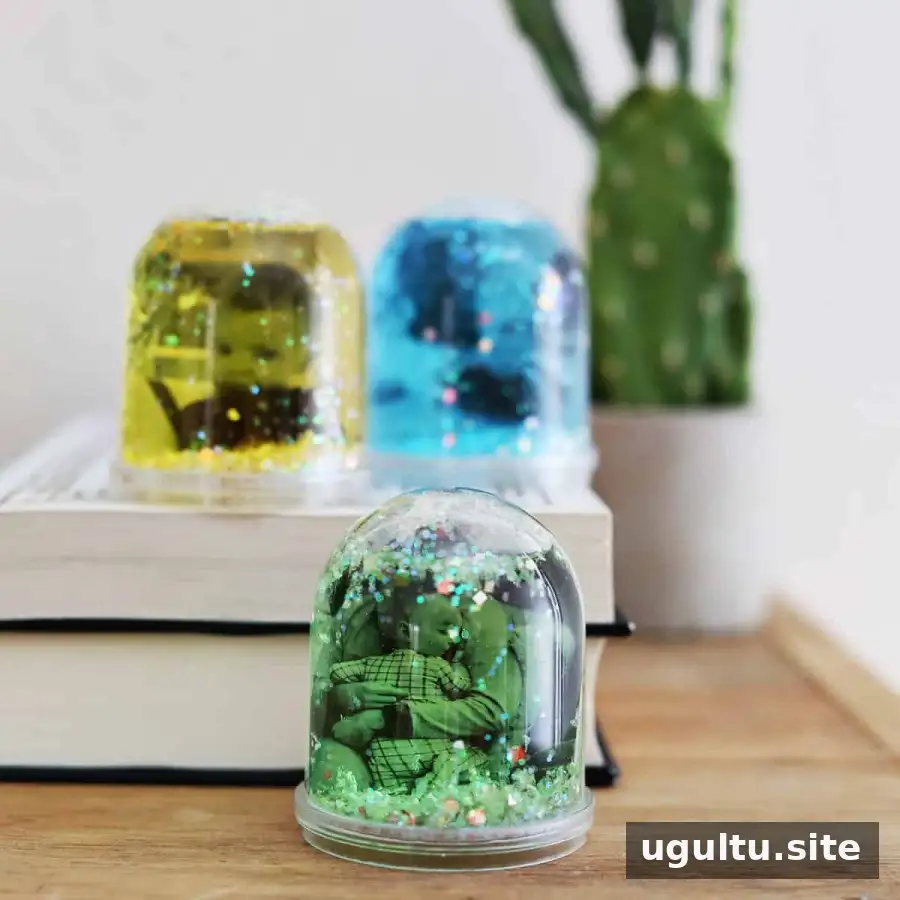
What Are Photo Glitter Globes?
Photo glitter globes are small liquid-filled displays with photographs on the front and back. Unlike a traditional winter-themed snow globe, you can use any glitter color and add a little food coloring for a brighter look. Black-and-white portraits offer a simple contrast with colorful glitter, while color photographs create a more vivid display.
They can be made for personal use or as gifts for occasions such as Mother’s Day, Father’s Day, and holidays. Before starting, check that your photo globes are intended to hold liquid and set up a work surface that can be wiped clean.
How to Make DIY Photo Glitter Globes
The project has three main stages: prepare the photos, fit them into the globe inserts, and add the glitter mixture. A video tutorial is included below, followed by the written instructions.
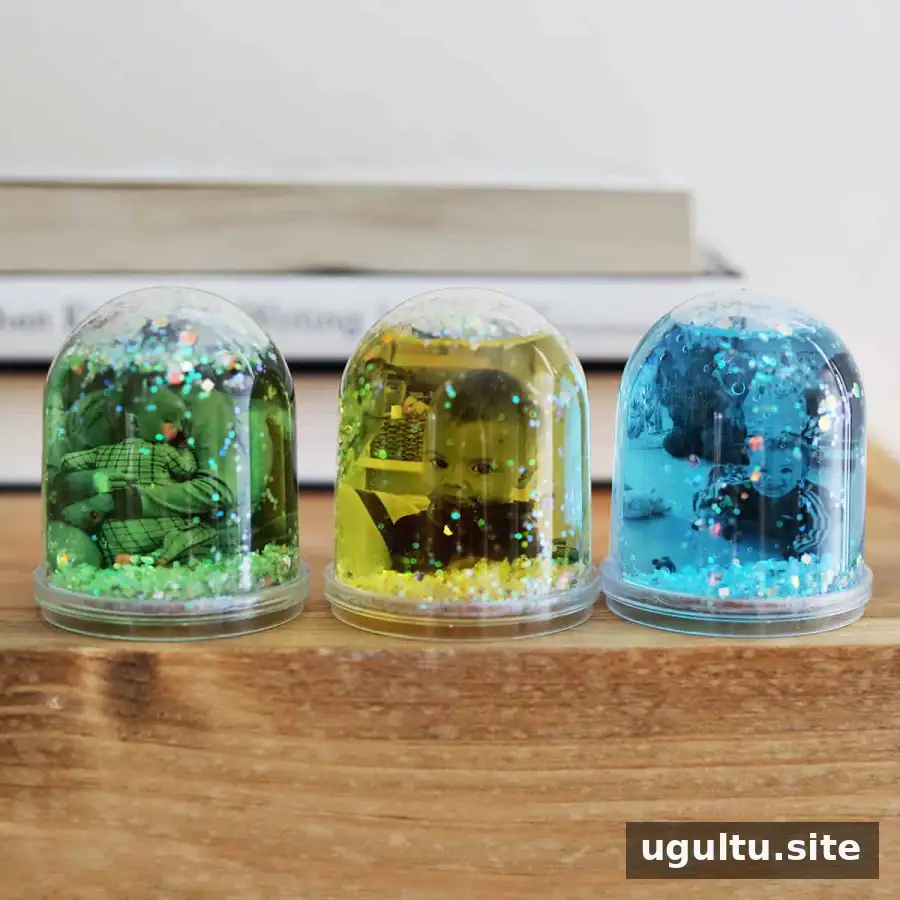
Choose Your Colors and Materials
Food coloring is optional. A drop or two can tint the water, or you can leave it clear and use colored glitter instead. If you are unsure about the final color, start with less food coloring; it is easier to add another drop than to make the mixture lighter.
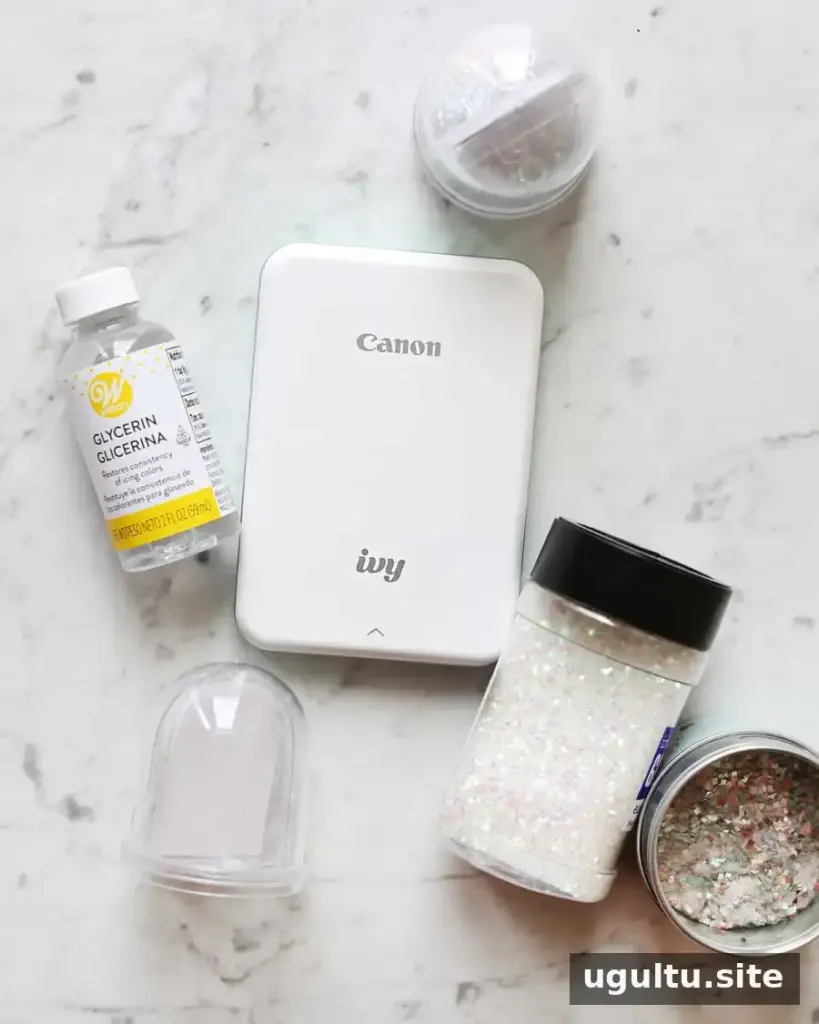
Supplies:
- A portable mini photo printer and compatible ZINK printer paper
- Small photo globes
- Glitter
- Glycerin
- Food coloring (optional)
- Scissors
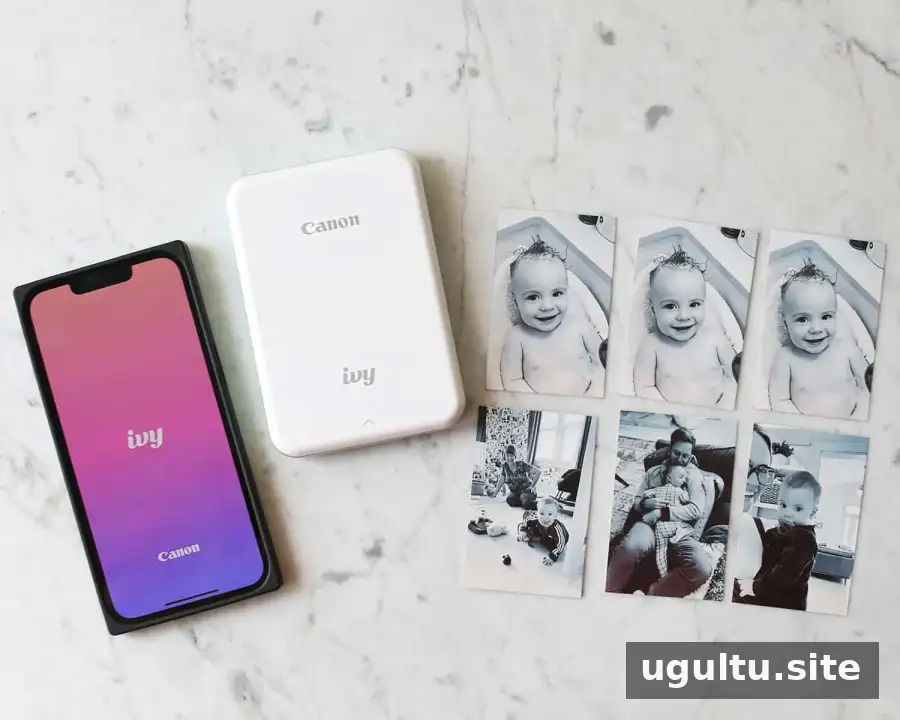
Step 1: Print the Photos
Print a picture for each side of the globe. Each globe can hold two photos, or you can use the same photo on both sides. A black-and-white filter is one option if you want the image to stand out against colorful glitter. If your printer app offers editing tools, you can also adjust the picture before printing.
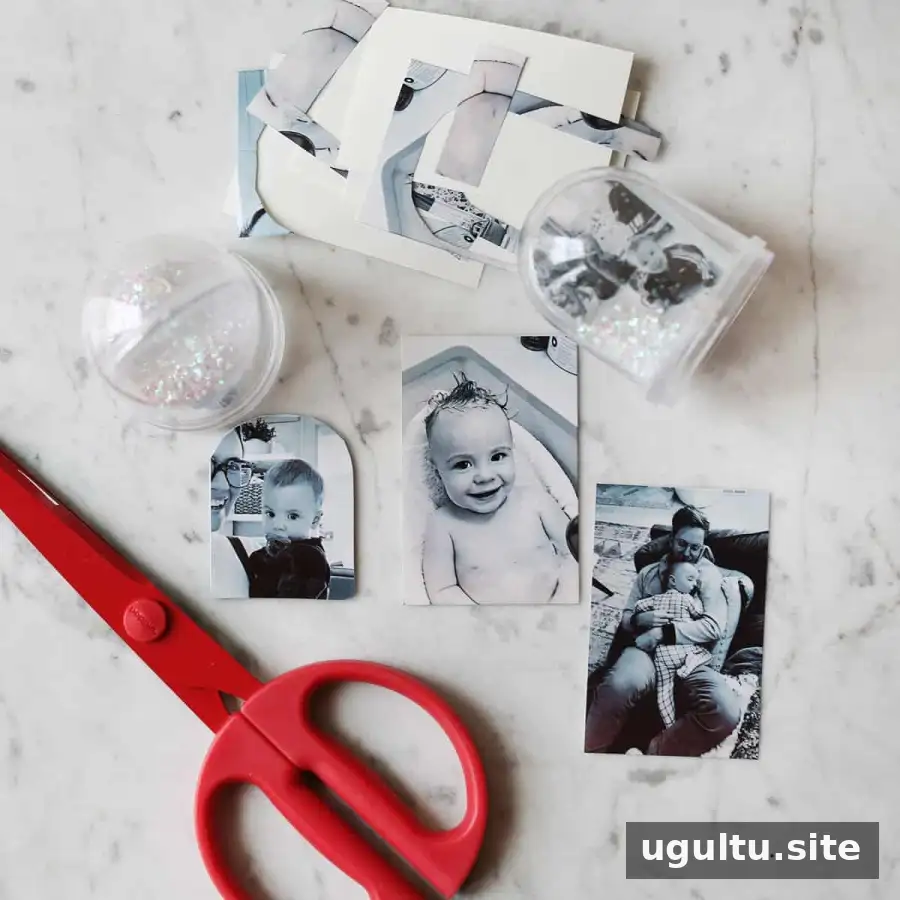
Step 2: Trim and Fit the Photos
Peel the printed photos from their backing if they are sticker prints, then attach them to the cardboard inserts supplied with the globes. Carefully trim around each image with scissors so it fits inside the globe. Check the fit before filling; making small, gradual cuts can help prevent trimming away too much.
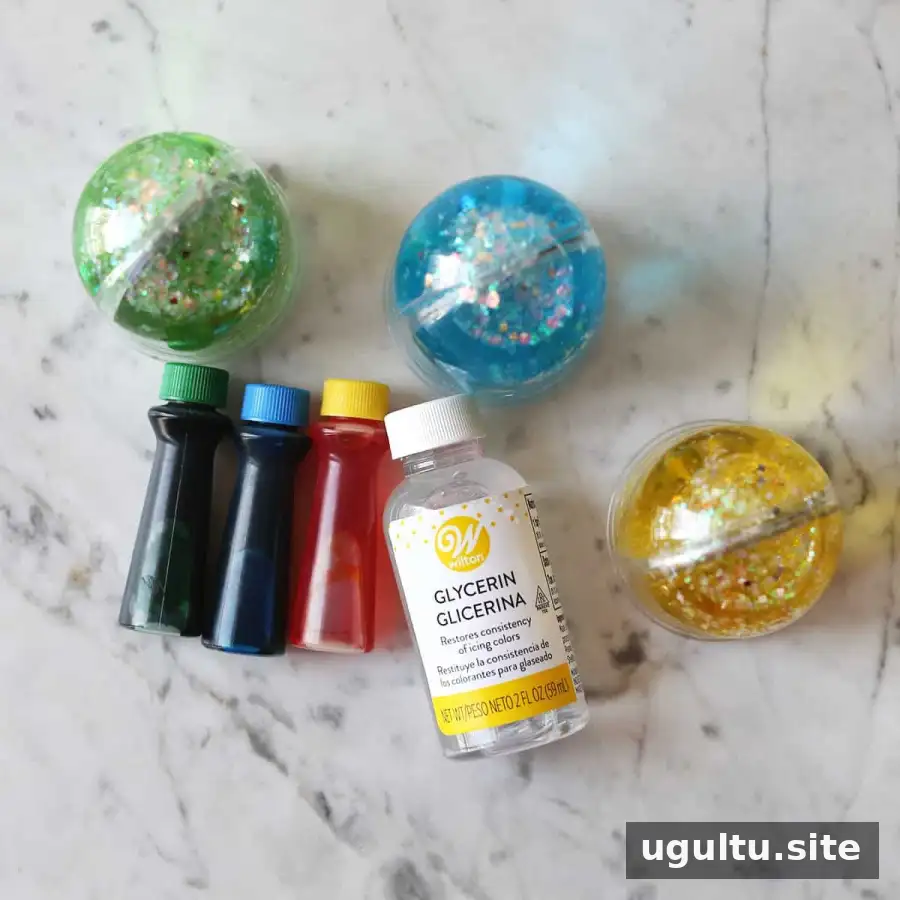
Step 3: Add the Glitter Mixture
Add glitter to the globe first. In a separate container, mix 1/2 to 3/4 cup of water with one drop of food coloring and one capful of glycerin—about 1 teaspoon. Pour the mixture into the globe as directed by its design. Glycerin helps keep the glitter from clumping together.
Avoid overfilling, and make sure the globe is closed securely before turning or shaking it. Food coloring may stain surfaces, so wipe up spills promptly and keep the liquid and small parts away from young children.
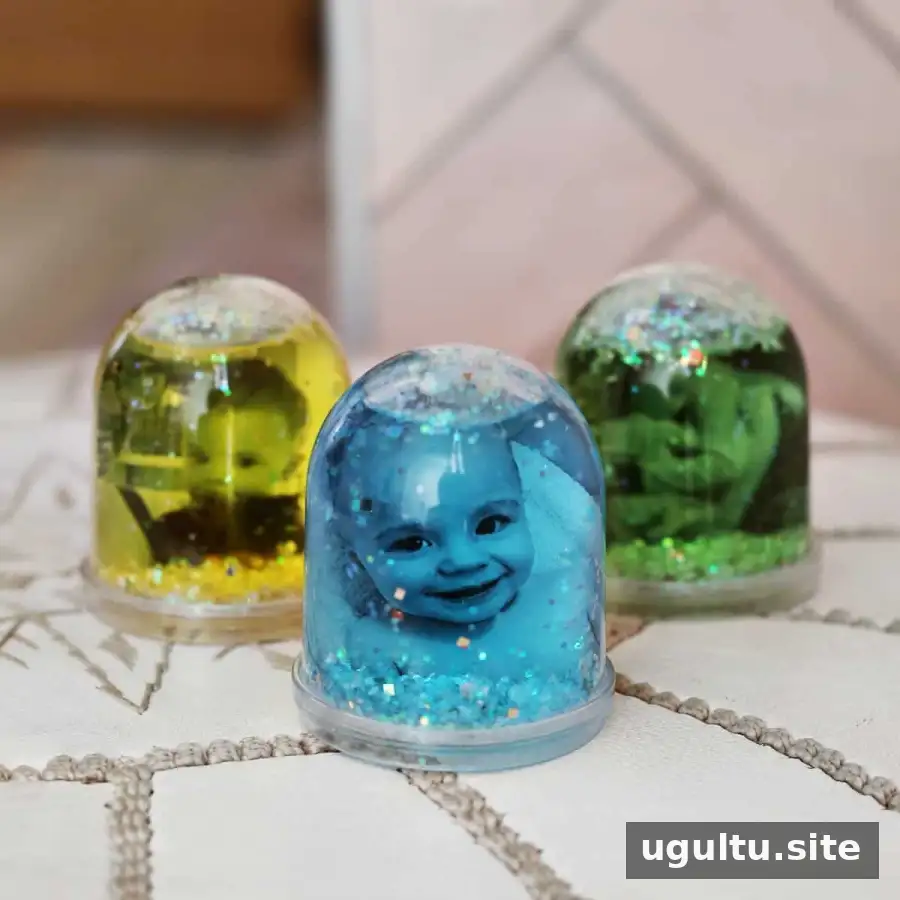
Displaying and Gifting Your Photo Globes
Once assembled, place the globes on a stable, level surface such as a desk or shelf. For a coordinated set, use photos with a similar color treatment, or give each globe its own combination of picture and glitter. These DIY photo glitter globes make personal decorations and simple handmade gifts; take a moment to check each seal before displaying or wrapping them.


