
 admin


A DIY pocket embroidery shirt is an easy way to add a personal detail to a basic garment. With a needle, embroidery floss, and a simple backstitch, you can decorate a shirt pocket with a short phrase, initials, or a small design. Choose a stiff or structured fabric if you are new to embroidery; it can be easier to keep steady while stitching.
Supplies for a DIY Pocket Embroidery Shirt
- Needle and embroidery floss
- Scissors
- A basic shirt to stitch on; stiffer fabrics are a little easier to work with
- An embroidery hoop, if you are stitching on an area without a pocket
Before you begin, choose a short design that will fit comfortably on the pocket. Thicker floss can make the stitching easier to see, but it also takes up more room, so keep the lettering compact. If you plan to mark the fabric, test your marking method on an inconspicuous area first.
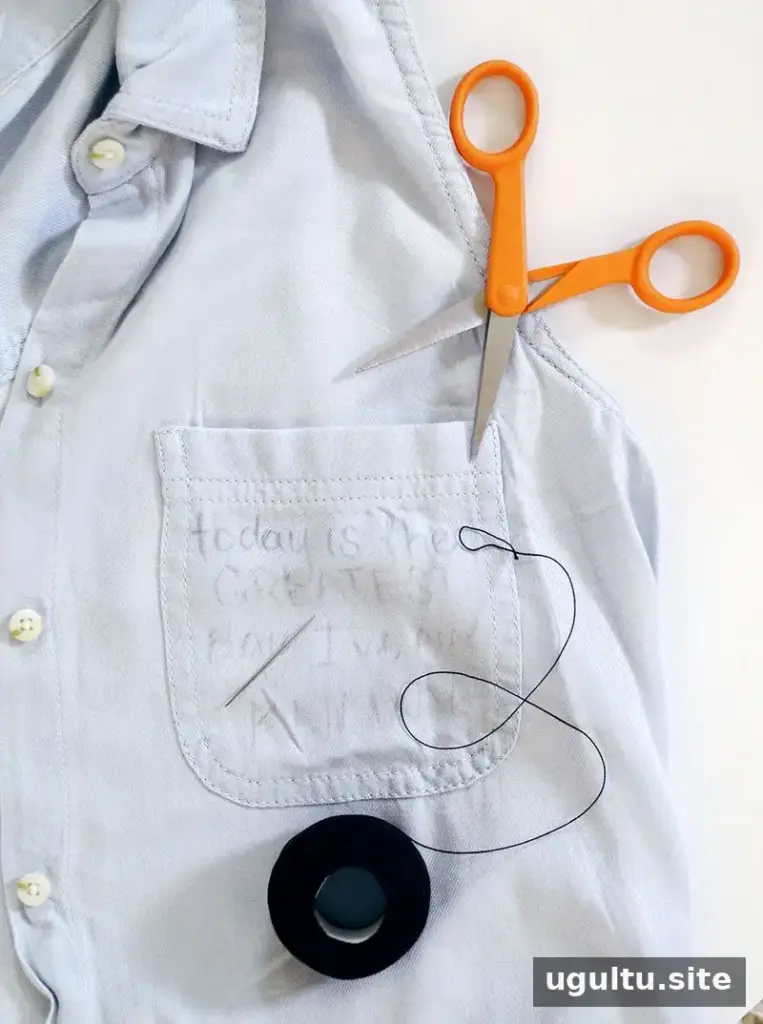
Step 1: Prepare the design. Gather the supplies and draw your chosen phrase or design on the shirt. A pocket can be stitched without a hoop, but an embroidery hoop is recommended for a flat area without a pocket. It helps hold the fabric steady and can make it easier to maintain even stitches.
Keep the design within the pocket’s boundaries and take care not to stitch the front and back layers of the pocket together. If freehand lettering feels difficult, make a stencil on a computer or use letter stencils from a craft store.
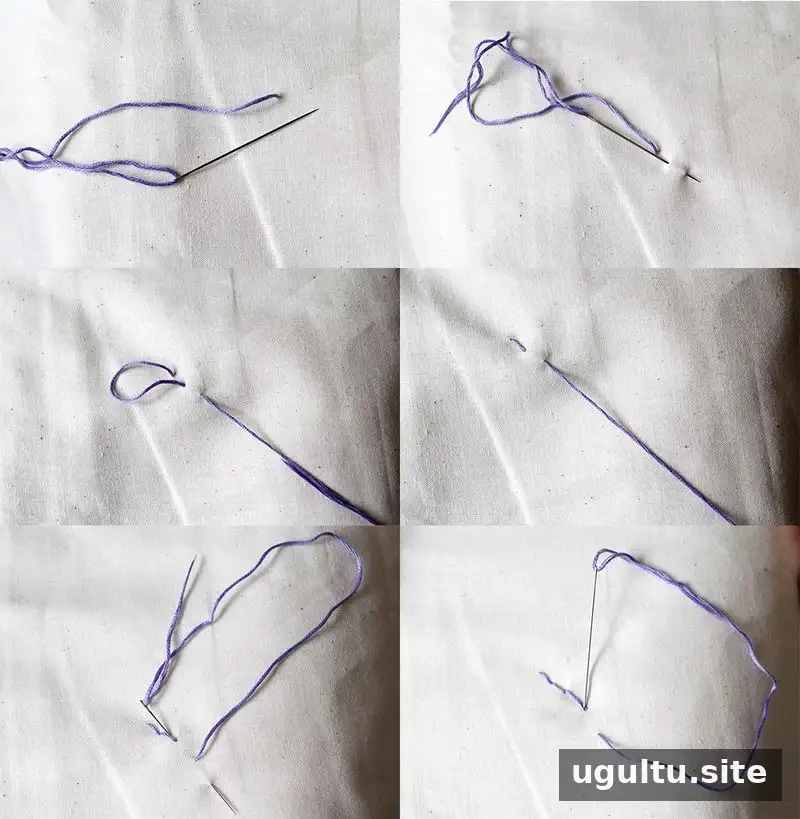
Step 2: Stitch the design. A basic backstitch works well for outlining letters and simple lines. Bring the needle up through the fabric at the end of the line you want to stitch, then take it back down at the end of the previous stitch. Bring it up again where you want the next stitch to end, and repeat to create a continuous line.
Work slowly around curves and corners, keeping the stitches a similar length. Avoid pulling the floss too tightly, as this can pucker the fabric. If the shirt shifts or wrinkles, pause and adjust the fabric before continuing.
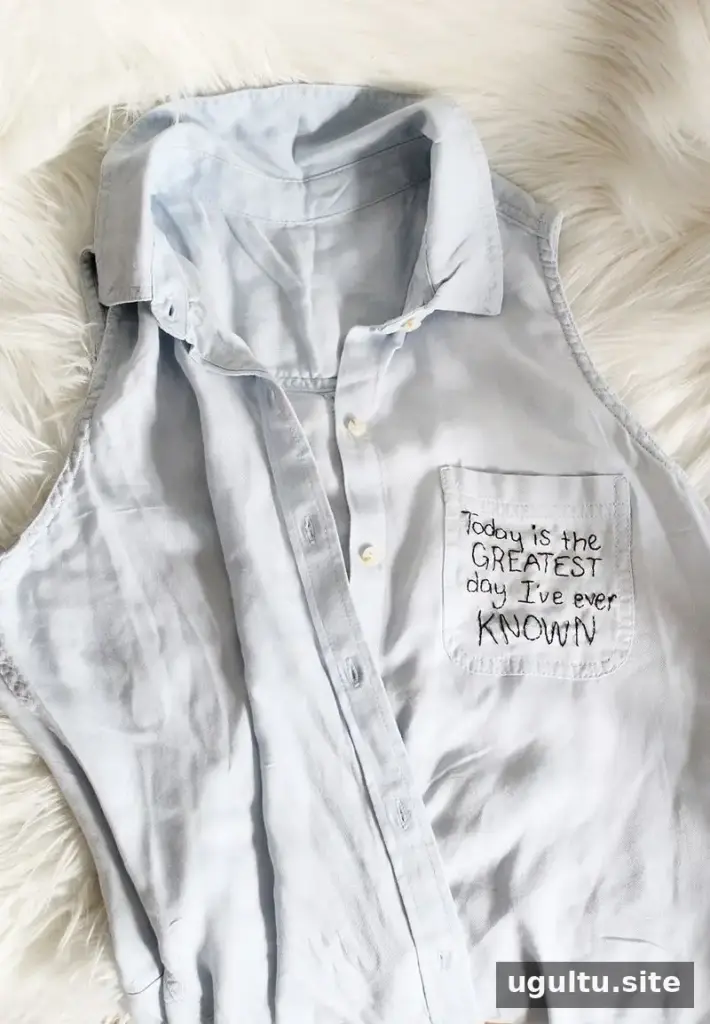
Finishing tips:
- Use thicker embroidery floss if you want the letters to stand out, and keep the phrase short to fit the pocket.
- When the stitching is complete, press the design gently so the letters lie flat. Check the shirt and floss care instructions first, and use a suitable heat setting.
- Keep the thread tension relaxed. An embroidery hoop can help hold fabric evenly when you are not stitching on a pocket.
- If you are unsure about your handwriting, use a computer-made stencil or ready-made letter stencils.
- Trim loose thread ends neatly and check that the pocket still opens freely.


Embroidery is a simple way to give a well-loved shirt extra character. Start with a small, uncomplicated design, then add more detail as you become comfortable with the backstitch. A little planning and steady thread tension can help create a tidy finish that feels personal and wearable.
Project by Katie.


