
 admin
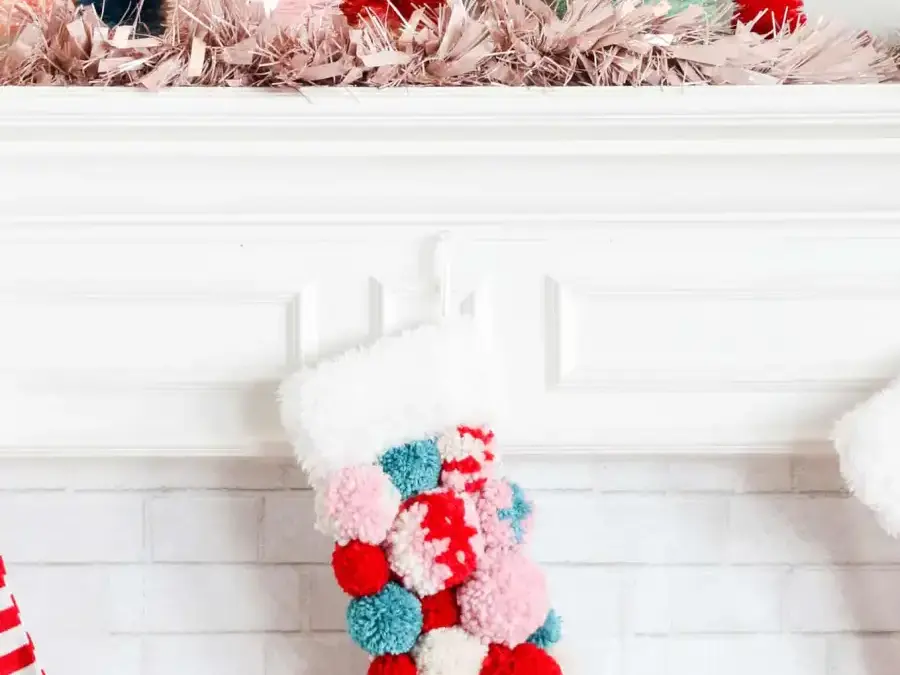
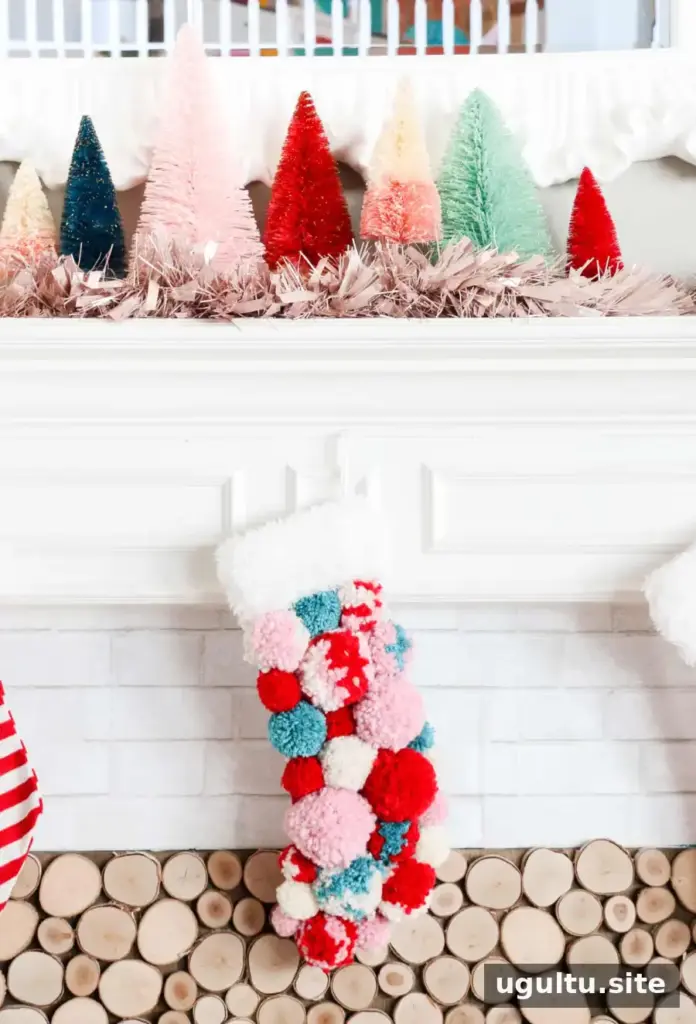
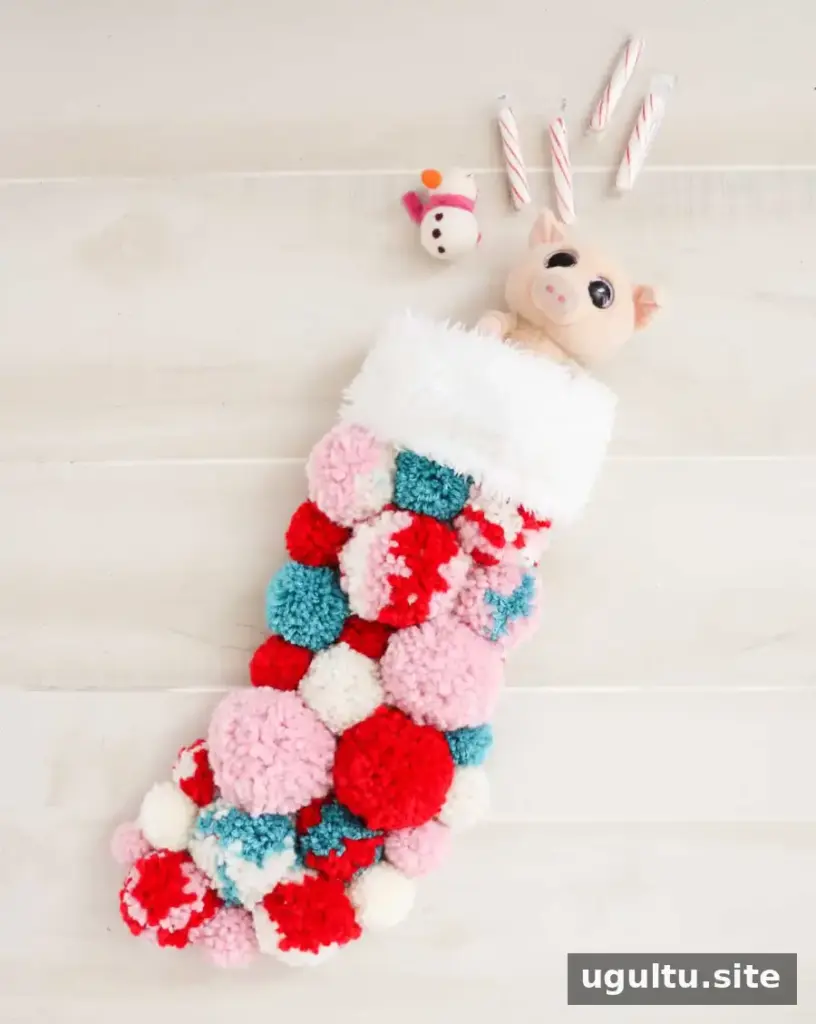
A DIY pom pom Christmas stocking adds soft texture and a handmade touch to holiday decor. This project uses a ready-made stocking base covered with yarn pom poms, so you can choose colors that suit your home and create a coordinated set for the family. Plan your color palette and pom pom sizes before you begin to make arranging and attaching the pieces easier.
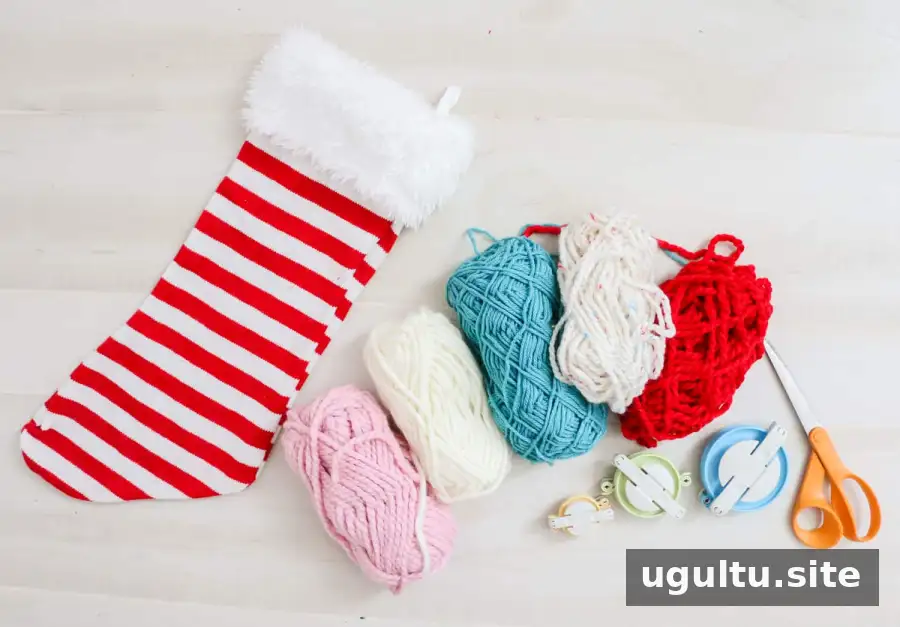
Materials
- Chunky yarn; wool roving is one option, but medium- to thick-weight yarn also works.
- Pom pom makers in several sizes, such as small, medium, and large.
- Scissors.
- Needle and thread.
- A plain stocking base.
- Fabric glue, if you want additional hold.
Choose yarn shades before making the pom poms. A palette of red, turquoise, white, and pink is one festive option, but the colors can be changed to match your own decorations. Check that the stocking base has enough space for the pom poms without covering its hanging loop.
How to Make a DIY Pom Pom Christmas Stocking
Step 1: Make the pom poms
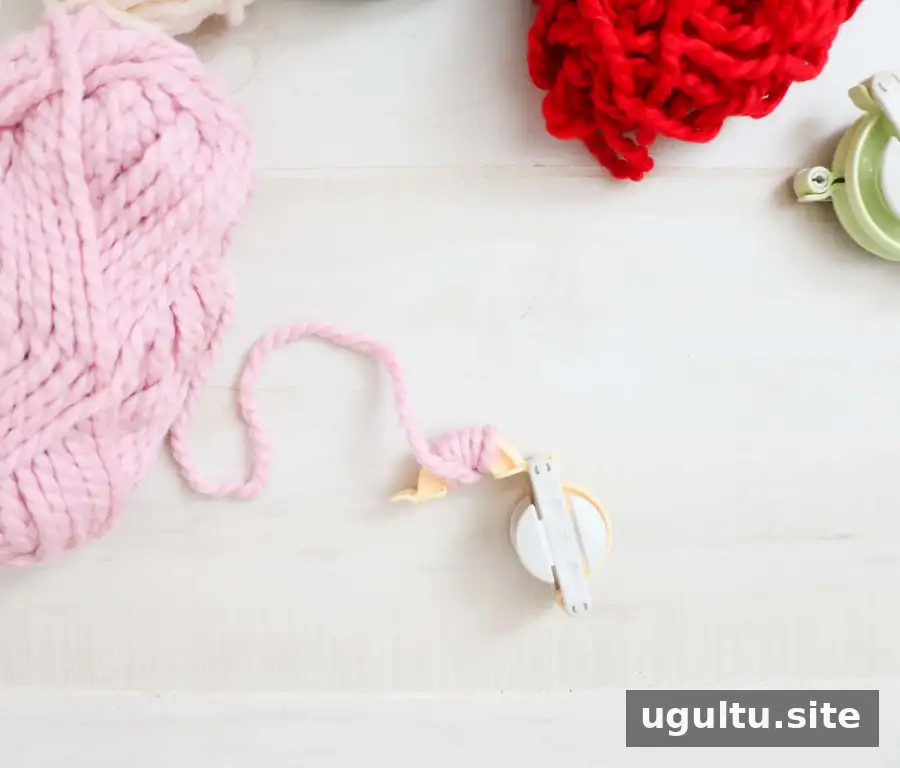
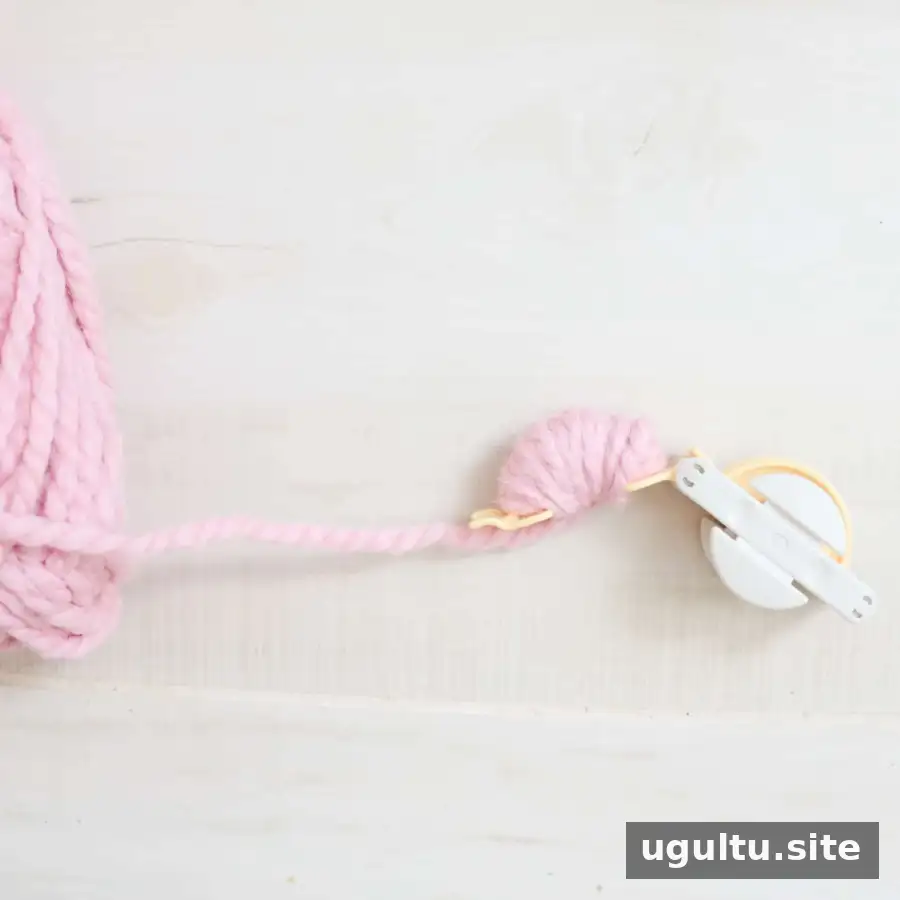
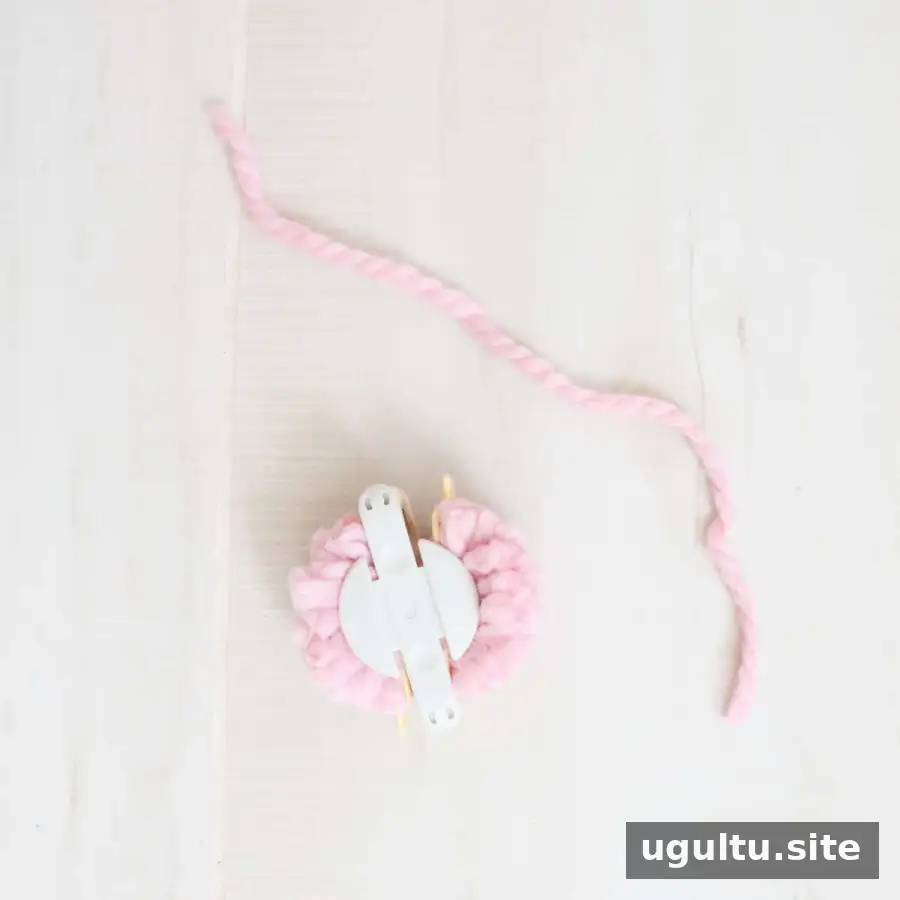
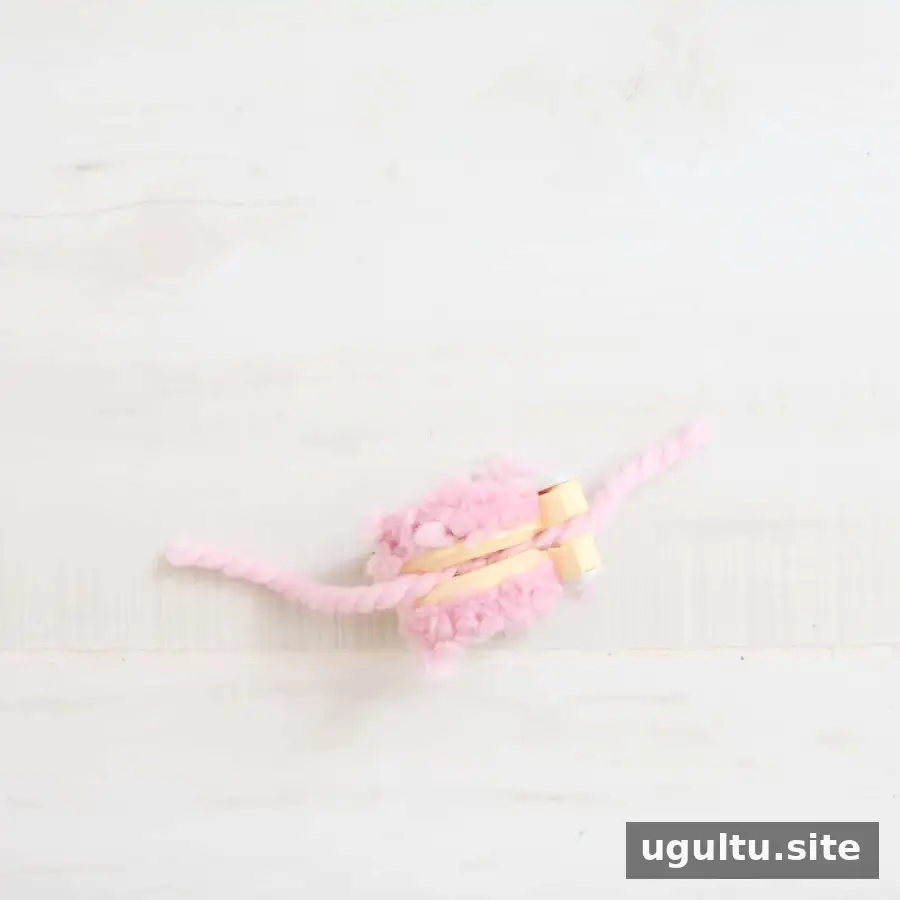
Open the two sides of a pom pom maker and wrap yarn around each side. Close the arms, then carefully cut the yarn along the outer edge of the maker. Tie a 6-inch piece of yarn tightly around the middle with a secure knot. Open the arms and separate the maker to release the pom pom.
Trim uneven strands with scissors to create a neater shape. Keep the center tie intact, since it helps hold the pom pom together and can also be used when sewing it onto the stocking.
Step 2: Make enough pom poms to cover the stocking
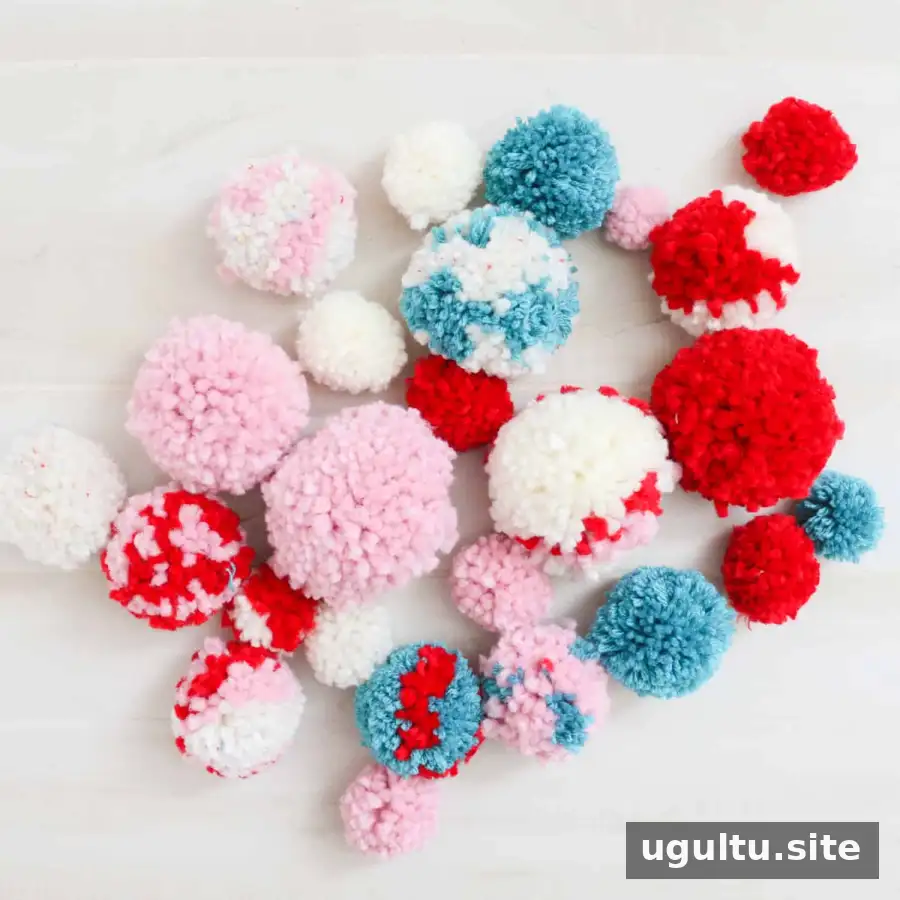
Repeat the process until you have a suitable number of pom poms. As you work, arrange them on the stocking base to see how the sizes and colors look together. This dry layout makes it easier to spot gaps and adjust the pattern before sewing.
For a multicolor pom pom, wrap sections of different yarn colors around the pom pom maker instead of using just one shade. Varying the sizes can create a more playful arrangement, while repeating colors can help the finished stocking feel coordinated.
Step 3: Attach the pom poms
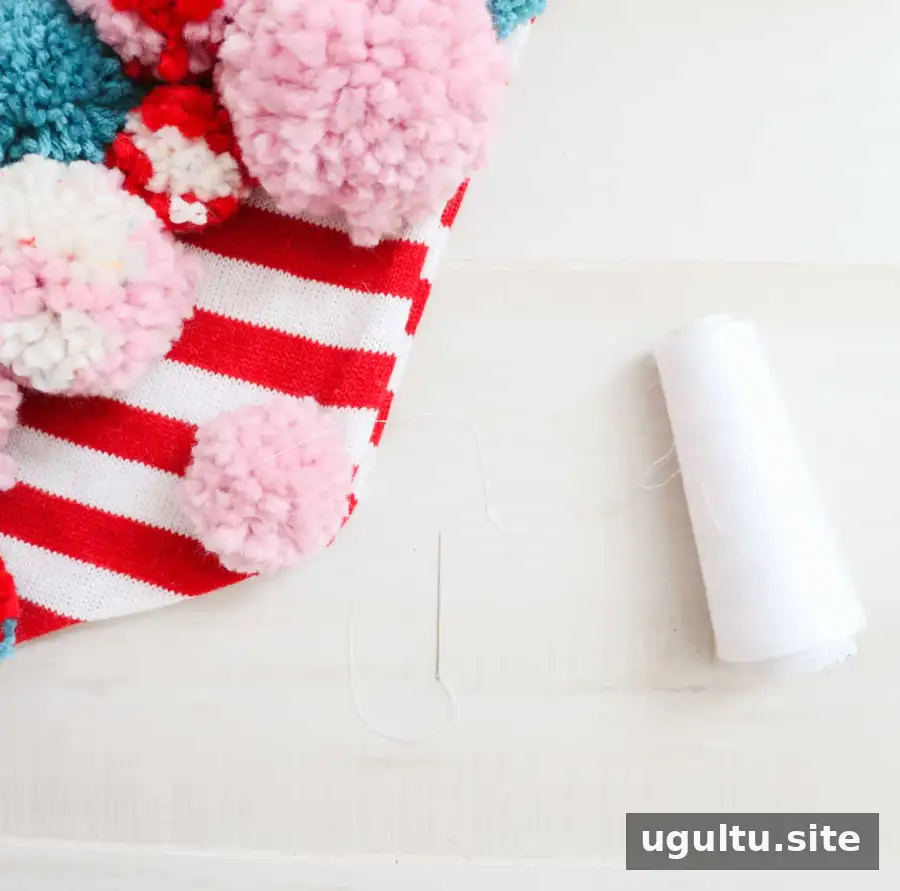
Use a needle and thread to sew through the center of each pom pom, then pass the thread through the stocking base. Stitch around several sides of the pom pom so it is held securely, and repeat for each piece. Take care to keep the stitches firm without pulling the stocking fabric out of shape.
For extra hold, permanent fabric glue can be added to the pom poms. Fabric glue can also be used to join neighboring pom pom sides, helping them stay together when the stocking hangs. Follow the glue package directions and allow it to dry fully before displaying the stocking.
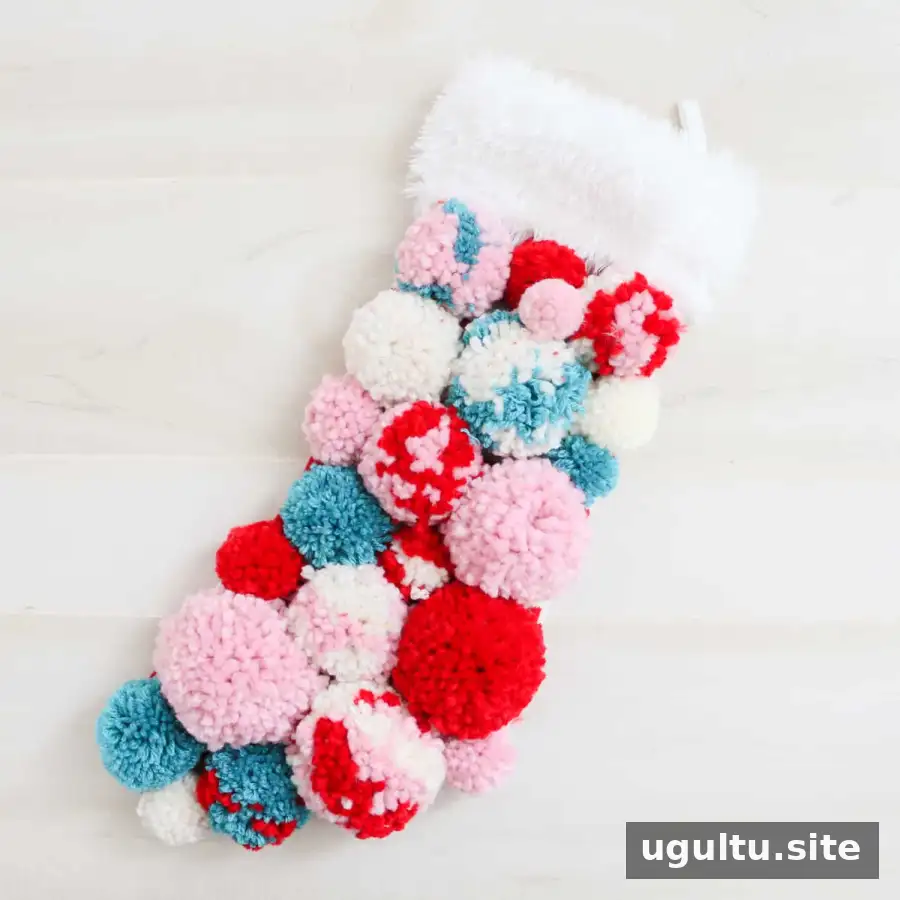
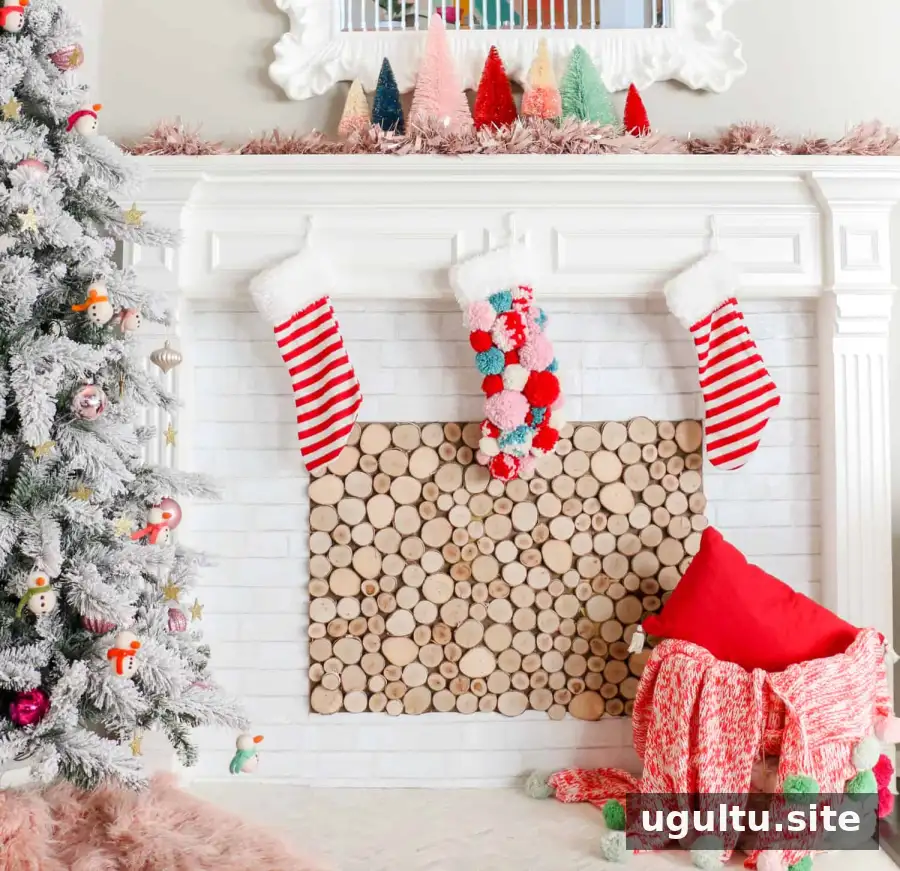
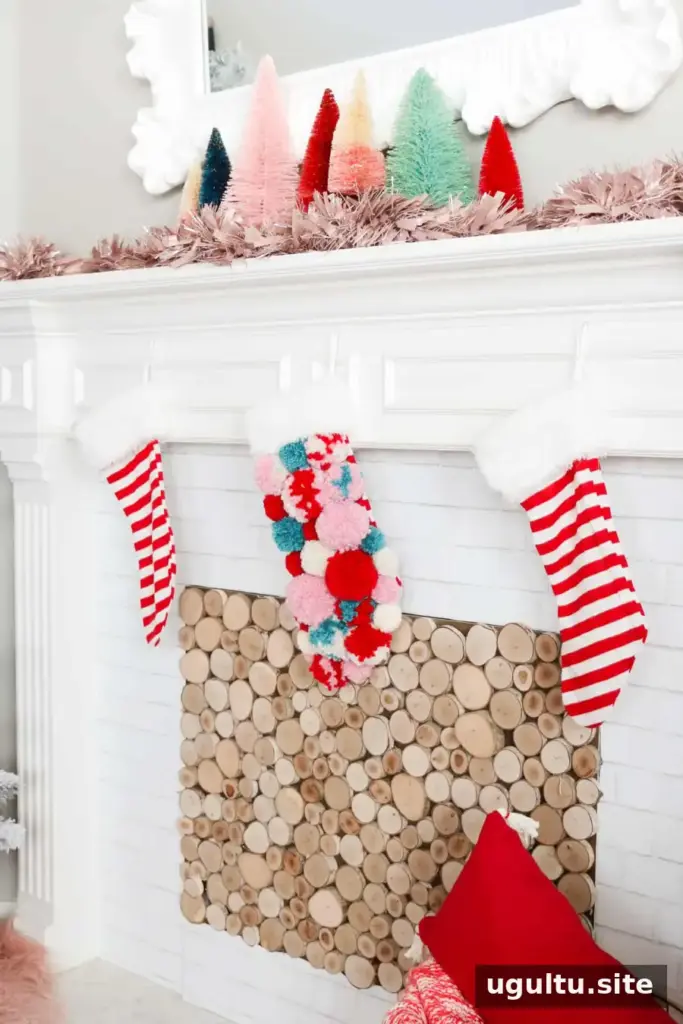
Making the pom poms takes time, particularly when preparing stockings for several family members, so it can help to work in batches. If children join the activity, choose age-appropriate tasks and have an adult handle scissors and needlework as needed. Once the pom poms are attached and any glue has dried, the stocking is ready to hang. A DIY pom pom Christmas stocking is a customizable holiday craft that can be brought out year after year.


