admin
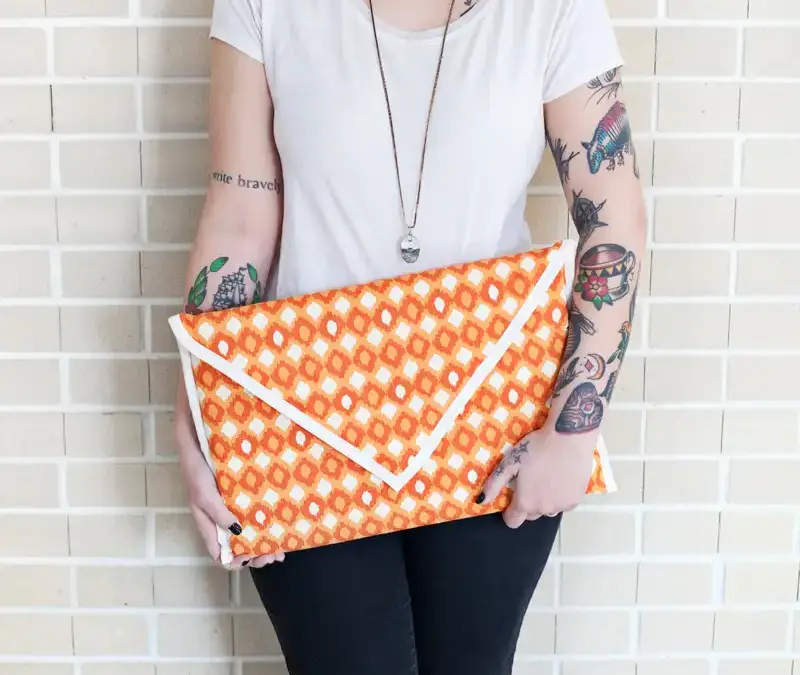
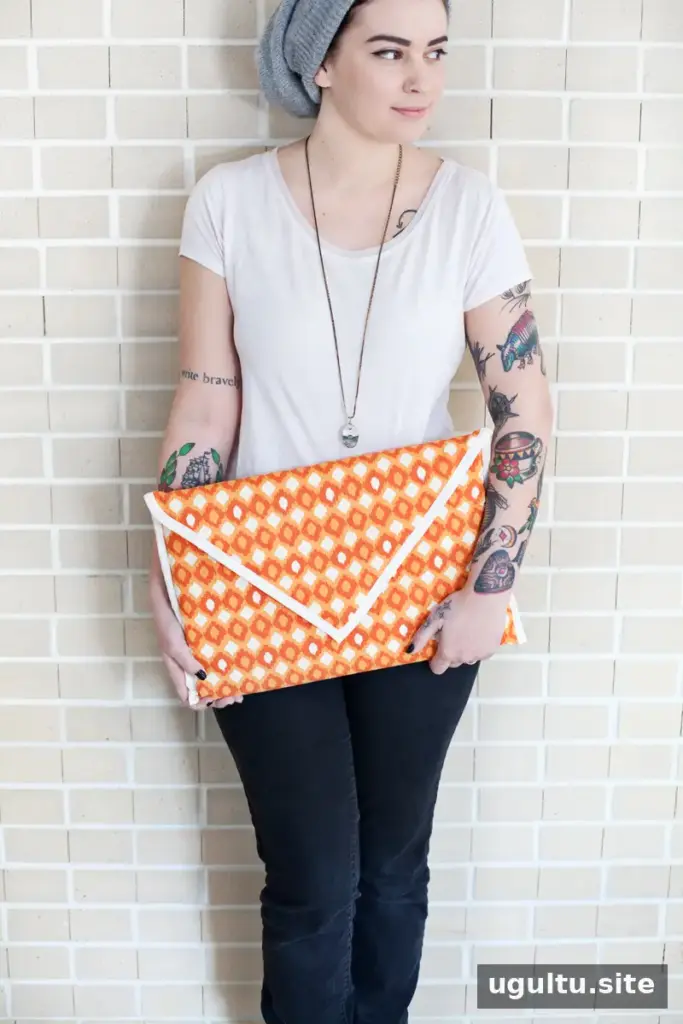
A DIY quilted laptop sleeve is a practical sewing project that lets you choose a fabric you like while adding a padded layer around your device. This beginner-friendly design uses a water-resistant lining, quilt batting and snap closures. Before cutting, measure your laptop and check that your chosen fabric pieces will wrap around it with enough room for seams and the flap.
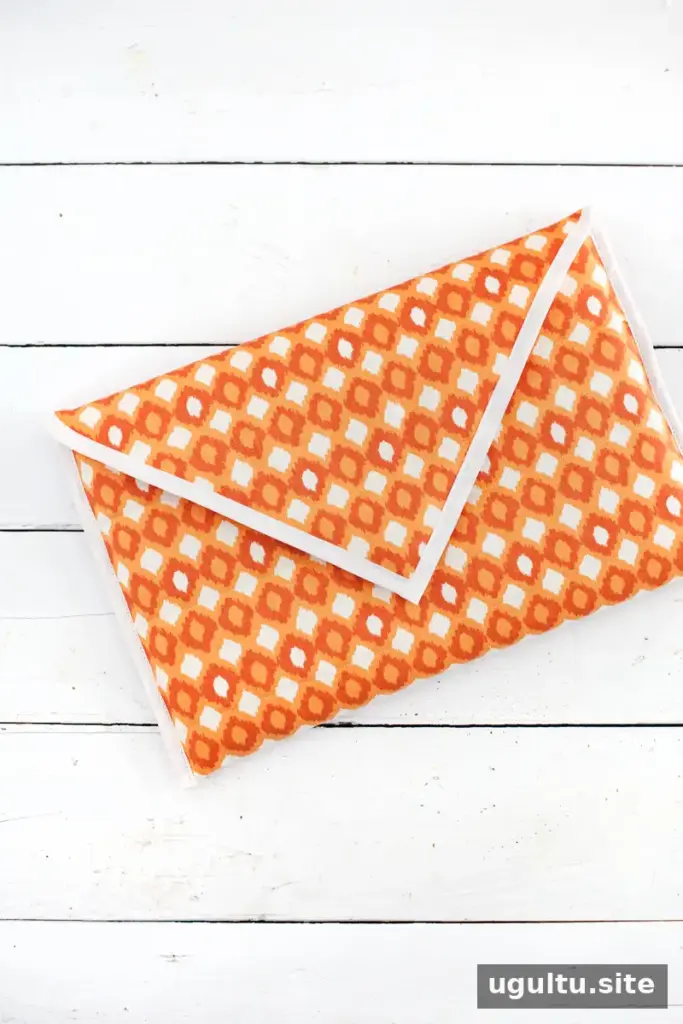
The sleeve is made from one shaped piece of fabric folded into a pocket, with bias tape finishing the raw edges. The original project took about an hour to sew, although your time may vary depending on your sewing experience and how carefully you measure and attach the snaps.
Materials and tools for a DIY quilted laptop sleeve
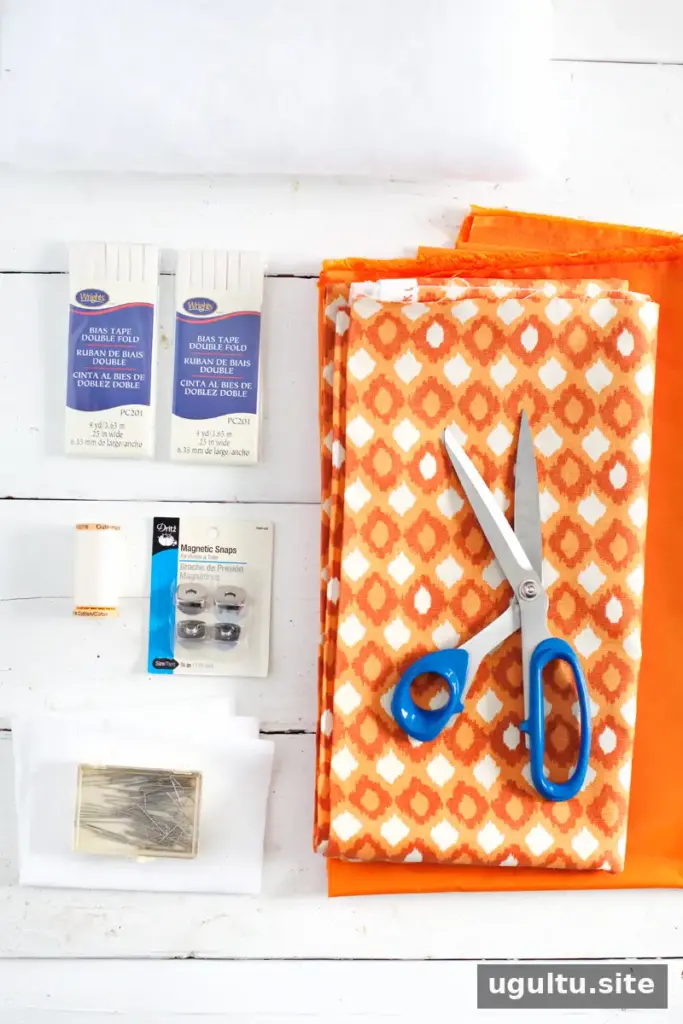
Gather the materials and tools before starting. The project uses the same yardage for the outer fabric and lining, so choose enough fabric for the size and shape you plan to cut.
- Patterned fabric; the original project used one yard of indoor/outdoor upholstery fabric
- Nylon or another water-resistant lining fabric in the same yardage
- Quilt batting
- Medium-weight sew-in interfacing, not fusible
- Snap kit
- Bias tape; one pack was used in the original project, although two are shown in the materials image
- Thread, straight pins, fabric scissors, a sewing machine and a pen
Quilting pins can be especially helpful for holding the layered fabric in place. Check your snap kit instructions as well, since snap components and installation methods can vary.
How to sew the laptop sleeve
1. Cut and fit the fabric layers
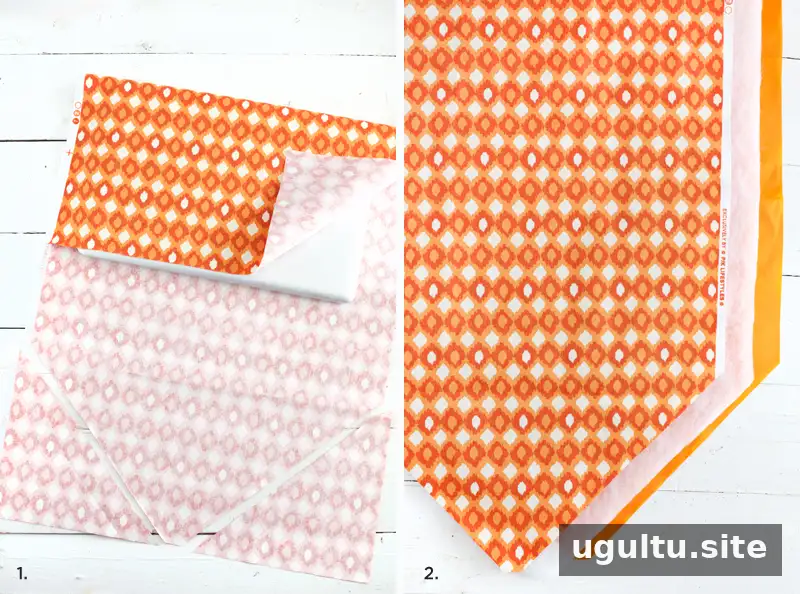
Cut the patterned outer fabric into a shape that can wrap around your laptop, leaving about two inches of extra fabric at each side. Shape one end into a point, or choose a different flap outline. Cut the batting and lining fabric to match the outer piece.
Pin the outer fabric, batting and lining together with the batting between the fabrics. Wrap the layers around the laptop to check the fit. Trim excess length while keeping about an inch and a half extra, then mark where the snaps should meet. Separate the layers before attaching the snaps.
2. Add the snaps and quilt the layers
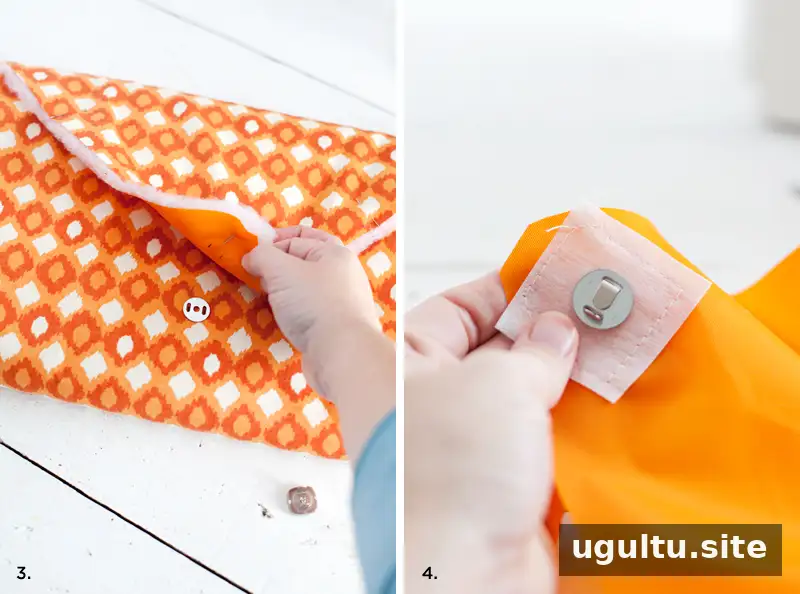
Sew a piece of interfacing behind each marked snap position to reinforce the fabric. Cut the marked slits and install the snaps through the openings, folding the snap prongs down against the back pieces. Take time to check that the snap halves line up before proceeding.
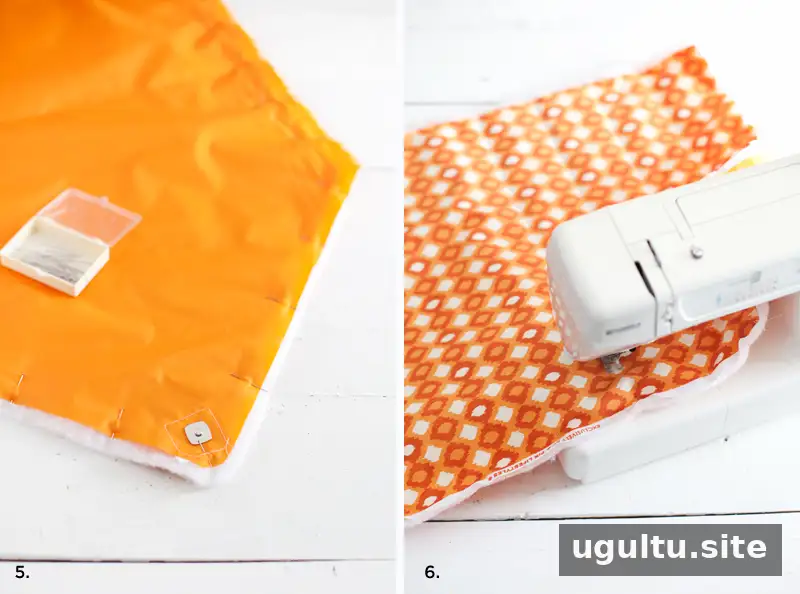
Pin the layers together again, with the finished sides and snap hardware facing outward. Sew quilting lines across the width of the fabric, following a horizontal print if there is one. If the fabric has no suitable pattern, mark the lines with a fabric pencil first. Quilting secures the batting and gives the sleeve its padded finish.
3. Trim, fold and finish the edges
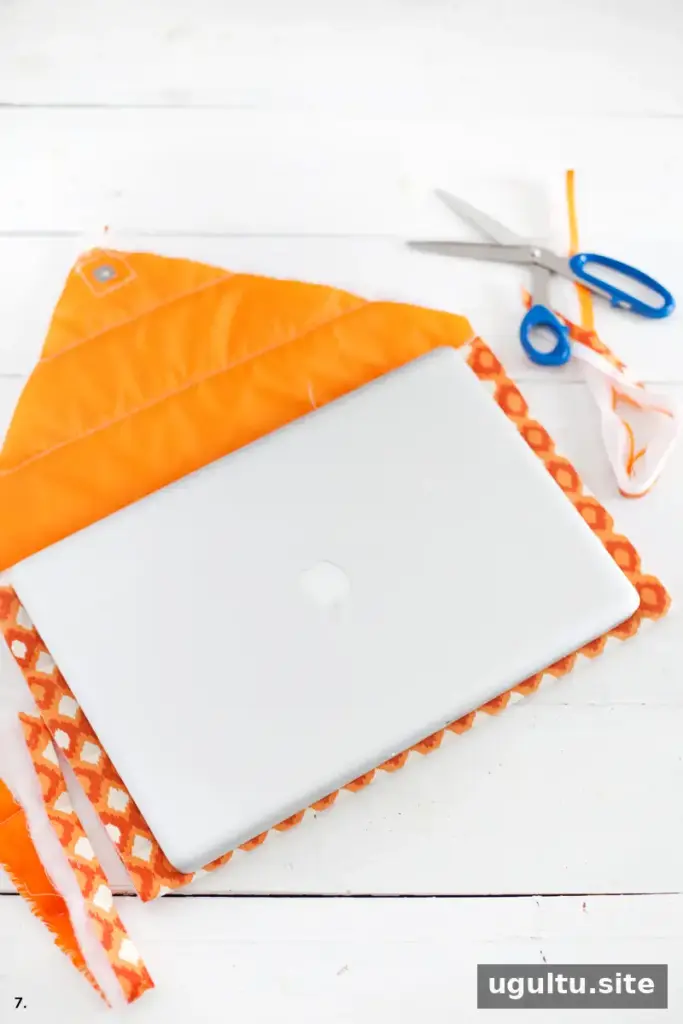
After quilting, trim the excess fabric. The original project left about three-quarters of an inch on either side of the laptop and trimmed the length so the fabric ended at the top of the device.
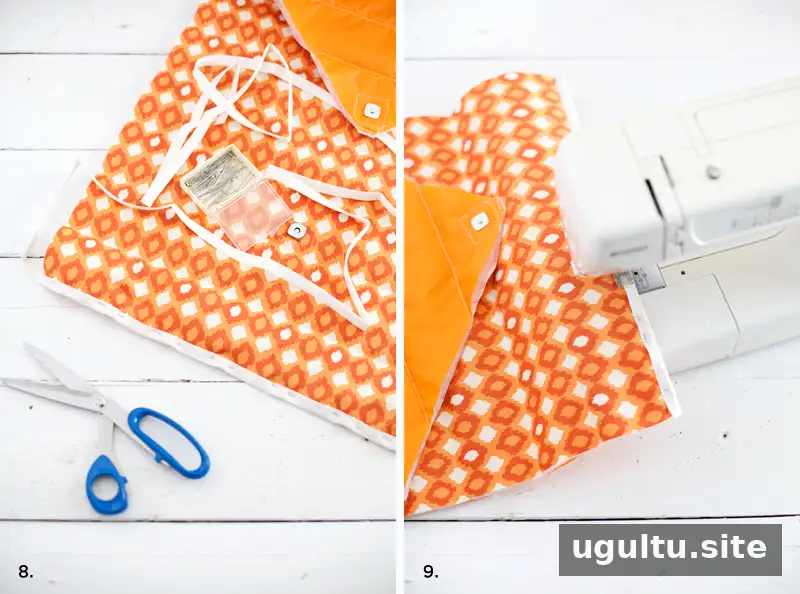
Pin bias tape to the flat end opposite the pointed flap and stitch close to the tape’s inner edge, removing pins as you sew.
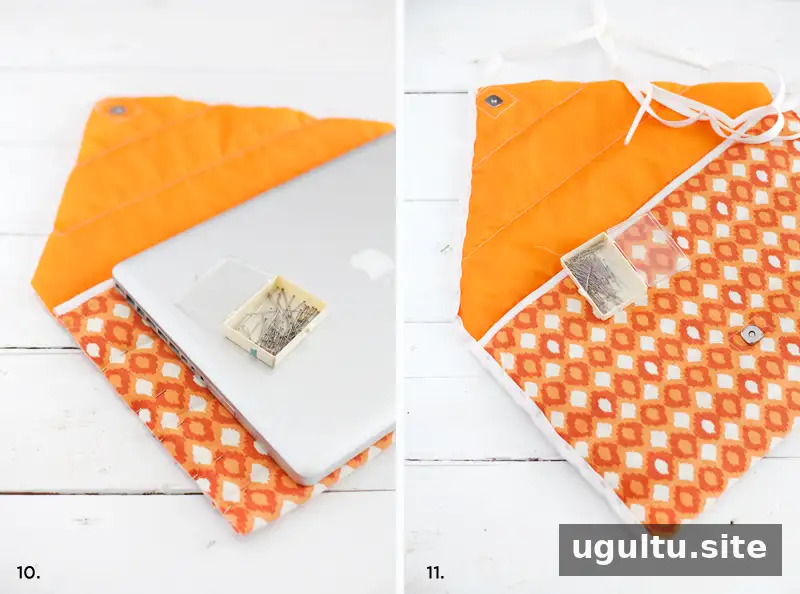
Fold the fabric into a pocket and check that the laptop fits before pinning the sides. Stitch close to the edge, then cover those seams with bias tape. Pin tape around the sides and flap. At corners and ends, trim it with about a half-inch overhang, fold the excess underneath and sew the tape in place.
Finishing tips for your quilted laptop sleeve
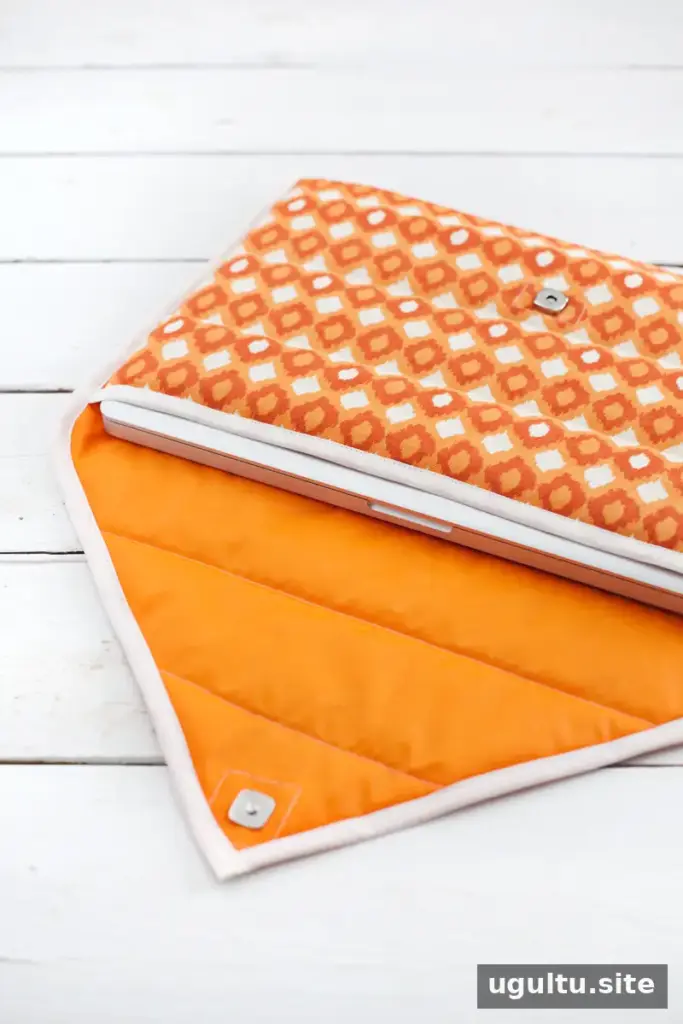
Check the pocket fit and snap alignment before completing the final edge binding. Bias tape should cover the side stitching, so keep the seam positioned where the tape can conceal it. If you are new to sewing, work slowly around the corners and keep the layers flat as you stitch.
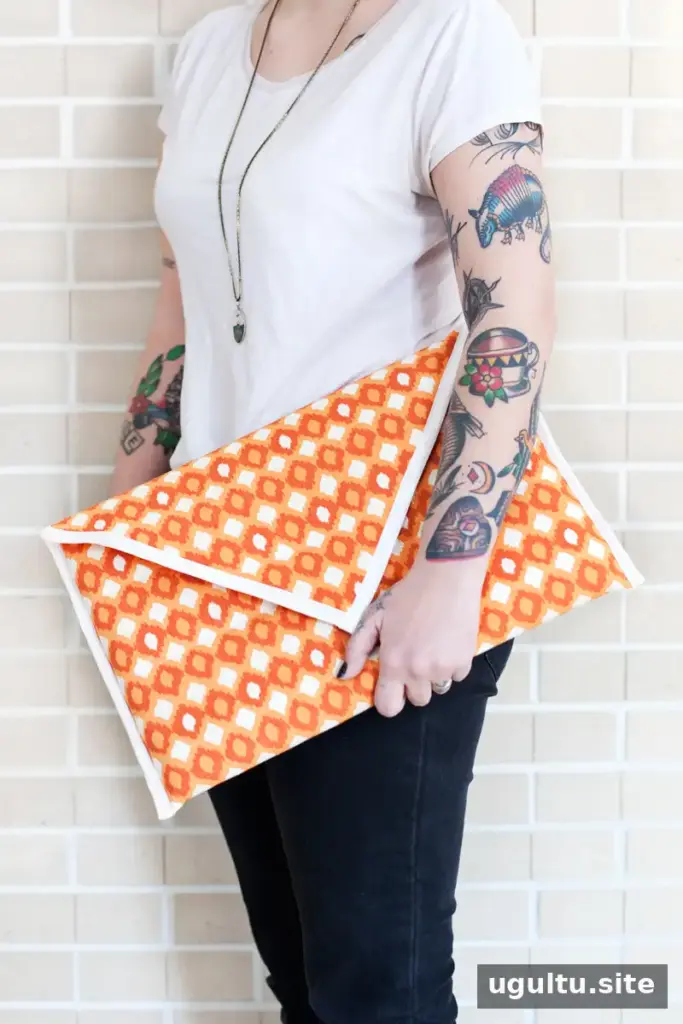
The water-resistant lining adds some protection, but it does not make the sleeve waterproof. A fabric protector may offer an additional layer of resistance when used according to its label; follow its safety instructions and allow it to dry fully before placing a laptop inside. This DIY quilted laptop sleeve combines padding, a custom fit and fabric of your choice in a compact case. — Mandi