
 admin
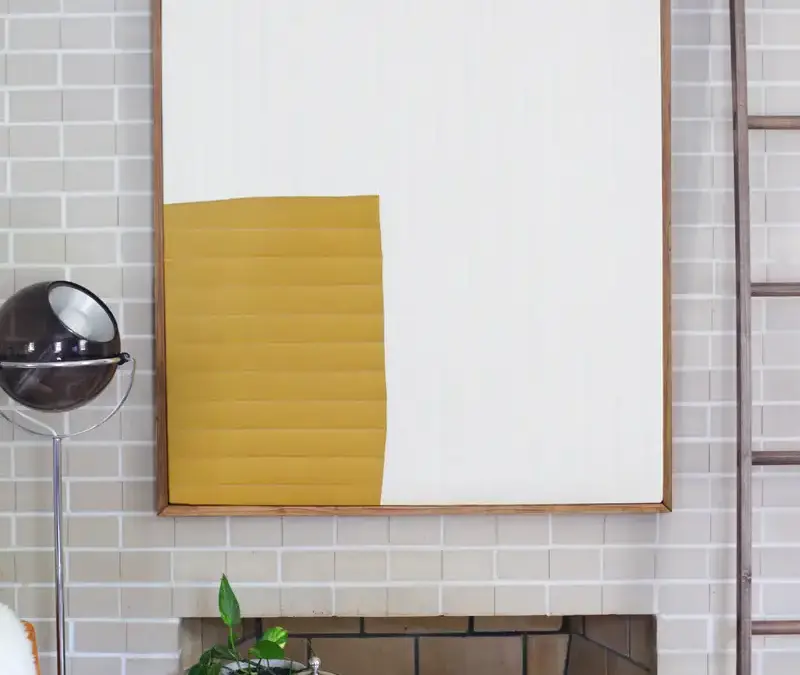
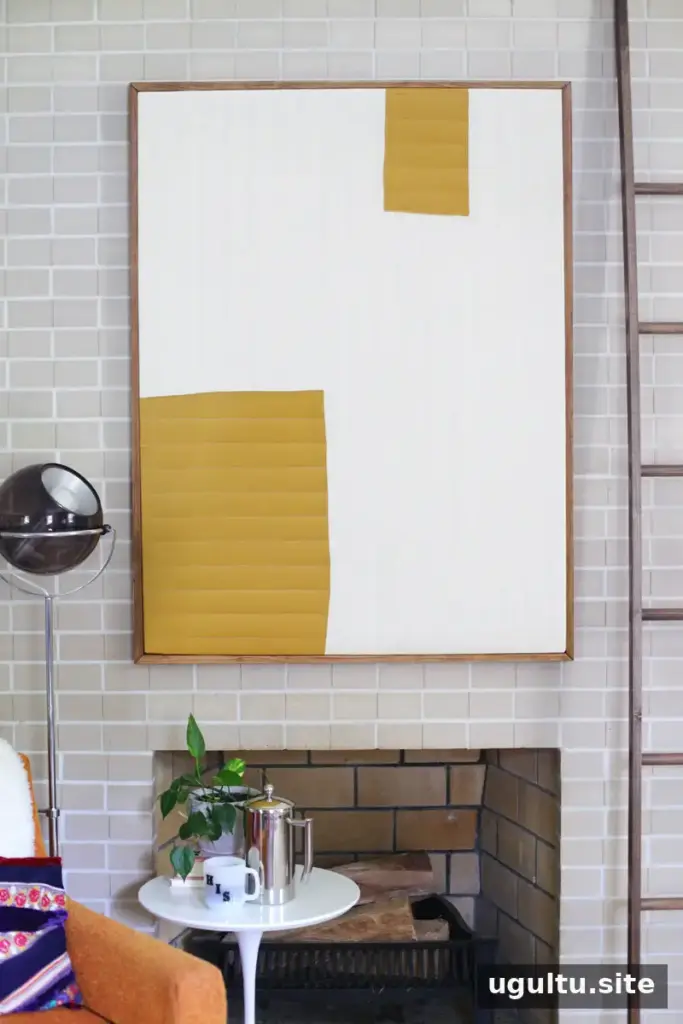
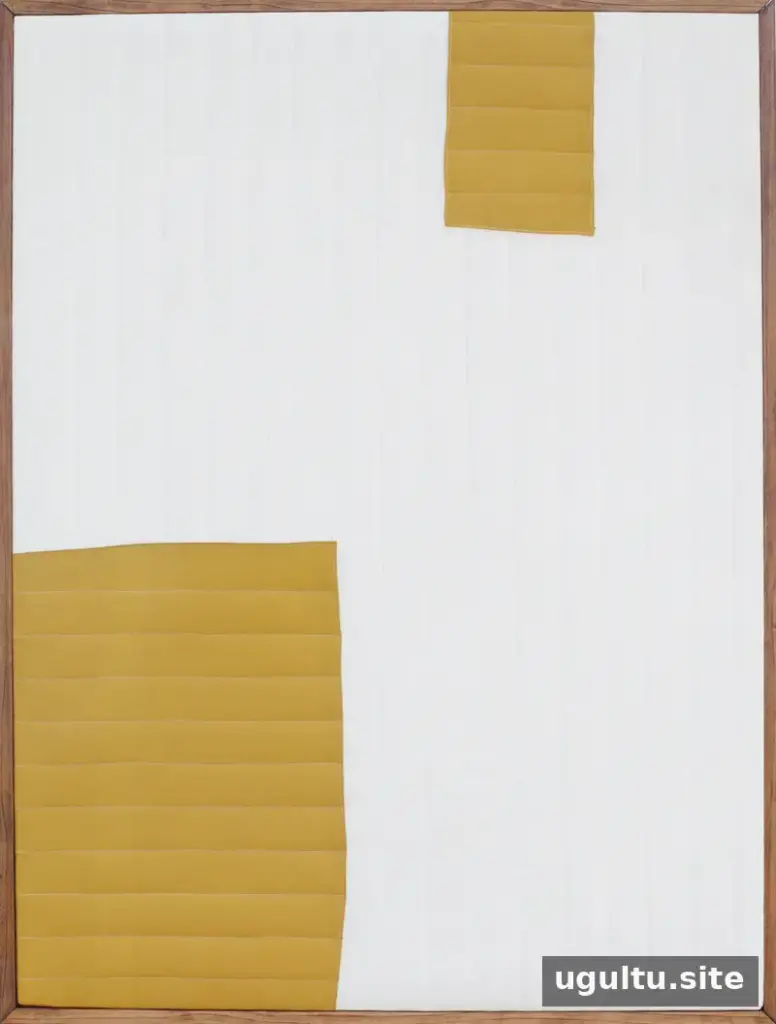
DIY quilted wall art brings the texture and handmade character of quilting into a living room or other space without hanging a traditional bed quilt. This project layers fabric and batting, adds simple stitched lines, and stretches the finished piece over a frame for a clean, graphic display. The design can be customized with different fabric colors and shapes, and the same method can also be adapted for a headboard.
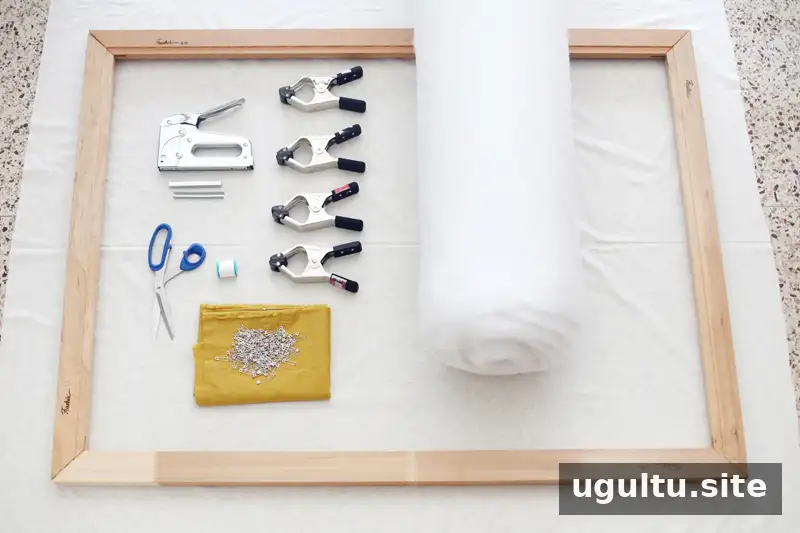
Materials and tools for DIY quilted wall art
Gather the supplies before cutting the fabric. A little extra fabric around the frame will make it easier to stretch and staple the finished work neatly.
Supplies:
- Stretcher frame
- Fabric, such as muslin and mustard yellow linen
- Thread
- Lightweight batting sheet
- Staples
Tools:
- Sewing machine
- Safety pins
- Clamps
- Staple gun
- Fabric scissors
- Craft blade (optional)
- Painter’s tape (optional)
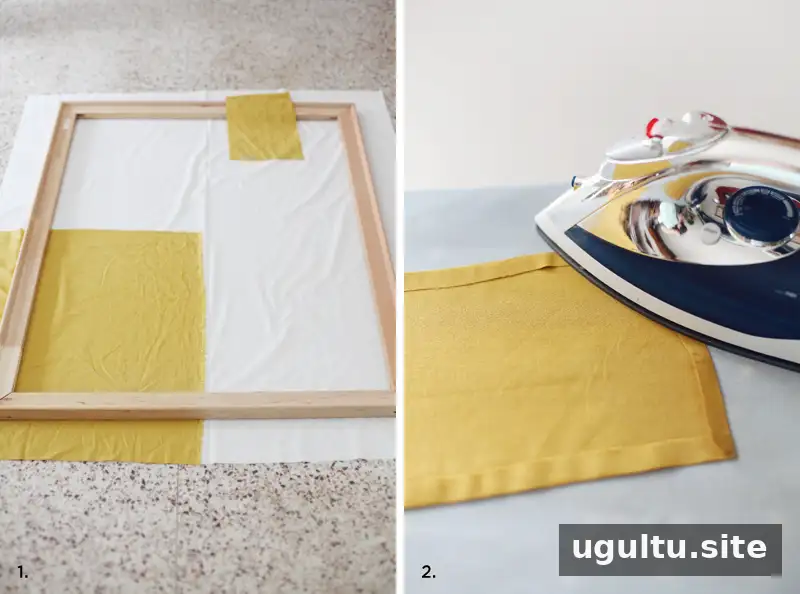
How to make a quilted fabric wall hanging
1. Cut the base and appliqué shapes
Cut the base fabric about 5 inches wider than the stretcher frame. Cut the pieces for the appliqué design as well, allowing for roughly 1 inch of fabric to be folded under around each shape. The edges can be slightly wavy for a more relaxed, handmade look. Sketching the layout before cutting is a useful way to check the composition and spacing.
2. Fold and press the appliqué edges
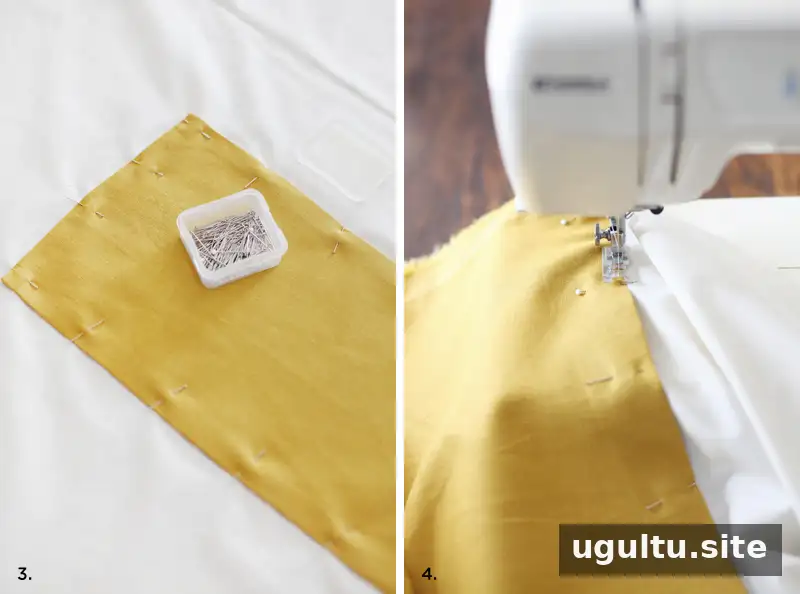
Fold a 1/2-inch edge around each appliqué piece and press it with an iron so the fold stays crisp. Take care to keep the folded edge even, since it will form the visible outline of each shape.
3. Pin and sew the appliqué
Position the pressed shapes on the base fabric and pin them in place. Sew close to the folded edge of each piece to attach it securely. Check the arrangement once more before sewing if the shapes have been moved during pinning.
4. Mark the quilting lines
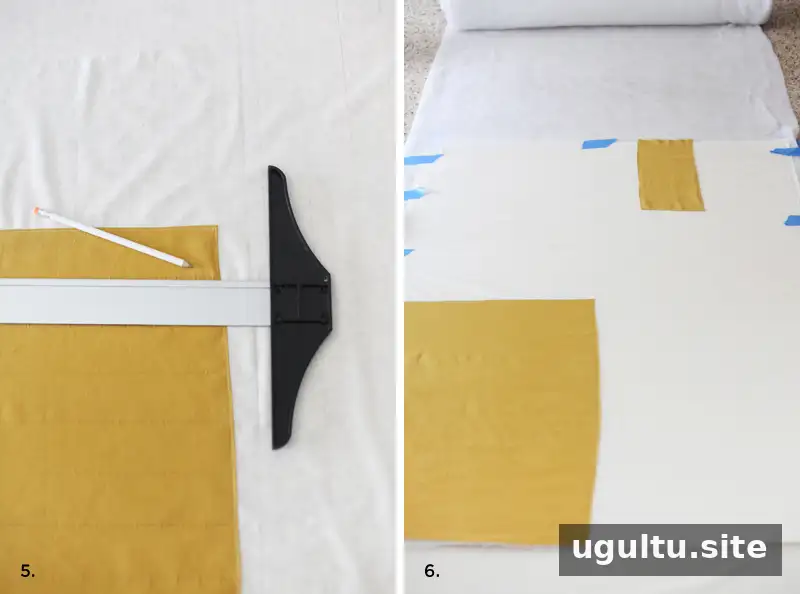
Draw the planned quilting lines on the fabric. A T-square can help make the lines consistent: in this design, vertical lines were marked on the background and horizontal lines on the appliqué pieces. Using the width of the T-square as the spacing makes the layout easier to measure and repeat.
5. Layer and pin the quilt
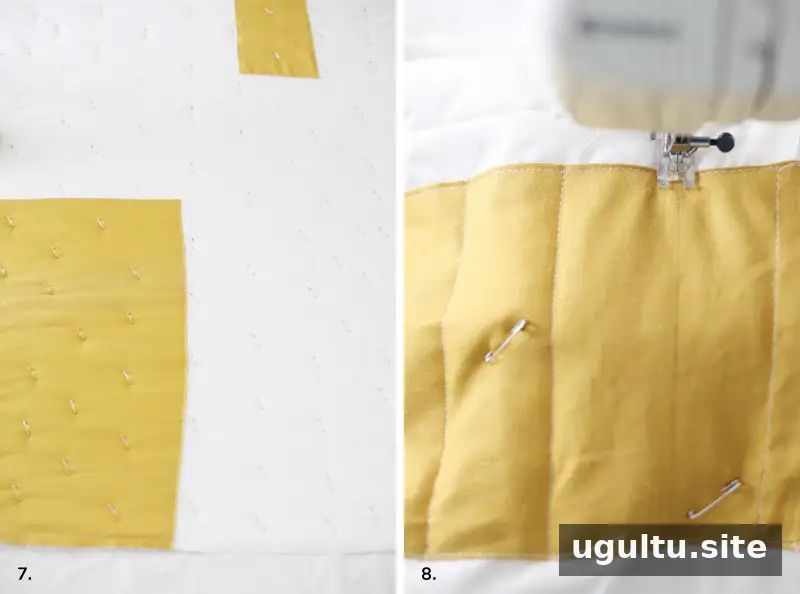
Place the batting between the quilt top and a sheet of muslin. Smooth all three layers so they lie flat and are free of wrinkles. Painter’s tape can help hold the layers taut while arranging them. Secure the layers across the surface with safety pins; this helps prevent shifting and sewn-in creases.
6. Stitch the quilting lines
Sew over the marked lines using a wide stitch. To reduce uneven bunching, begin at the top middle and sew each line in the same direction, from top to bottom. Work from the middle toward the right, then from the middle toward the left, and reposition the safety pins if the layers shift. Finish the background before stitching the appliqué sections. Pull the thread ends through to the back when stitching is complete.
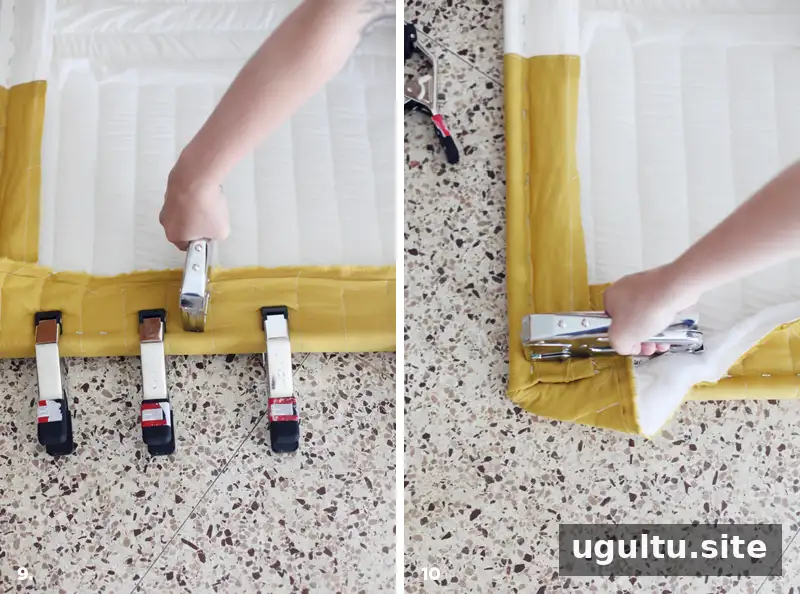
7. Stretch and staple the piece to the frame
Use clamps to hold the finished quilt taut around the stretcher frame. Staple the fabric along the rounded edge on the back. At each corner, pull in the corner fabric first, then fold in each adjoining side before stapling. If needed, trim excess fabric with a craft blade about 1/8 inch from the staple line.
Display and finishing options
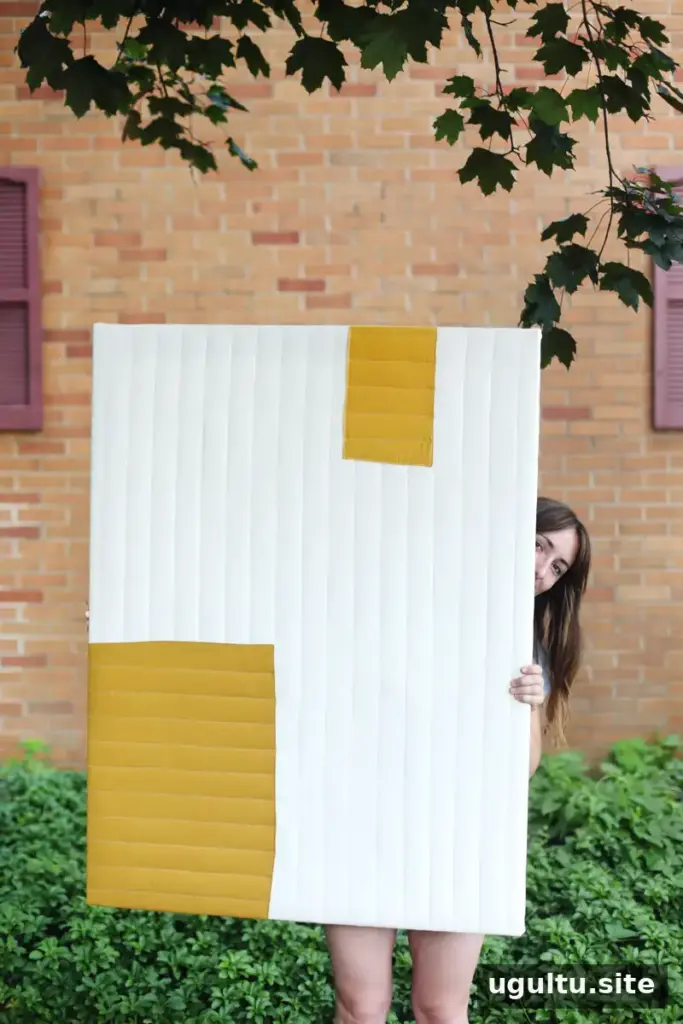
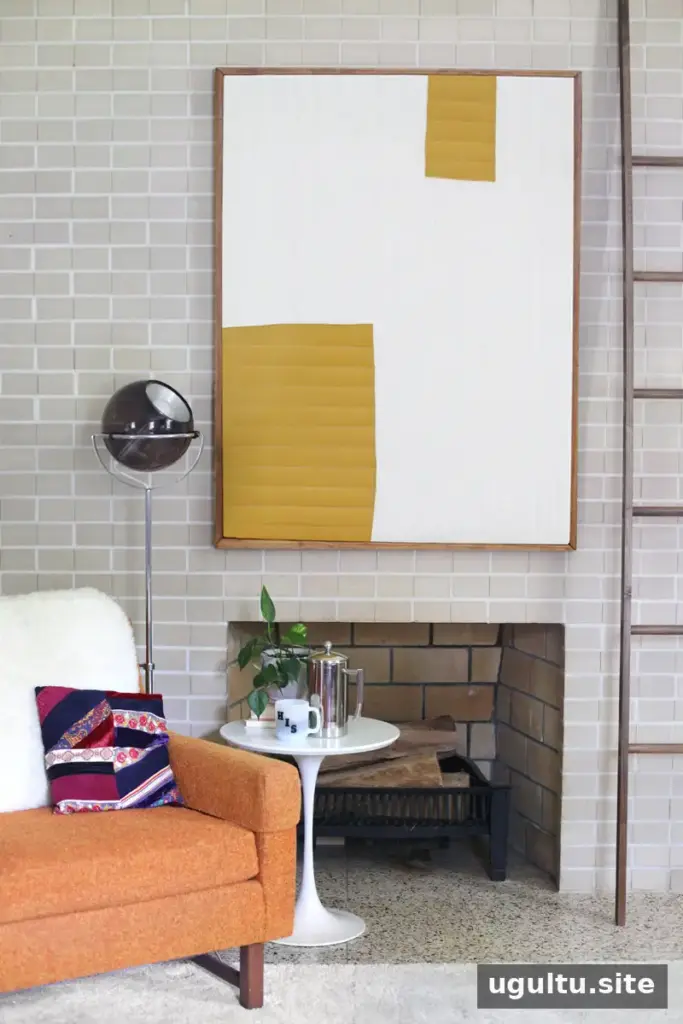
The finished piece can be displayed with the stretcher frame exposed or given a simple frame. Adjusting the fabric colors, shapes, and stitching pattern makes it easy to suit different rooms. For a larger textile project, the same quilted panel can also serve as a headboard. This DIY quilted wall art project was created by Mandi.


