
 admin
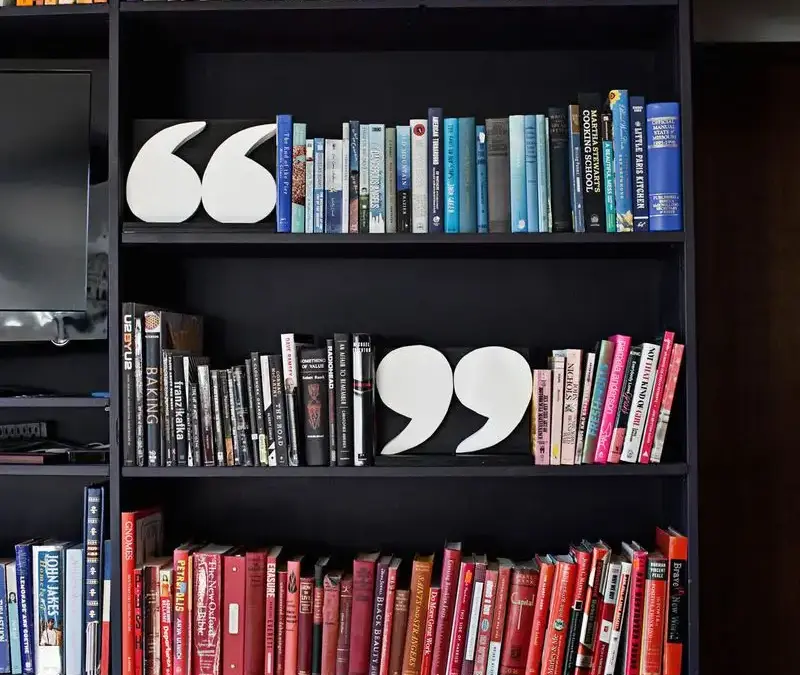

Quotation mark bookends add a bold, graphic detail to a bookshelf while helping books stay upright. This DIY project uses pottery plaster, simple poster-board molds, and a wooden base. You can adjust the size to suit your shelves and choose a paint finish that works with your room.
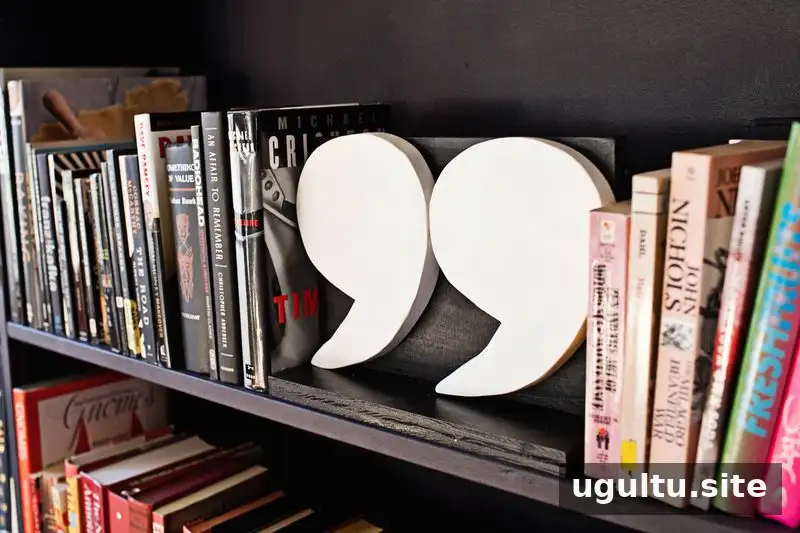
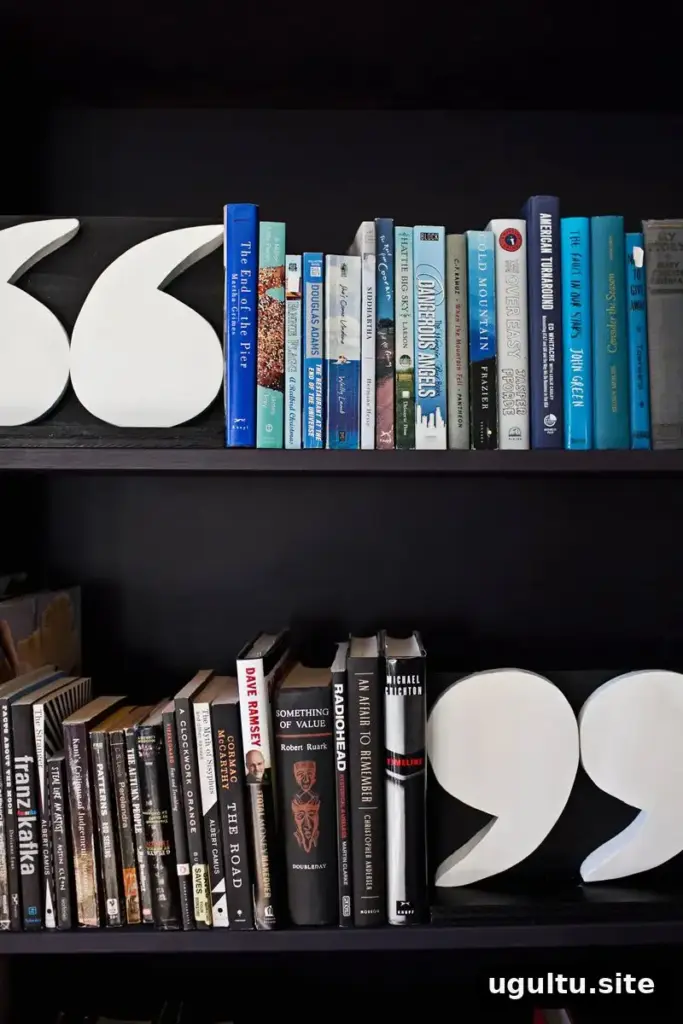
The finished design pairs black-and-white quotation marks with a dark wood base. The shapes can be made oversized for a statement look or scaled down for a smaller shelf. Plan the dimensions before making the molds so the bookends fit the available space.
Materials for quotation mark bookends
The project cost around $22 when scrap wood and tools were already available. Gather the following supplies before starting:
- Poster board
- Painter’s tape
- Pottery plaster, sometimes called craft plaster
- Black and white acrylic paint
- A mixing bowl reserved for crafts, not food
- A disposable mixing stick or spoon
- Fine sandpaper
- Scissors
- Heavy-duty epoxy or construction adhesive
- Scrap wood, nails, and a hammer or nail gun
- Power saw
Wear suitable eye protection when cutting wood, and follow the plaster and adhesive packaging instructions. Avoid breathing plaster dust, and keep craft materials and tools separate from food preparation.
How to make DIY quotation mark bookends
1. Build the poster-board molds
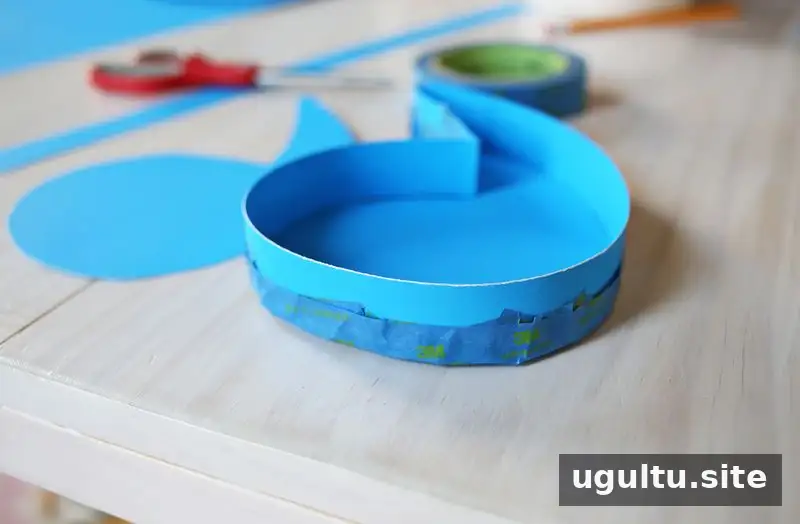
Draw the quotation mark shapes on poster board and cut them out. Cut additional strips about 2 inches wide to form the sides, then tape the strips around the edges of each shape. The outside of the mold does not need to look polished, but the shape should match your design and the seams should not have gaps where plaster could leak.
White poster board or dry-erase poster board can be easier to remove than colored board. If small pieces stick to the plaster, let the shapes dry completely and sand the residue away.
2. Mix and pour the plaster
Check the plaster package for the correct water-to-plaster ratio, then mix it in a craft-only bowl with a disposable stick or spoon. Plaster can heat up while being stirred, so handle the mixture carefully. Pour it into the molds and allow it to set according to the product directions.
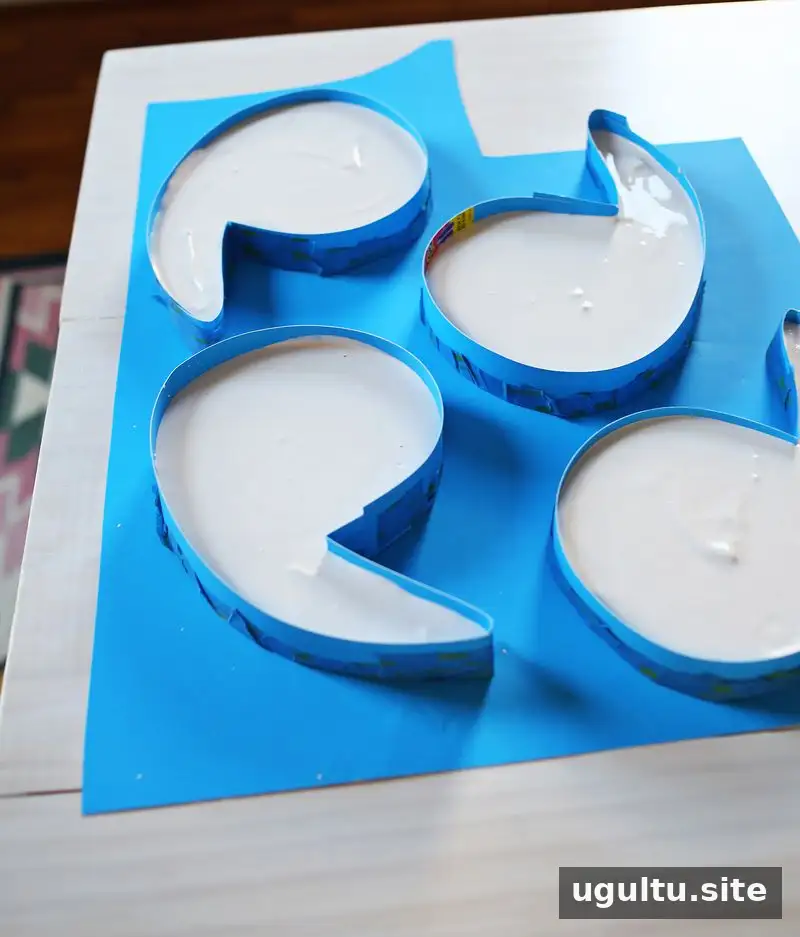
3. Remove the molds and let the shapes dry
The plaster used for this project recommended removing the molds after 30 minutes and allowing the shapes to dry for at least 24 hours. Drying instructions vary by product, so use the timing on your package. Before sanding or painting, make sure the plaster is fully dry; waiting a couple of days can help prevent acrylic paint from peeling.
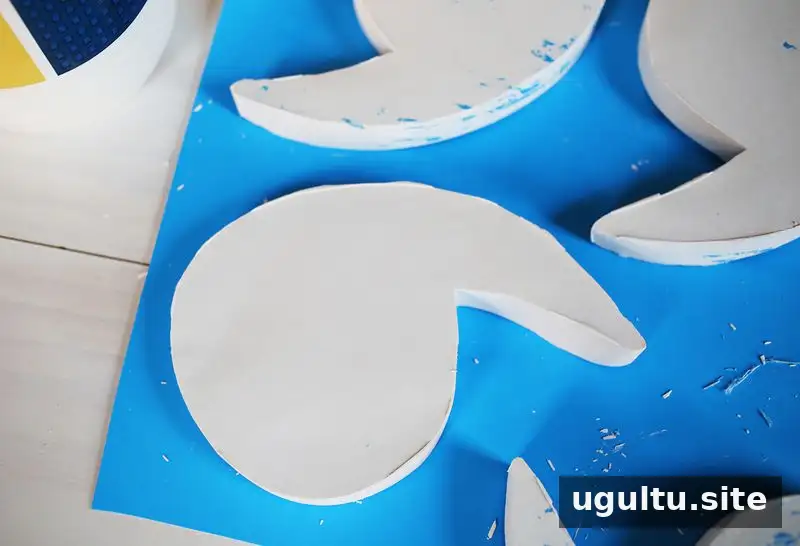
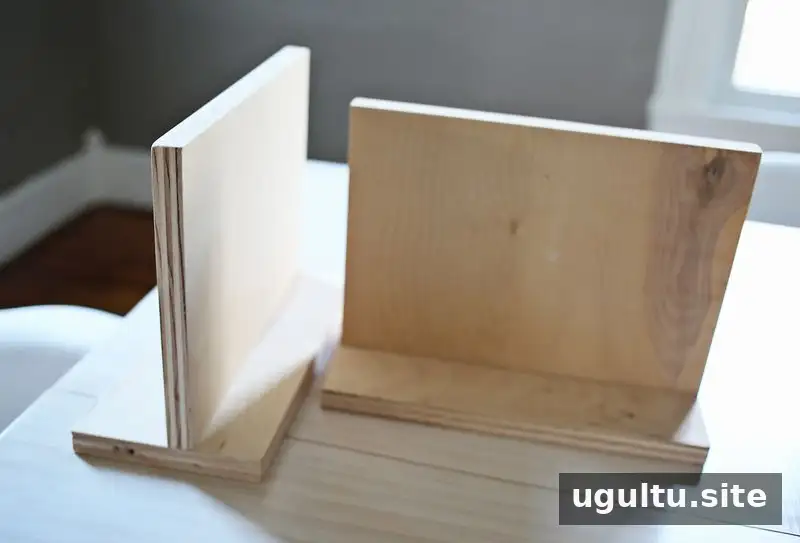
4. Make the wood bases and attach the shapes
Cut scrap wood to create a base and back for each quotation mark. Nail the boards together, or use wood glue and clamps or screws. Paint the wood and allow it to dry. Sand the plaster shapes, paint them, and let the paint dry fully before attaching them to the base with heavy-duty adhesive. Follow the glue and paint labels for drying and curing times before placing the bookends on a shelf.
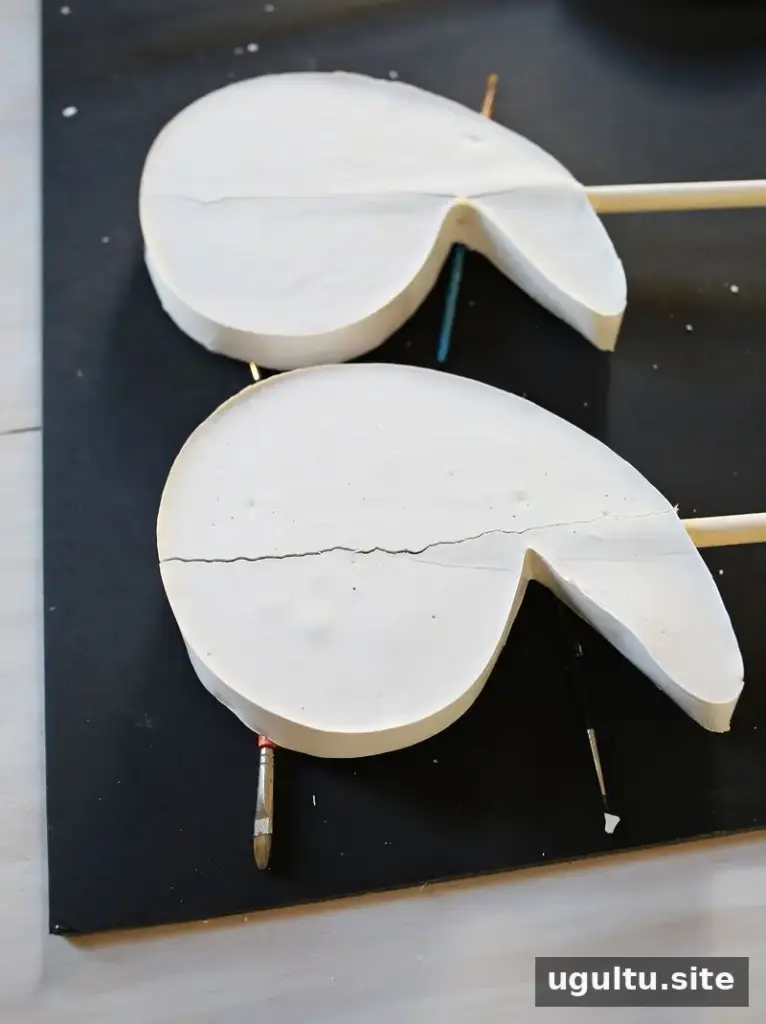
Tips for a stronger finish
A design that included dowel rods inside the plaster required a thicker pour, and the plaster cracked while drying. For this type of project, thinner plaster shapes with a separate wooden support proved more suitable. If paint peels because the plaster is still damp, sand away the loose paint, allow the shape to dry further, and repaint.
Keep the bookends proportional to the books and shelf they will support. Once assembled, place them on a level surface and check that the wooden bases sit flat before arranging books between them.
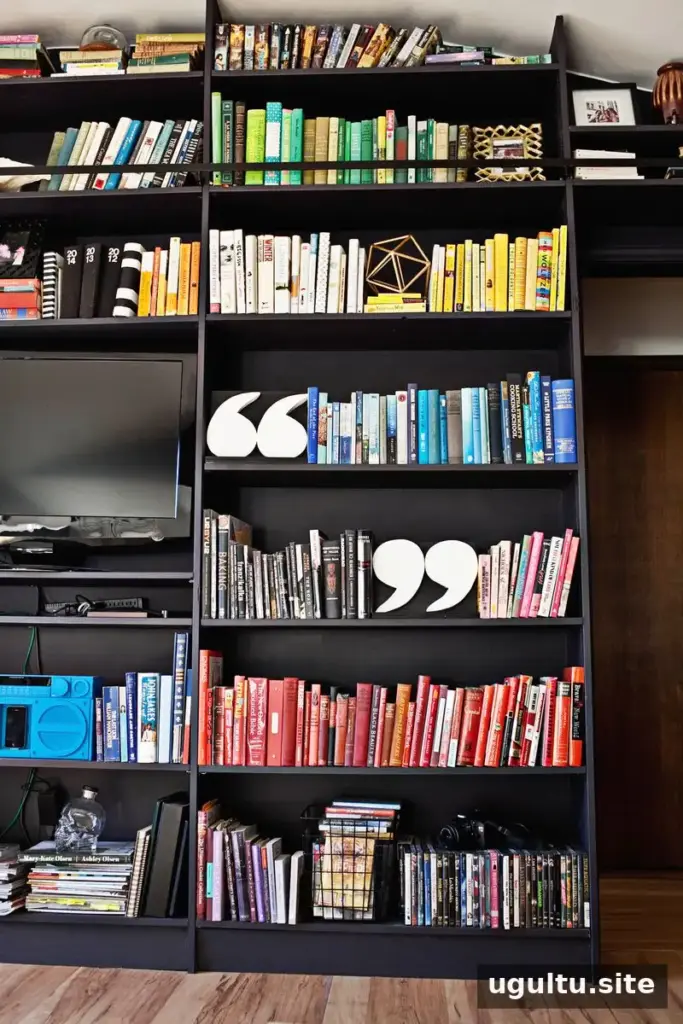
Final thoughts on quotation mark bookends
Quotation mark bookends are a customizable way to add shape and contrast to a bookshelf. Careful mold sealing, patient drying, and a stable wood base are the key steps for a clean finish. Project by Emma.


