
 admin
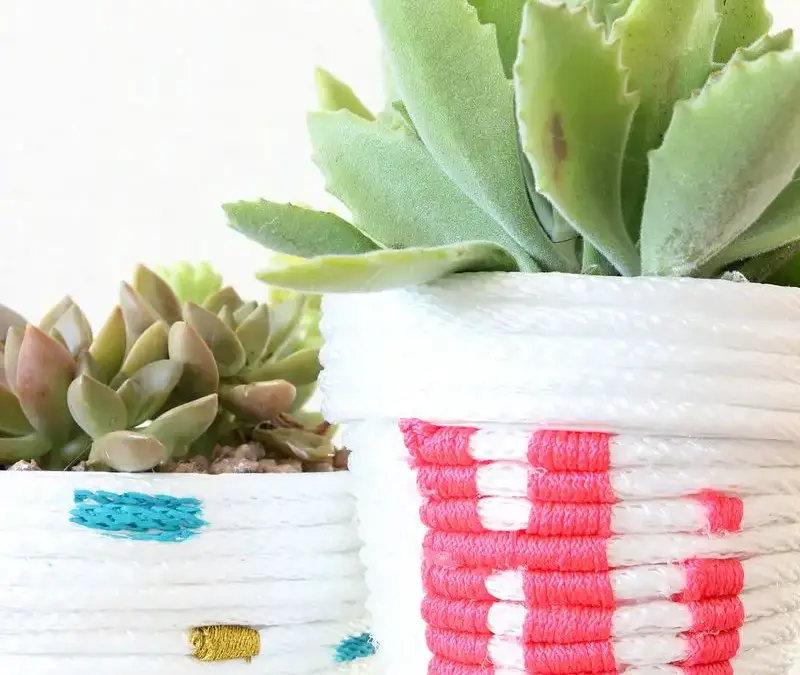
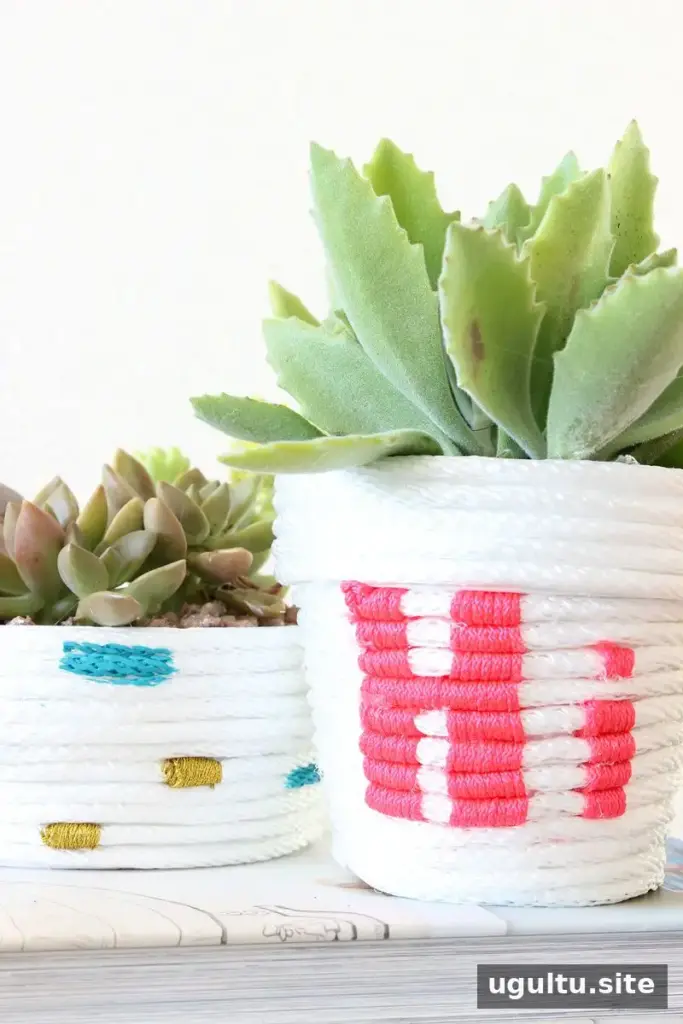
DIY rope wrapped planters are a simple way to give plain terra cotta pots a fresh, handmade look. With clothesline, colored string, and a little paint, you can create a clean striped design or add a small word such as “Hi.” This project works well for decorating pots that already hold succulents, and it can be customized to suit your room.
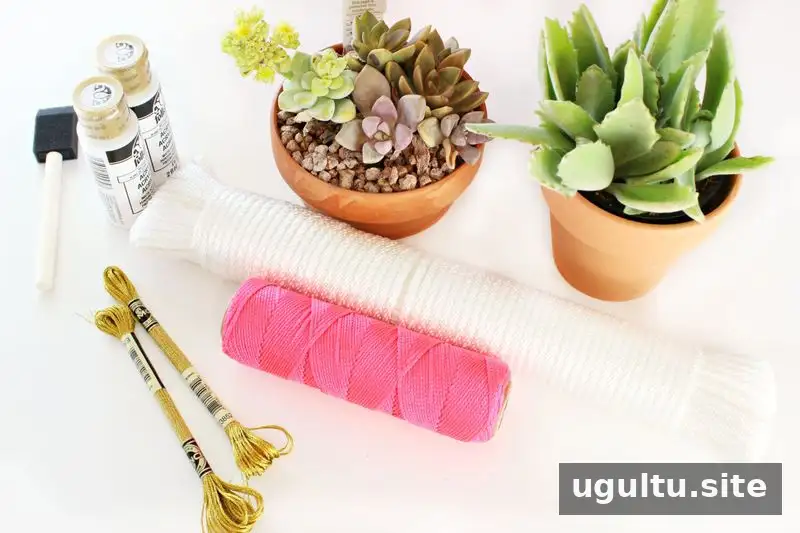
Supplies for DIY Rope Wrapped Planters
Gather your materials before you begin so you can keep the rope in place as you work:
- A couple of terra cotta pots
- White acrylic paint
- Clothesline
- Colored string
- Hot glue and a glue gun
- Acrylic paint in your chosen accent color and a foam brush
Use enough clothesline to cover the outside of each pot from the upper edge to the base. The amount will depend on the size of your pots. Work on a protected surface, and take care when using hot glue.
Prepare and Wrap the Pots
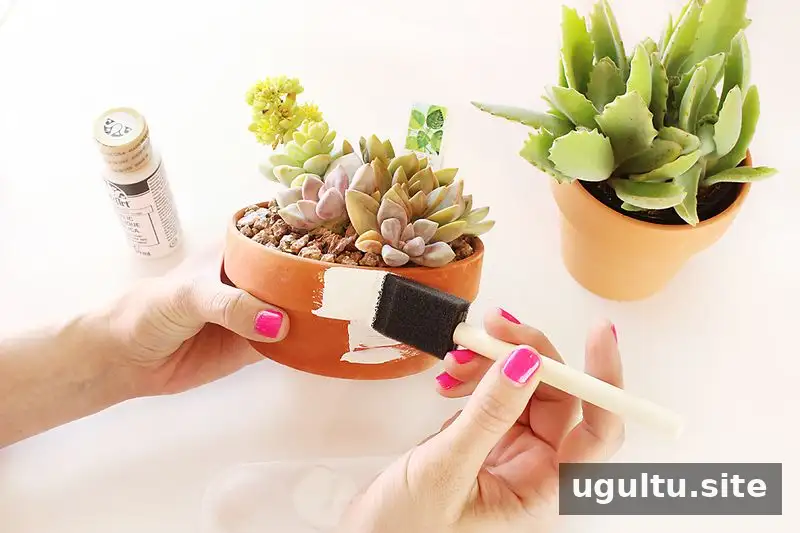
Paint the outside of each pot white and let it dry completely. The light base helps disguise small spaces between the rope coils, especially when using white clothesline. Keep paint away from the plant and soil; if the pot is already planted, protect the contents while painting.
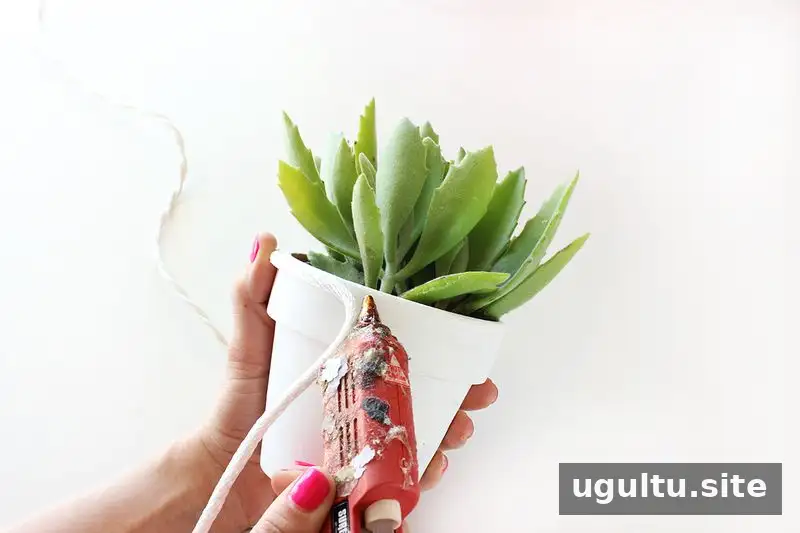
Starting near the top of the pot, apply hot glue in small sections and press the clothesline into place. Continue wrapping around the pot, keeping each coil close to the previous one. Small sections of glue make it easier to adjust the rope and maintain an even finish. Carry the wrapping over the rim as shown, taking care not to cover any area needed for watering.
Add a String Design or Colorful Details
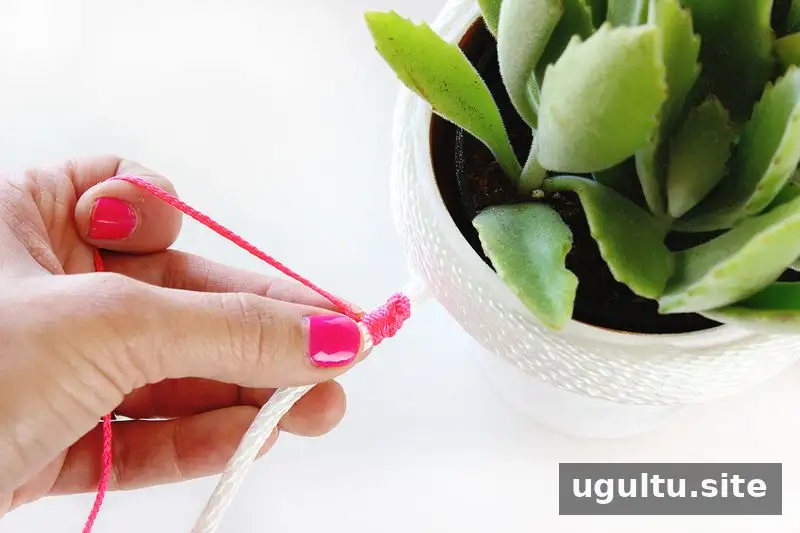
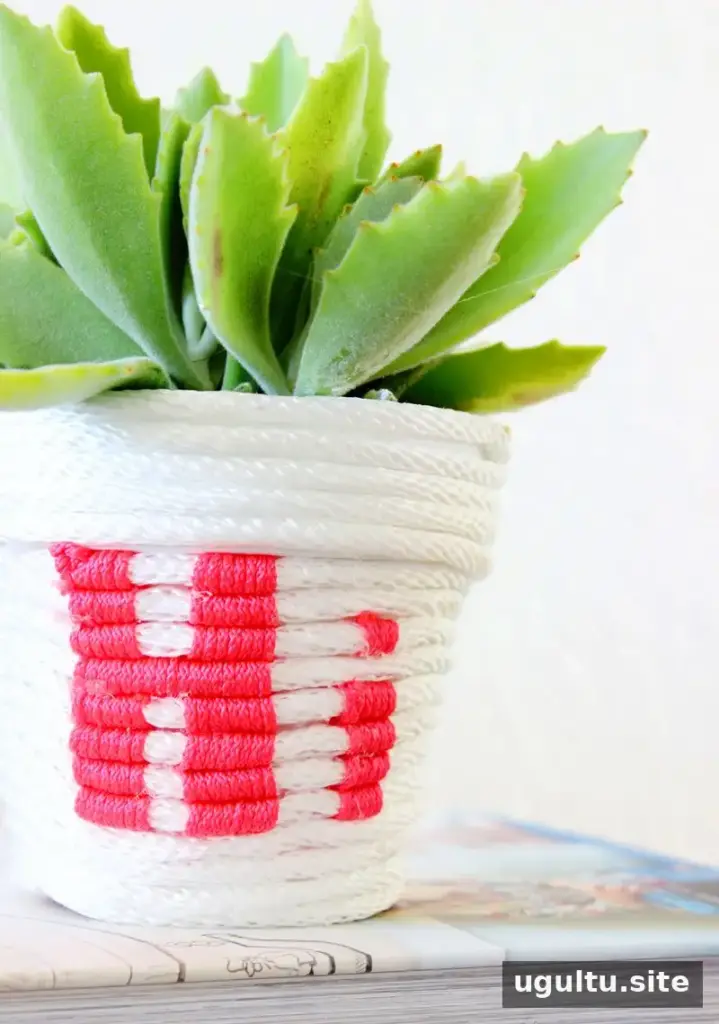
To make the “Hi” design, wrap colored string around the white rope in the shape of the letter. Begin with one vertical stroke of the H, leave about a 1/2-inch gap, then make the second stroke with another piece of string. Continue wrapping the clothesline around the pot. When you reach the lettering again, add the next row beneath the first. On the third row, place the “i” to the right of the H so the greeting reads correctly. Secure the string with hot glue as you go.
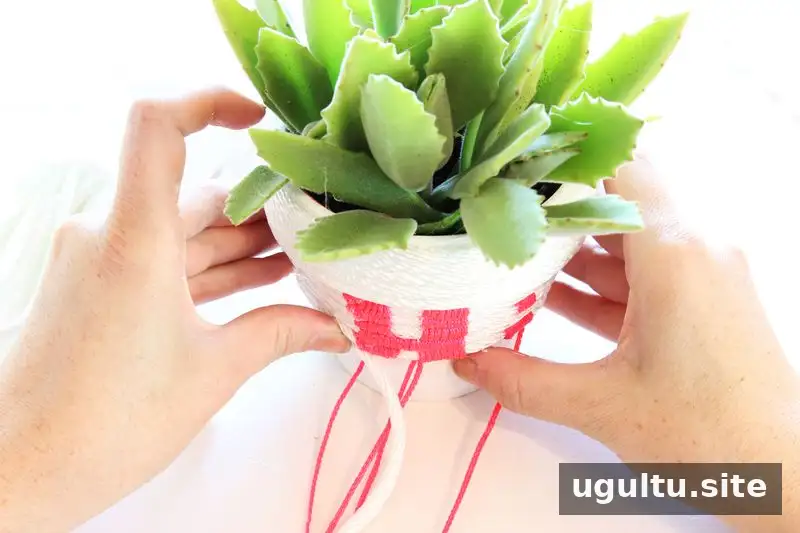
Keep wrapping toward the bottom of the pot. Cut the clothesline once you reach the base and secure the final coil firmly with hot glue to help prevent it from shifting or fraying. Allow the glue to set before moving the pot.
Make a Second, Abstract Design
For another look, wrap a second pot with white clothesline and add gold string in scattered sections instead of forming letters. Once the wrapping is complete, brush turquoise acrylic paint onto a few areas of the rope for an extra accent. Use a light touch so the rope texture remains visible.
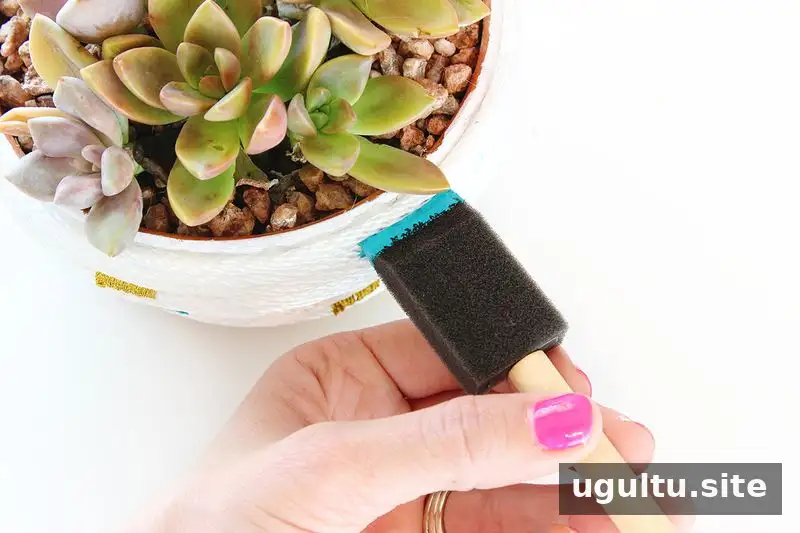
Let the paint and glue dry fully before handling or displaying the finished planters. If the pot contains a plant, make sure the decorative wrapping does not interfere with drainage or routine watering.
Display Your Finished Rope Wrapped Planters
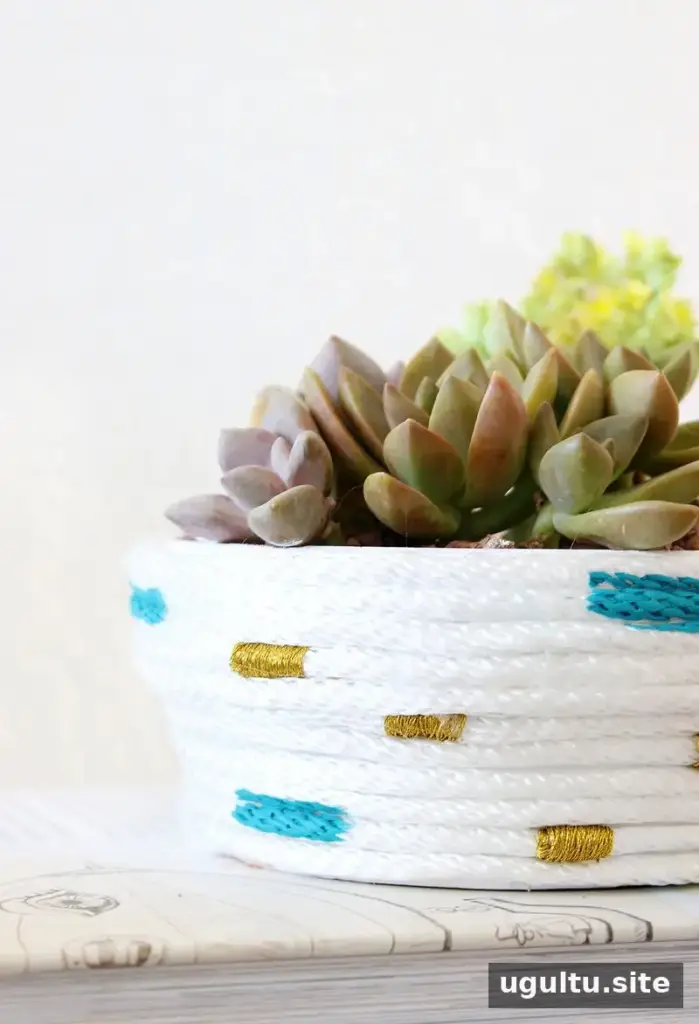
These DIY rope wrapped planters can add a personal detail to a side table, shelf, or mantel. Choose colors that complement the space, or keep the design neutral with white rope and a small string accent. The “Hi” lettering gives one pot a friendly greeting, while gold string and turquoise paint create a looser, more decorative style. Project by Mallory & Savannah.


