admin
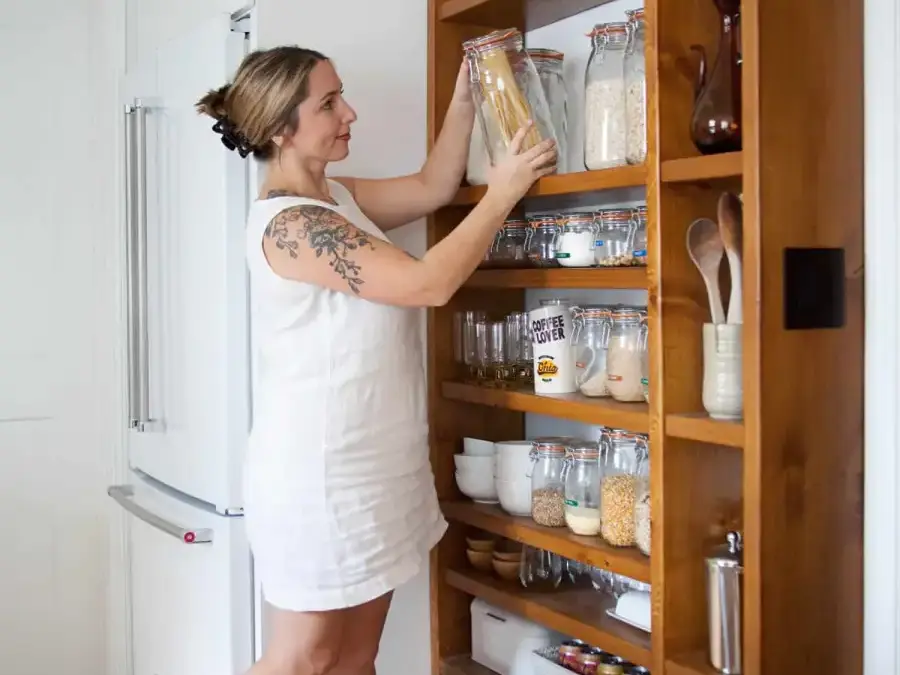
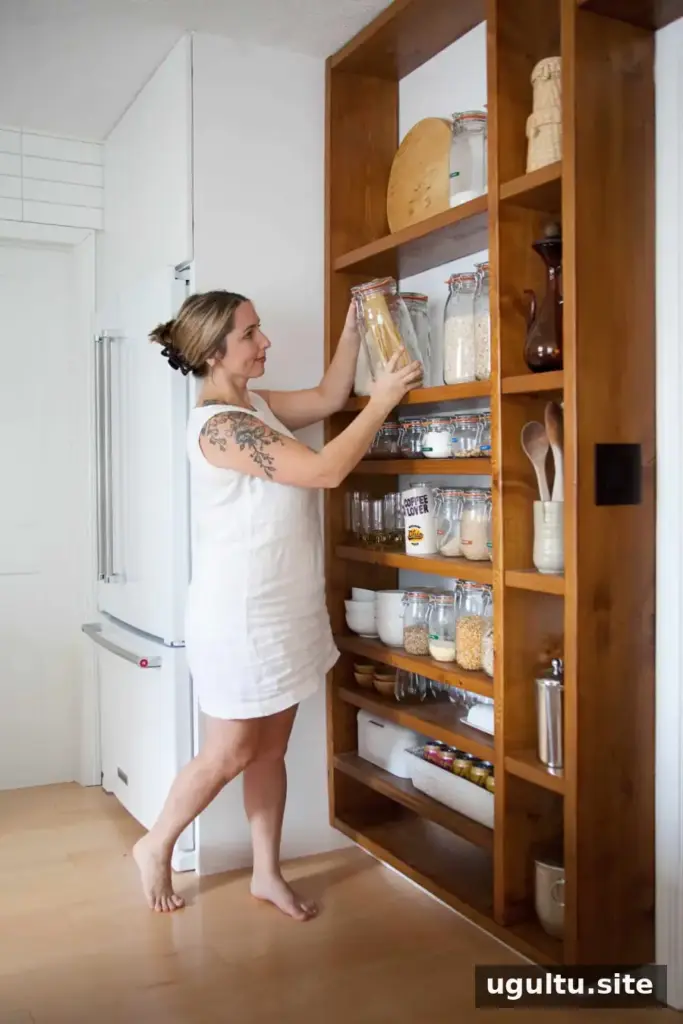
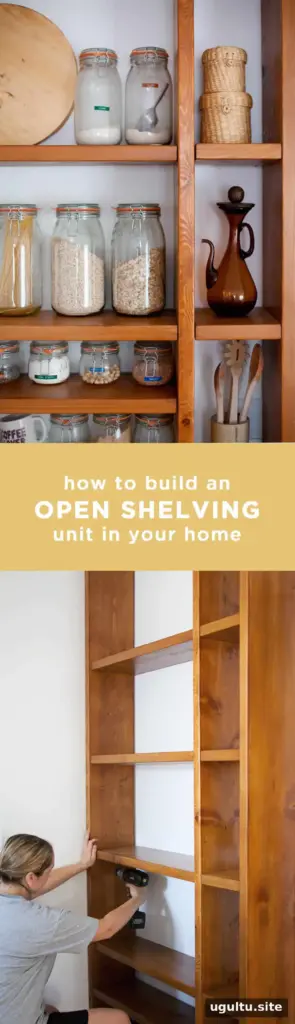
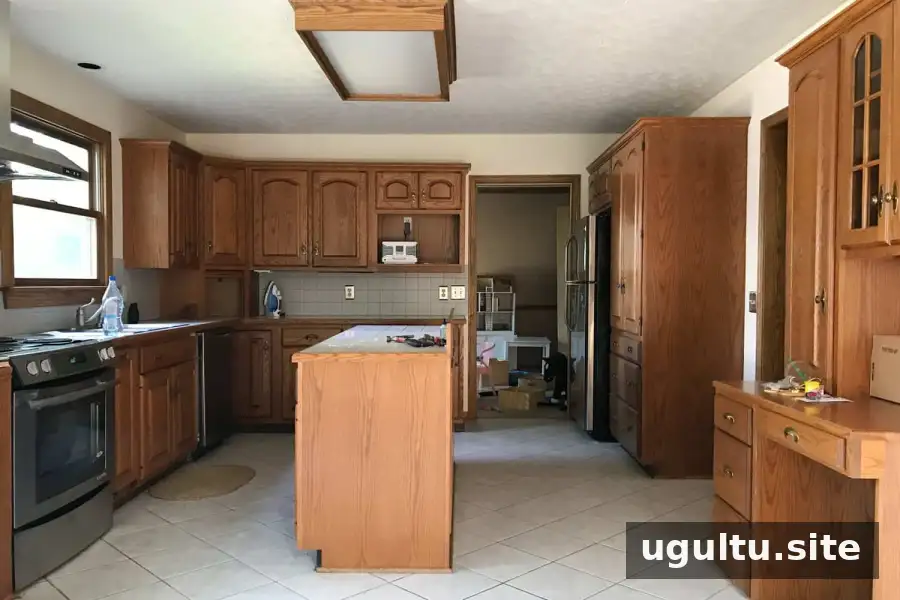
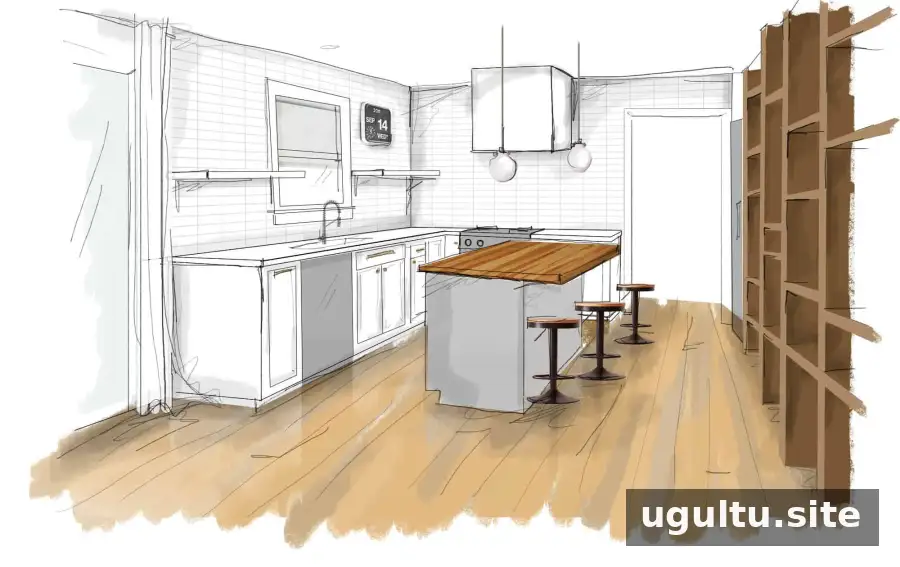
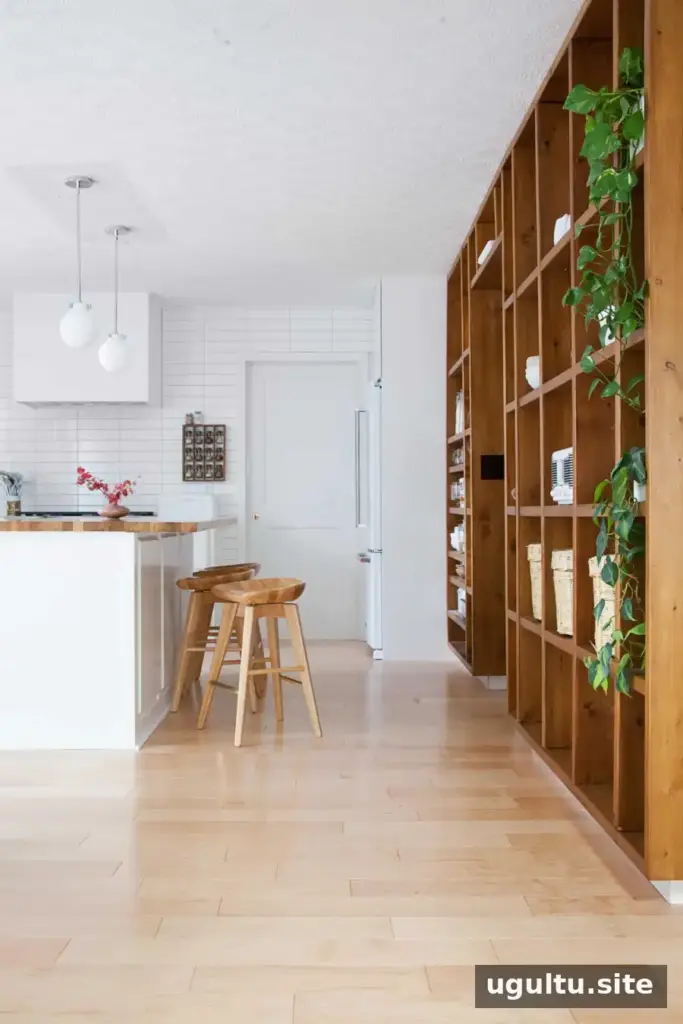
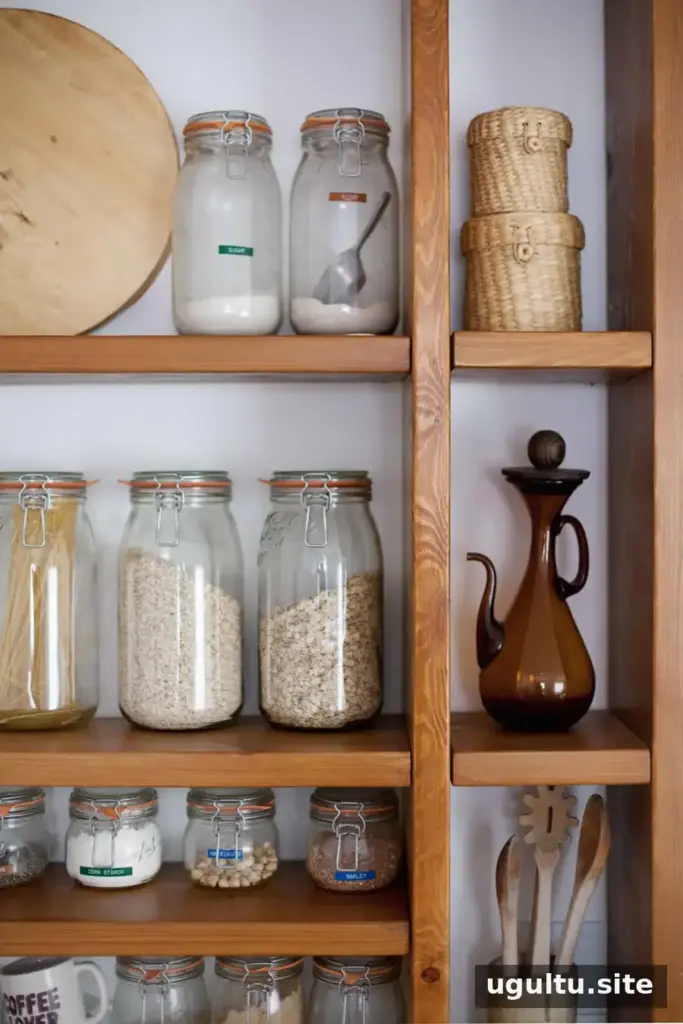
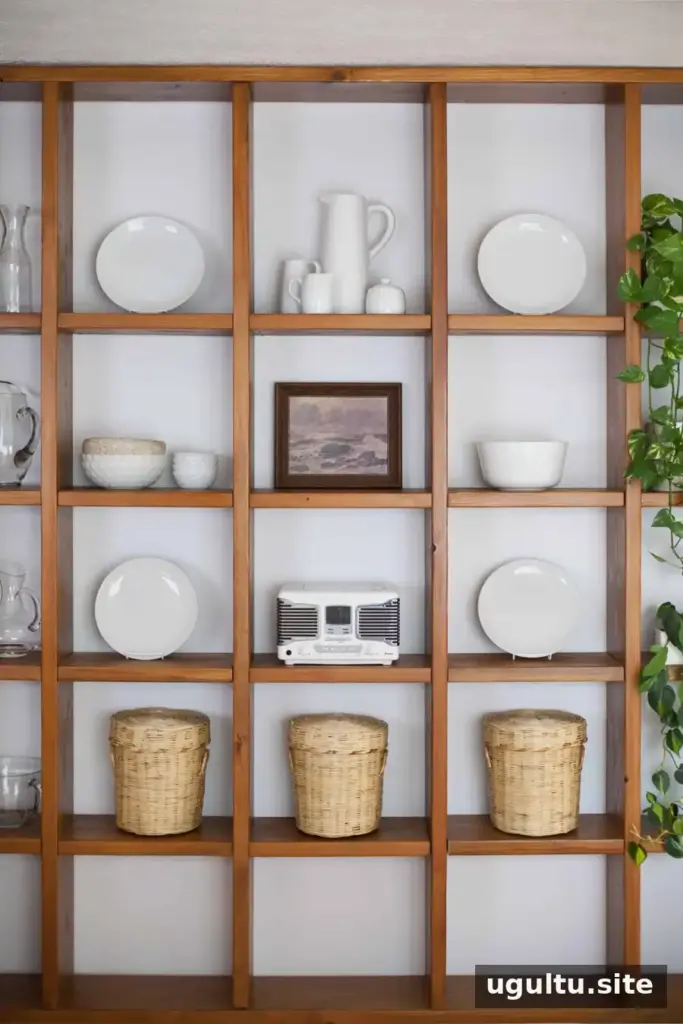
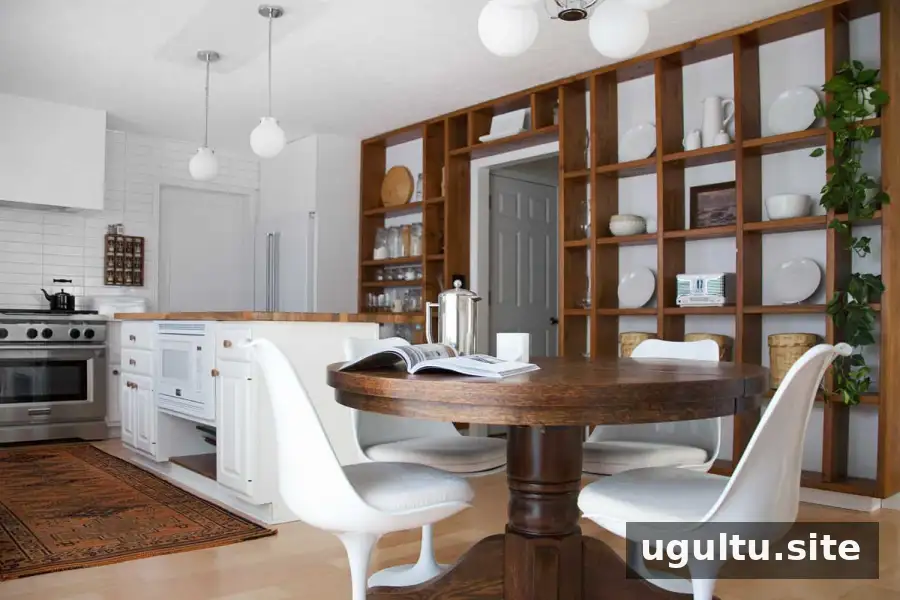
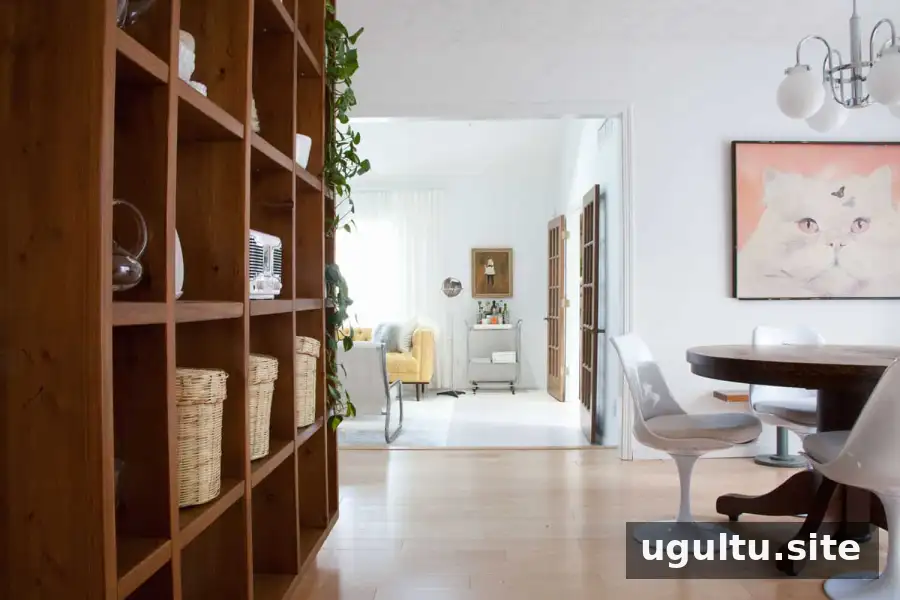
DIY shelves can add practical storage and make use of a kitchen wall that might otherwise feel crowded with cabinets. This project replaced bulky cabinets beside an expanded island with a large shelving unit for jars, baskets, serving dishes, and other kitchen essentials. The layout also included a separate pantry around the corner for less frequently used food and appliances.
The removed cabinets were repurposed in a basement and a neighbor’s garage.
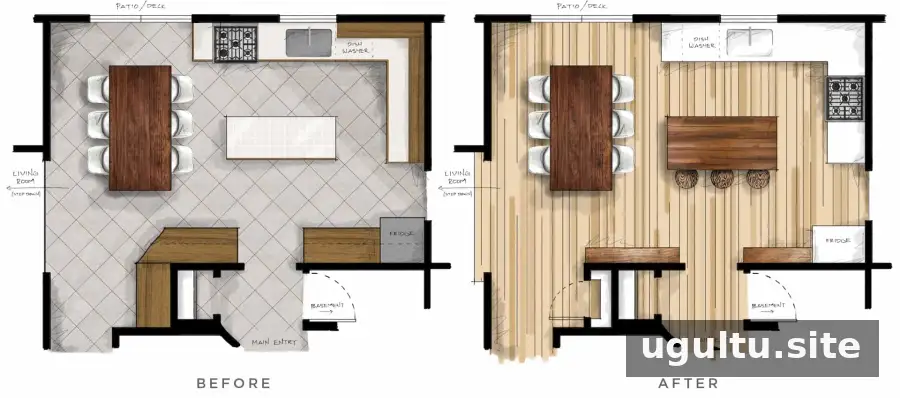
Open shelves are best suited to items that are used regularly or look tidy on display. Store everyday food in accessible jars, baskets, or bread boxes, and reserve a pantry or closed storage for items that are used less often. Before committing to open shelving, consider how much cabinet storage you will lose and plan where those items will go.
The original plan called for gray, white, and wood tones, but the cost of lumber for a large shelving wall led to a more budget-conscious choice: construction-grade 2×10 pine boards. Each 8′ board cost $10.33 at the time of the project. Construction lumber can be inexpensive, but it often needs careful selection and substantial preparation.
DIY Shelves: Choosing and Preparing Lumber
Construction-grade boards may have missing corners, knots, dents, rough surfaces, uneven coloring, or warping. For a large project, inspect each board before buying and choose the straightest, clearest pieces available. A damaged edge can sometimes face the wall, but a warped board is difficult to fit accurately.
- Use the straightest boards for the longest vertical sections.
- Cut slightly warped boards into shorter pieces for smaller shelf sections, if they can be used safely and fitted securely.
- Choose boards with relatively even coloring if you plan to apply a finish.
- Position rough edges toward the wall where they will be less visible.
Take time to inspect the lumber in good light. Knots and dark patches can become more noticeable after finishing, while dents and uneven surfaces mean extra sanding.
Sanding construction-grade pine
Sanding took more than two days for this project. A palm sander was used, starting with 80-grit sandpaper to remove chips, dents, and uneven areas. Each board was then sanded with 120-grit paper to smooth the surface and reduce scratches left by the coarser grit.
Keep boards from being knocked or scratched after sanding. Scratches and dents can absorb finish differently and may appear darker afterward. Work on a stable surface and handle prepared lumber carefully.
Finishing the Shelves for an Even Color
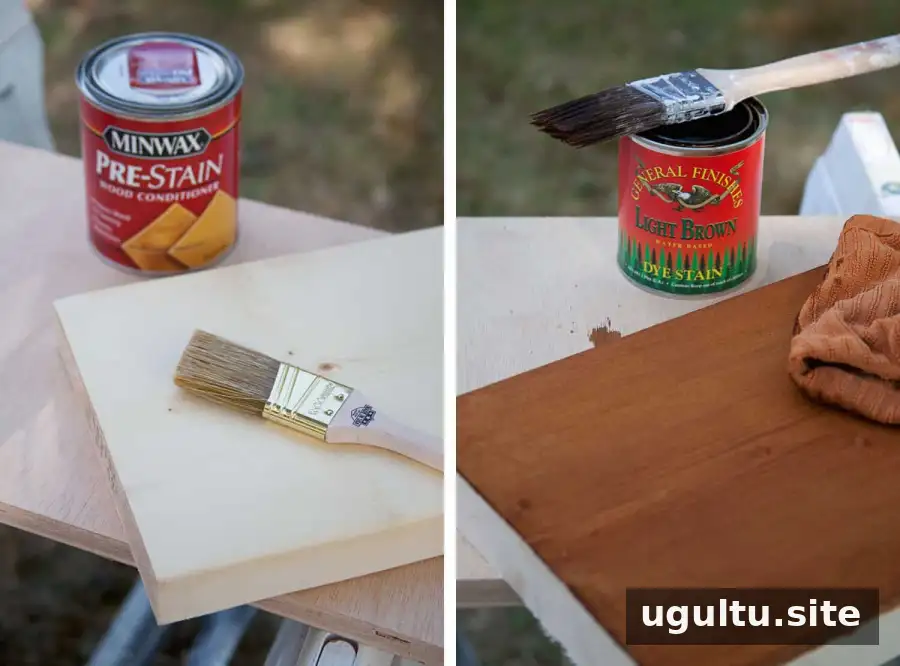
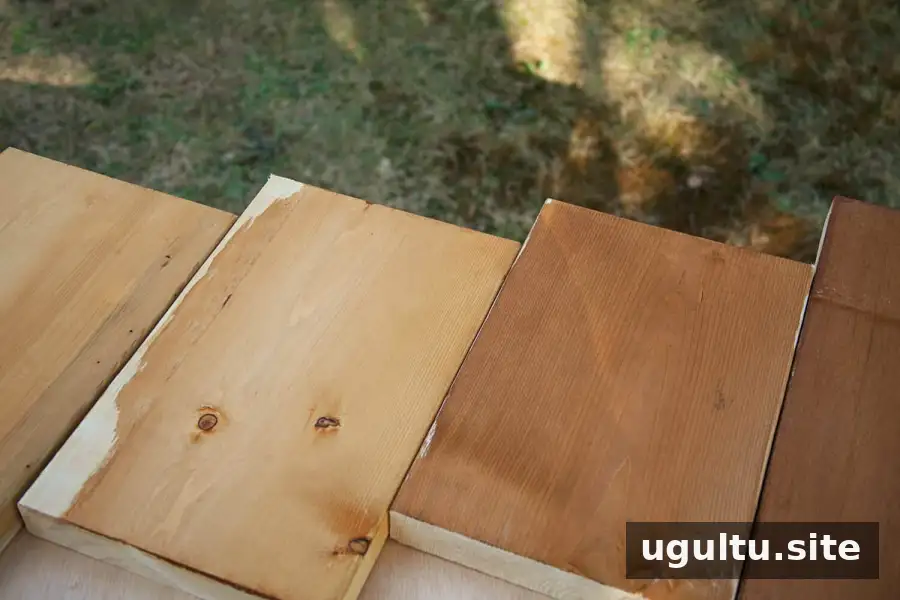
Pine can absorb color unevenly because its density varies along the board. For this project, a multi-step approach was used instead of relying on wood stain alone: conditioner, diluted water-based dye, a protective sealer, and a custom glaze. Test the full finishing process on scrap from the same lumber before treating the shelves. This helps you judge the color and the way each coat looks once dry.
Apply conditioner and dye
First, apply a wood conditioner and allow it to rest for five minutes. Then brush on a light-brown dye. The project used one and a half quarts of conditioner and one and a half pints of diluted dye for all the lumber. The dye was diluted with water after a full-strength test looked too dark.
Seal, sand, and glaze
After the dye dries, apply a coat of polyurethane or polycrylic. Lightly sand with 400–600-grit sandpaper to smooth raised wood fibers, then apply another coat before glazing. Polyurethane may yellow over time, particularly on white or very light finishes; this is less apparent on medium and dark wood tones. Follow the product label for drying times and ventilation.
The glaze was mixed from artists’ oil colors and a glazing medium. The chosen mixture used one 250ml bottle of medium, half a tube of raw umber, one-third of a tube of Davy’s gray, and a small amount of purple. Two 250ml bottles of medium were needed for the project. Prepare enough glaze for the whole job at the start and keep any extra in a clean, sealed container to help maintain a consistent color.
Allow the glaze to cure for at least 24 hours, then protect it with one or two final coats of polyurethane or polycrylic. Check the finish manufacturer’s instructions before applying layers, as drying and curing times can vary.
Building and Installing the DIY Shelves
The exact dimensions depend on the room, so measure the available wall and plan each section before cutting. Account for the ceiling, adjacent cabinets, doorways, switches, and the location of framing behind the wall. A full-size sketch or measured plan can help identify conflicts before construction begins.
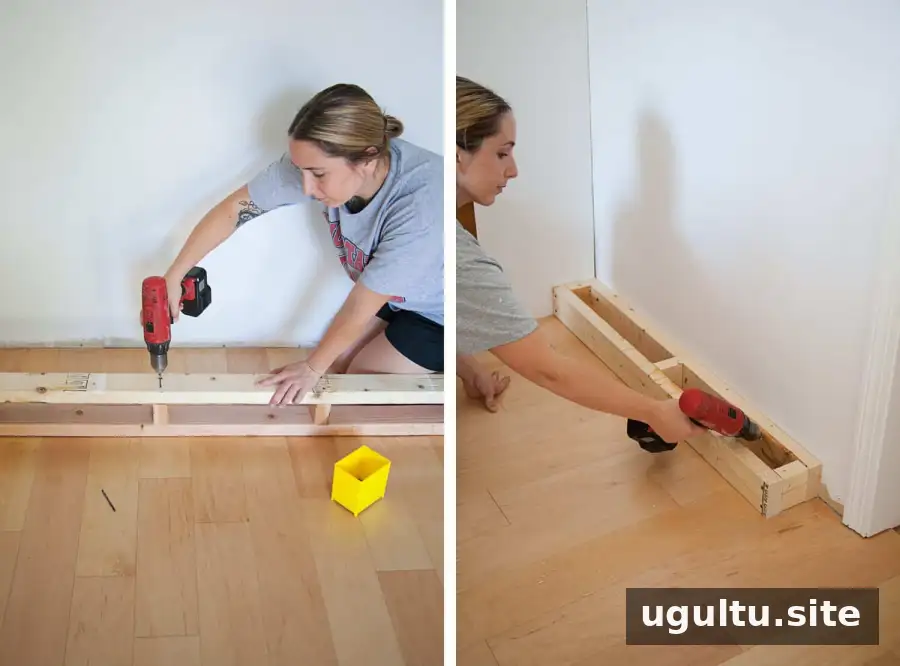
A low platform made from 2x4s was built as a toe-kick base. It raised the shelves off the floor, helped avoid stubbed toes, and made the unit feel less bulky. The platform was covered with painted lauan plywood to match the nearby toe-kick area.
Joinery and assembly
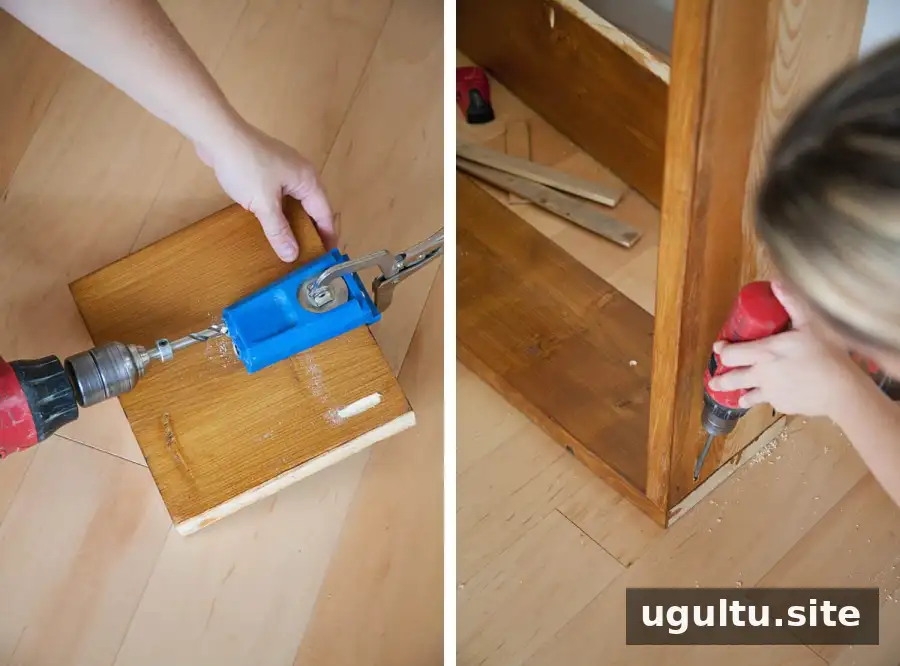
The unit used pocket-hole joints in less visible locations, as well as screws driven directly through perpendicular boards. If using a pocket-hole jig, practise on scrap wood first. Clamp pieces where possible, and check that joints are square with a steel square before fastening.
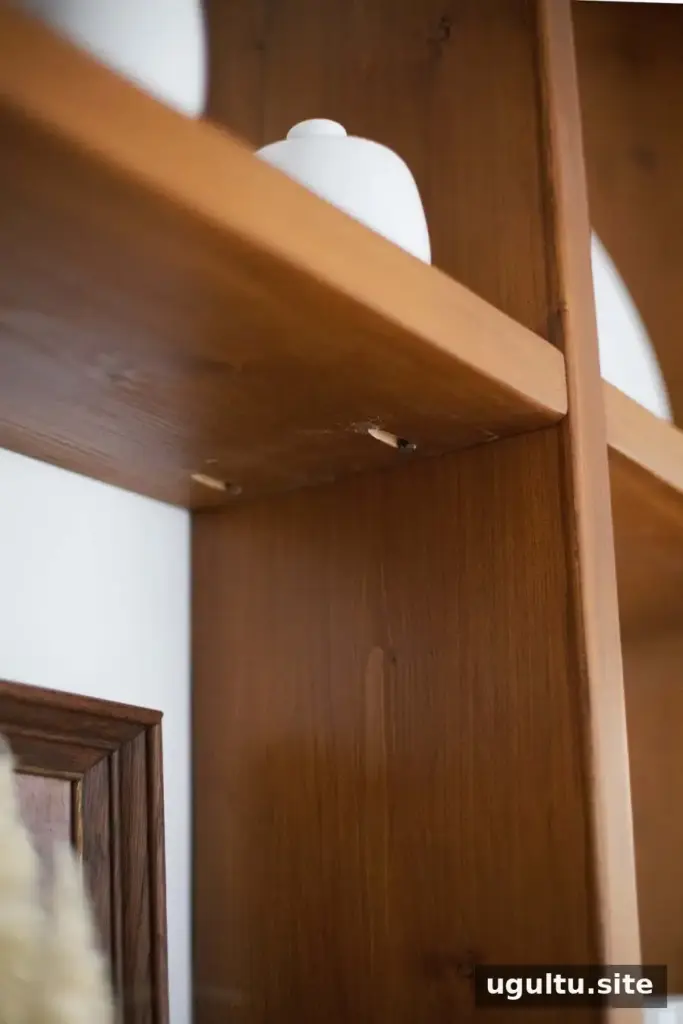
Plan the order of assembly so exposed fasteners are minimized. In this project, pocket screws were placed under a lower shelf and on the less visible side of sections. Screws driven through an outer vertical board were positioned where adjacent cabinetry would conceal them. Some pocket screws remained visible; plugs or tinted filler can cover holes, but leaving them accessible may make future adjustments easier.
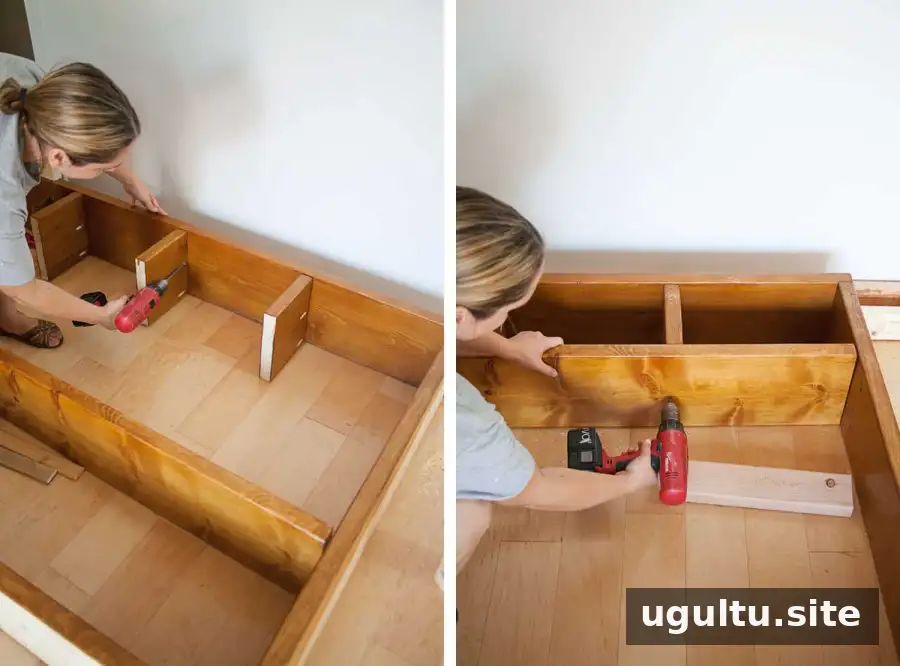
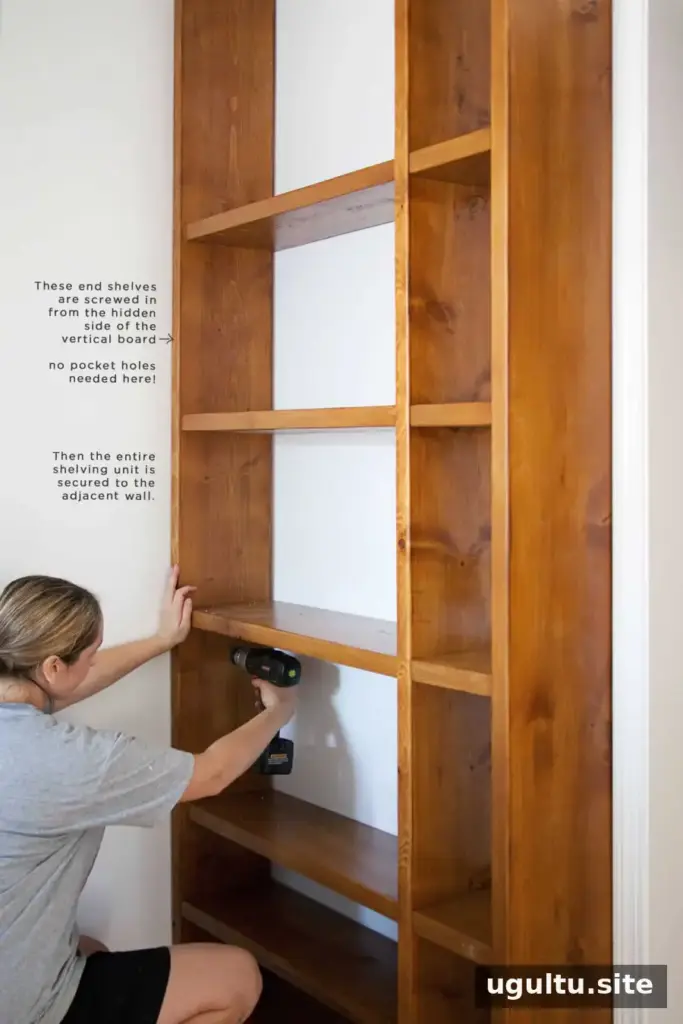
The shelving was assembled on the floor in sections and then lifted into place with help. The fit was very snug between the ceiling and the toe-kick platform, so accurate measurements were essential. Avoid forcing a unit into position without checking for obstructions or damage. Once positioned, the sections were fastened to the adjacent cabinet and ceiling beams, with the screw heads countersunk.
Build and install sections in a sequence that suits the room. Here, construction began beside the refrigerator, continued to the right of the kitchen doorway, and finished with shelves spanning above the doorway. Secure the unit to appropriate framing and use fasteners suited to the materials and expected load. For heavy shelving, confirm the fixing method before loading it.
Plan around electrical switches
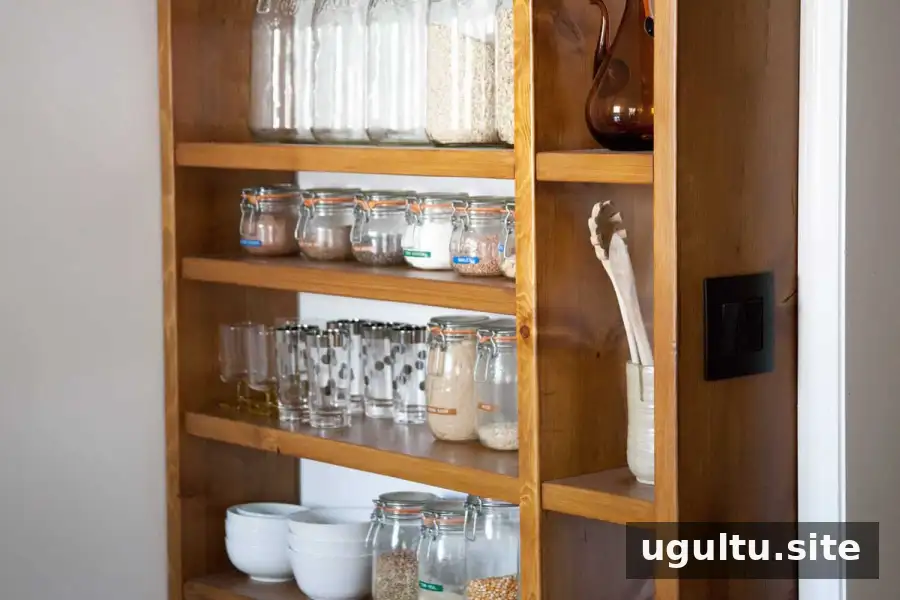
The shelving design would have blocked two light switches beside the kitchen doorway. The solution used shallow electrical boxes set into routed recesses in a 2×10 board, with paddle switches accessible from the outside edge of the unit. The former wall box was covered with a blank plate.
Electrical wiring and routing around an electrical box require appropriate skill and must follow local codes. Use a qualified electrician for electrical work if you are not trained to do it. Plan switch access before building, rather than discovering after installation that controls are blocked.
Practical Takeaways for a DIY Shelves Project
This shelving wall provided display and everyday storage while freeing space around an enlarged kitchen island. The most demanding parts were preparing construction-grade lumber, achieving a consistent finish, and fitting the boards together. Selecting straight boards at the outset can prevent wasted sanding and finishing work later.
- Measure the room and plan storage before removing cabinets.
- Inspect lumber carefully, especially the longest boards.
- Test sanding and finishing methods on scrap before treating every board.
- Dry-fit sections and check that they are square before fastening.
- Plan switch access and secure the finished unit to suitable framing.
For a simpler alternative, ready-made shelving can provide a similar open-storage look with less measuring and custom assembly. Baskets and jars can help keep open shelves organized, while closed storage remains useful for items that do not need to be displayed.
DIY shelves can be a rewarding kitchen upgrade when the layout, lumber, finish, and installation are planned carefully. The key lessons are to prioritize straight boards, allow plenty of time for surface preparation, and make safety and secure fixing part of the design from the beginning.
Project by Mandi.