admin
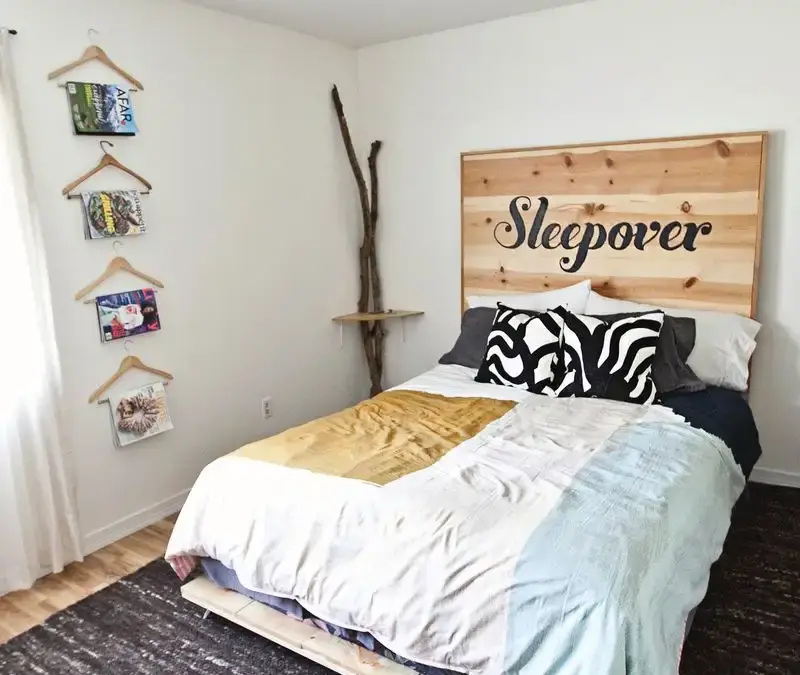
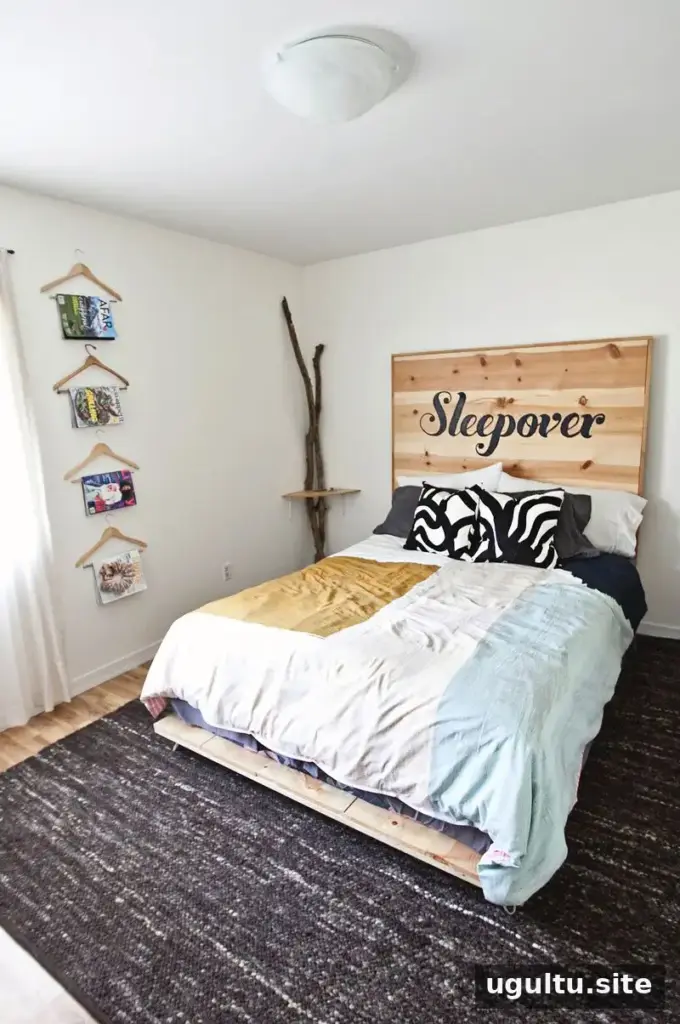
A simple DIY bed frame can give a guest bedroom a more finished look while lifting the mattress and box spring off the floor. This project describes a low-profile wooden frame sized for a queen bed, with six 4-inch hairpin legs and added oak boards for support. The headboard is a separate project and is not included in these instructions.
DIY Bed Frame: Materials and Tools
The original build cost about $210. The legs made up a notable part of the expense; choosing other sturdy legs may reduce the total. Prices can vary, so check local lumber and hardware costs before starting.
- Five 1x12x8 boards
- One 1×3.5×8 board
- Two 1x4x6 boards
- Two 1×3.5×8 boards
- Four 1x3x6 boards; oak was used for these support pieces, while the other lumber was pine
- One box of fifty 1/2-inch wood screws
- Six 4-inch hairpin legs, or other sturdy legs
- Semi-gloss polyurethane and/or wood stain
- Sandpaper
Basic tools include a brush, circular saw, and drill. Measure your mattress, box spring, and room before buying materials. The listed lumber includes two separate entries for 1×3.5×8 boards, so confirm the quantity against your intended design before shopping.
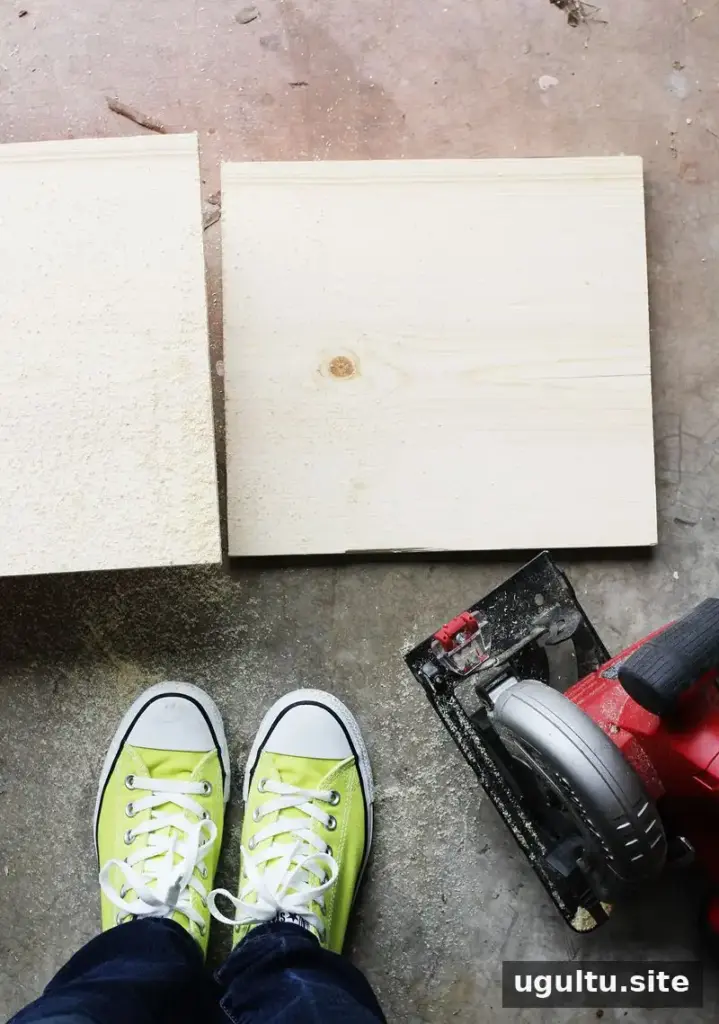
How to Build the Bed Frame
1. Measure and cut the lumber
The project was made for a queen-size mattress and box spring. The frame was planned to be about 1/2 inch wider and longer than the bed set. Measure your own mattress and box spring rather than relying on standard dimensions, then cut the boards to suit your space and design.
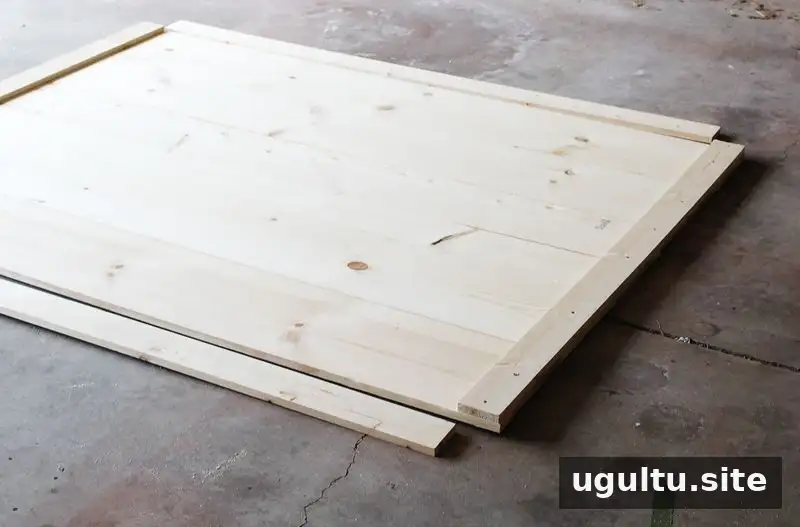
2. Assemble the frame body
Build the main body of the bed frame, then fit the surrounding boards around it and secure them with screws. Check that the frame remains square as you assemble it. A helper can hold the boards steady while you drill.
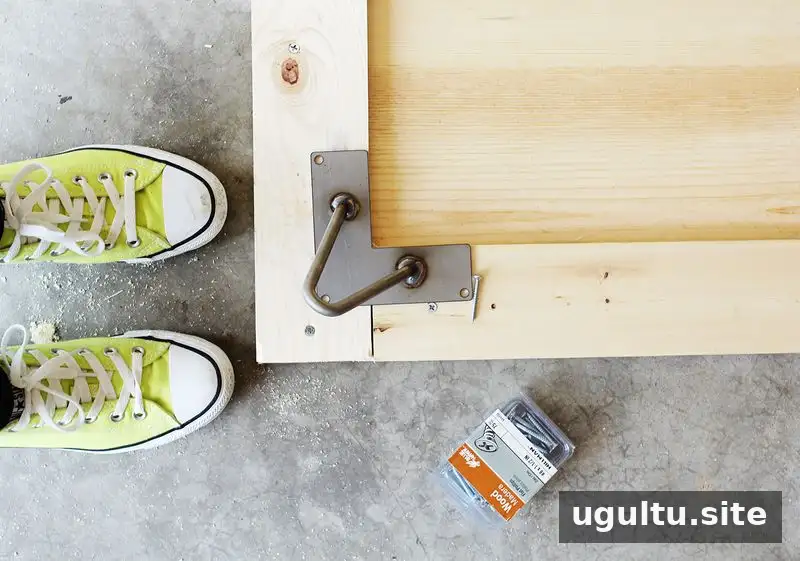
3. Attach the corner legs
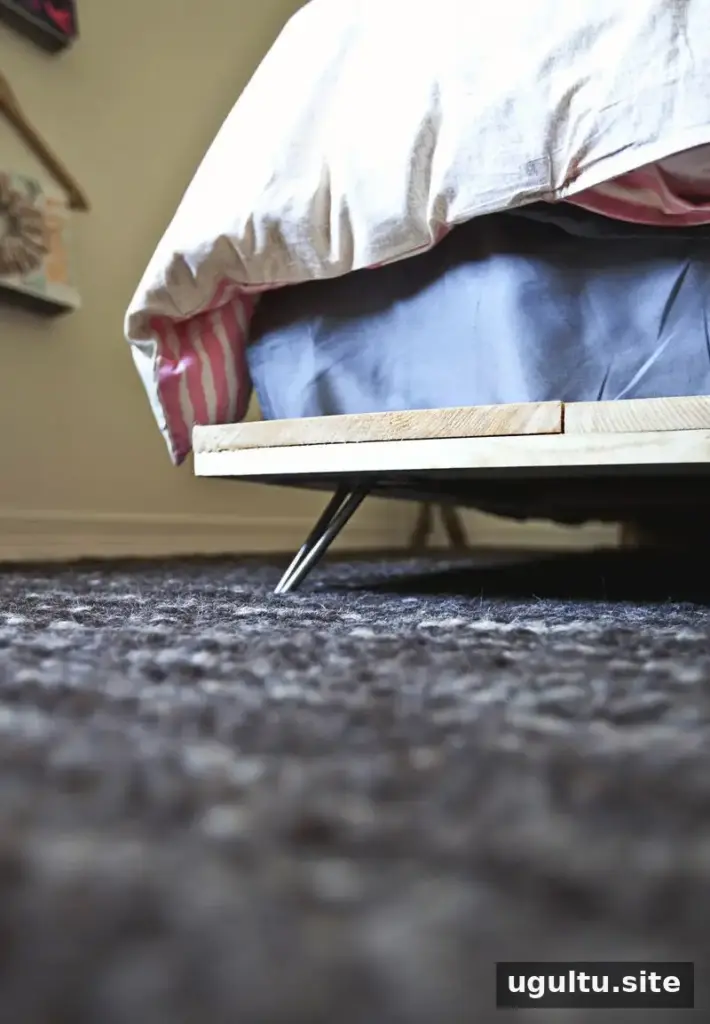
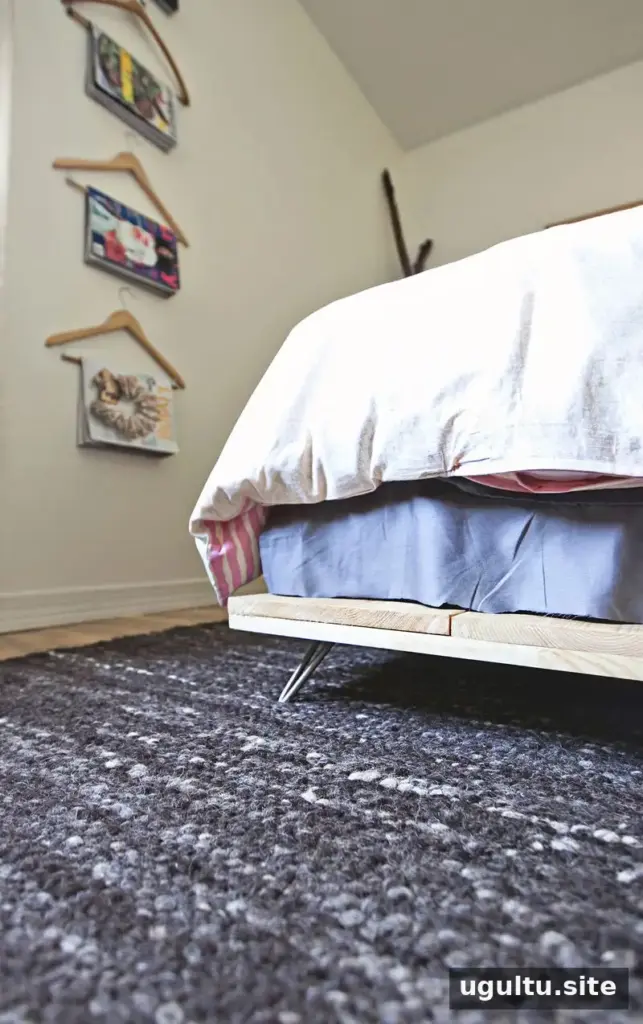
Screw one hairpin leg into each of the four corners. Position the legs securely and check that their placement is consistent. If you select a different leg style, make sure it is suitable for the frame and intended use.
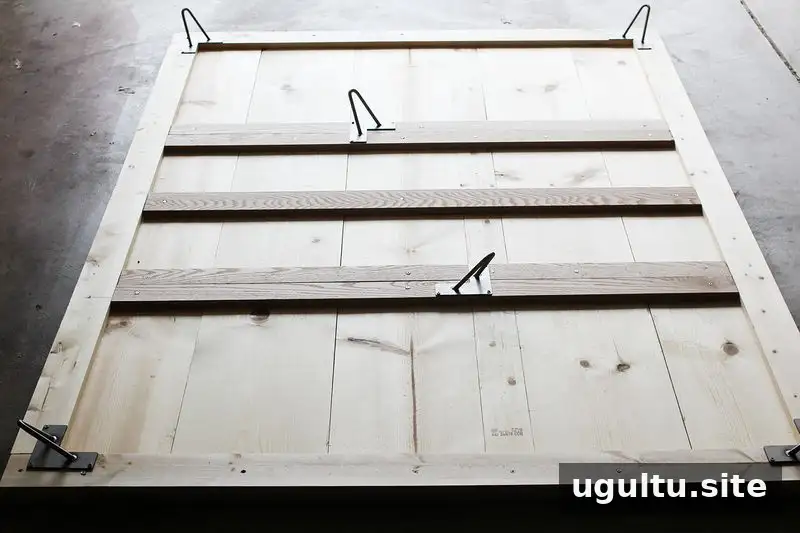
4. Add the support boards and remaining legs
Install the oak boards inside the frame to support the bed. The build also uses the two remaining hairpin legs to help distribute weight. Fasten each support securely, and inspect the assembled frame before placing the mattress and box spring on it.
Moving and Finishing the Frame
Sand the wood before applying stain or semi-gloss polyurethane, following the product directions and allowing the finish to dry fully. Plan where the frame will sit before assembly: the completed structure can be heavy and may be difficult to move, so arrange help rather than trying to lift it alone.
This project is a straightforward way to raise a queen bed and add a simple, finished base to a guest room. For a successful DIY bed frame, take careful measurements, verify the material list, and make sure the legs and internal supports are firmly attached. Project notes by Emma.