
 admin
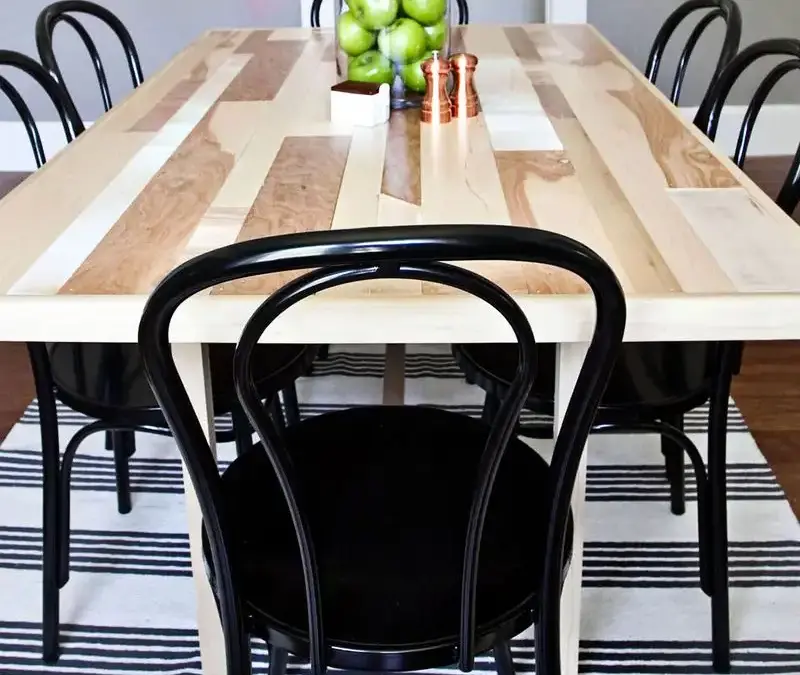
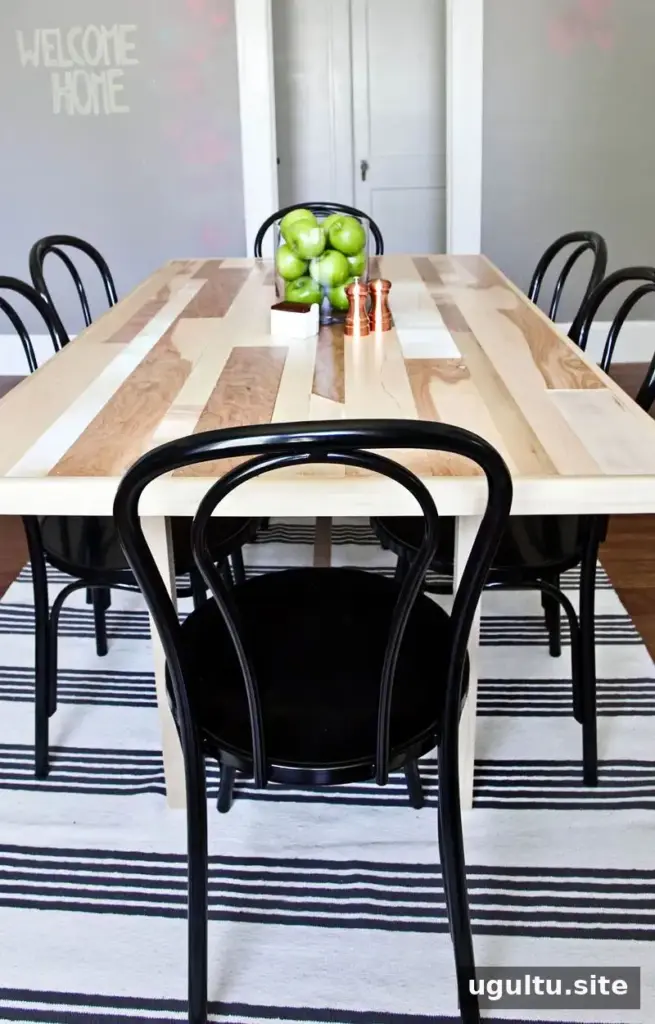
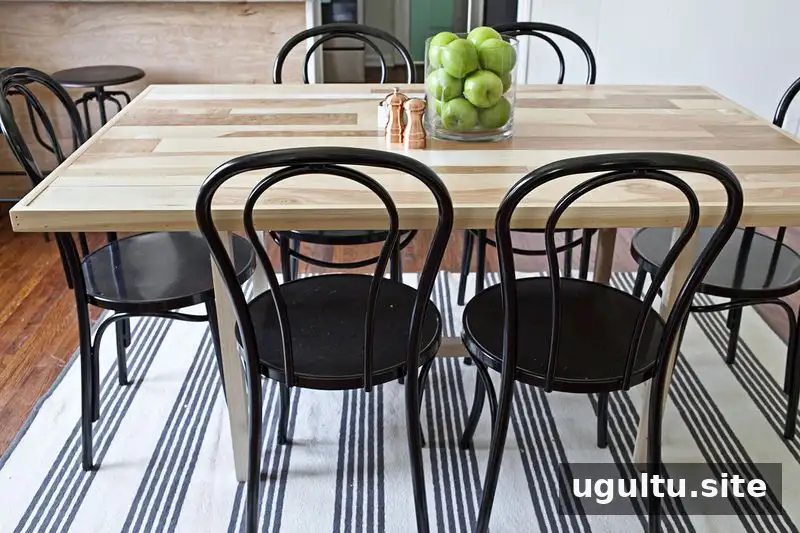
A DIY six-seat dining table can be a practical way to create a custom centerpiece while making use of leftover lumber. This project combines a sturdy plywood-supported base with a patchwork top made from assorted wood scraps. The estimated material cost was about $125, not including tools; the final amount may vary depending on what materials you already have.
Materials and tools for the DIY six-seat dining table
Gather the materials before cutting so you can check which pieces of scrap wood are suitable for the tabletop. Keeping the top pieces close to 3/4 inch thick helps create a more even surface.
- Nine 1.5-inch × 1.5-inch × 36-inch poplar boards, approximately $55 total
- One 4 × 8-foot sheet of 3/4-inch plywood, approximately $40
- Two 3/4-inch × 3.5-inch × 8-foot poplar boards, approximately $28 total
- Assorted 3/4-inch plywood and scrap wood
- 1 1/4-inch nails
- Wood stain, optional
- Wood sealer
Tools include a table saw, miter saw, drill, pocket-hole jig and 1 1/4-inch pocket-hole screws, sander, measuring tape, and pencil. A nail gun is optional. Use appropriate eye and hearing protection when cutting or sanding, and follow the tool manufacturers’ safety instructions.
Build the table base
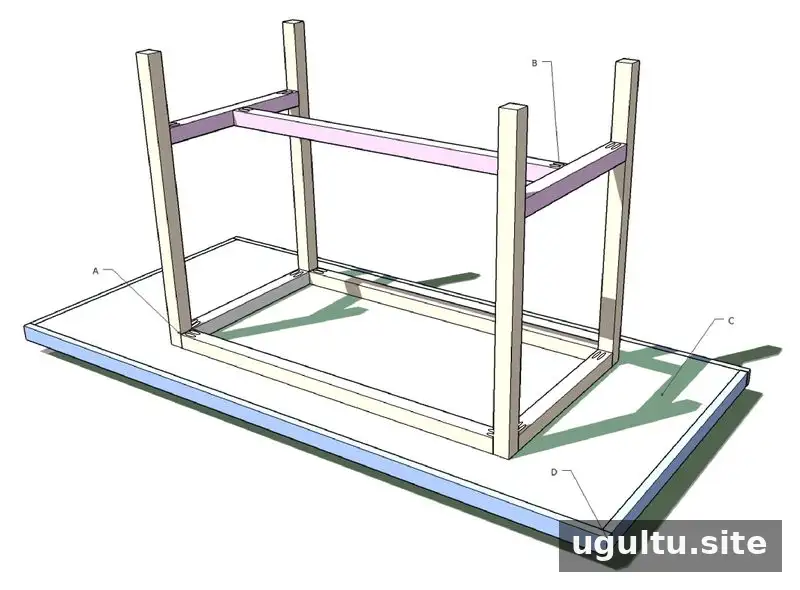
Start with the base, made from the 1.5-inch poplar boards. Cut the pieces to these lengths:
- Three pieces at 36 inches
- Four pieces at 28.5 inches for the legs
- Four pieces at 18 inches, made by cutting two boards in half
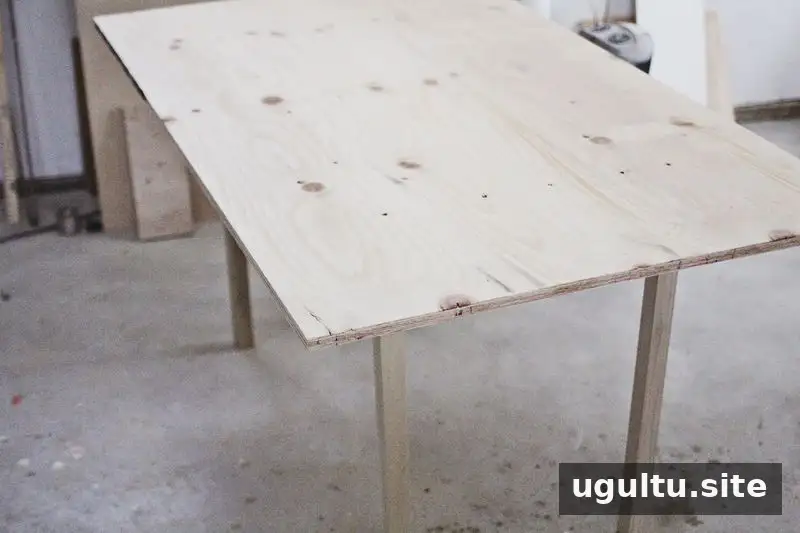
Use the project diagram to guide the arrangement of the legs and supports. Assemble section A with pocket holes, then build section B and attach it to the legs using pocket holes. Turn the base over and fasten section C, the plywood, to the frame with screws.
Next, add section D using the 3.5-inch poplar boards ripped into 1.5-inch-wide strips. These strips form a border around the plywood and the patchwork surface. Before attaching them, check that the frame leaves enough room for the thickness of the top pieces.
Fit the patchwork tabletop
Arrange the scrap pieces across the plywood. The project used a mix of walnut plywood, poplar, birch, and other available wood. Choose pieces that are approximately 3/4 inch thick where possible, and lay them out before fastening so you can adjust the pattern and fill gaps.
For a more cohesive look, consider balancing the colors across the surface rather than placing one noticeably different piece in a single area. The layout is flexible, so straight edges and angled pieces can both work. Measure and cut carefully, and test each piece in place to achieve a snug fit.
Secure, sand, and seal the table
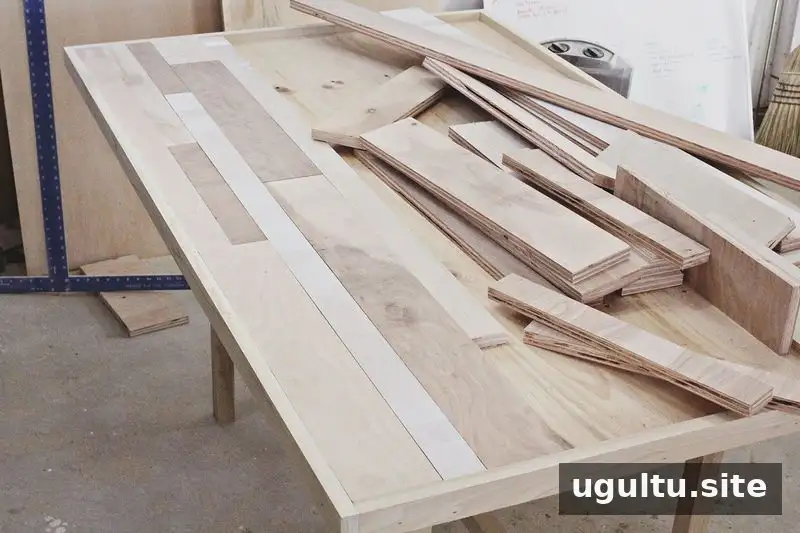
Some pieces can be cut at 45-degree angles to add variety. Once every piece fits well, nail the pieces down. Fill nail holes with a neutral-colored wood filler, then sand the tabletop until it feels smooth. Take care around joins and edges so sanding does not create uneven spots.
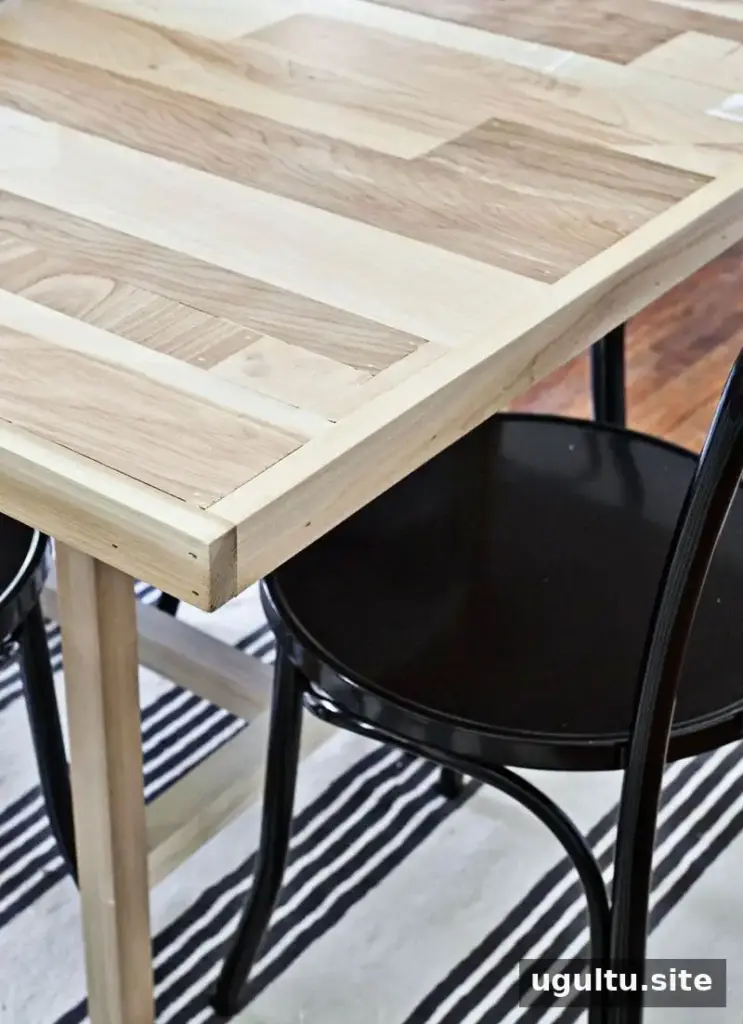
The finished surface may have slight variations in height because reclaimed and scrap pieces are not always identical. Sanding helps even it out. Apply three coats of polyurethane to finish the table, following the product label for application and drying guidance. Allow the finish to dry as directed before putting the table into use.
Final thoughts
This DIY six-seat dining table uses a straightforward base and leaves room to personalize the tabletop with suitable leftover wood. Check the fit and thickness of the pieces as you work, and protect the finished surface with a suitable sealer. With careful assembly and finishing, the table can serve as a functional dining-room piece for years. — Josh


