
 admin
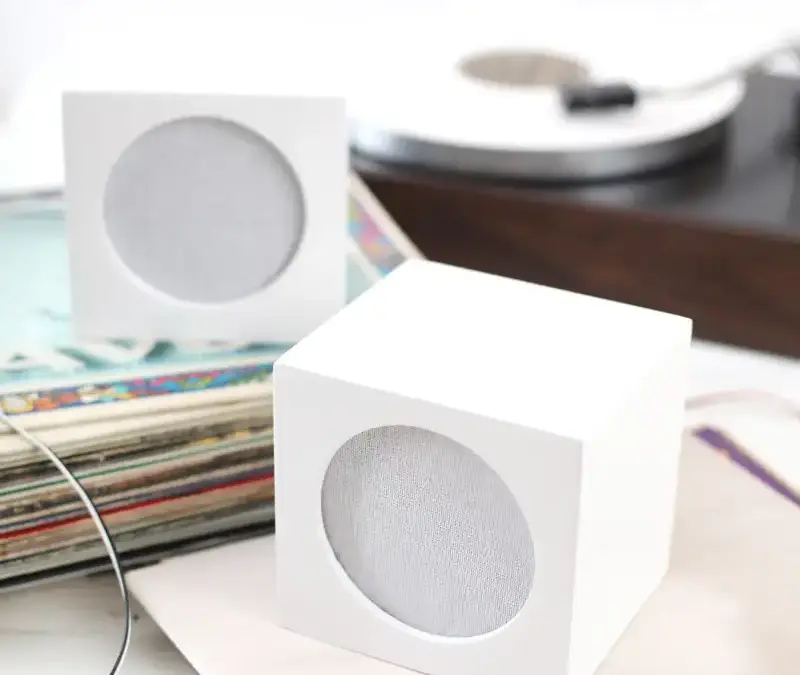
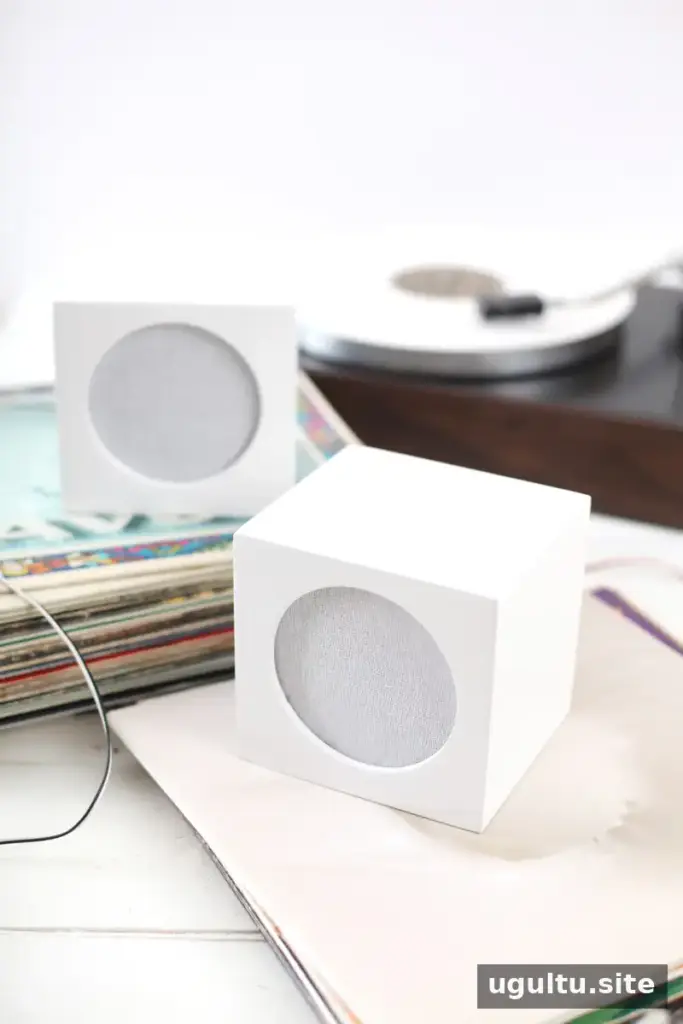
DIY speaker box covers offer a practical way to give visible speakers a more coordinated look without replacing the equipment. This project uses plywood, paint, and screen material to create covers that slip over existing speaker boxes while leaving the bottom open. Measure each speaker carefully before cutting, and allow enough room for a smooth fit.
DIY speaker box covers: materials and preparation
Gather the following supplies before starting:
- 1/2-inch and 1/4-inch Baltic birch plywood
- The speakers you plan to cover
- Wood glue or Liquid Nails
- A large circular drill bit, jigsaw, or circle cutter for a drill press
- A compass and measuring tape
- Duct tape or wood clamps
- Wood filler
- Primer and paint in your preferred color
- 180- and 320-grit sandpaper
- Screen material
- A hot glue gun and glue
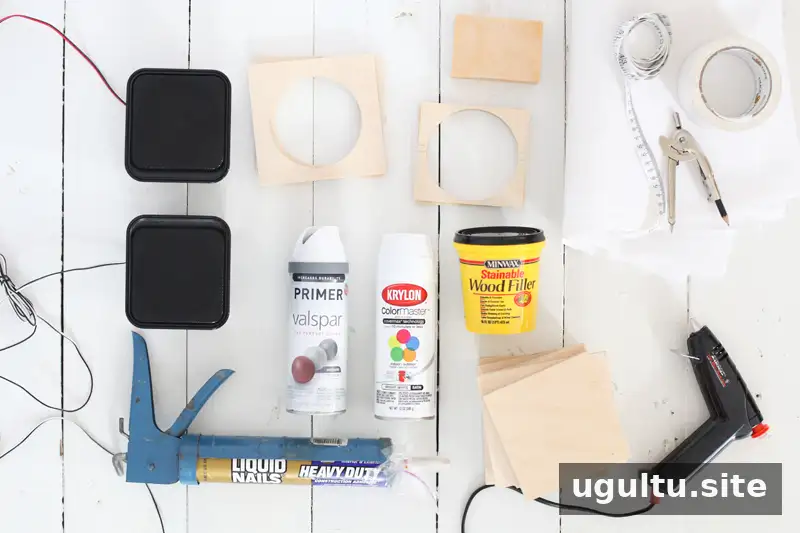
Baltic birch plywood is recommended because its thin layers are strong and less prone to chipping during cutting. It is also less likely to warp over time. Measure the actual plywood thickness rather than relying only on its label: these instructions assume 1/2-inch material. If using a different thickness, substitute its thickness for 0.5 inch in the formulas below and use twice that thickness wherever the formulas specify 1 inch.
Step 1: Measure and cut the plywood
Measure the speaker’s height, width, and depth, including any parts that extend beyond the speaker cabinet. Add 1/4 inch to each measurement for clearance. Call the resulting dimensions h (height), w (width), and d (depth), and work in inches.
Cut five pieces: a front, a back, two sides, and a top. There is no bottom, so the finished cover can slide over the speaker. For 1/2-inch plywood, use these cut dimensions:
- Back: w × h
- Each side: (d + 0.5 inches) × h
- Top: (w + 1 inch) × (d + 0.5 inches)
- Front: (w + 1 inch) × (h + 0.5 inches)
- Front opening diameter: w − 0.5 inches
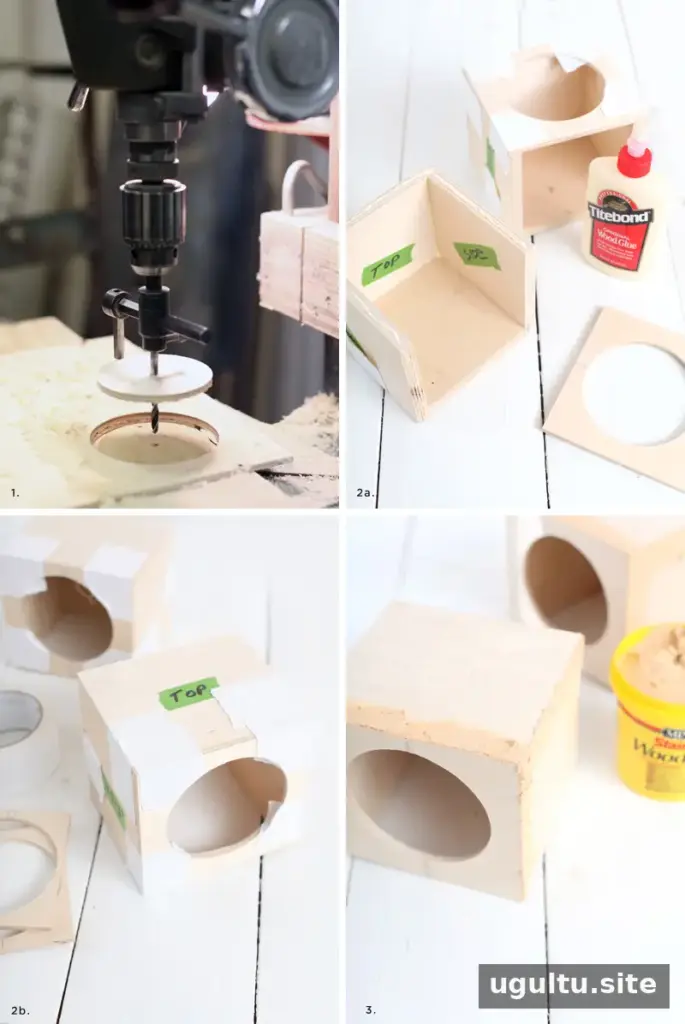
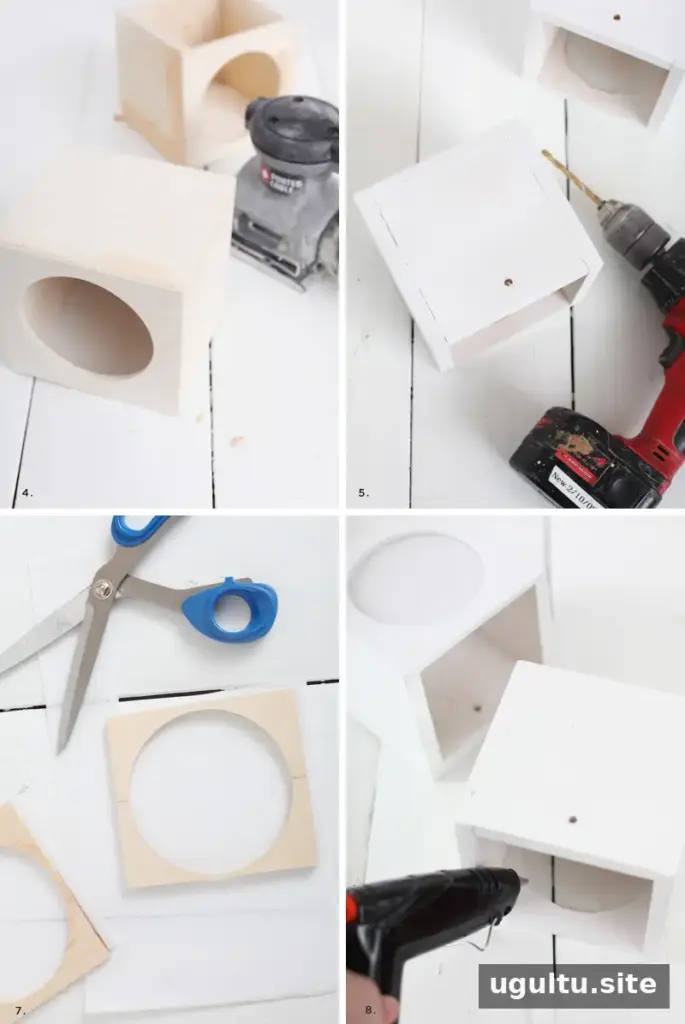
Label each piece as you cut it to make assembly easier. Mark the center of the front panel and cut the circular opening with your chosen tool. Sand the edge of the opening and both faces of every panel. Wear eye protection, and use a respirator when sanding to reduce exposure to dust.
Step 2: Assemble the cover
Place the top panel on a flat work surface. Glue the sides and back to the top and to one another, wiping away excess adhesive. Hold the pieces in position with clamps or duct tape while the glue sets. Then rest the back panel on the work surface and attach the front panel. Follow the adhesive manufacturer’s guidance for setting time.
Step 3: Fill and sand
Once the assembly can be handled, apply wood filler to the joints and any chipped or damaged areas. Let it dry according to its product instructions. Sand the cover with 180-grit paper, then smooth it again with 320-grit paper. Lightly soften the sharp outer edges for a more finished appearance.
Step 4: Add wire openings and paint
Drill holes in the back panel so speaker wires can pass through. Plan their positions before painting, and make sure the openings are large enough for the wires. Remove sanding dust, then apply several light coats of primer to the inside and outside. After the primer has set, add several light coats of satin, gloss, or semi-gloss paint. Allow each coat to dry as directed; wax paper can help reduce sticking if a painted surface rests on the workbench.
Step 5: Attach the screen material
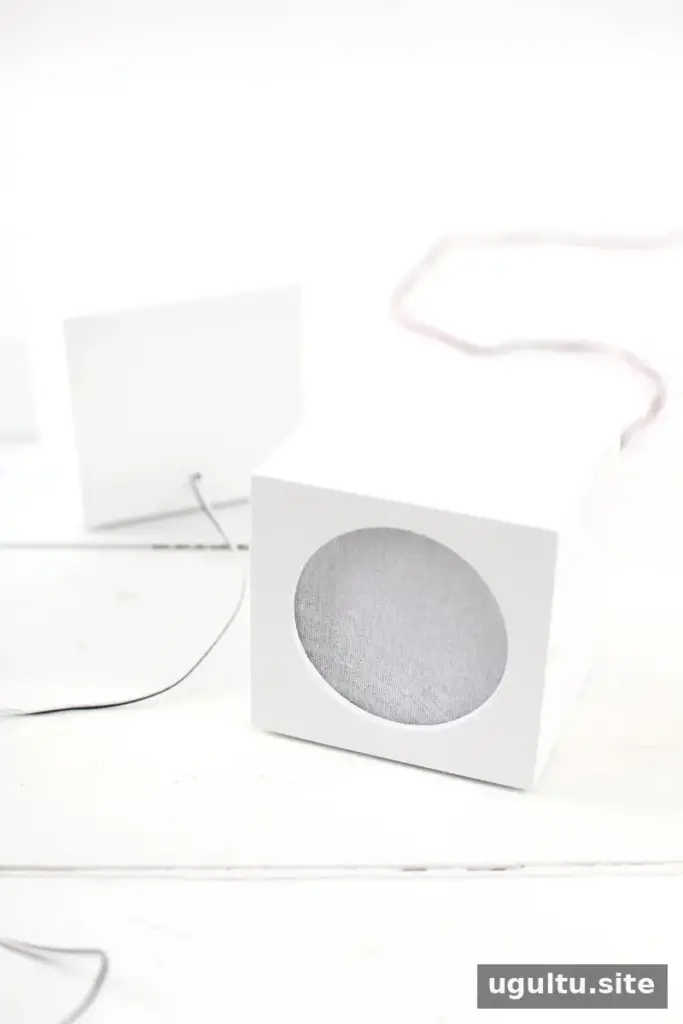
Cut the screen material 1/4 inch shorter in height than the back panel. Each piece should be at least 1/2 inch larger than the front opening. Keep the corners intact rather than trimming the fabric into a circle. Apply small dots of hot glue around the opening on the inside of the cover, then press the screen into place. Use care near the edge so glue does not show through the material.
Fit and use the finished speaker covers
Let the paint and adhesive dry fully before fitting the covers. Feed the wires through the rear openings, connect the speakers to the receiver, and slide each cover over its speaker. Check that the cover does not press against speaker components or block any openings on the cabinet. A careful test fit before painting can help catch sizing issues early.
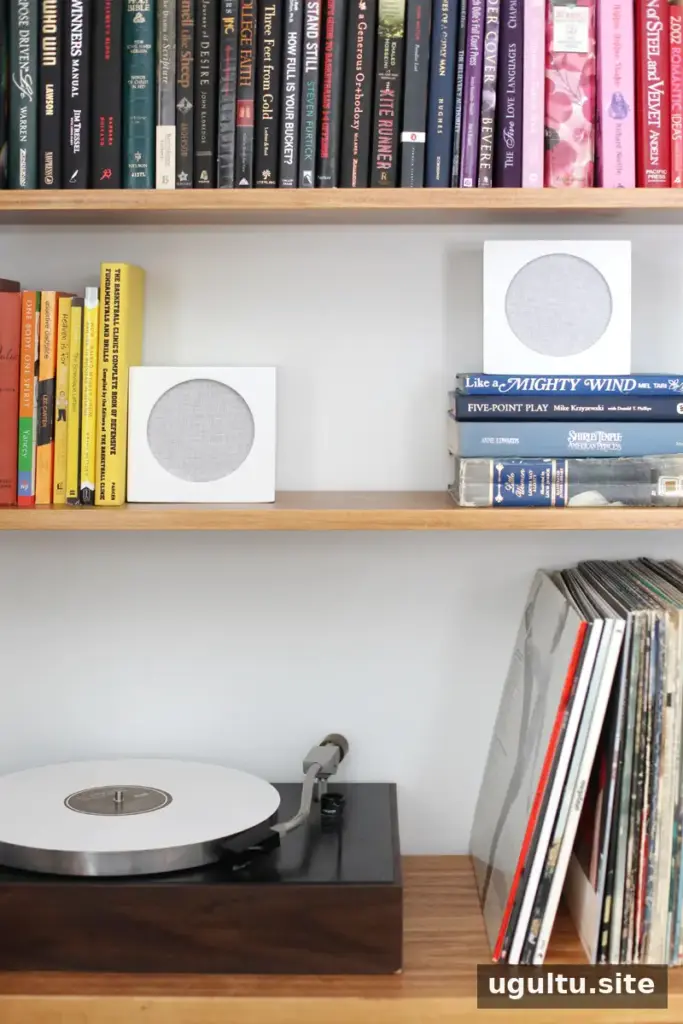
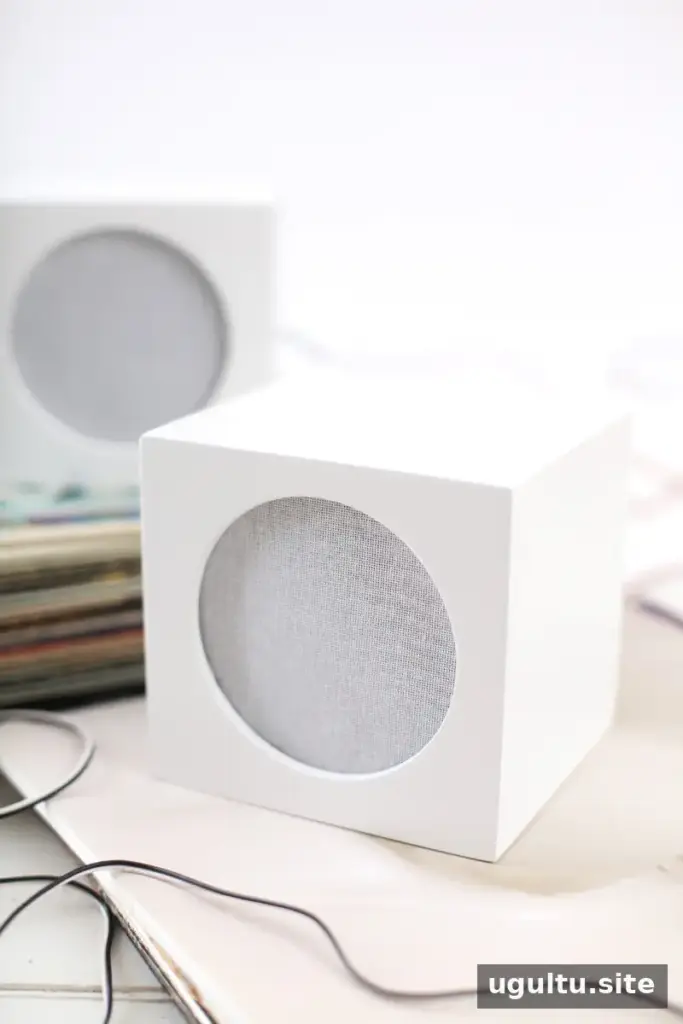
Cutting, assembling, filling, sanding, and painting all take time, especially when several coats are needed. Still, DIY speaker box covers can be a useful way to make speakers blend more naturally with a room. Measure twice, allow finishes to cure, and test the fit before putting the covers into regular use.
— Mandi


