
 admin
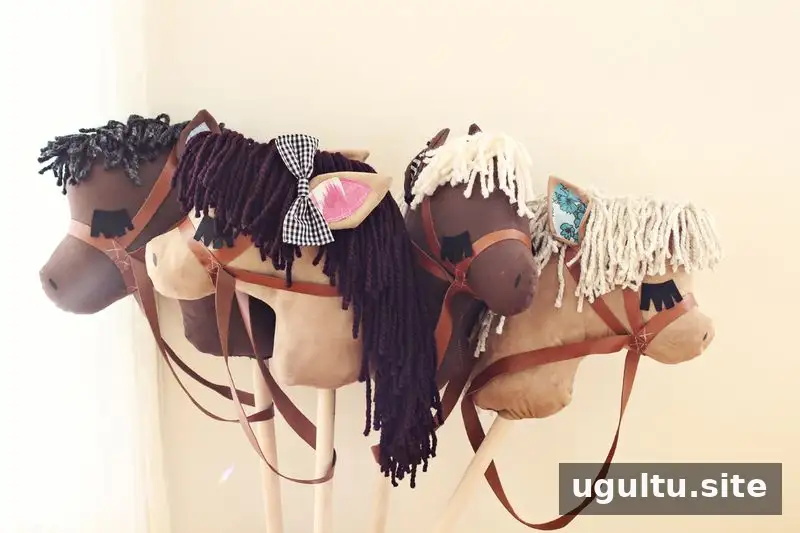
DIY stick horses are a classic craft project that can encourage imaginative play. With fabric, stuffing, yarn, and a wooden dowel, you can make a soft horse head attached to a stick and personalize it with felt features, a mane, and reins. Gather your materials before starting, and use age-appropriate supplies and adult supervision when sewing, cutting, or using glue.
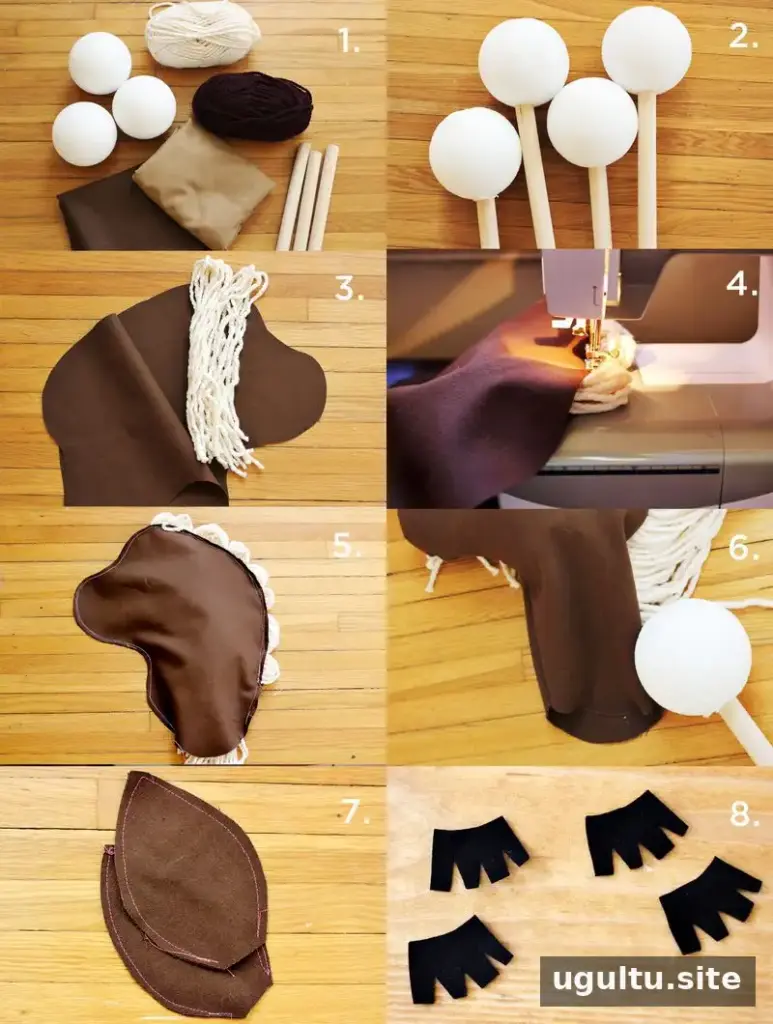
Materials for DIY Stick Horses
Prepare the following items before you begin:
- Fabric for the horse’s head
- Stuffing
- Yarn for the mane
- A long wooden dowel
- A Styrofoam ball
- Felt for details such as ears and eyes
- Needle and thread, scissors, and glue
- Optional: scrap leather for a bridle and reins
Choose fabric that is easy to sew and sturdy enough for a play toy. Check that the dowel has no splinters before assembly; an adult should handle any sanding or trimming that may be needed.
How to Make a DIY Stick Horse
- Attach the dowel to the ball. Carefully carve out a portion of the Styrofoam ball, then glue the end of the wooden dowel into the opening. Allow the glue to set according to its instructions before continuing.
- Cut out the horse head. Cut two matching horse-head shapes from the fabric. Cut a length of yarn about 30 inches long and fold it in half to form part of the mane.
- Sew the head and mane. Place the fabric pieces together and sew around their edges. Add the folded yarn along the seam as you sew, leaving the bottom of the head—the neck—open.
- Turn and stuff the head. Turn the fabric right side out and fill the head with stuffing. Keep the opening clear so the ball and dowel assembly can fit inside.
- Secure the head to the stick. Insert the ball into the neck opening and add stuffing around it to help fill the head. Hand-stitch the opening closed, taking care to keep the assembly secure.
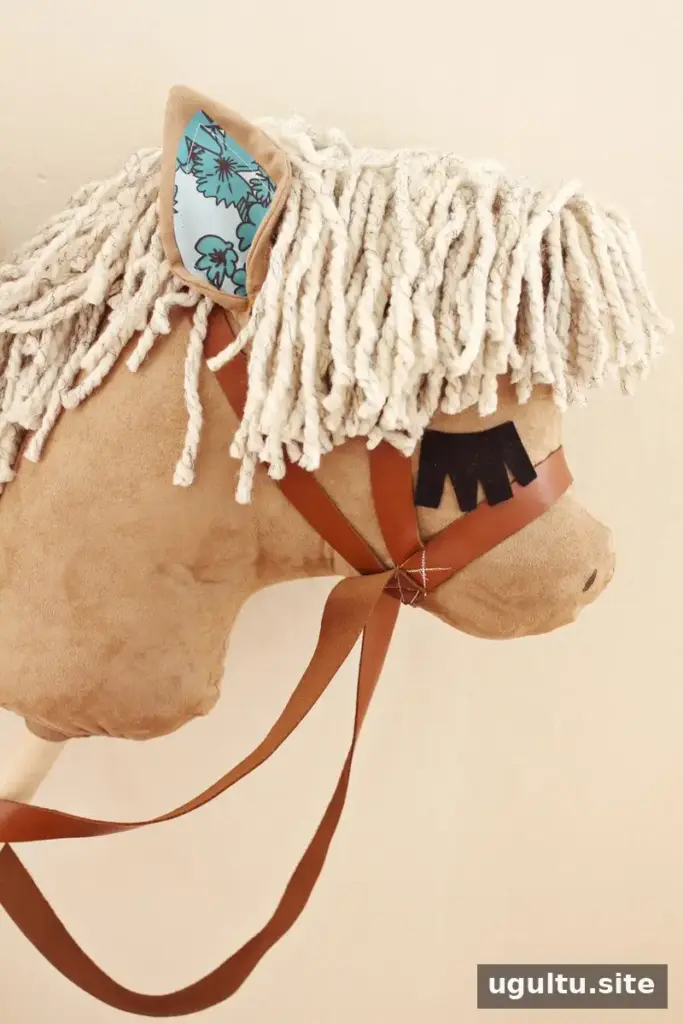
- Add ears and features. Cut out fabric ears, sew around their edges, turn them right side out, and hand-stitch them in place. Add eyes and other details using felt or suitable fabric glue.
- Finish with a bridle. If desired, sew strips of scrap leather together to make a bridle and reins. Check that any added pieces are firmly attached before the toy is used.
Finishing and Safety Tips
Before play, inspect the seams, mane, ears, and decorations for loose parts. Re-stitch or reattach anything that comes free. For young children, avoid small details that could detach and pose a choking risk, and supervise play with the stick. Store the finished toy in a dry place to help keep the fabric and stuffing in good condition.
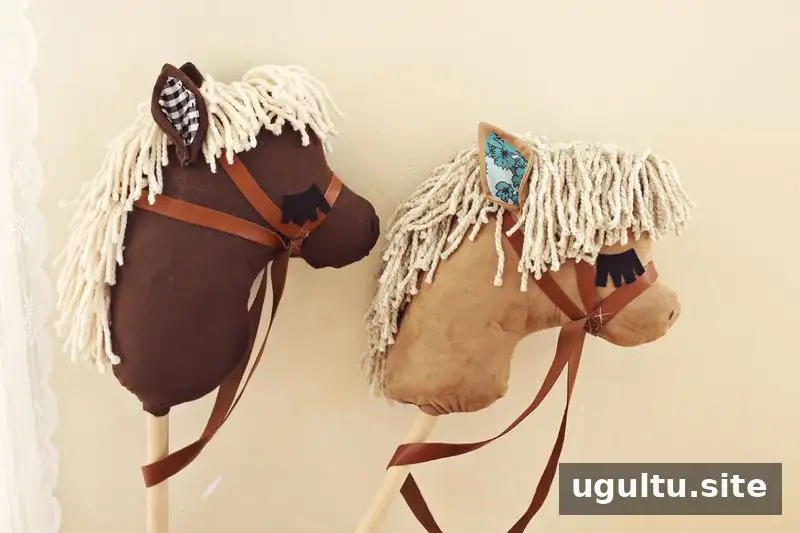
DIY stick horses can be customized with different fabrics, yarn colors, and facial details, making each one distinctive. Keep the construction sturdy and the embellishments securely attached so the finished toy is ready for imaginative play.
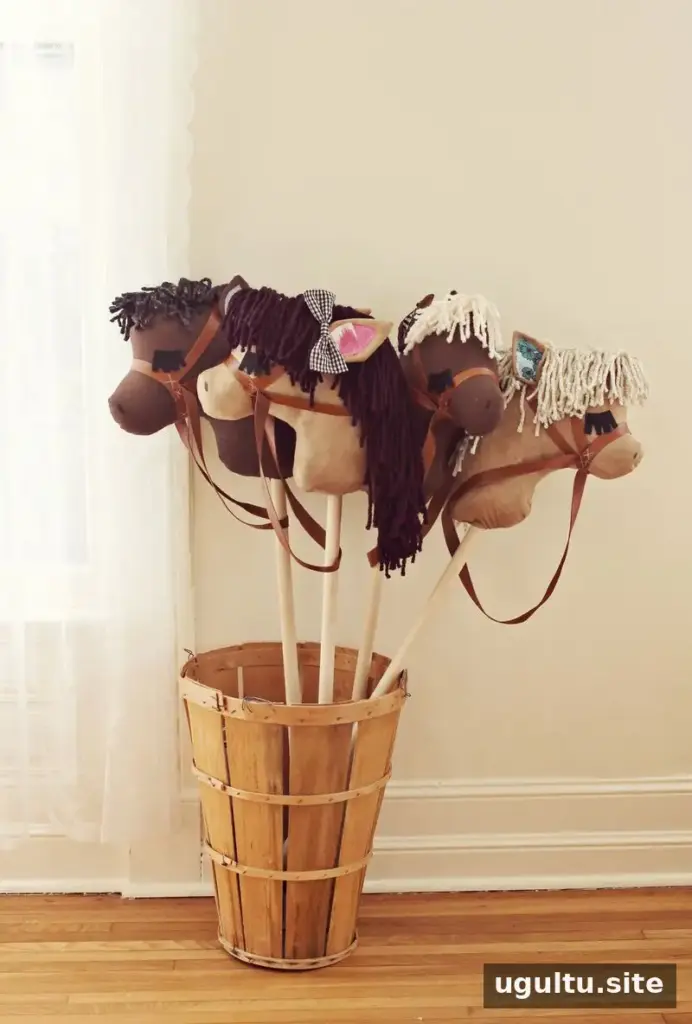
Project credit: Katie.


