
 admin
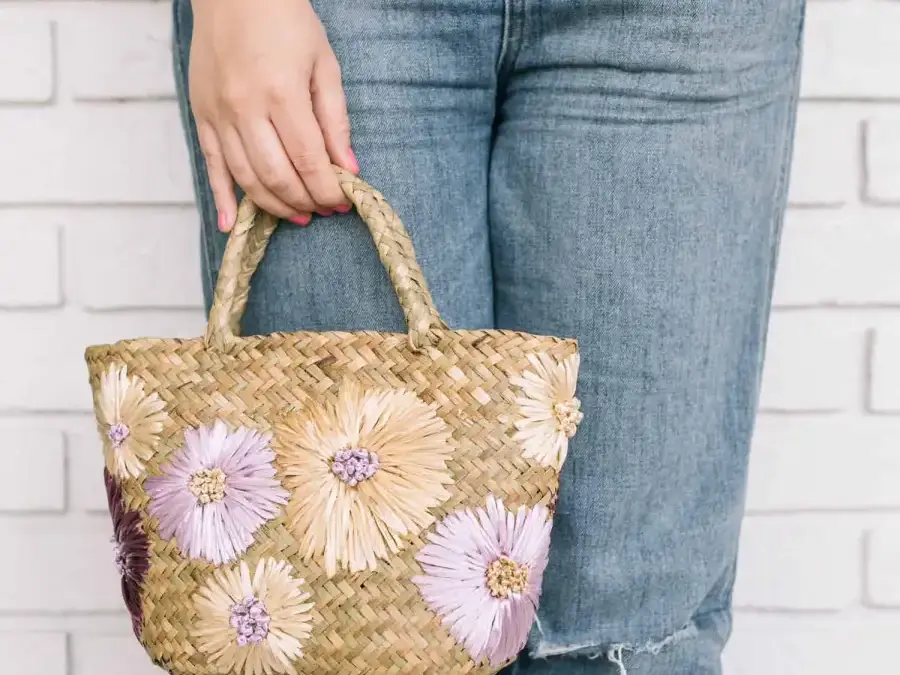
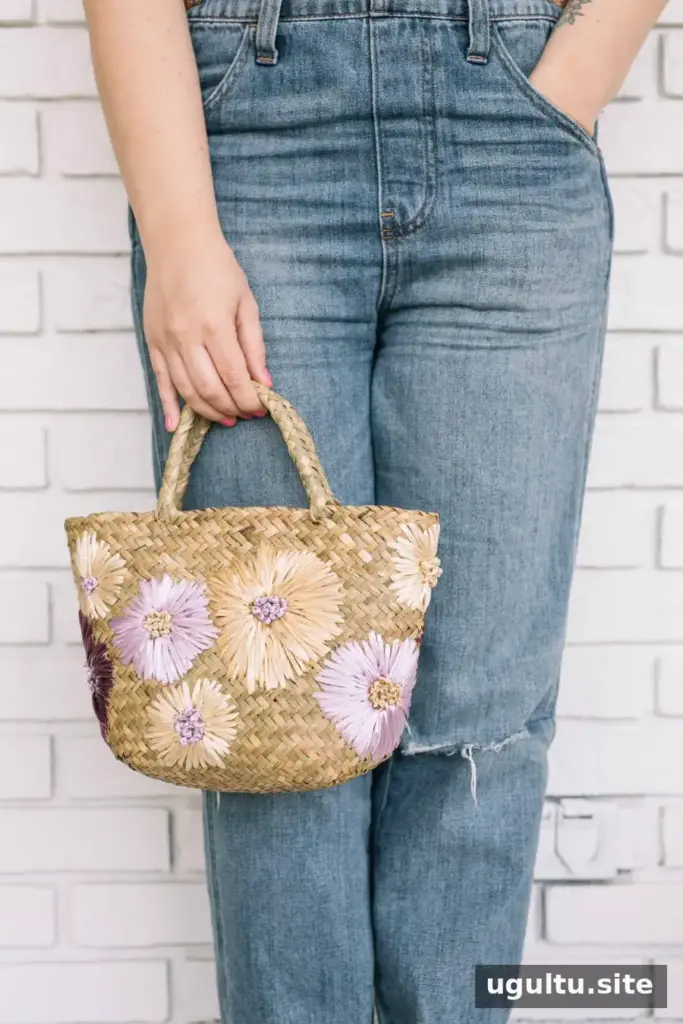
A DIY stitched floral purse is a simple way to give a plain woven bag a vintage-inspired look. The design uses colorful raffia to form flowers directly on the bag, so you can customize the pattern with different petal sizes and colors. The project does not require many tools, and the stitching can be done in short sessions.
Materials for a DIY stitched floral purse
Choose a small, unlined woven bag made from thin material that a needle can pass through. A lining or thick backing can make stitching more difficult, so check the construction before you begin.
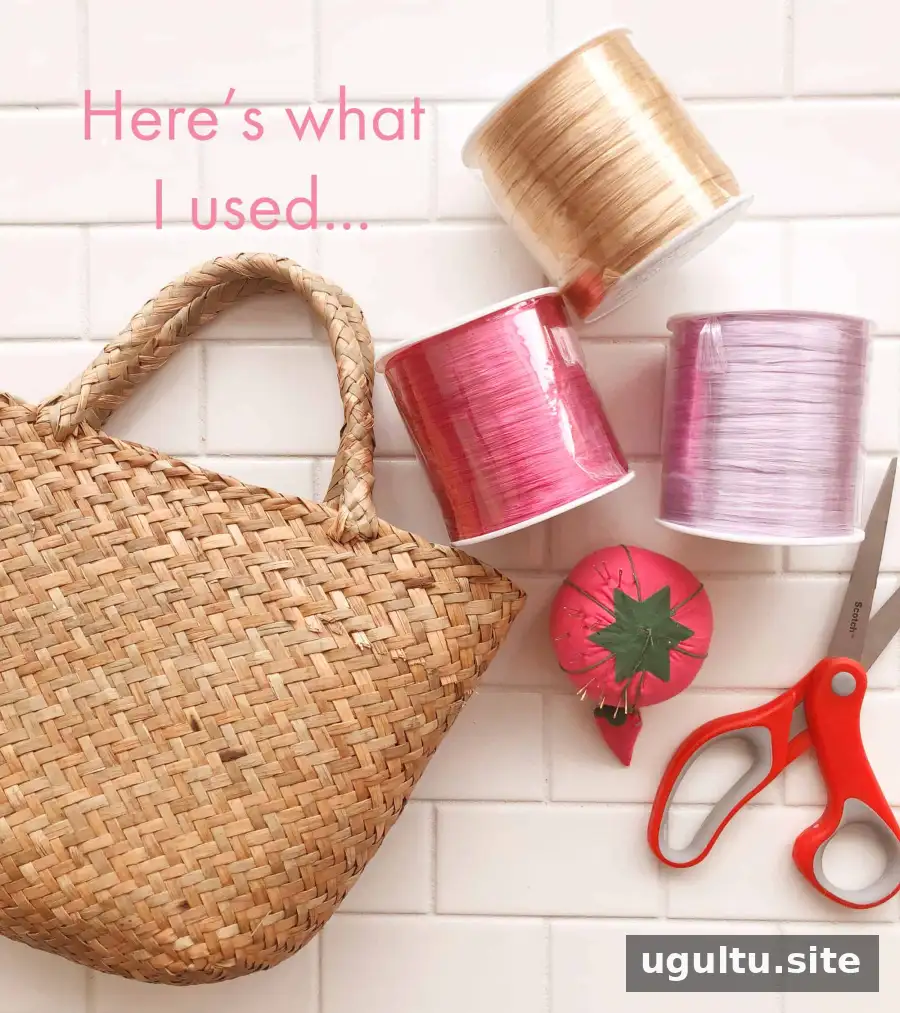
The example used a bag that cost $11 and colored, pearlized raffia for the flowers. Similar woven bags and raffia can work, provided the material is suitable for hand stitching.
- An unlined woven bag made from thin material
- Colored, pearlized raffia
- A tapestry needle with a larger eye
- Scissors
Before starting the full design, test a stitch in a discreet area. This helps confirm that the needle passes through the weave and that the raffia sits comfortably on the surface.
How to stitch the floral design
1. Make the flower petals
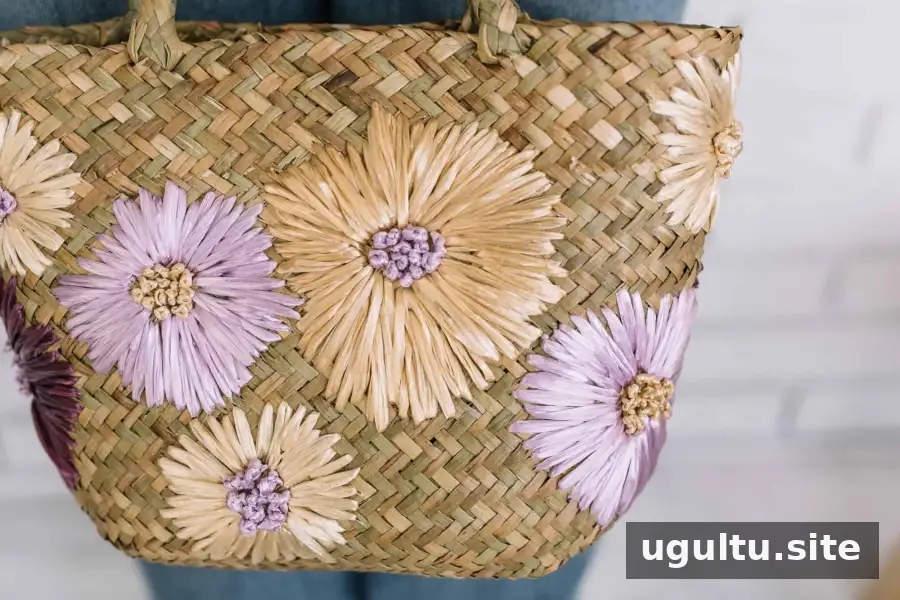
Begin each flower with a circular burst of stitches to create the petals. Leave a small open circle in the middle for the flower center. Vary the size of the bursts to make small, medium, and large flowers, then distribute them around the bag to create a balanced pattern.
Work around the purse a section at a time. This makes it easier to space the flowers and adjust the layout before the remaining areas are filled. Keep the stitches secure, but avoid pulling so tightly that the woven material puckers.
2. Add textured centers
Start the center stitch from the back of the bag. Tie knots close to the base to form a raised dot in the middle of each flower. Two or three knots were used for each center; adding more knots creates a larger, more textured dot.
Finishing and care tips
Stitching flowers all the way around a small bag took about two days. The time needed will depend on the size of the purse, the number of flowers, and how quickly you work. Pause occasionally to check the pattern and make sure the stitches on the inside are not catching on anything.
The reverse side may look untidy because of the knots and loose stitching. Adding a liner is optional, but it can cover the inside work and help keep it from snagging on items in the purse. If you add one, make sure it does not pull against the outer stitches.
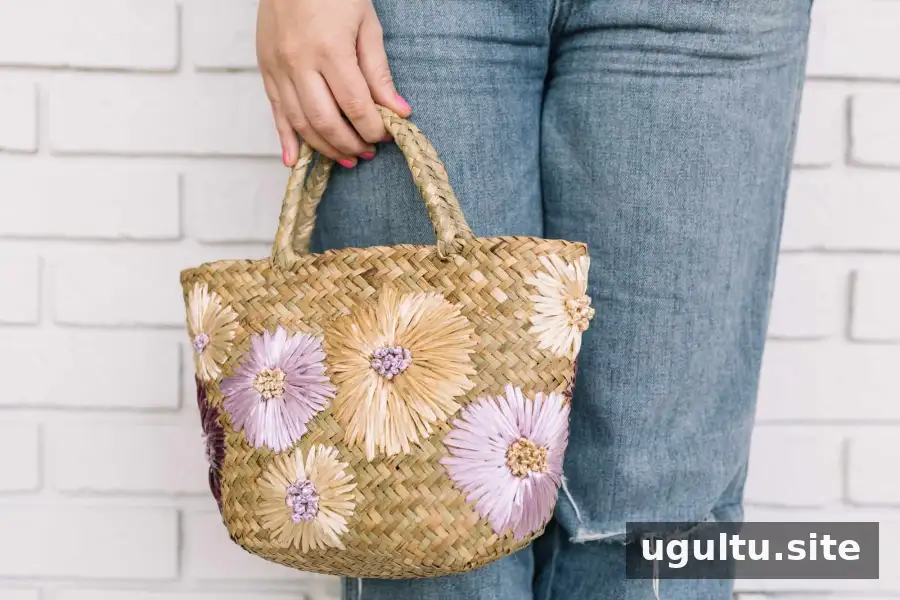
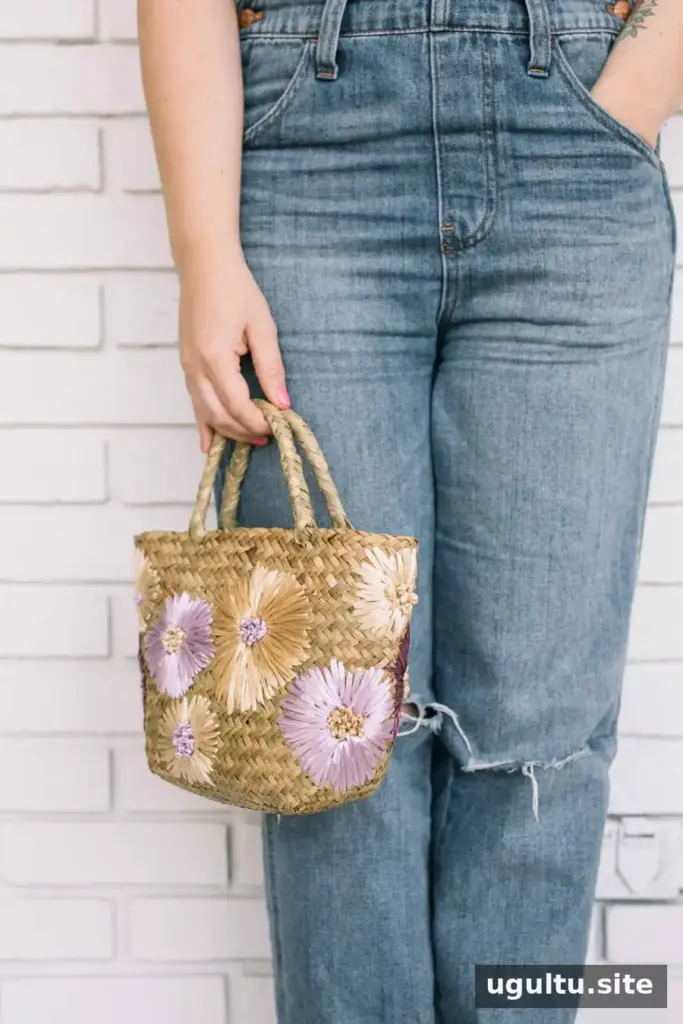
The finished purse has a distinctive, vintage-inspired appearance. With a suitable thin woven bag, raffia, and a little patience, this DIY stitched floral purse can become a useful accessory. Take care when trimming the raffia, and check the stitching from both sides before using the bag. — Elsie


