
 admin
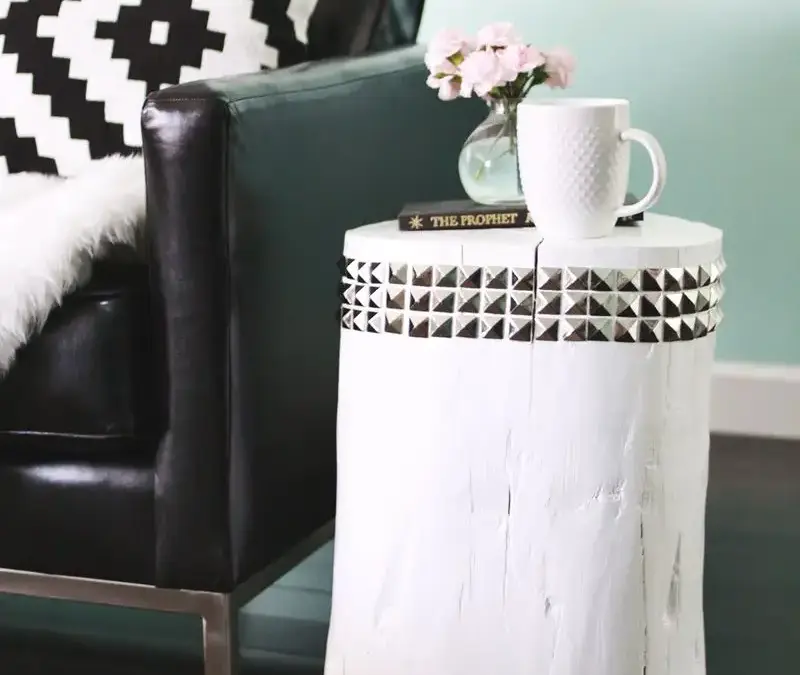
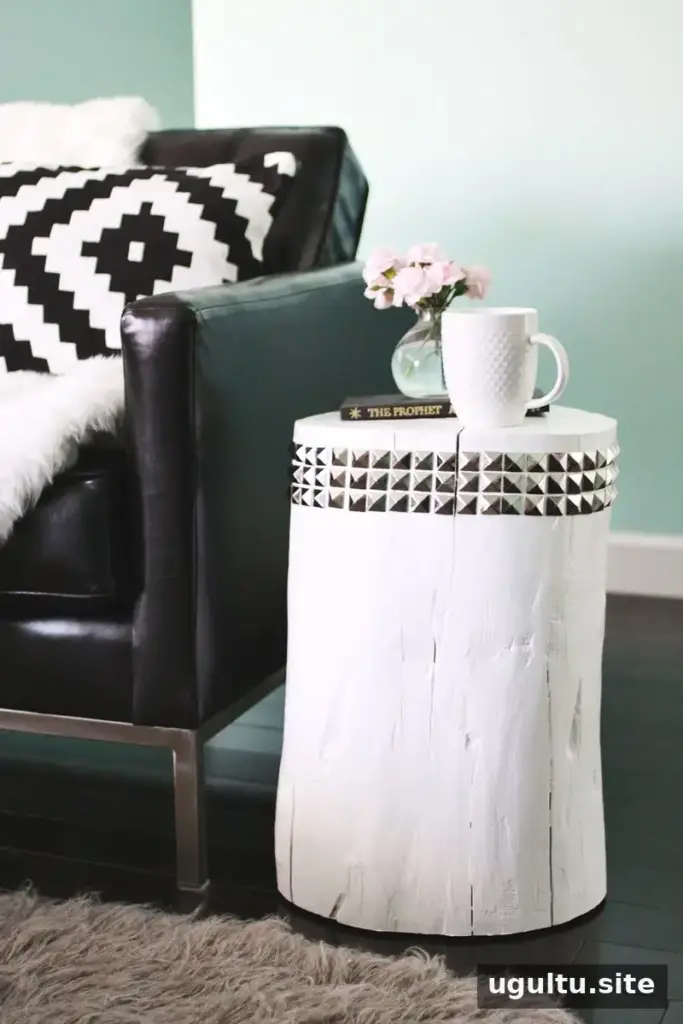
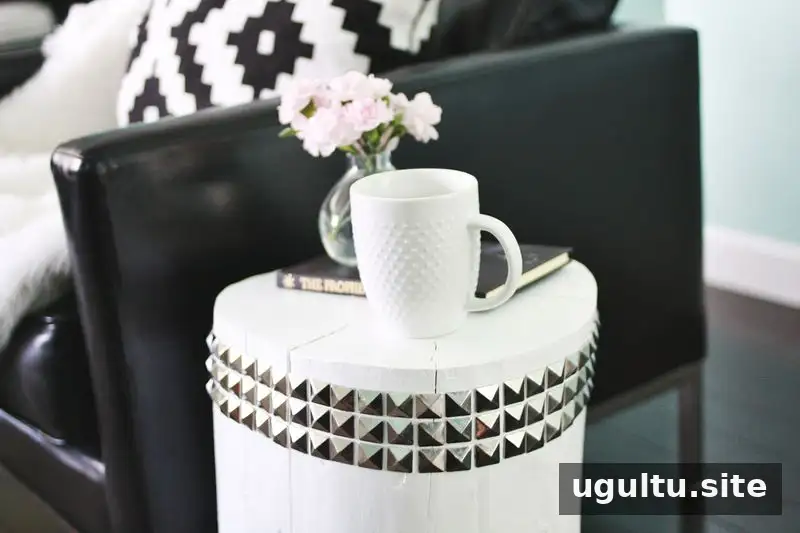
A DIY studded tree stump side table can turn a sturdy piece of wood into a distinctive accent for a living room or bedroom. This project pairs a painted stump with rows of pyramid upholstery nails for a bold finish. The key steps are letting the wood dry, removing the bark carefully, and creating an even guide for the studs.
Materials for a DIY Studded Tree Stump Side Table
- A dry wooden stump
- White indoor acrylic paint, preferably with primer
- Hand-held sander and medium-grit sandpaper
- Chisel and hammer
- Pyramid upholstery nails
- Masking tape
- Optional: heavy-duty felt furniture pads
Choose a stump that sits securely and has no signs of active decay. Wear eye protection when sanding or hammering, and work in a well-ventilated area when painting. If collecting wood outdoors, make sure you have permission to take it.
How to Make the Stump Table
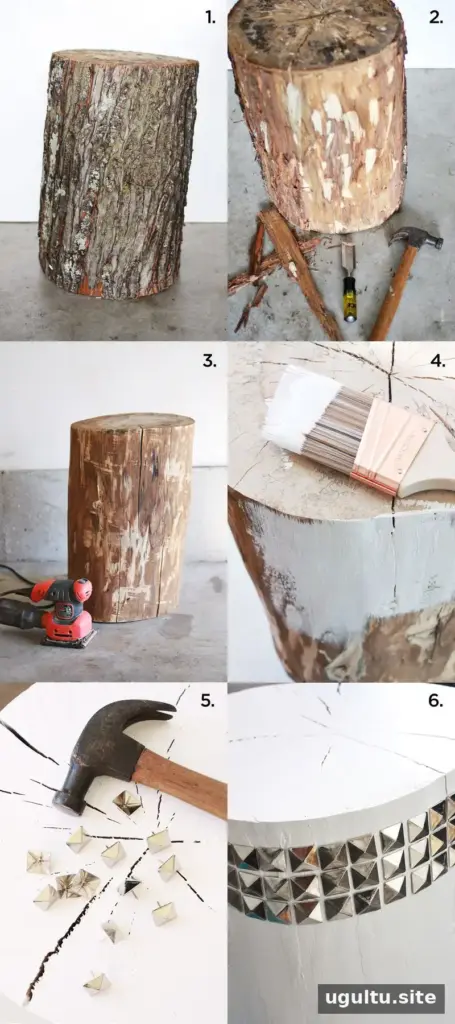
1. Dry the stump
Allow the stump to dry in a sheltered, ventilated place. For this project, the wood was left in a garage for at least six months, until the outer bark began separating from the trunk. Drying time can vary with the stump’s size and conditions, so check that it is dry and stable before painting.
2. Remove the bark
At the top edge, carefully position a chisel between the bark and the wood. Tap the chisel downward with a hammer, using controlled force to loosen the bark. Work around the stump until the bark has been removed. Keep your hands clear of the chisel’s path.
3. Sand and clean the surface
Use medium-grit sandpaper to remove remaining bark and smooth rough edges. Sand the top and bottom as well so the table can sit more evenly. Wipe away dust with a damp cloth and let the surface dry before applying paint.
4. Paint and seal the wood
Apply white indoor acrylic paint with primer in a semi-gloss finish. The project used three coats to achieve an opaque white surface. Follow the paint label for drying times between coats. Paint the underside too, since coating all exposed wood helps seal the surface. If using a paint that does not seal the wood, follow its instructions about applying a suitable sealer.
5. Add the upholstery nails
Wrap masking tape around the stump near the top to mark the height of the first row. Use the tape as a guide for the top of each stud, and hammer the pyramid upholstery nails around the stump. Repeat to create the second and third rows, keeping the spacing as consistent as possible. Nearly 150 nails were used for three rows on this project; the amount needed will depend on the stump’s circumference and nail spacing.
Finishing and Using the Side Table
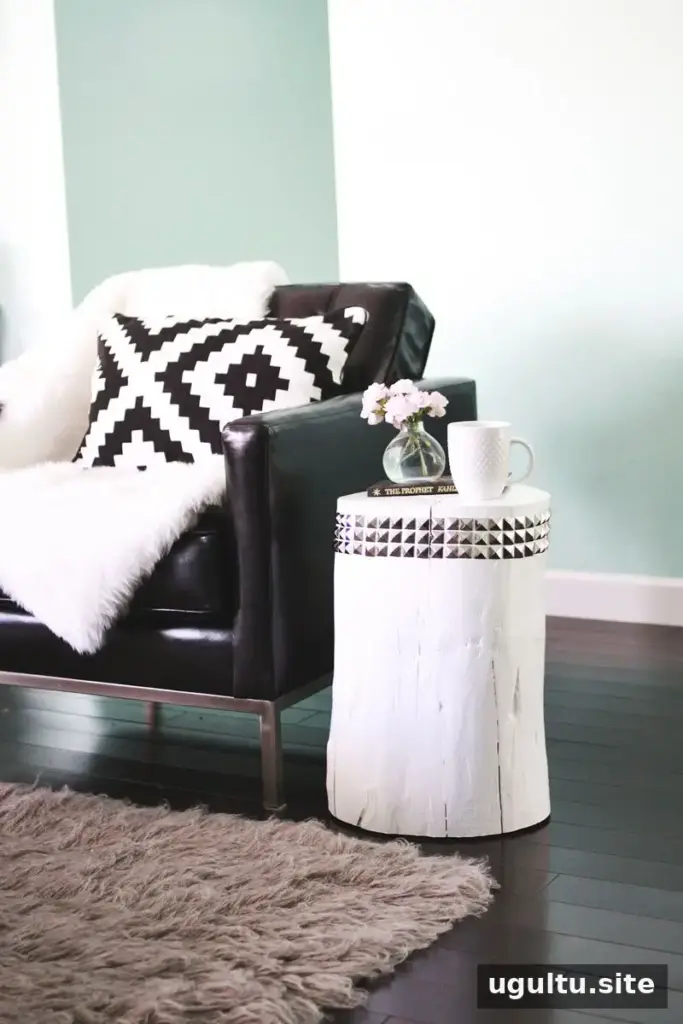
Attach heavy-duty felt furniture pads to the bottom if you want to slide the table without scratching the floor. Check that the pads are secure and that the finished stump sits level before placing items on it. Because the top is natural wood, inspect it for rough spots and sand them smooth if needed.
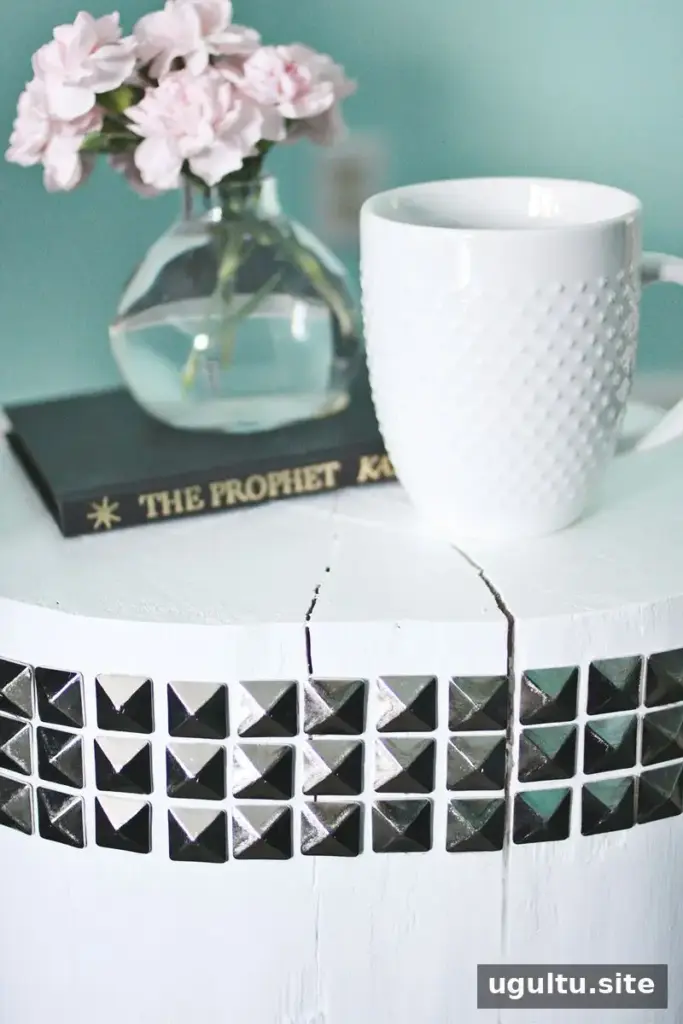
This DIY studded tree stump side table combines a simple wood finish with decorative metal details. Give the stump adequate time to dry, apply paint to every side, and use masking tape to help keep the nail rows aligned. Project by Laura.


