admin

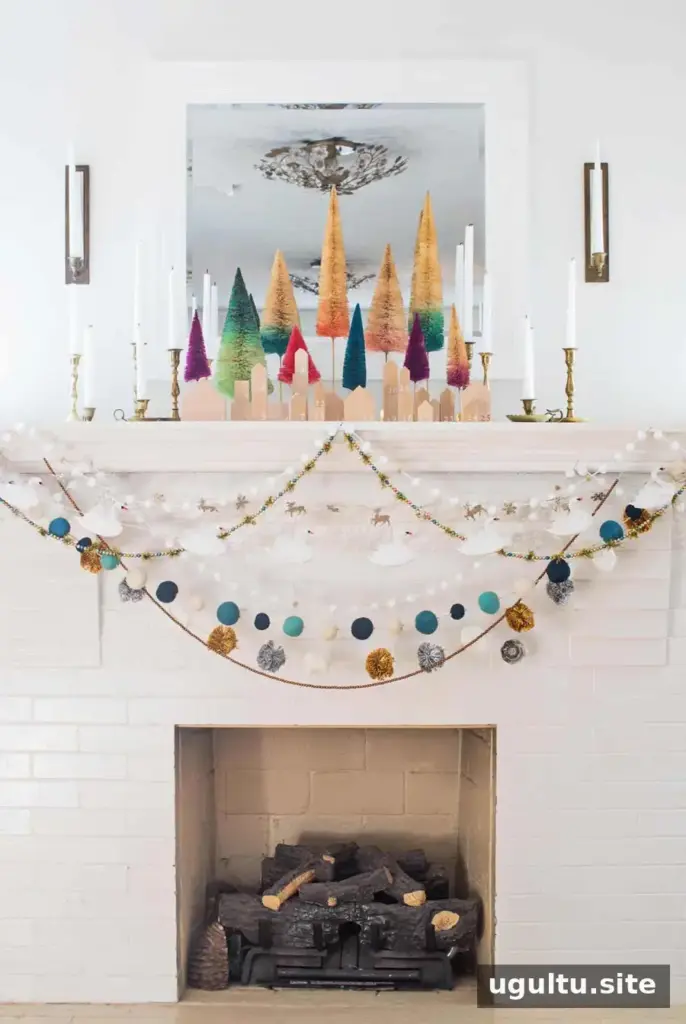
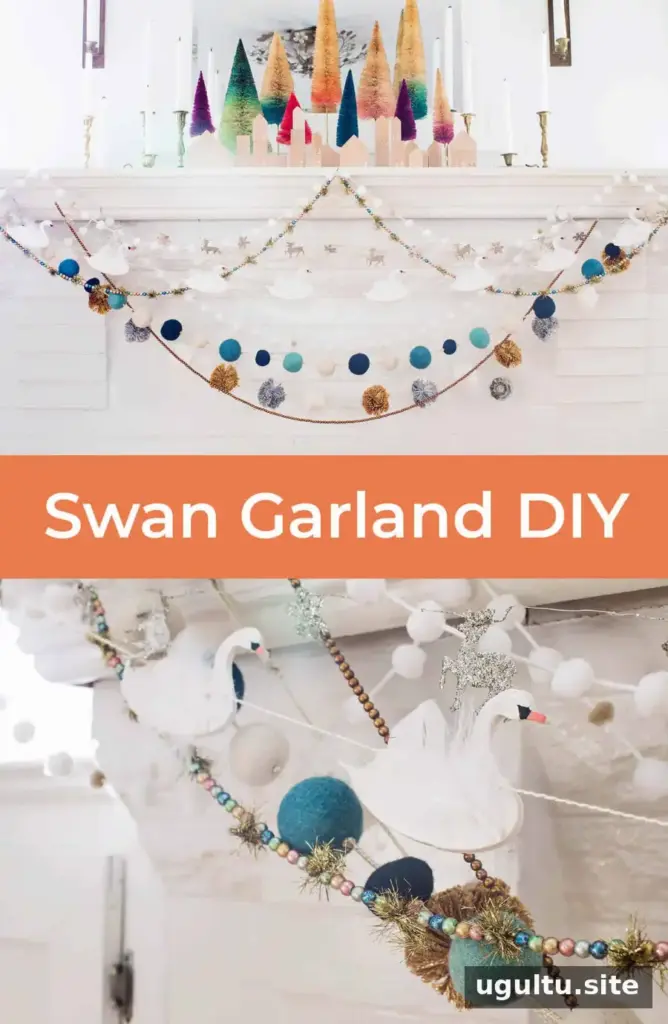
A DIY Swan Garland adds a whimsical touch to a mantel, shelf, doorway, or seasonal display. This simple craft uses white Sculpey clay cut into swan shapes, then painted and finished with feathers. Make the garland with eight swans, as in this example, or adjust the number to suit the space where you plan to hang it.
Supplies for a DIY Swan Garland
Gather the materials before you begin so the clay shapes can be cut and prepared without interruption.
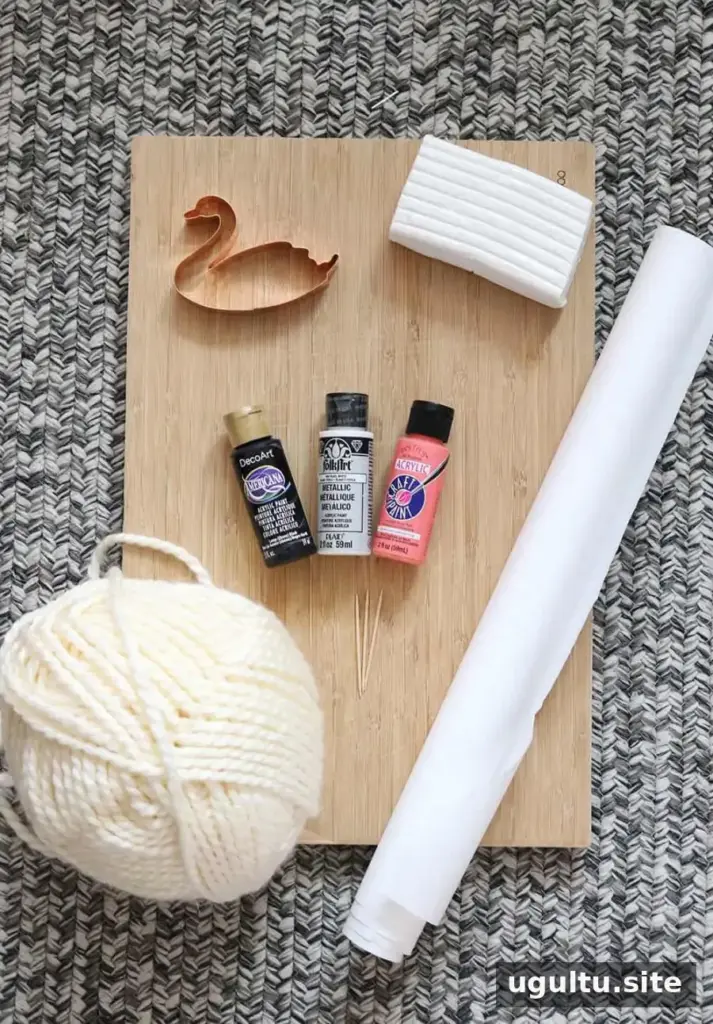
Supplies
- White Sculpey clay
- Swan cookie cutter
- Parchment paper
- Rolling pin
- Chopsticks and washi tape (optional, but recommended)
- Yarn or string and a needle
- Acrylic paint in white, black, and salmon
- Toothpicks
- Aluminum foil
- White feathers
How to Make the Clay Swans
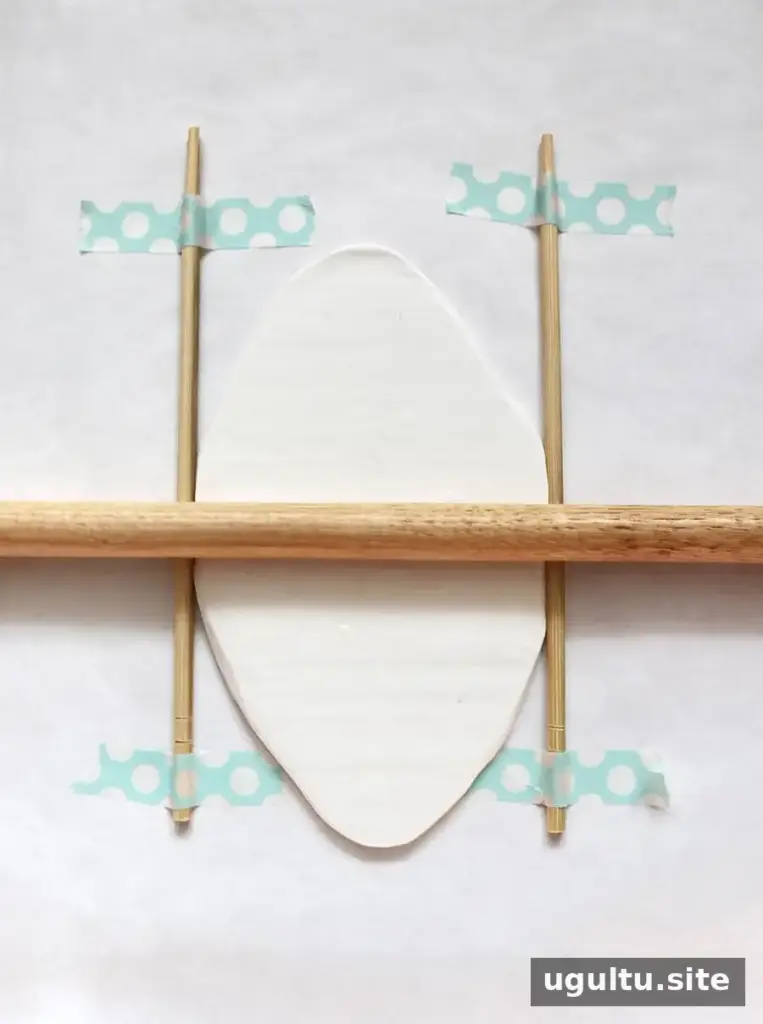
Cover a smooth work surface with parchment paper. For more even clay thickness, tape chopsticks along the sides of the rolling area to act as guides. Knead the clay until it is soft and workable, then roll it out evenly. A consistent thickness helps the swan pieces bake more uniformly.
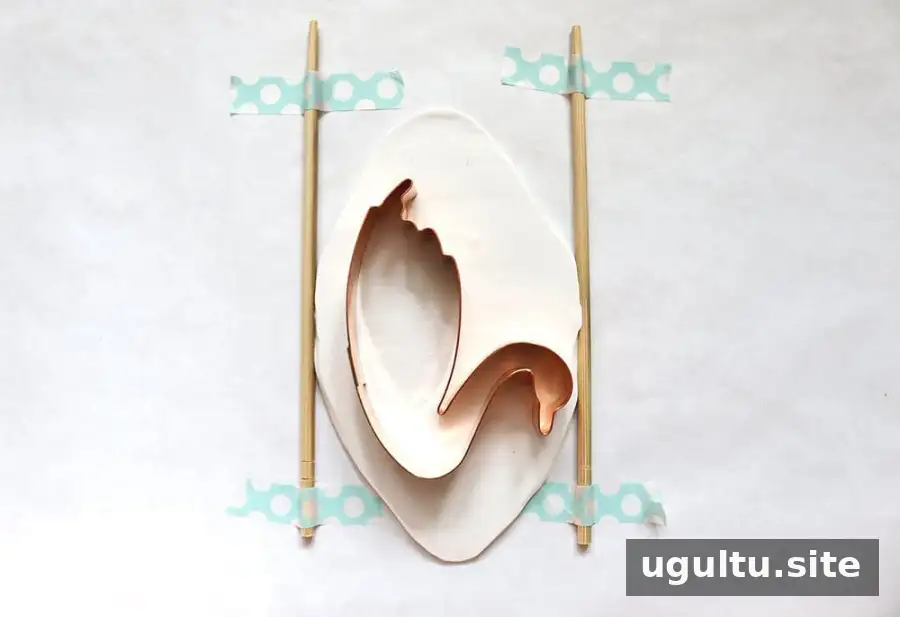
The chopsticks help keep the rolling pin level and make it easier to create swans of similar thickness. If you do not have chopsticks, roll carefully and check the clay from different angles before cutting.
Press the swan cookie cutter into the rolled clay. If a shape sticks in the cutter, gently loosen it with the blunt end of a pencil. Repeat until you have the number of swans you want; the example garland uses eight.
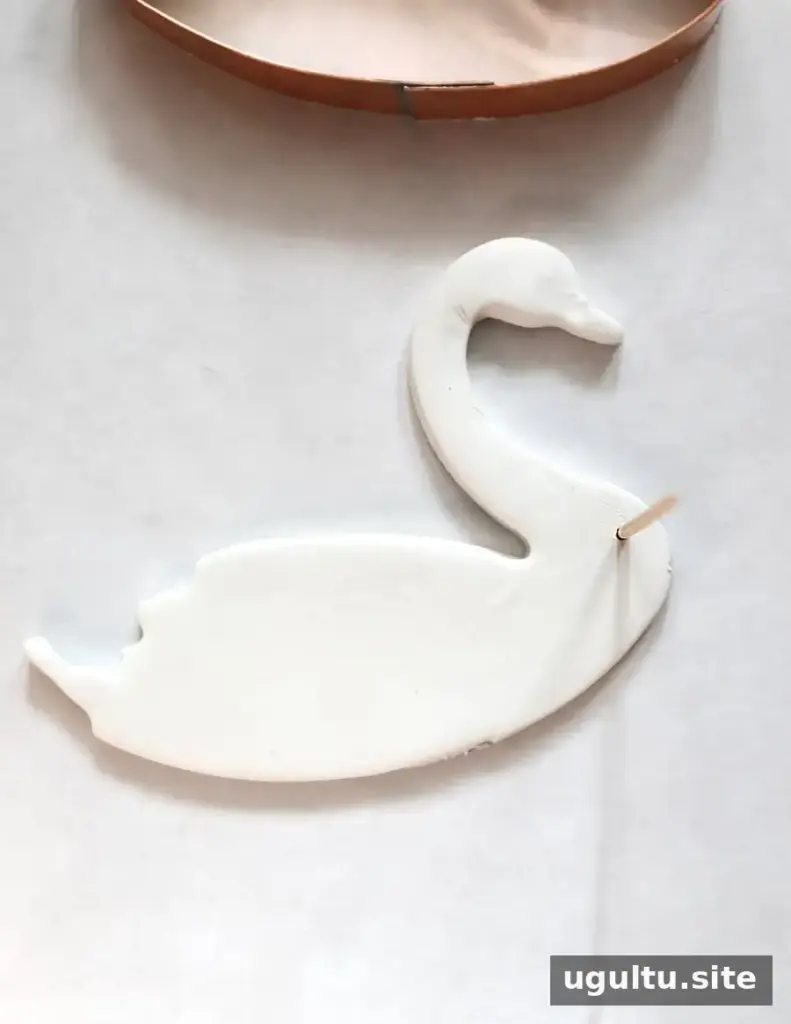
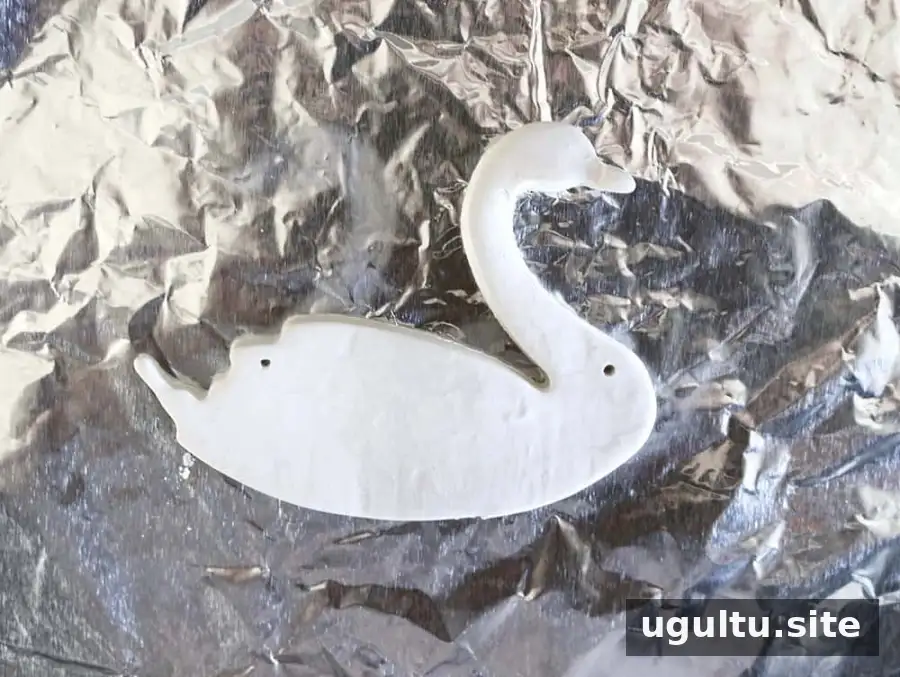
Use a toothpick to make two holes in each swan for threading. Keep the holes high enough on the shape so the swans hang upright rather than tipping upside down. Make sure each hole passes all the way through the clay, while taking care not to distort the cutout.
Bake, Paint, and String the Garland
Place the swans on an aluminum foil-lined baking sheet and bake them according to the Sculpey package instructions. Baking temperatures and times can vary, so follow the directions for the specific clay and allow the pieces to cool before painting.
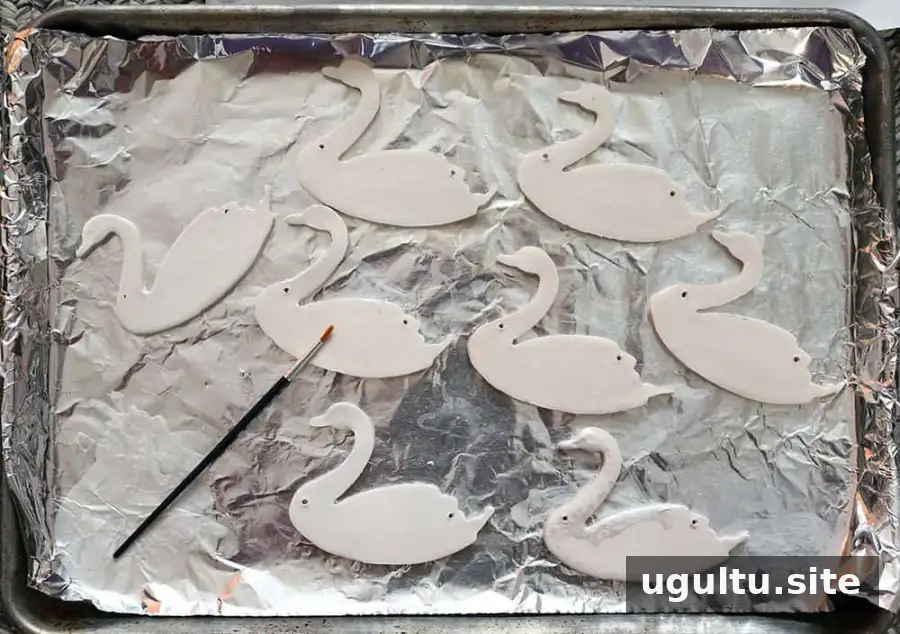
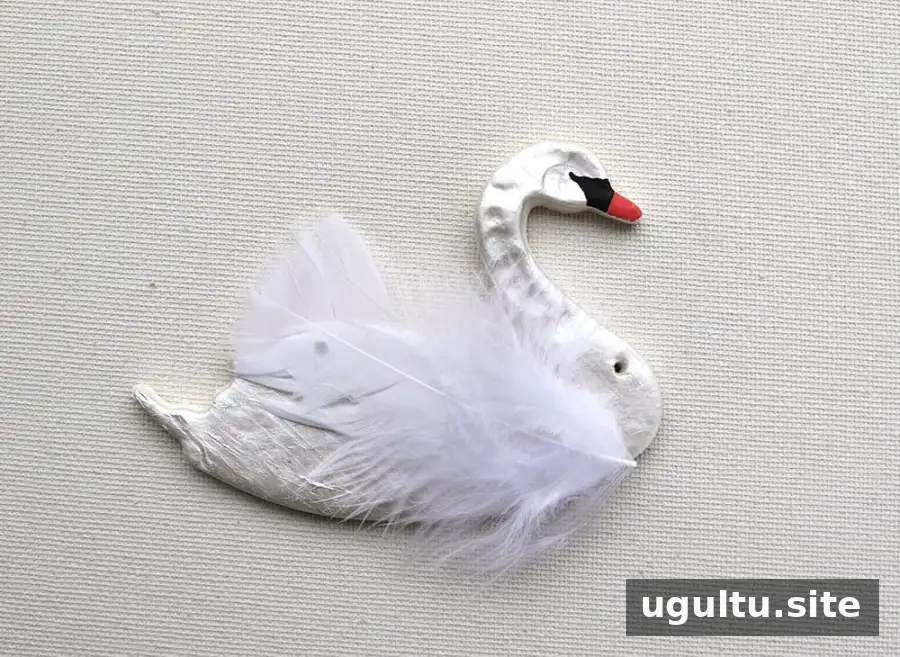
Apply a couple of coats of acrylic paint to the cooled swans, allowing each coat to dry as needed. Finish each piece with a white feather, then thread yarn or string through the holes using a needle. Space the swans evenly and check that they face the same direction before hanging the garland.
Display Ideas for Your DIY Swan Garland
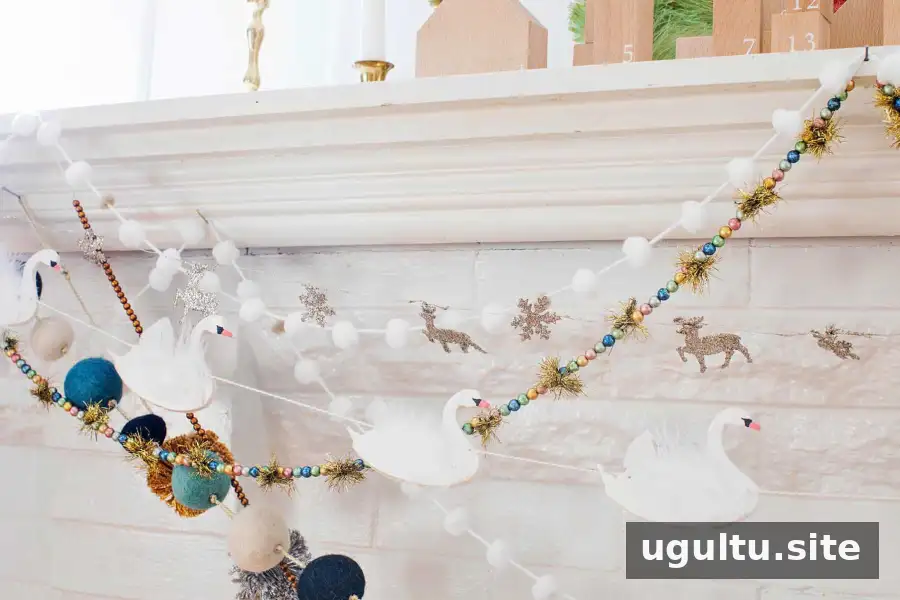
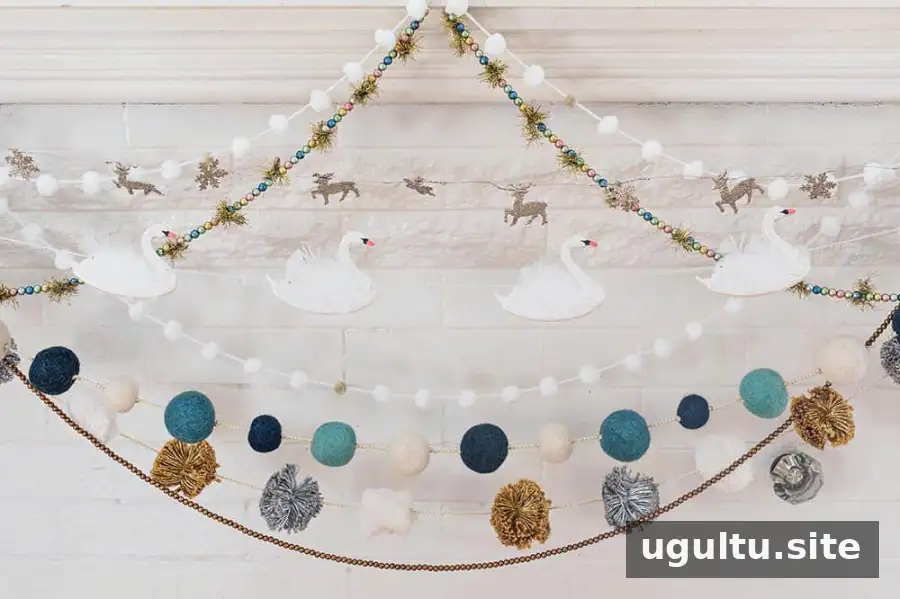

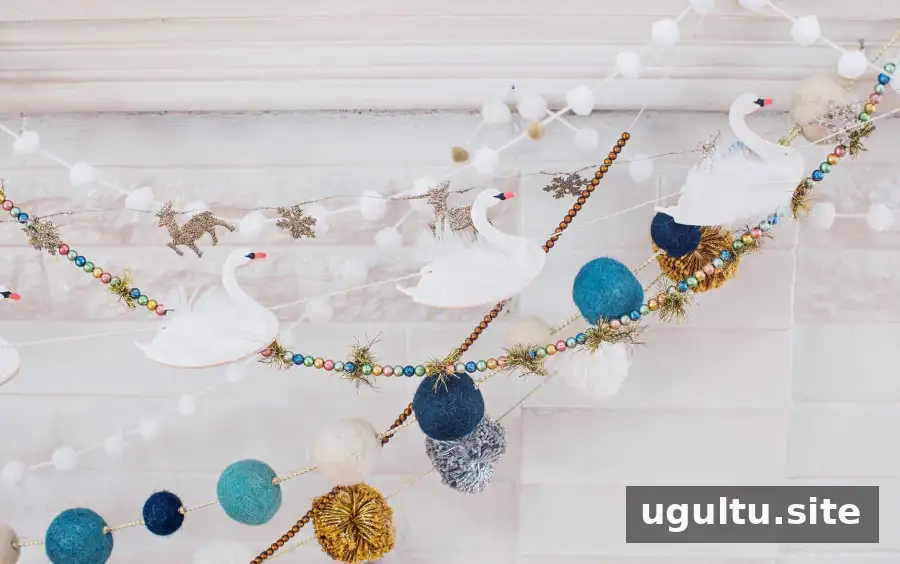
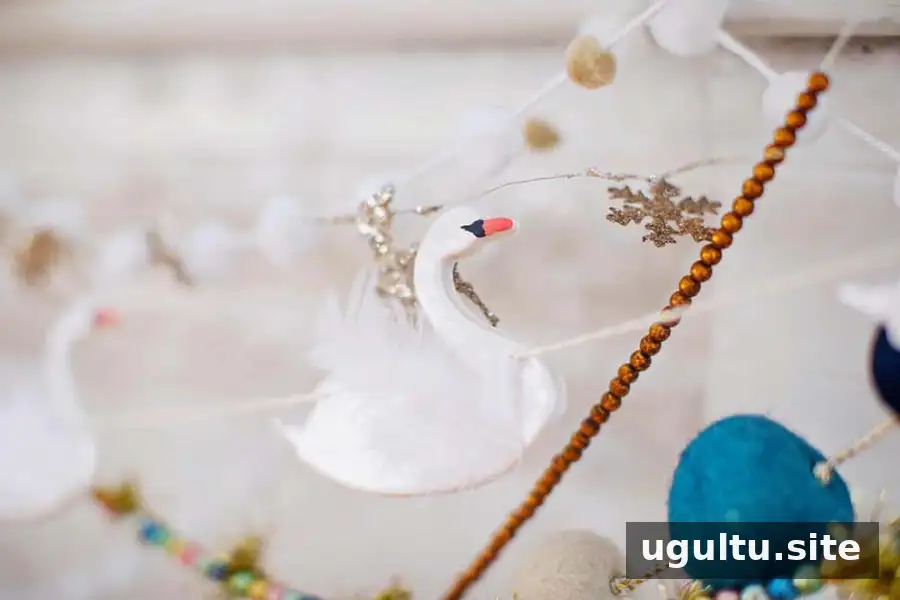
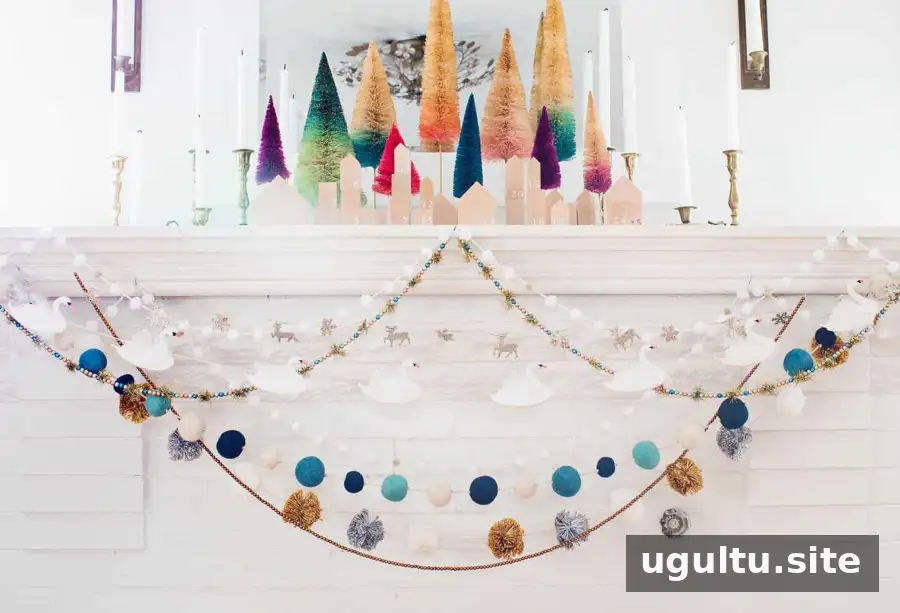
Although the swan shapes have a festive feel, their simple colors can work in displays throughout the year. Try hanging the finished garland along a shelf or across a doorway, and choose a location where the string can be supported securely. For another variation, use black Sculpey clay to create a dark swan version while following the same cutting, baking, and stringing steps.
Craft by Katie.