
 admin
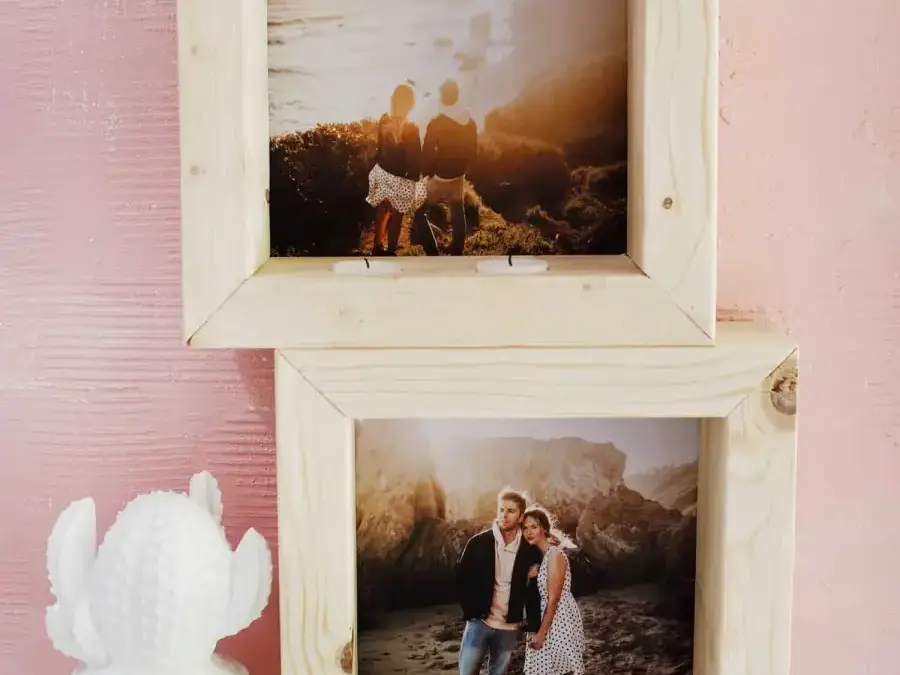
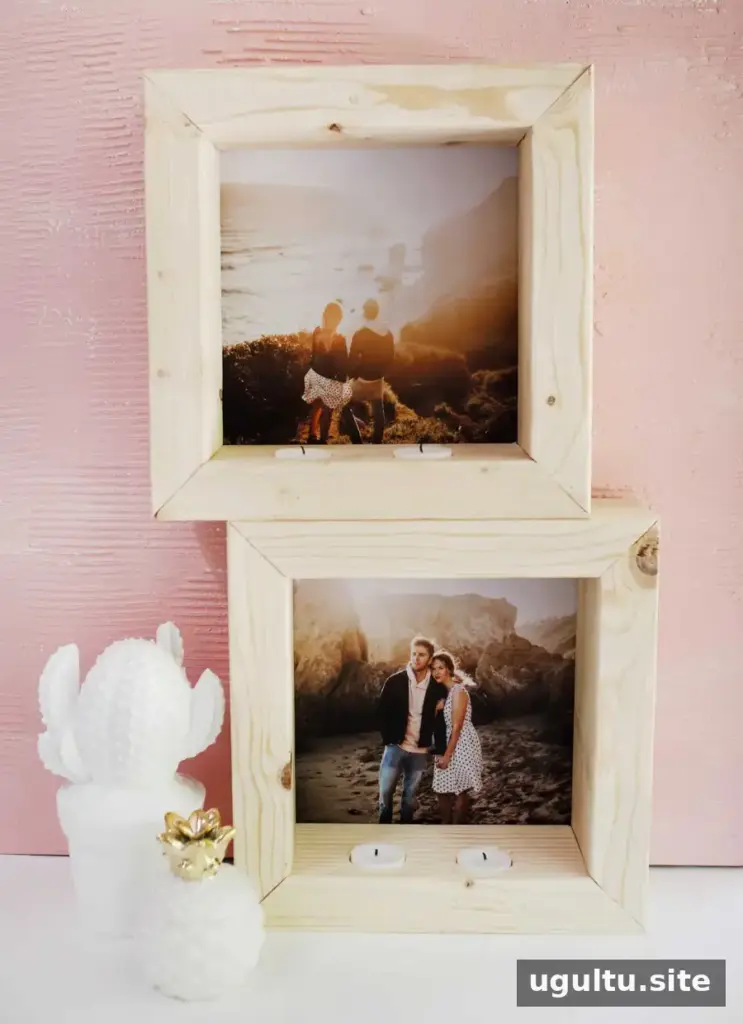
A DIY tea light photo frame combines a favorite photograph with the warm look of natural wood and a small accent light. This project uses simple materials and basic woodworking steps, with a choice of angled or straight frame joints. For the safest display, choose battery-powered LED tea lights, especially because the frames are made of wood.
The project was designed by Emma, with portraits photographed by Elise. The example frames hold 8 × 8-inch photos and have sides measuring 11 inches along their outside edges.
DIY Tea Light Photo Frame: Supplies and Tools
Gather your materials before cutting or drilling. If you do not have a saw, ask a hardware store to cut the wood to size and use straight-edge joints instead of miters.
- Wood, such as 2 × 4 stock
- Wood glue
- Fine- to extra-fine sandpaper or a sanding block
- Picture-hanging hardware and small L-brackets
- Printed photos and tape
- Battery-powered LED tea lights
- Miter saw, or pre-cut wood
- Power drill and a spade or Forstner bit
- Clamps
Practical tip: Check that the drill bit makes a recess wide and deep enough for the LED light you plan to use. Test on a scrap piece first so you can adjust the fit without damaging a frame piece.
How to Make the Wooden Photo Frame
1. Cut the frame pieces
For three frames holding 8 × 8-inch photos, the original project used 11-inch outer edges and about 11 feet of 2 × 4 wood in total. With a miter saw, cut 45-degree angles at the ends so the pieces form a frame. Measure each piece carefully and keep the matching sides consistent.
If you use straight cuts instead, assemble the corners with the edges meeting squarely. Wood filler can help smooth visible seams; once it is fully dry, you can paint or finish the frame. For a natural look, sand the cut edges and leave the wood unfinished or apply a suitable clear finish.
2. Drill a recess for the light
Use a spade bit or Forstner bit to make a shallow hole for the tea light. Position it toward the front-facing edge so the light sits farther from the photograph. A Forstner bit may provide a cleaner, flatter recess, while a spade bit is another workable option. Secure the wood before drilling and wear appropriate eye protection.
Safety note: Wood is combustible. Do not place a burning candle directly in a wooden recess or leave an open flame unattended. LED tea lights are the recommended option for this design. Keep the frames away from children, pets, curtains, and other materials that could be knocked or pulled into them.
3. Glue and secure the frame
Apply a small amount of wood glue to each joint, bring the pieces together, and clamp them until they hold securely. Follow the glue label for clamping and drying times; many wood glues call for clamping for about 30 minutes and allow up to 24 hours for a full cure. Once the frame is dry, attach L-brackets to the back edges.
4. Add the photo and hanging hardware
Print the photo, trim it to fit, and secure it to the back of the frame with tape. Attach picture-hanging hardware suitable for the frame’s weight and the type of wall. Check that the hardware is firmly fixed before hanging the finished piece.
Finishing and Display Tips
Before mounting the photo, sand any rough edges and wipe away dust. If you are making several frames, use the first completed frame as a guide for the placement of the remaining light recesses and hardware. This helps the set look consistent when displayed together.
Place the finished frames on a stable wall or surface, and use LED tea lights to create a gentle decorative glow without an exposed flame. A DIY tea light photo frame is a straightforward way to display meaningful pictures while keeping the lighting choice practical and safe.


