
 admin


A DIY terrarium coffee table adds a distinctive display area to a living room while providing a useful surface in front of the sofa. This project combines pine boards, clear acrylic panels, and hairpin legs to create a table with a central compartment for decorative items such as faux succulents. The design and build instructions below are from Ethan, who designed and assembled the table with Emma.
The project adapts the idea of a terrarium side table into a longer coffee table. Before starting, measure the space where the table will sit and compare it with the planned dimensions. Check that your tools, materials, and work area are ready before cutting or assembling the pieces.

DIY Terrarium Coffee Table: Materials and Tools
The pine boards form the table and its end compartments, while the acrylic creates the transparent center section. Confirm the measurements against your intended layout before making cuts, especially where the acrylic box needs to fit inside the table.
Supplies:
- 6 pine boards, 10 in x 8 ft
- 1 pine board, 3 in x 5 ft
- 1 acrylic sheet, 14.5 x 2 ft
- 2 acrylic sheets, 7.5 x 2 ft
- 1 box of 1 3/4-in wood screws
- 1 box of 1-in screws
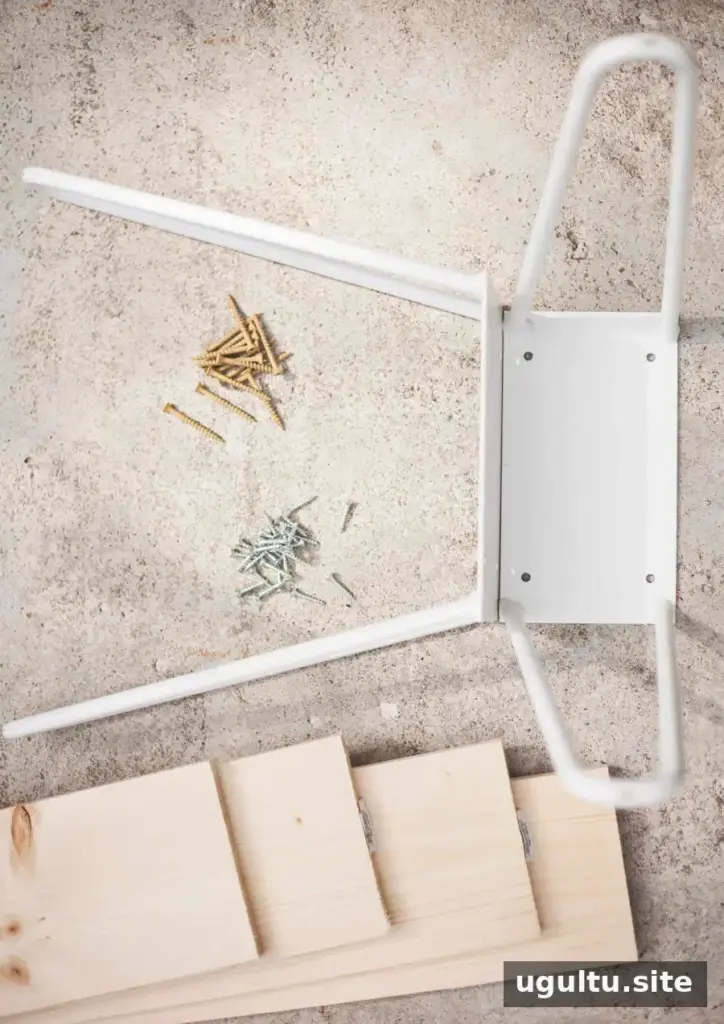
- 4 white hairpin legs
- Wood glue
- Weld-On #4 with applicator, for acrylic
Tools:
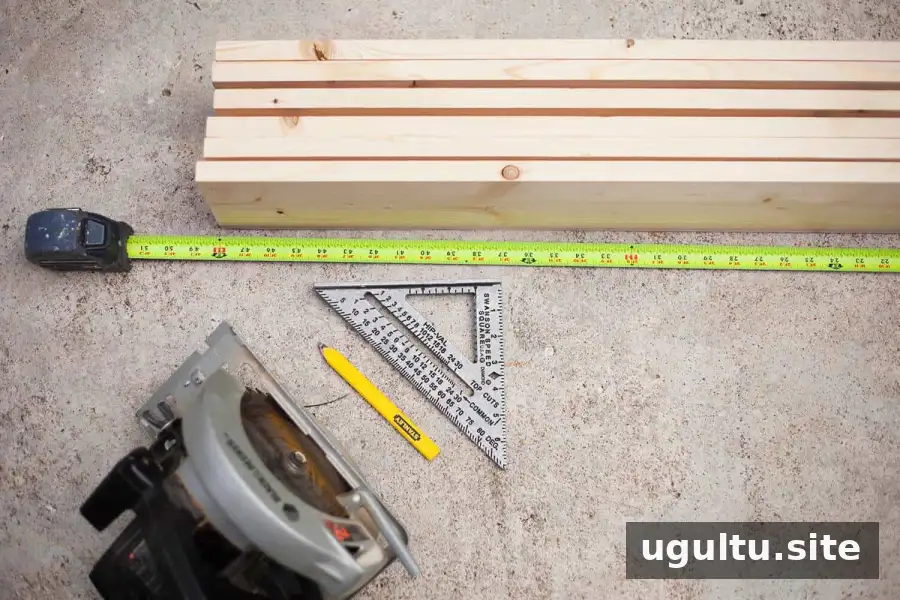
- Circular saw
- Clamps
- Medium- and fine-grit sandpaper
Use suitable eye and hearing protection when cutting wood, and follow the acrylic adhesive manufacturer’s instructions, including its ventilation and handling guidance.

Step 1: Make the Main Tabletop
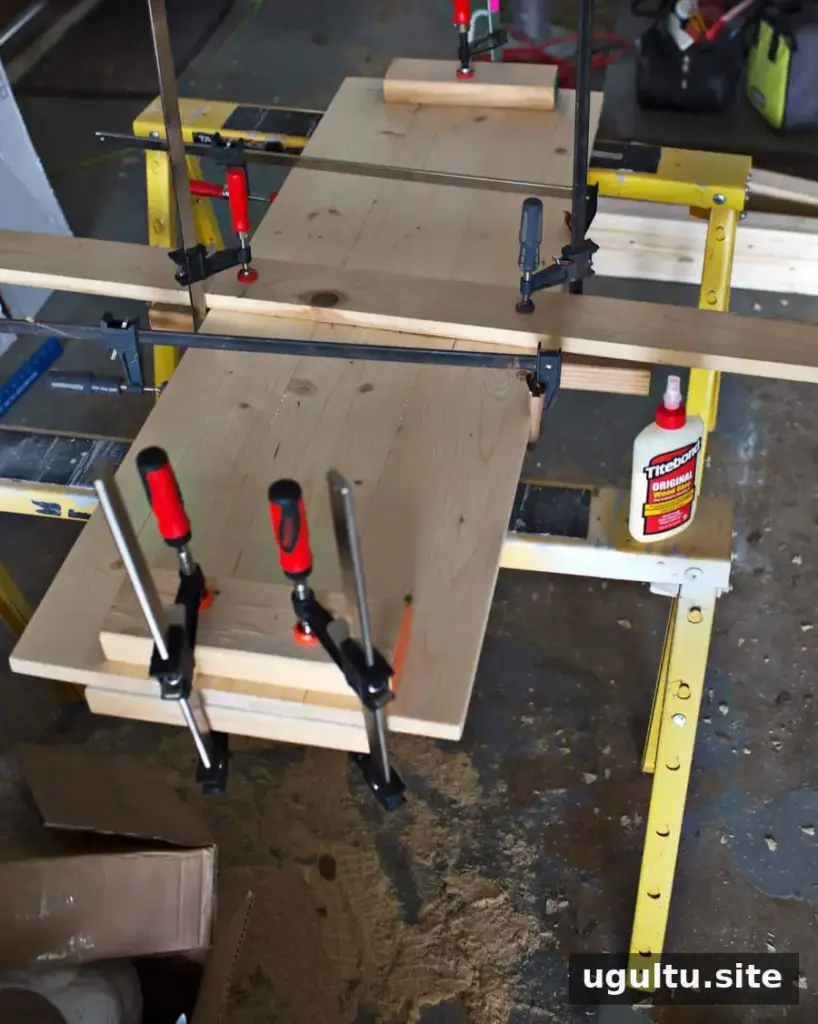
Cut three of the pine boards in half to create six 4-ft boards. Smooth the cut ends with medium-grit sandpaper. Apply wood glue along the long edges of three boards and clamp them together, keeping the ends aligned and the surface flat. Repeat with the remaining three boards to form the other tabletop section.
Place scrap wood or cardboard between the clamps and the pine to help prevent dents. Tighten the clamps until glue begins to squeeze out at the joints, then leave the boards to dry overnight. Once dry, sand away the dried glue.
Step 2: Assemble the End Boxes and Center Lip
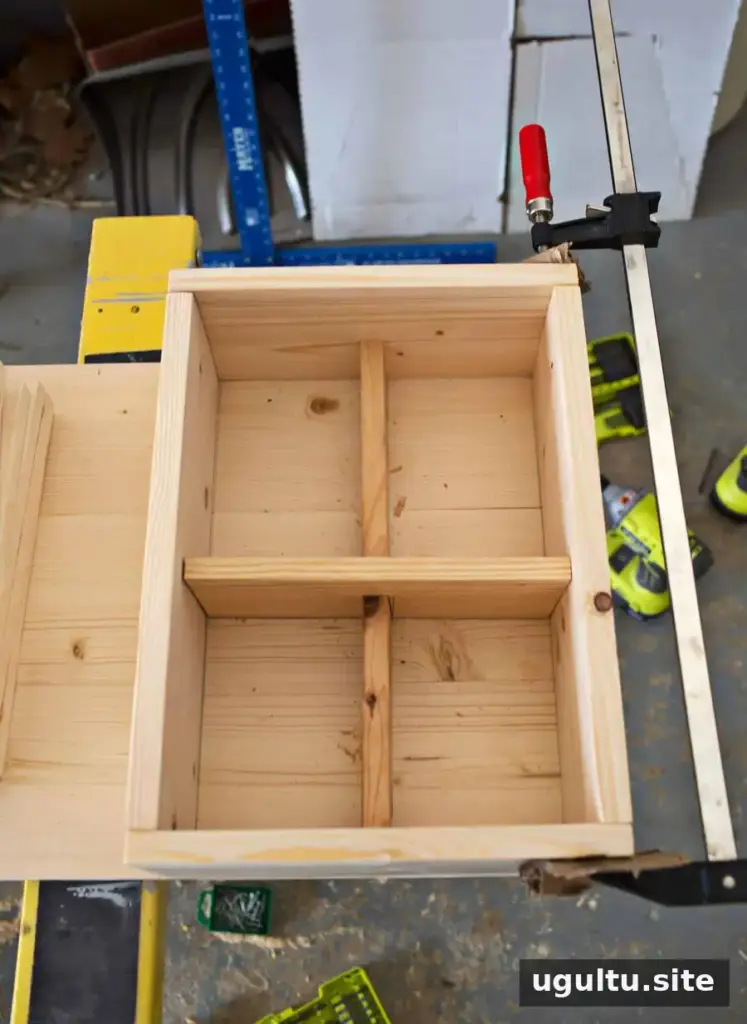
The layout divides the table into four sections: two 1-ft end boxes and a 2-ft center area for the acrylic compartment. Cut four 1-ft boards and four 28-in boards for the box sides. Predrill from beneath each base before fastening the sides to reduce the risk of splitting the wood. Screw the 1-ft boards in place first, then glue and screw the 28-in boards. Clamp the corners firmly and let the glue dry overnight.
For added stability, you can install a cross brace inside each box. Cut two pieces of scrap wood to fit, then make a half-lap joint by removing half the thickness where the pieces cross. Predrill and screw the brace in place.
After the boxes have dried, cut six 1-ft boards for their tops. Glue the contacting edges and the top perimeter of each box, clamp the boards in place, and leave them to dry overnight. Sand away any dried glue. Cut the 3-in board to fit between the boxes and form a lip for the acrylic compartment. Predrill, screw, and glue it in place, then allow it to dry.
Step 3: Build and Fit the Acrylic Compartment
Acrylic can be difficult to cut cleanly, so plan the cuts carefully and use smooth factory edges wherever possible. Measure the center opening in the table and cut the acrylic panels to suit its width and height. The listed acrylic sheet sizes are 14.5 x 2 ft and two sheets measuring 7.5 x 2 ft; check your actual opening before cutting, since the fit depends on your assembled table.
Apply Weld-On #4 to the acrylic edges according to the product instructions and clamp the joints gently. Avoid excessive pressure, which can bend or damage the panels. Leave the adhesive to cure overnight, or for the period specified by the manufacturer, before handling the box.
Step 4: Install the Legs and Finish the Table
Place the acrylic box in the center opening. Position the four white hairpin legs where you want them and attach them with the appropriate screws. Check that the table stands level and that the acrylic compartment is seated securely before adding decorative items.
The original project reused faux succulents from an earlier terrarium. Faux plants and other lightweight decorations are a practical choice for a display compartment; keep the area clean and avoid placing items that could scratch the acrylic. If you make changes to the design, recheck the clearances before assembly so the center insert still fits.
Conclusion
This DIY terrarium coffee table brings together a pine frame, a clear acrylic centerpiece, and hairpin legs in a functional living-room project. Careful measuring, evenly clamped joints, and a gentle approach to cutting and bonding acrylic help the components fit together neatly. Review the finished table for stability before use, and arrange the terrarium display to suit your space.



